Yes, another update on the Brightside Chris-Craft U22’s bottom framing.
The bottom is framed with a combination of main and intermediate members. The main frames land on the main topside frames and are fastened with a plywood gusset in addition to the #10 x 3” wood screw through the chine frame.
These frames are spaced 28.5” on center, save for the final three, which are spaced 26.5”, 25.5” and 25” on center.
The intermediate frames a screwed to the chine frame and joined beneath the keel with a cross tie plank that is screwed through and into the face of each frame member.
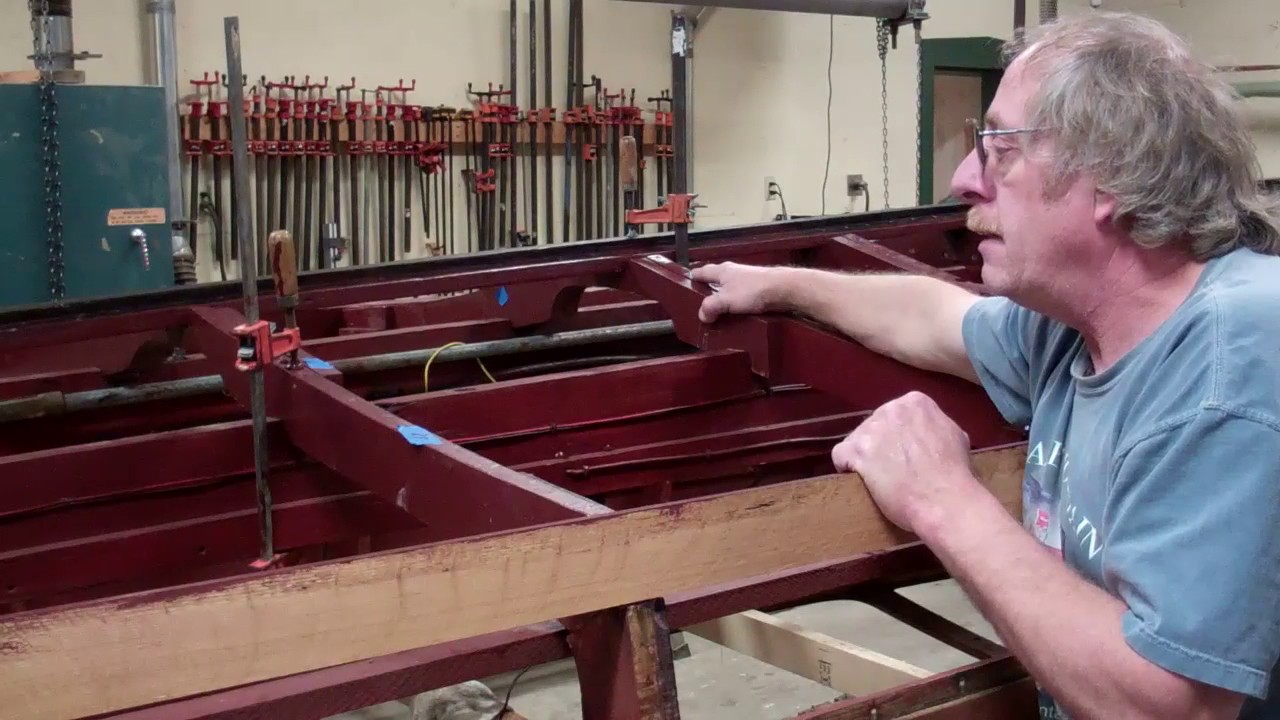
John announced yesterday that all new frames were installed and positioned so that the keel just lands on every pair from bow to stern, “But we seem to have a problem. There are no intermediate frames in the three bays lying beneath and aft of the engine and transmission.”
Sure enough, as you see in the clip, these three bays, bays which must withstand the torque of the engine and slamming against the water at speed, are bereft of intermediate frames.
Inspecting the replaced chine framing indicated that Chris-Craft simply omitted these frame members from the design, a contention that was confirmed when RJ inspected the whit-side 1946 U22 we have in storage.
We contacted the owner, who agreed with our contention that fabricating and installing three pair of intermediate frames beneath and aft of the engine/transmission only makes good sense. So we will.
Doing so will significantly increase the stiffness and strength of the bottom and the hull, which should translate into more of the engine’s torque powering the prop, rather than tweaking the hull.
Yes, we will repeat this process with the white-side U22 when we get to her preservation.
Reassembly is fully under way today. The half dozen new frames and about a dozen backing blocks are fabricated, sealed with multiple coats of CPES and painted with Sandusky Chris-Craft Mahogany Bilge Paint.
John began the final fitting and installing process this morning.
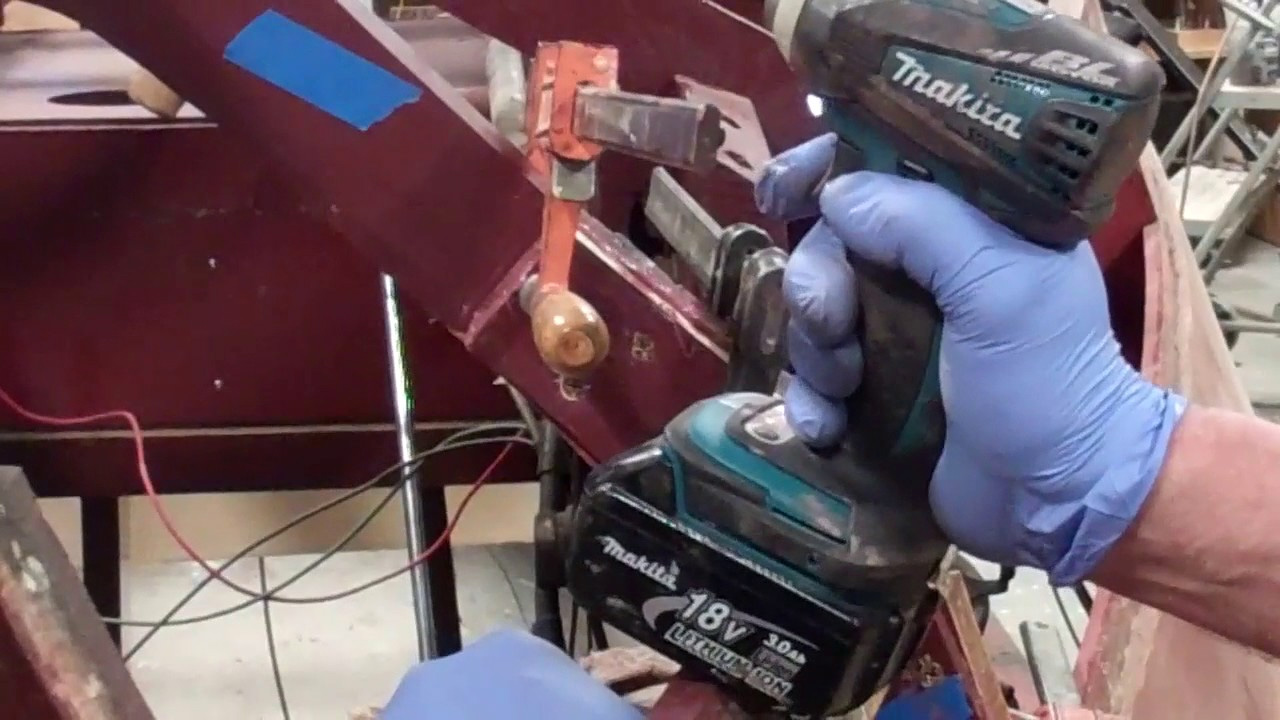
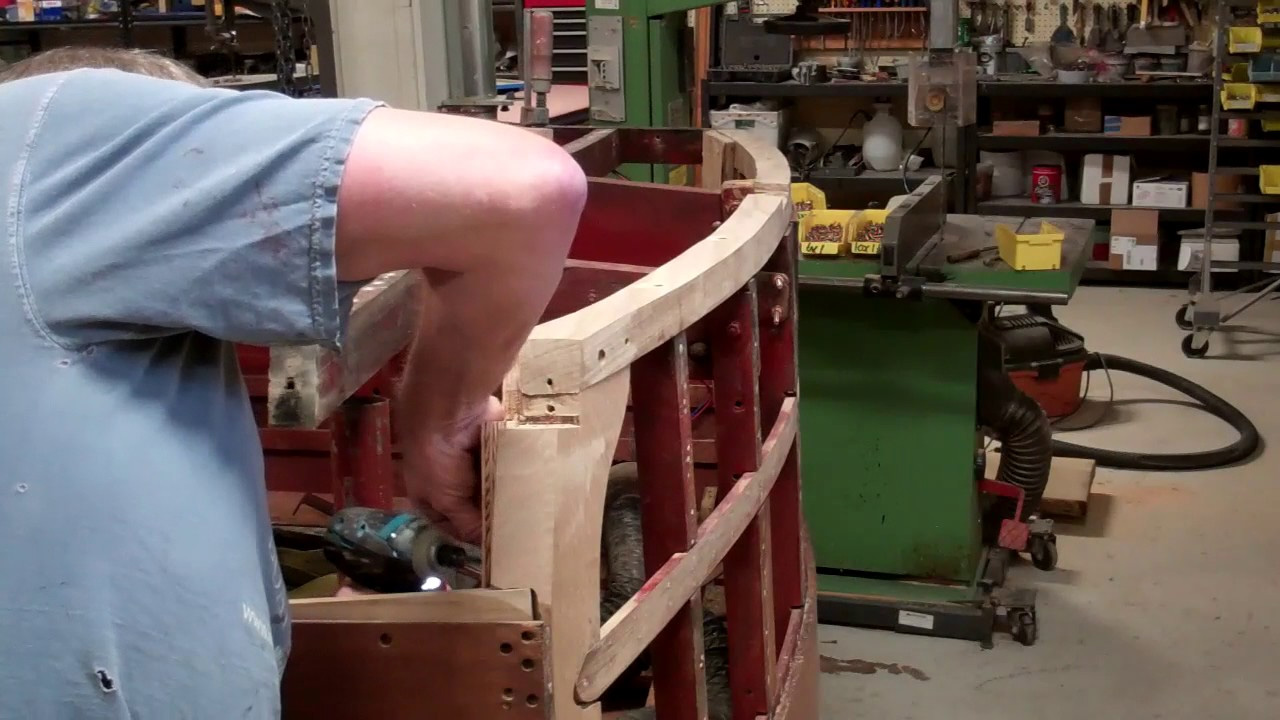
Save for the sister on the forward, starboard frame, which was affixed with Jamestown Distributors Thixo two-part epoxy, the mating surfaces of each frame are “frosted” with 3M5200 before being set in place one more time and screwed home with silicon bronze wood screws.
Notice in the clip how John repeatedly drives each screw in a ways and then backs it out a bit before driving it further until it is fully seated in its countersink.
Why? White oak is much tougher than silicon bronze. Driving the screw home in one pass, even with the pilot hole in place, risks twisting and breaking the screw.
He will continue from bow to stern, and once all the frames are in place, screwed together and bolted down with silicon bronze carriage bolts, the keel will be installed.
Once again, each landing between the frames and the keel will be coated with 3M5200. Why not the Thixo epoxy? Wood hulls move. Epoxy does not. Using epoxy in this application almost surely guarantees that the joint will fracture. 3M5200, by contrast, retains sufficient flexibility when cured to deal with the movement while remaining completely secure.
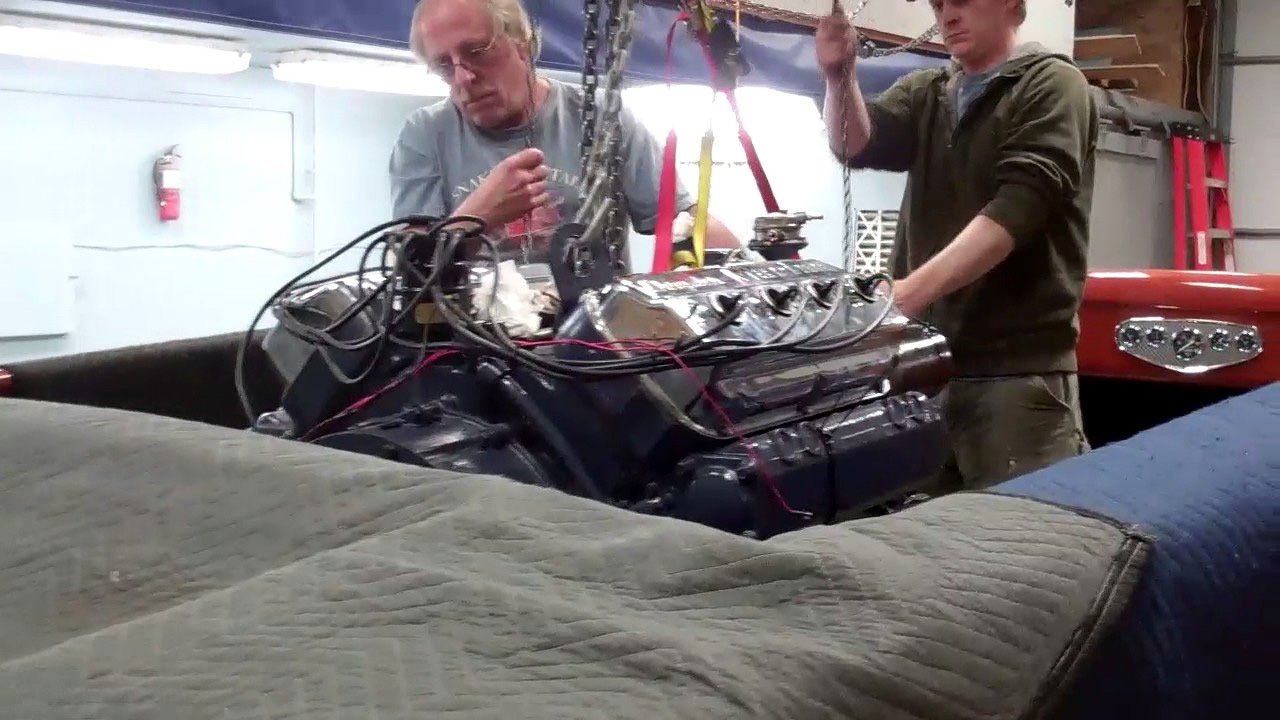
It was not without a bit of tension in the room as we raised the Hemi above Voodoo Child. That nobody was about armed with a blood pressure cuff was probably a good thing.
The lift rings do not fit beneath the carbs on the dual quad set-up. As we tossed alternate hook-up strategies back and forth, RJ asked, “Why don’t we just release the entire intake manifold and carbs?”
We did, and acquired a great deal of much needed flexibility in the process. Because of the V-drive, the engine cannot be dropped through the engine bay hatch. Rather it must be set on the engine logs ahead of the engine bay bridge and then teased aft, passing under the bridge.
Doing so requires that the lifting rings, which are initially fastened to two diagonally opposite corners of the intake manifold bolt holes, be repositioned several times.
Keeping the engine bay bridge protected, we lifted the engine and nudged the boat forward until the lift chain was almost touching the bridge, set the engine down and released the lifting chain.
With both rings attached at the aft corners of the intake bolt holes, we moved the boat further forward until the chain fall was above the hatch opening.
It took several reiterations of repositioning the rings, chain and chain fall, but finally, the engine sat in place on its mounts.
Next comes the tedious task of fine tuning the positioning so that the couplers on the transmission and prop shaft align perfectly.
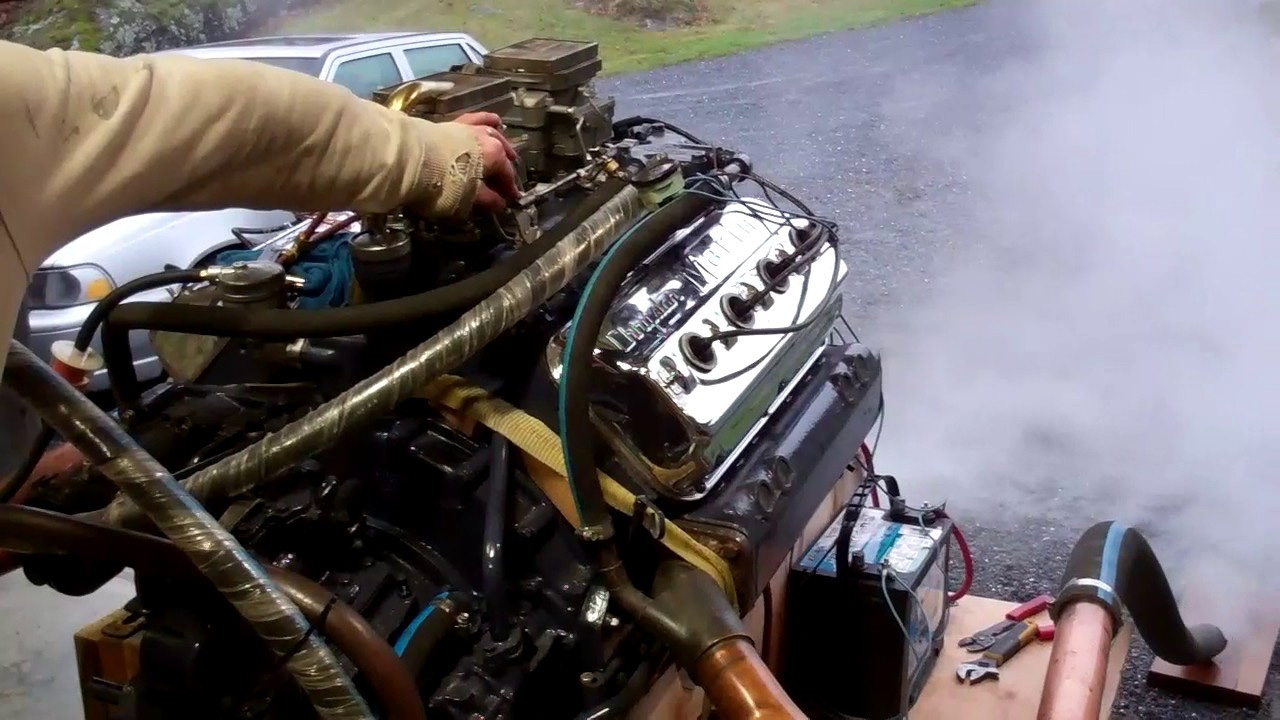
We will now winterize and fog the beast before we begin what will be a near Herculean task of installing the Hemi in Voodoo Child’s engine compartment.
Why Herculean? The engine and V-drive transmission will not fit through the engine hatch and must be dropped into the bilge ahead of the engine bay bridge, and then, using two chain falls, slowly teased under the bridge and onto the engine mounts.
The install can begin as soon as we’ve completed the engine’s winterization, as we have finished polishing her hull, which means all is go for reassembling her.
Arguments about how “best” to varnish a boat can become heated, and I am not taking sides here. We have experimented with buffing (polishing) varnish, most recently on the 1952 18’ Chris-Craft Riviera we preserved. Ridding the surface of haze was our nemesis with each effort.
Then I happened upon an intriguing article on “the practice of polishing varnish” that appeared in a recent copy of the Chris-Craft Antique Boat Club’s “The Brass Bell,” Here is a link to a scanned copy of the article in PDF format
Voodoo Child served as our lab rat for an experiment following the process described therein, one that began with allowing the varnish to cure for 30 days after the final coat was applied.
We were concerned about just how much varnish is polished away through this process, as sanding through would be a disaster, so we applied a full 20 coats of Pettit Easypoxy Hi-build varnish, let Voodoo Child sit for 30 days, and initiated the process November 2. We finished on November 7, having logged 42 hours from beginning to end.
Wet sanding begins with 1000 grit and sanding blocks, and proceeds through 1200 and 1500, all by hand. At that point we switched to a dual-action orbital sander, and proceeded wet sanding through progressively finer grits until we made one last pass with 5000 grit.
Even at this point it was clear that we are onto something special, as the surface was literally glowing.
Keeping the surface free of sanding residue is critical, lest that residue be ground back into the surface, creating scratches along the way.
Per the article’s guidance, we then switched to mechanical buffing, never exceeding 1,500 RPM. Several passes using Mequiar’s Mirror Glaze M101 Foam-cut Compound removed 1200 and finer scratches. We finished with Mequiar’s M205 Ultra Finishing Polish. The result is a deep and glossy, almost mirror-like surface.
Let’s get that engine in the bilge so we can begin the fun part, installing hardware, ceilings, seating, and the rest!
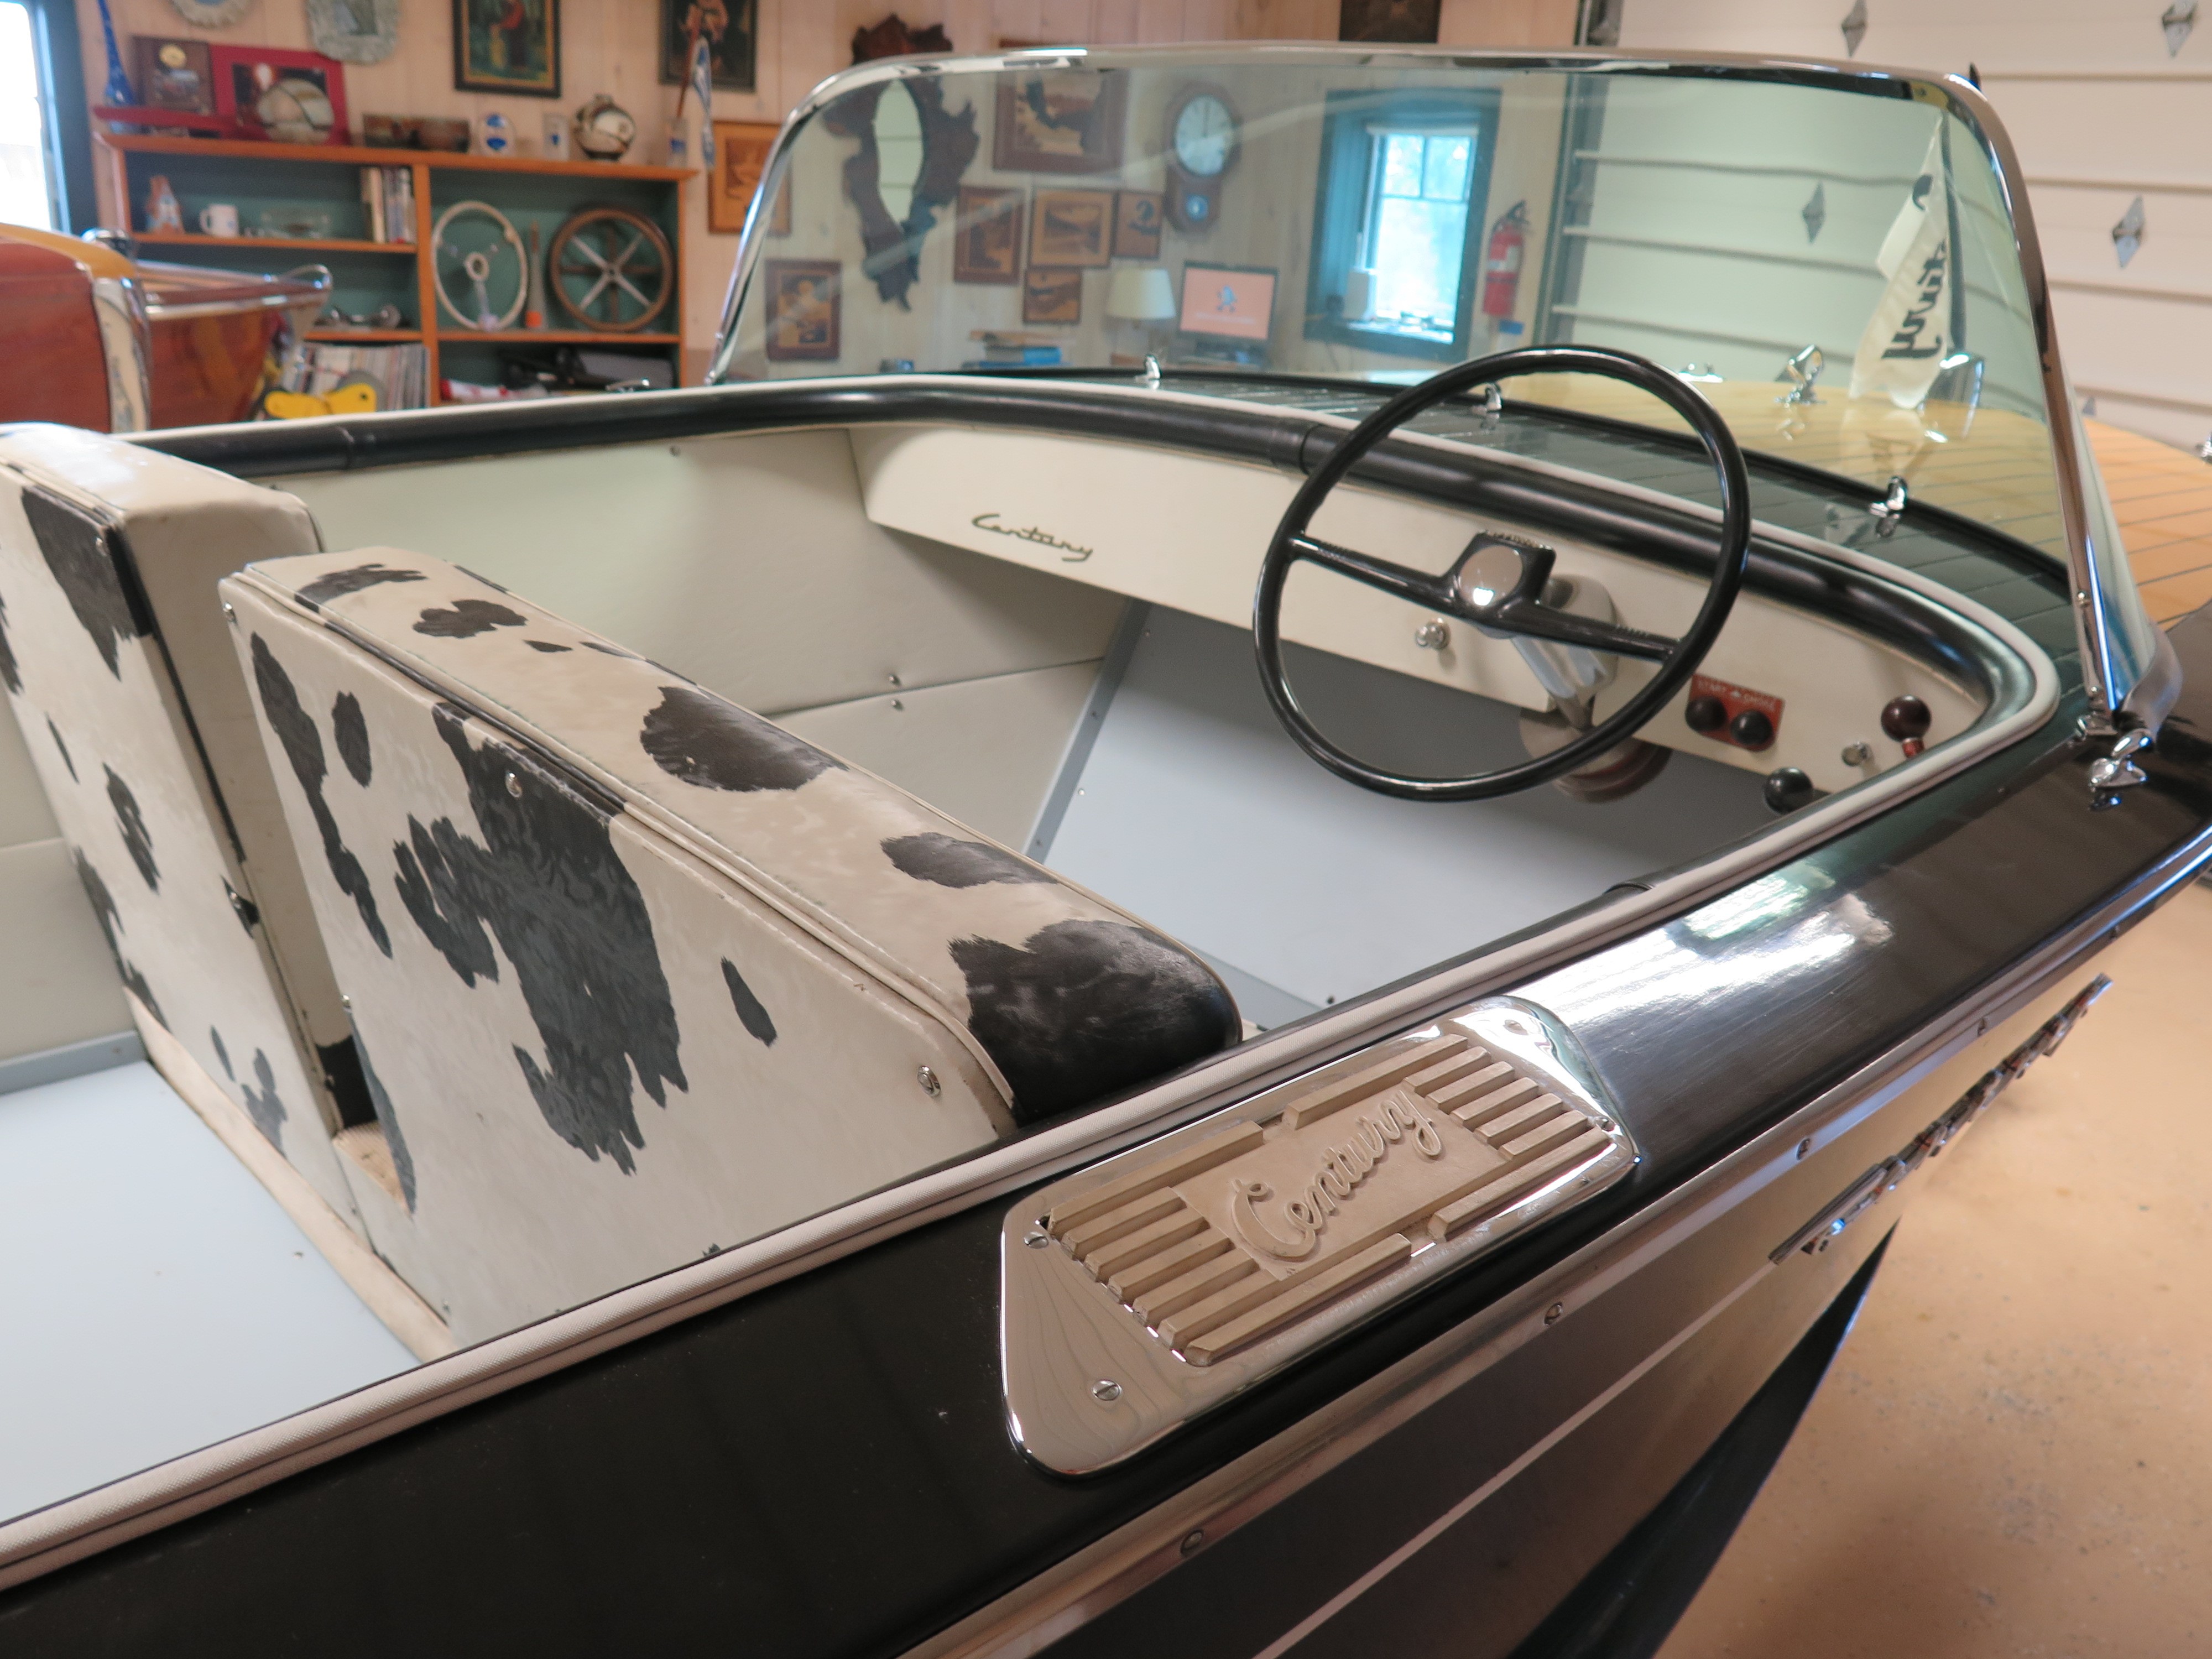
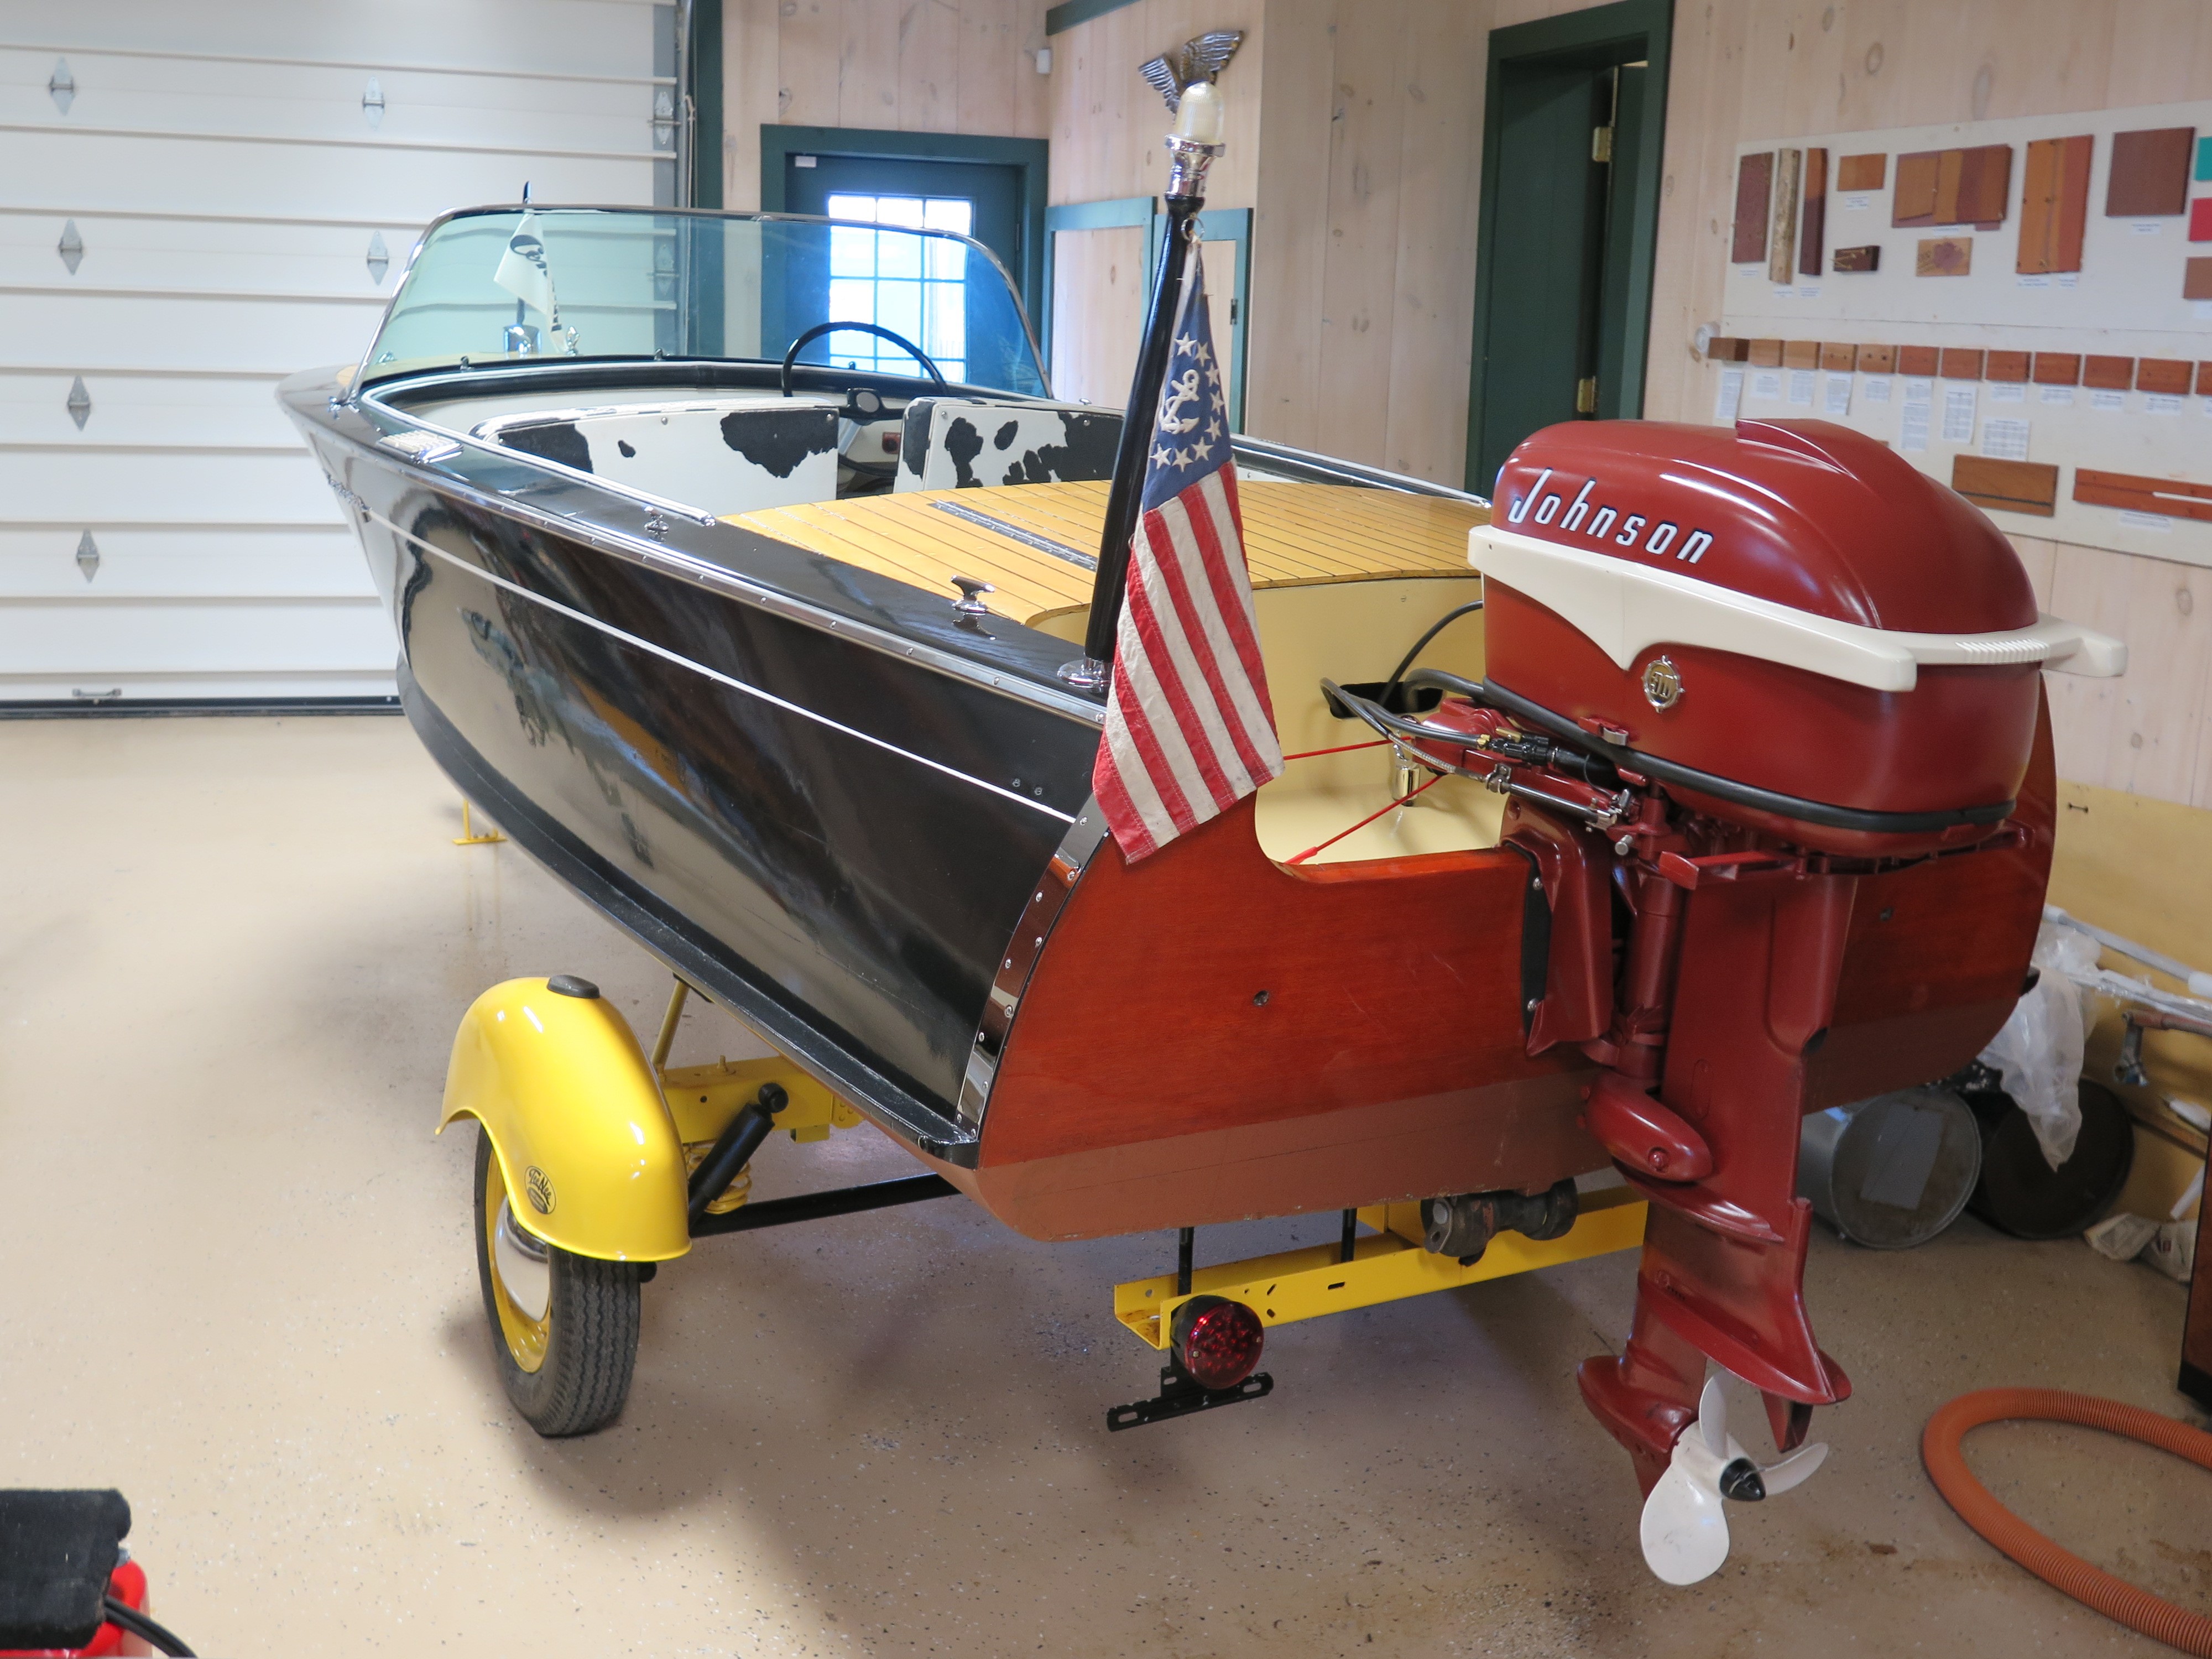
Offered at $13,750: 1956 16-foot Century Cowhide Palomino & Tee Nee Trailer
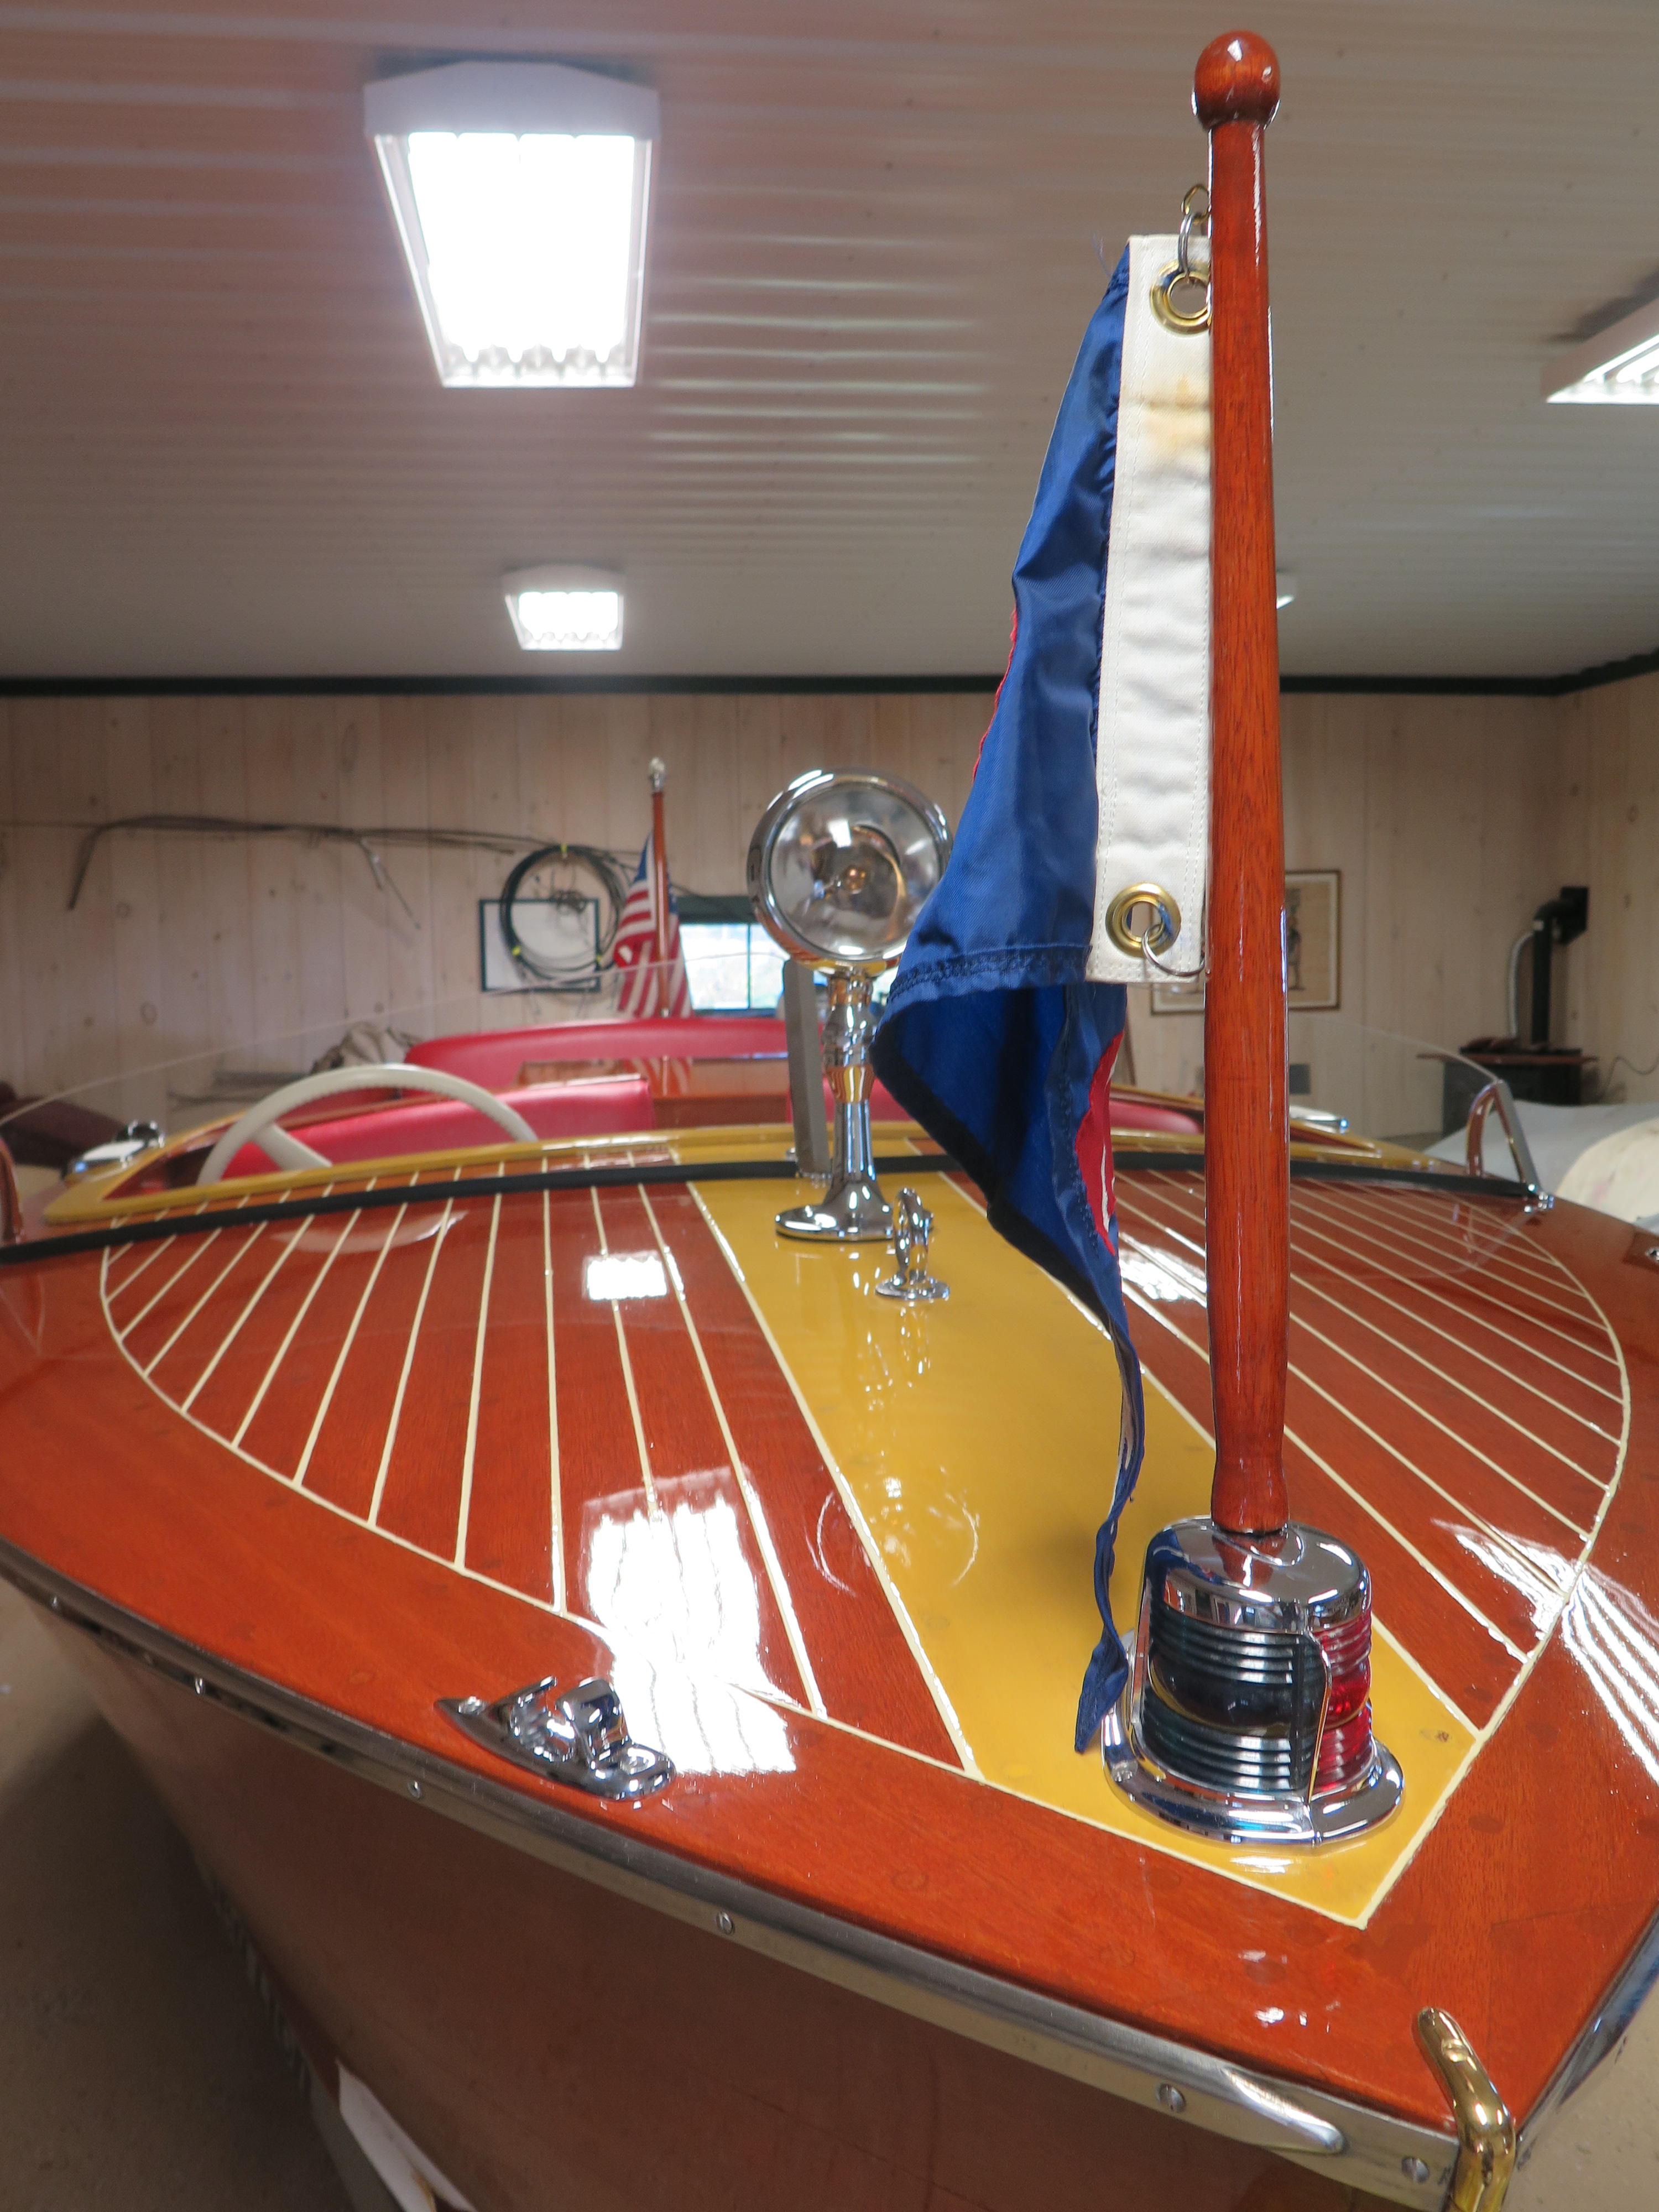
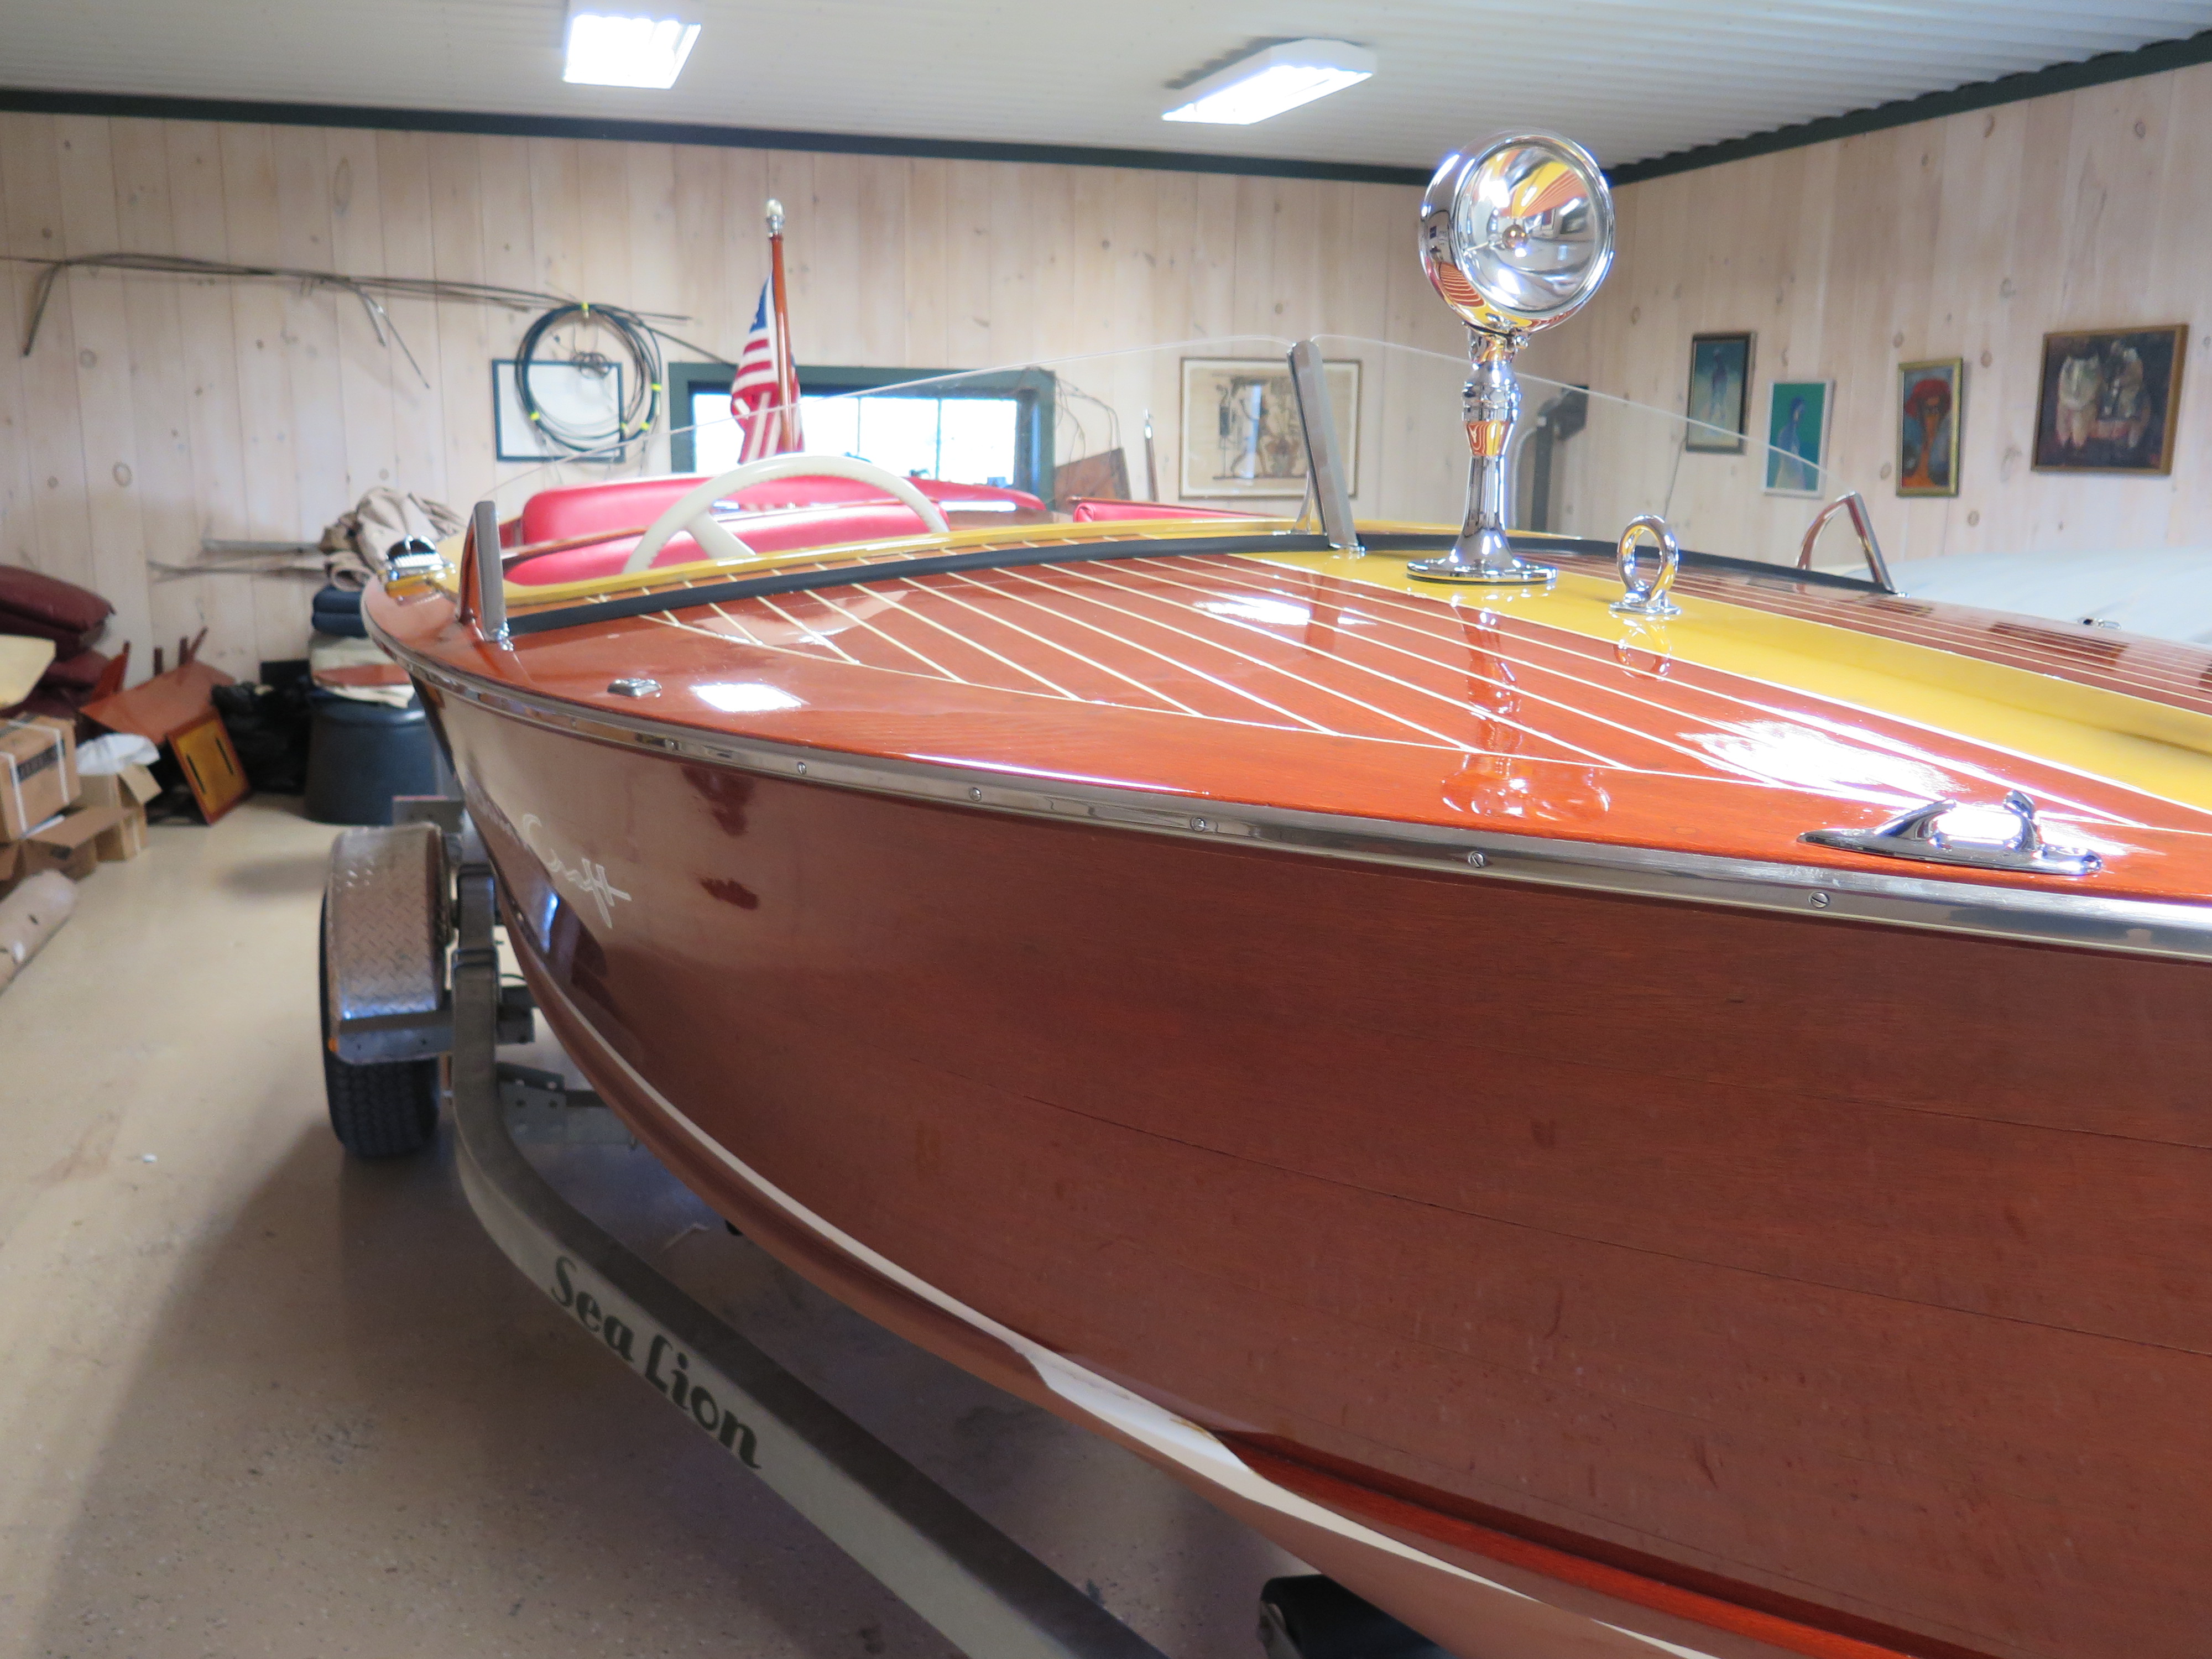
With hull number “P5652” is still stamped on her transom, this completely preserved 1956 “Cowhide” Century Palomino is as original a boat as I have ever seen. We did not replace a single scrap of wood.
She is a one-owner boat and among a tiny number, perhaps as few as 2-4, survivors of the cowhide-upholstered, black Palomino model that Century built for a single year.
Details:
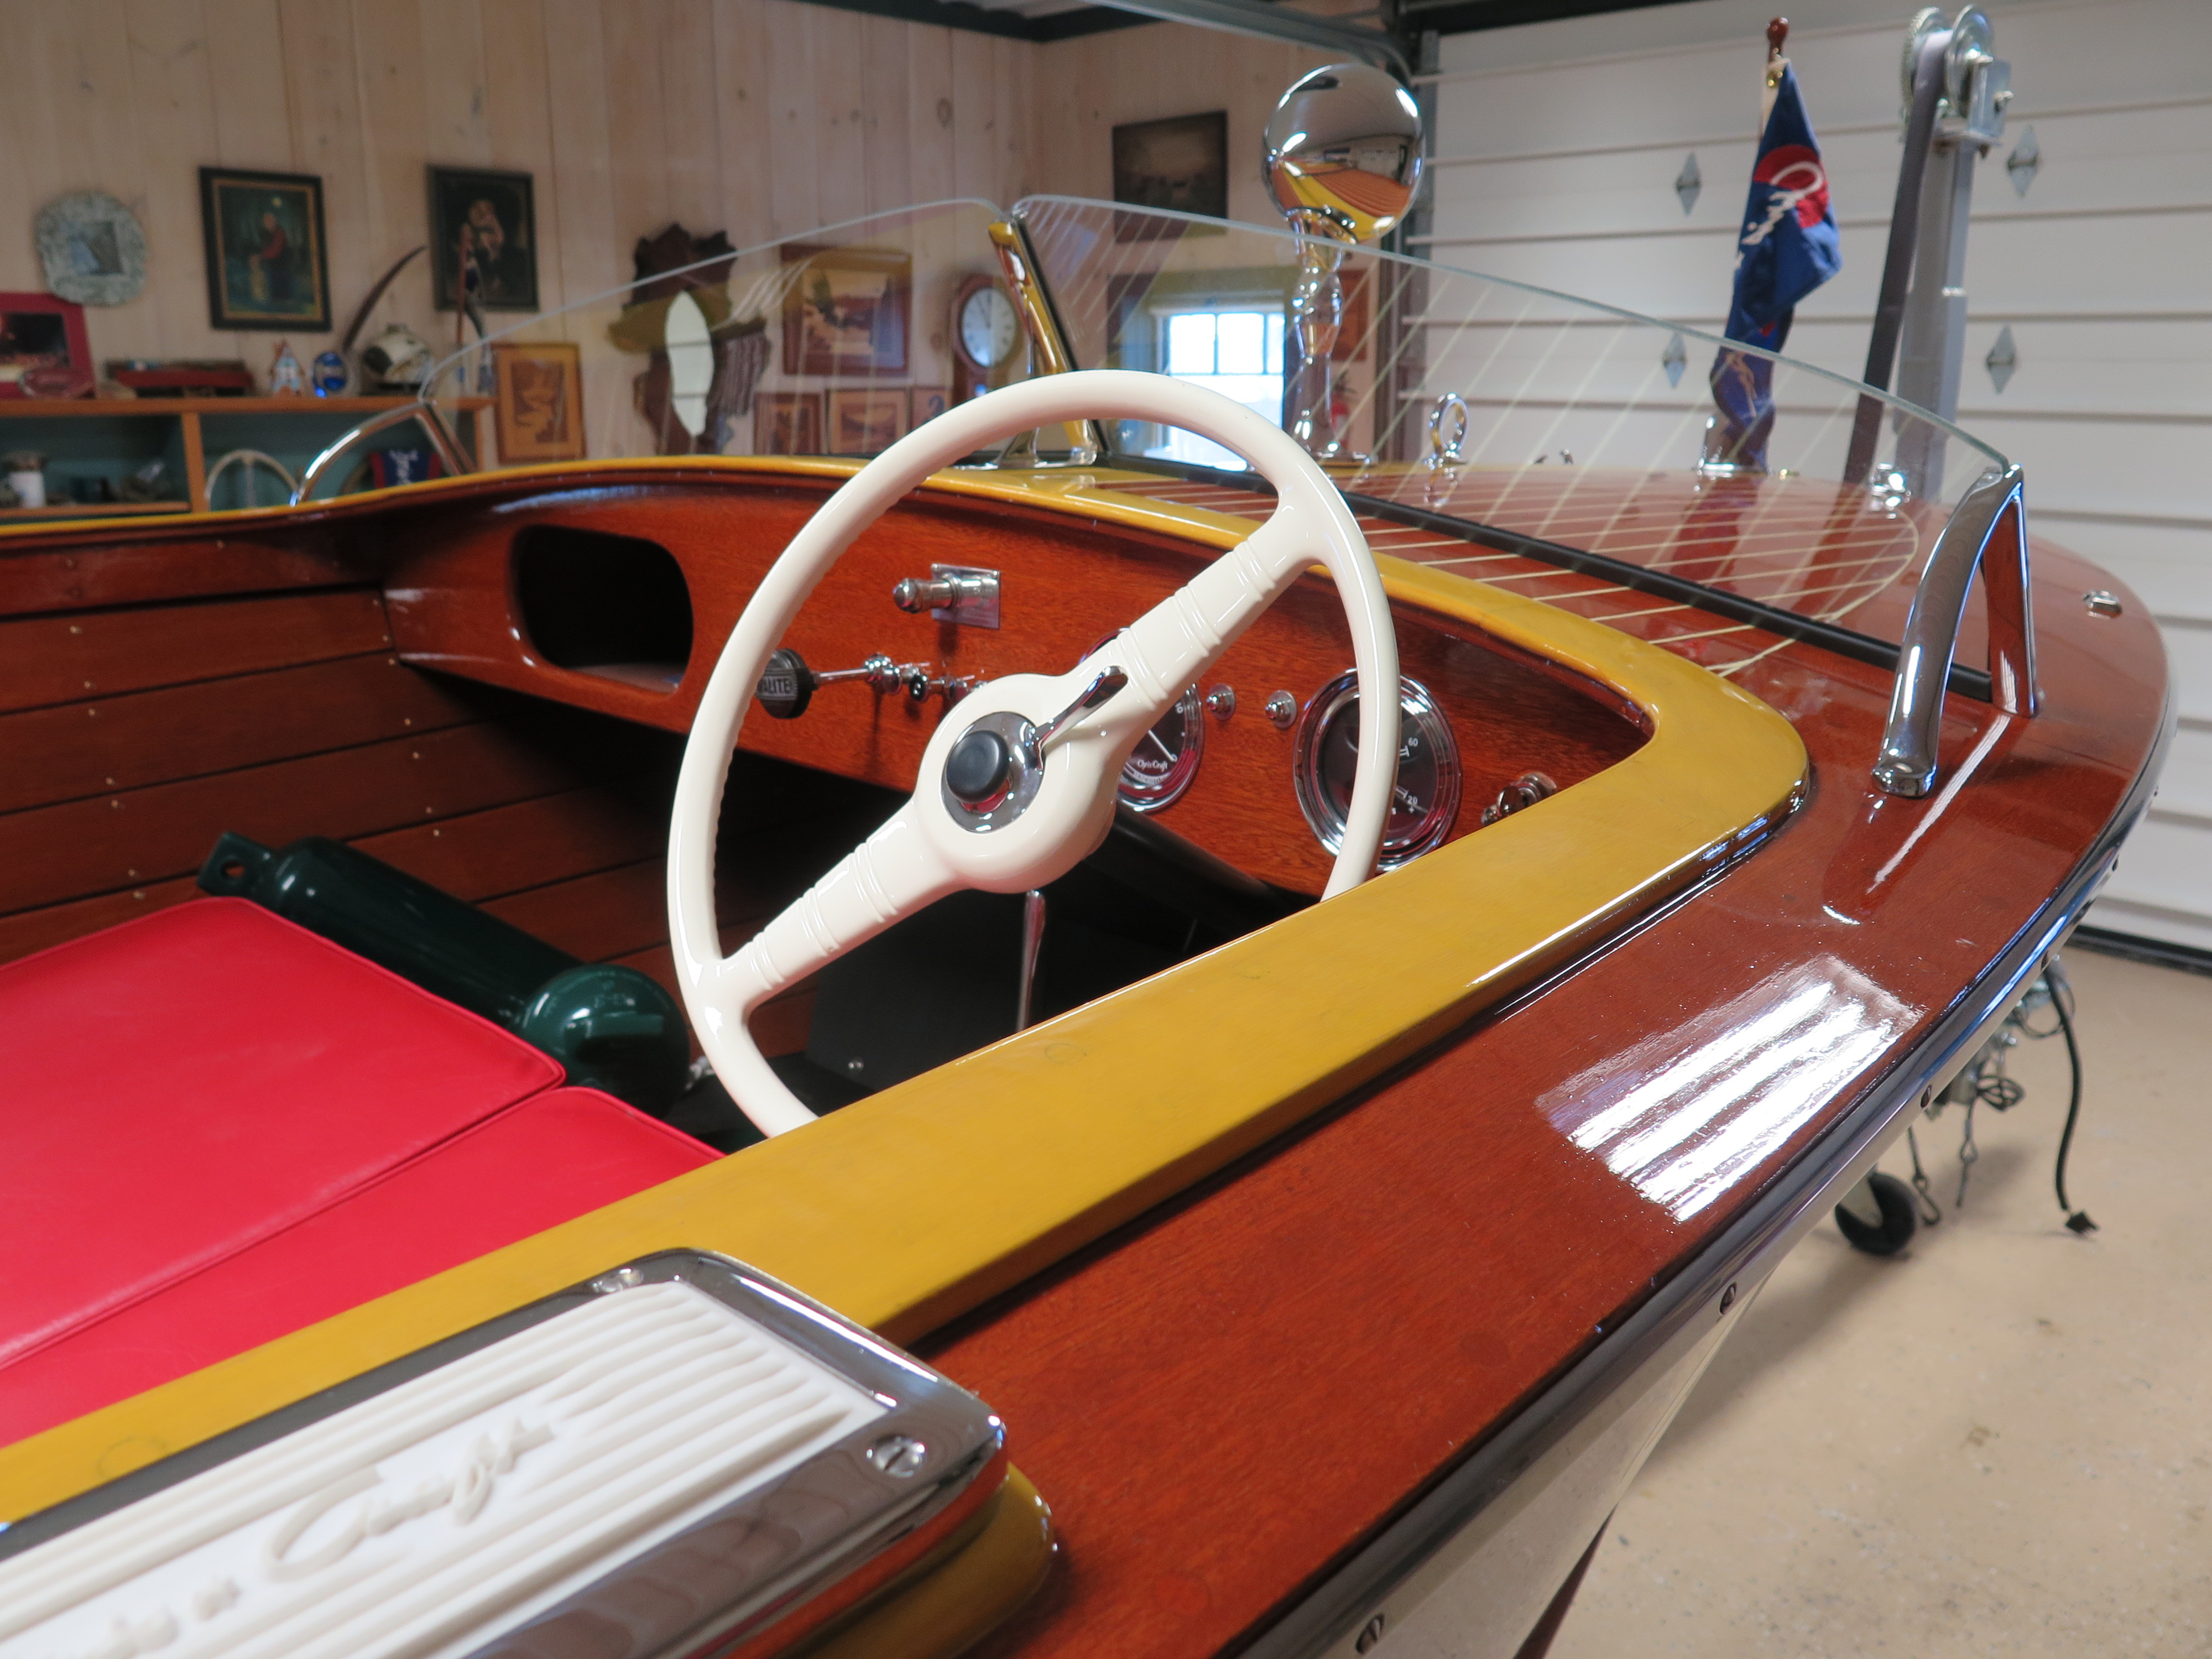
Save for her burgee, stern flag and seat cushions, which we had fabricated using the same 1956 NOS cowhide fabric, from the same vendor that Century Boat Company used in 1956, every bit of her upholstery is original.
The bottom planking was stripped bare, received 3 coats of CPES, primed with 5 coats of Interlux 2000E Marine barrier coat, followed by 4 coats of Pettit hard racing bronze.
The topsides, transom, decks and covering boards were stripped bare and sealed with 3 coats of CPES prior to applying 12 coats of Pettit High-Build varnish and 6 coats of JD Total Boat Wet Edge topside black paint.
The hardware, windshield, stainless trim strips, Century hull tags and windshield, are all original, and were fully restored by New England Chrome Plating, East Hartford, CT.
Fran Secor of Otego, NY, executed a comprehensive rebuild and cosmetic engine preservation.
The original 1956 Tee Nee trailer has been completely disassembled, sand blasted, re-painted and reassembled. The wiring and wheel bearings are new.
OMG! He’s taking everything apart, just after he fitted, sanded and screwed it together!
Yes. Dry fitting is critical to achieving a result that is true and structurally strong. Each of these parts will now receive copious applications of CPES, before the final install commences.
The two scarf joints – forward in the chine frame and low on the starboard aft corner block, will be epoxied, as they are designed to become single monoliths. The balance of the elements will be fastened bedded in 3M5200.
Unlike the epoxy, the 5200 remains slightly flexible and can withstand the small amount of flexing that is omnipresent in wood hulls without breaking and thereby admitting moisture. Time for Michael to step up to the plate, chip brush at the ready, and begin CPES’ing all these parts.
Our 1946 Chris-Craft bright U22 preservation project crossed a major milestone overnight when John finished fabricating and temporally installing the replacement transom and starboard chine framing, and the keel.
Anticipating this moment, I applied Sandusky Paint Company’s Chris-Craft Mahogany Bilge Paint to the existing bottom frames, and all surfaces of elements like the bilge stringers that are most easily accessed while the hull is flipped.
John also fabricated two ¾” plywood gussets for the hull’s aft corners that the previous “restorer” simply omitted. Combined with the fact that both the bevel angles and radii change continuously along the gusset’s edges and that he had no pattern to go by, John was presented with a particularly vexing set of challenges. John pivoted to his go-to solution, construction paper with which he fabricated a template.
Had the hull been true, that template should fit perfectly in both corners. It did not, as the hull was racked slightly, forcing us to gently coax it back into square.
All is fine now. Armed with the gussets, John fabricated the balance of the framing we could not save.
He also temporarily installed the keel, which allowed him to reposition the many existing – savable – bottom frames that our erstwhile predecessor installed a quarter- to three-eighths-inch low. As is visible at the close of this clip, the hogs we discovered are no more, and her keel is as true as it was the day she left Algonac.
Once we have sealed and installed these components bedded in 3M5200, and have glued the two scarf joints using epoxy, John will turn his attention to the port chine frame. Following that, and in what will involve all three of us, comes fabricating, fitting sealing and bilge painting the remaining frames.
Installing the new True 5200 bottom is peaking over the horizon! Yes!
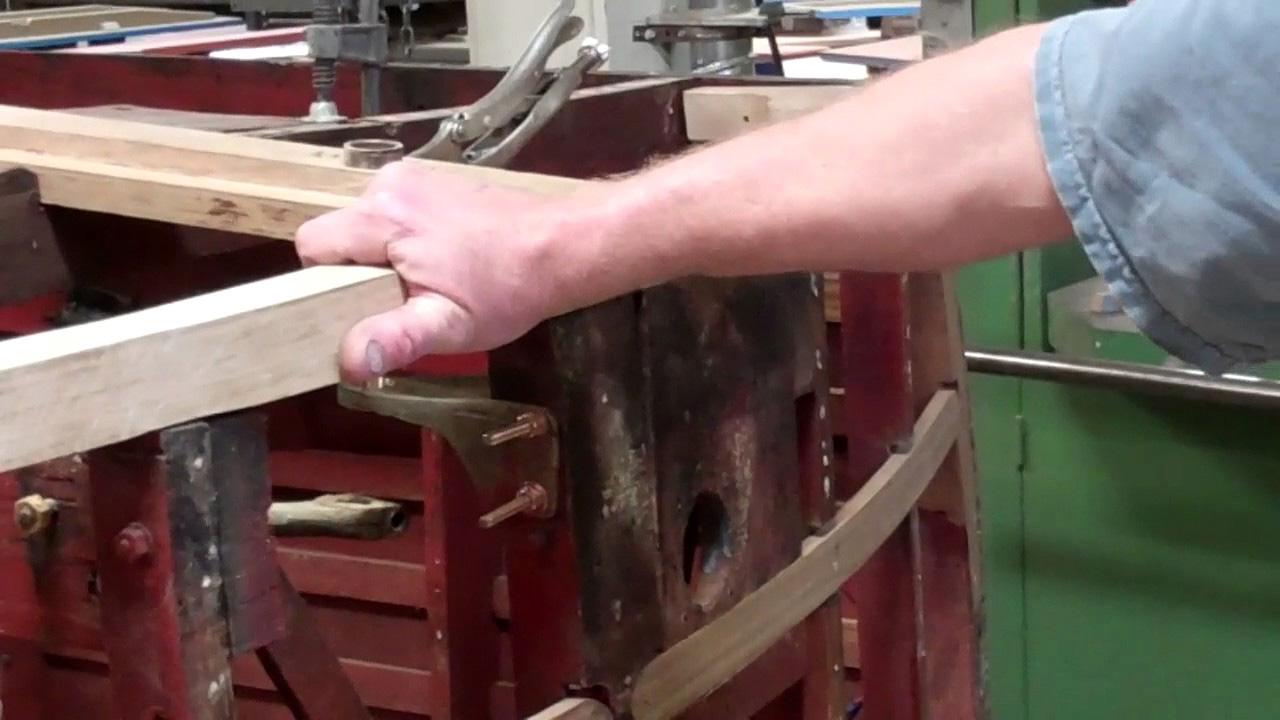
We have received multiple requests lamenting the fact that, all too often, we offer videos of completed work. We have heard you, and Part II of this video follows John deconstructing the new frame members, piece by piece, and explaining the how and why of what he did in the process.
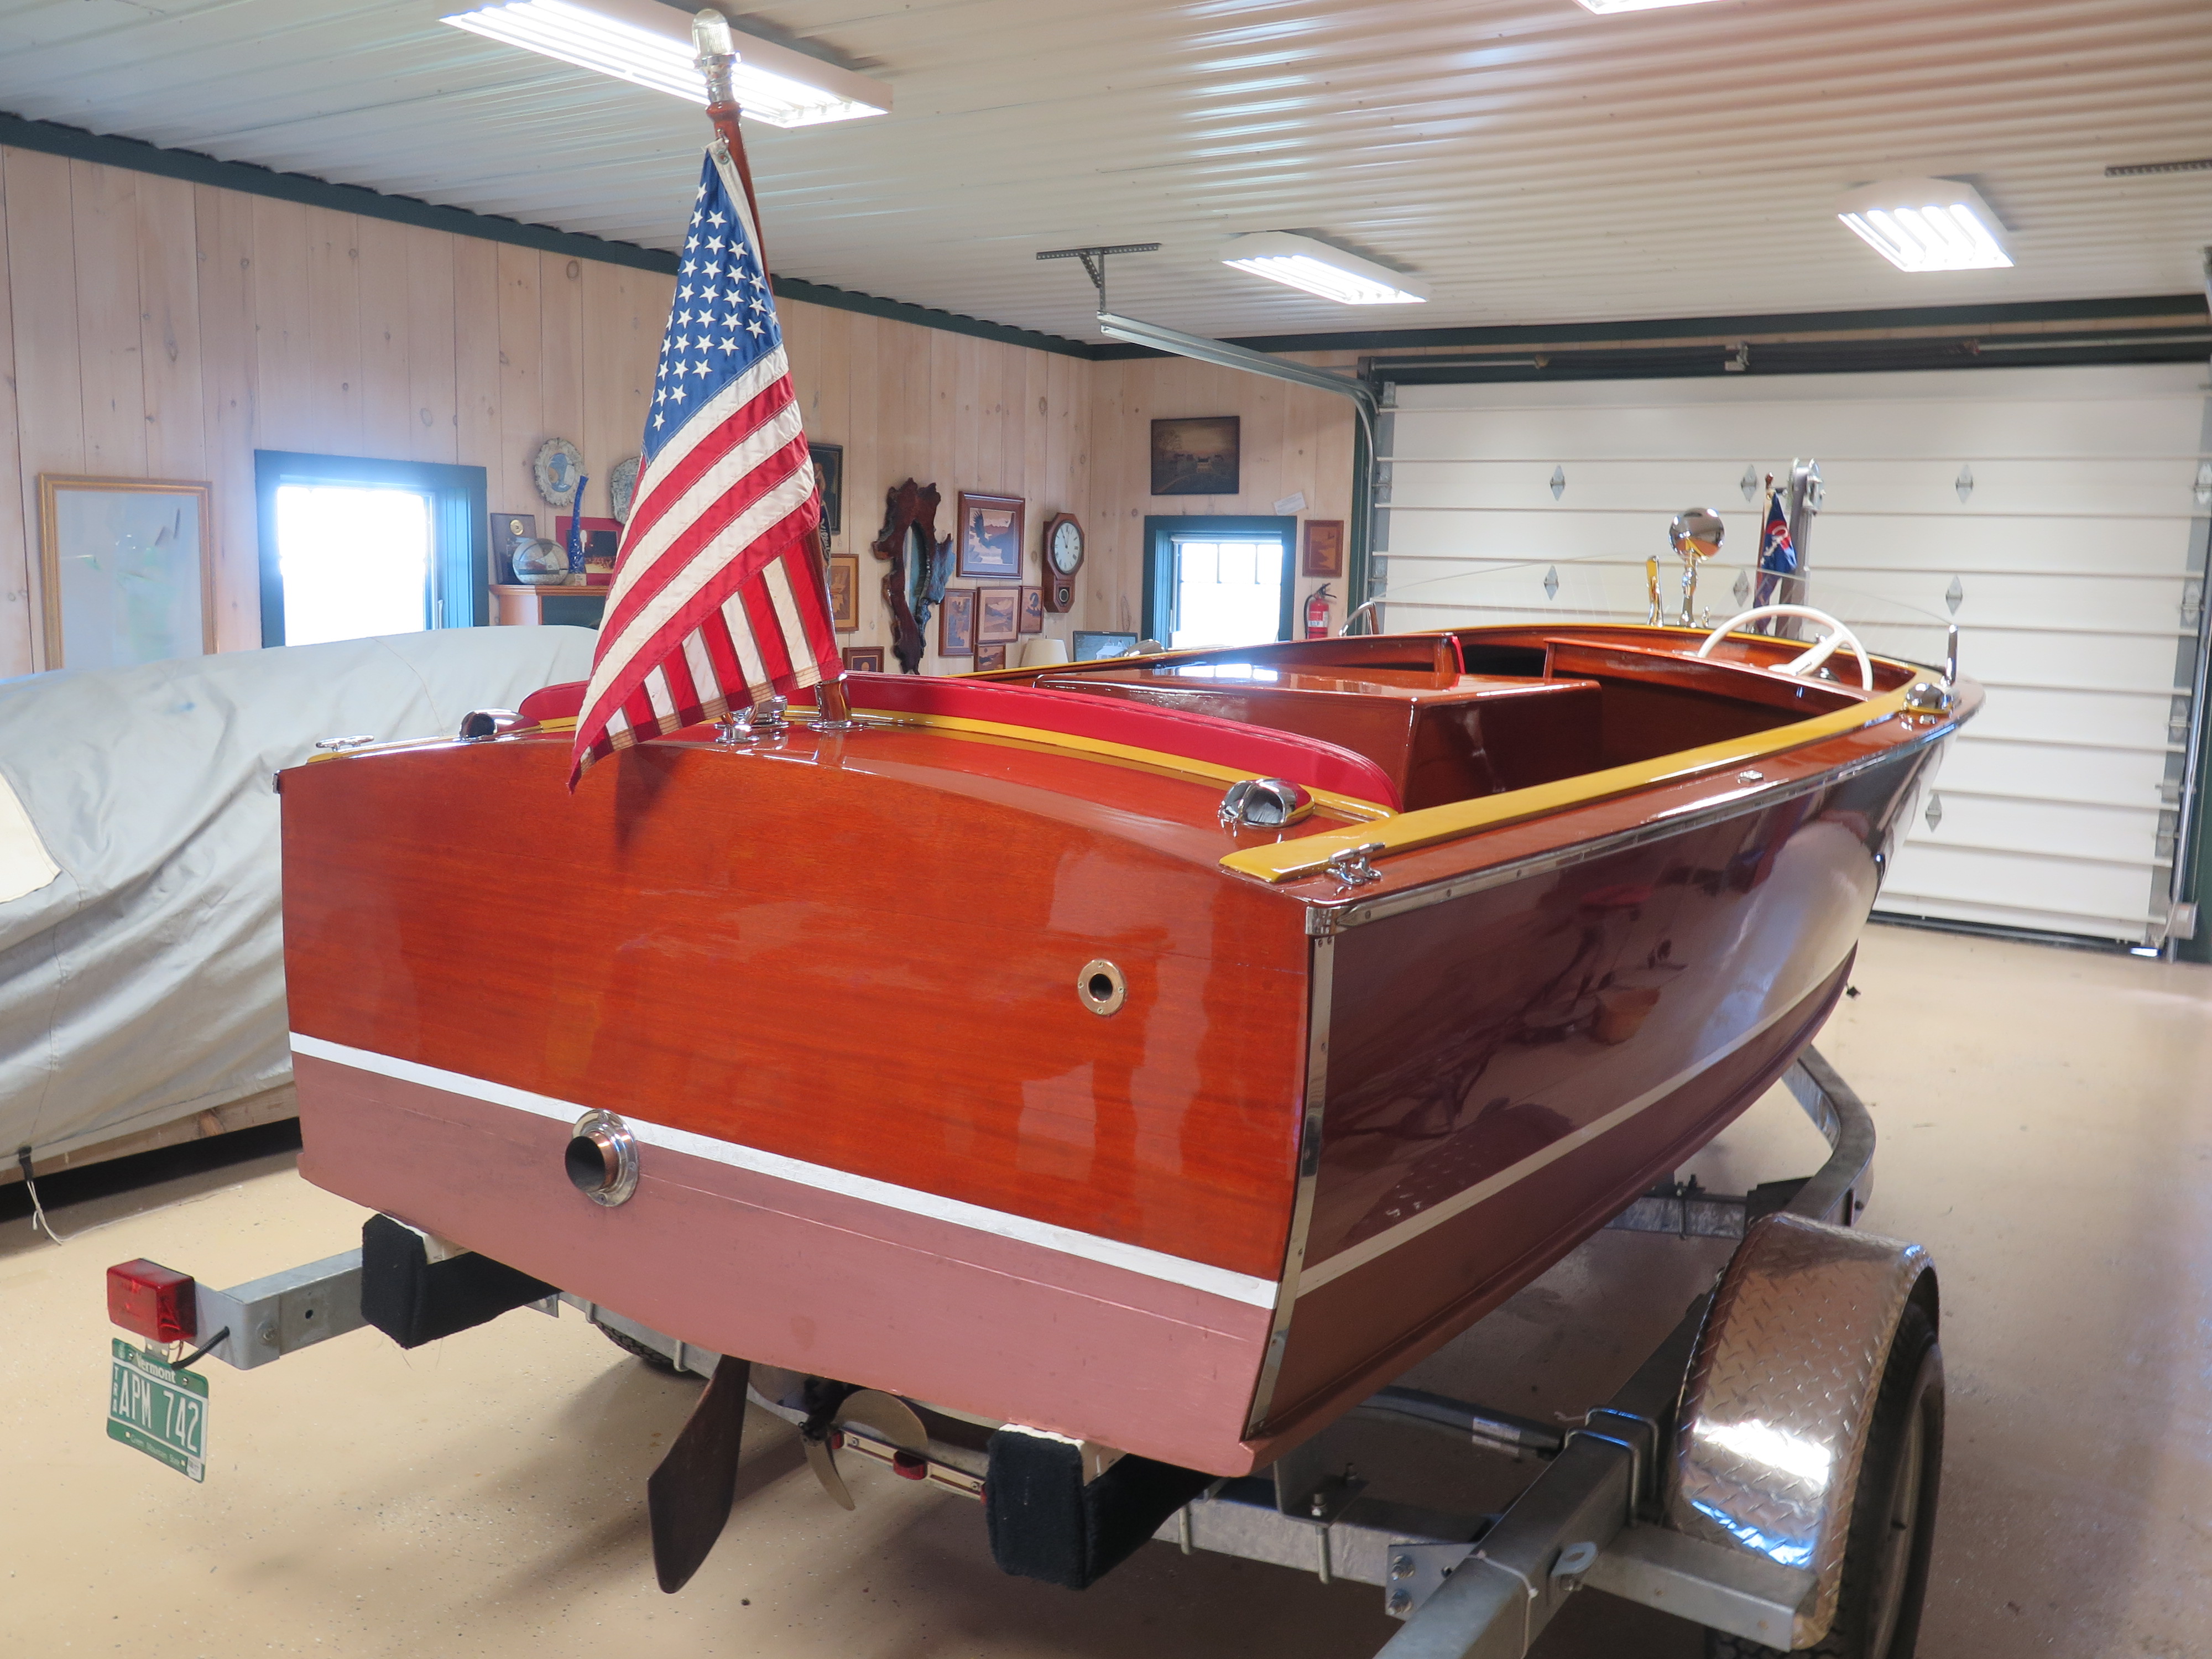
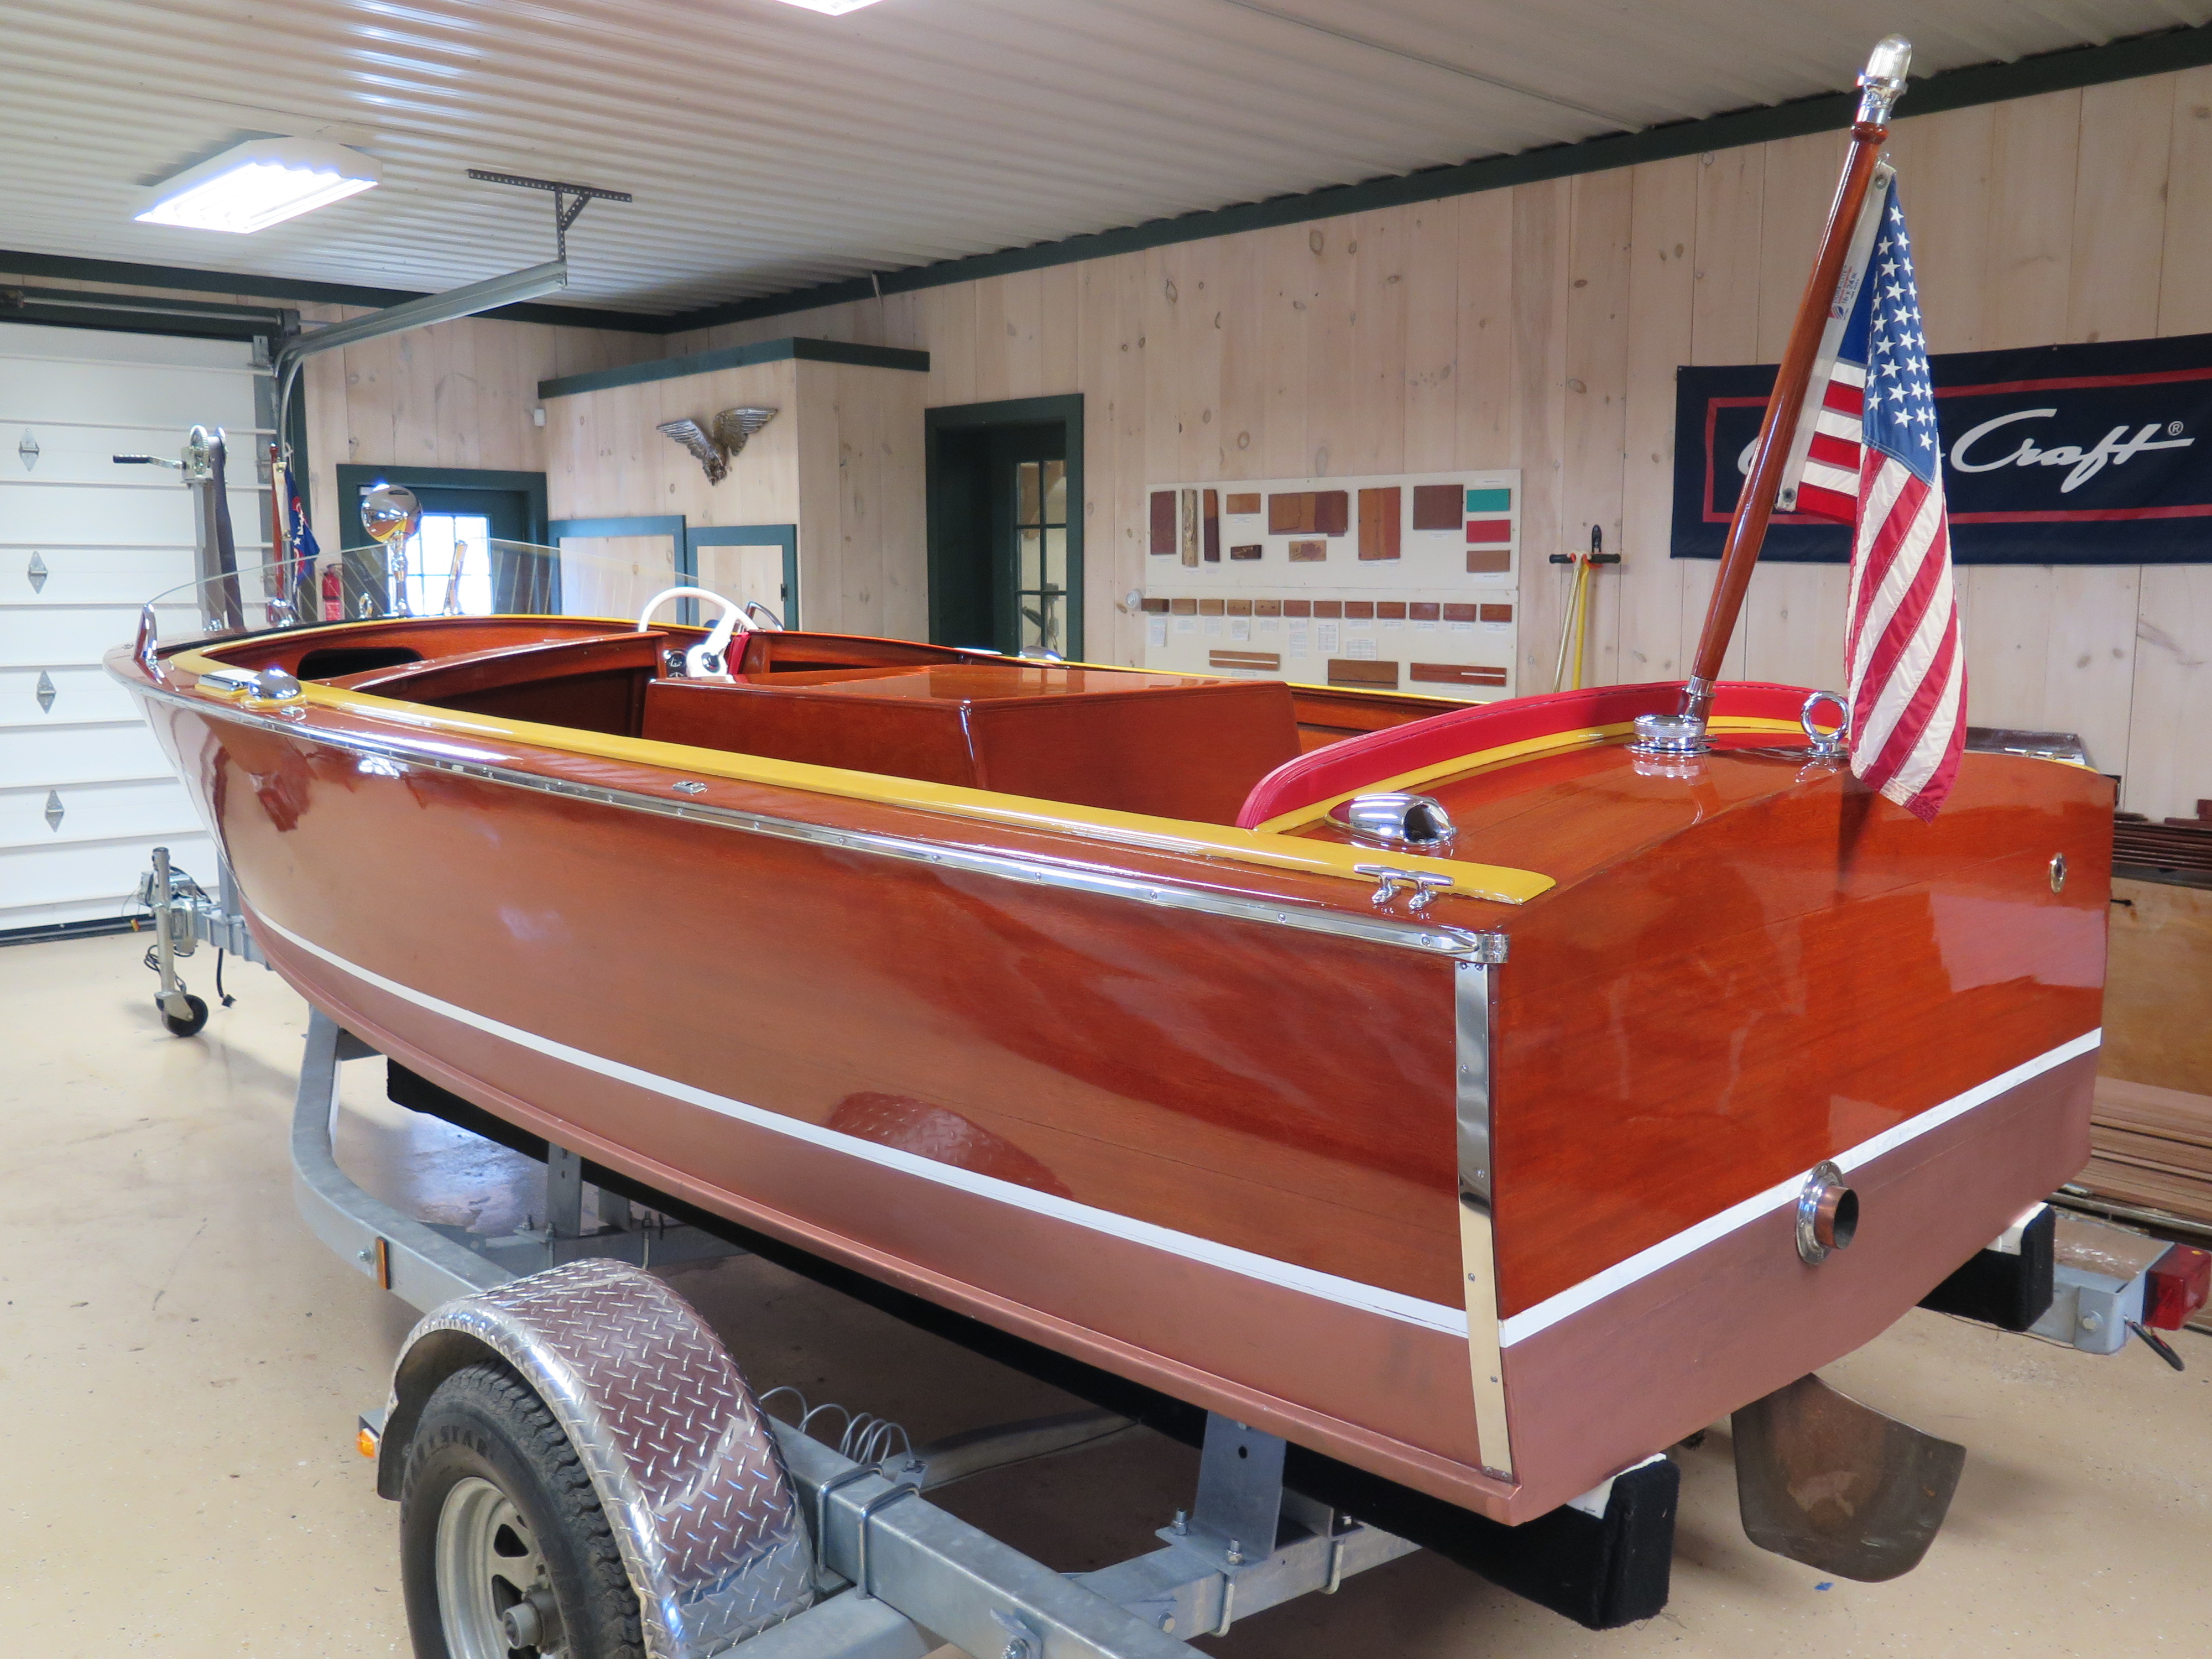
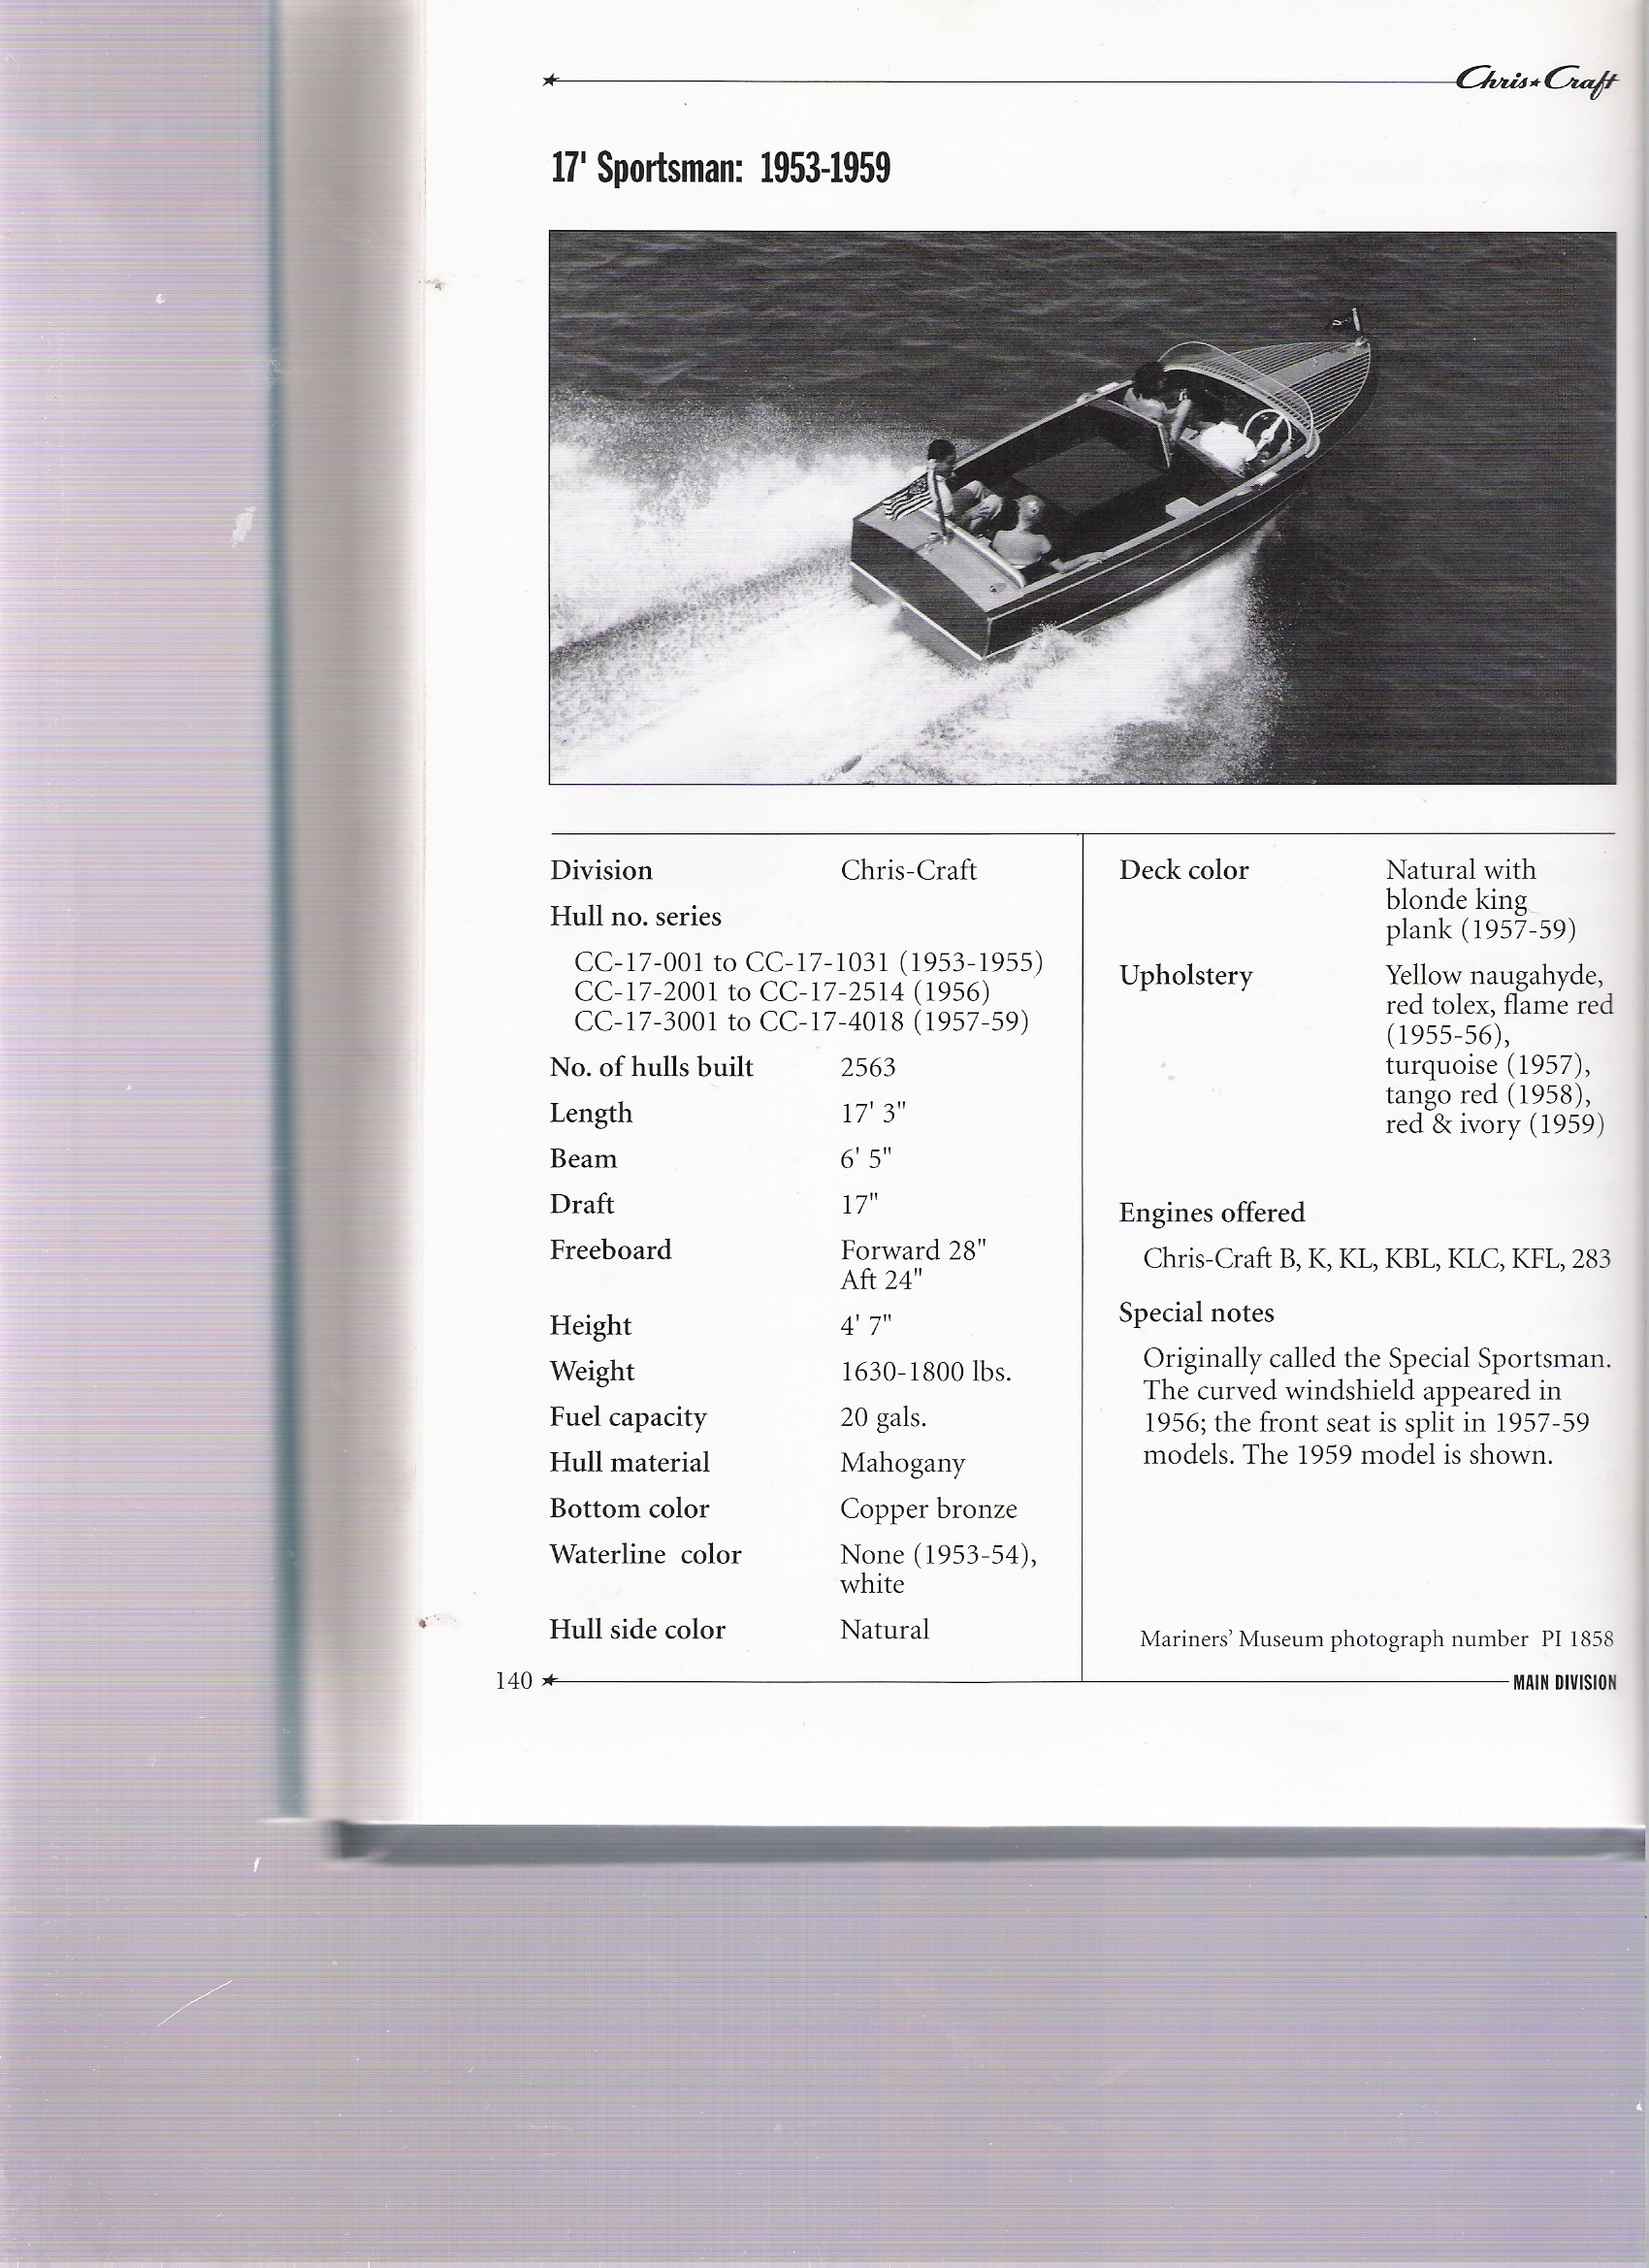
Offered at $21,500: 1956 17’ Chris-Craft Special Sportsman
This 1956 17’ Chris-Craft Special Sportsman is completely original. She is hull number C-17 3708, which, according to Conrad, makes her a 1957, but her build sheet identifies her as a 1956.
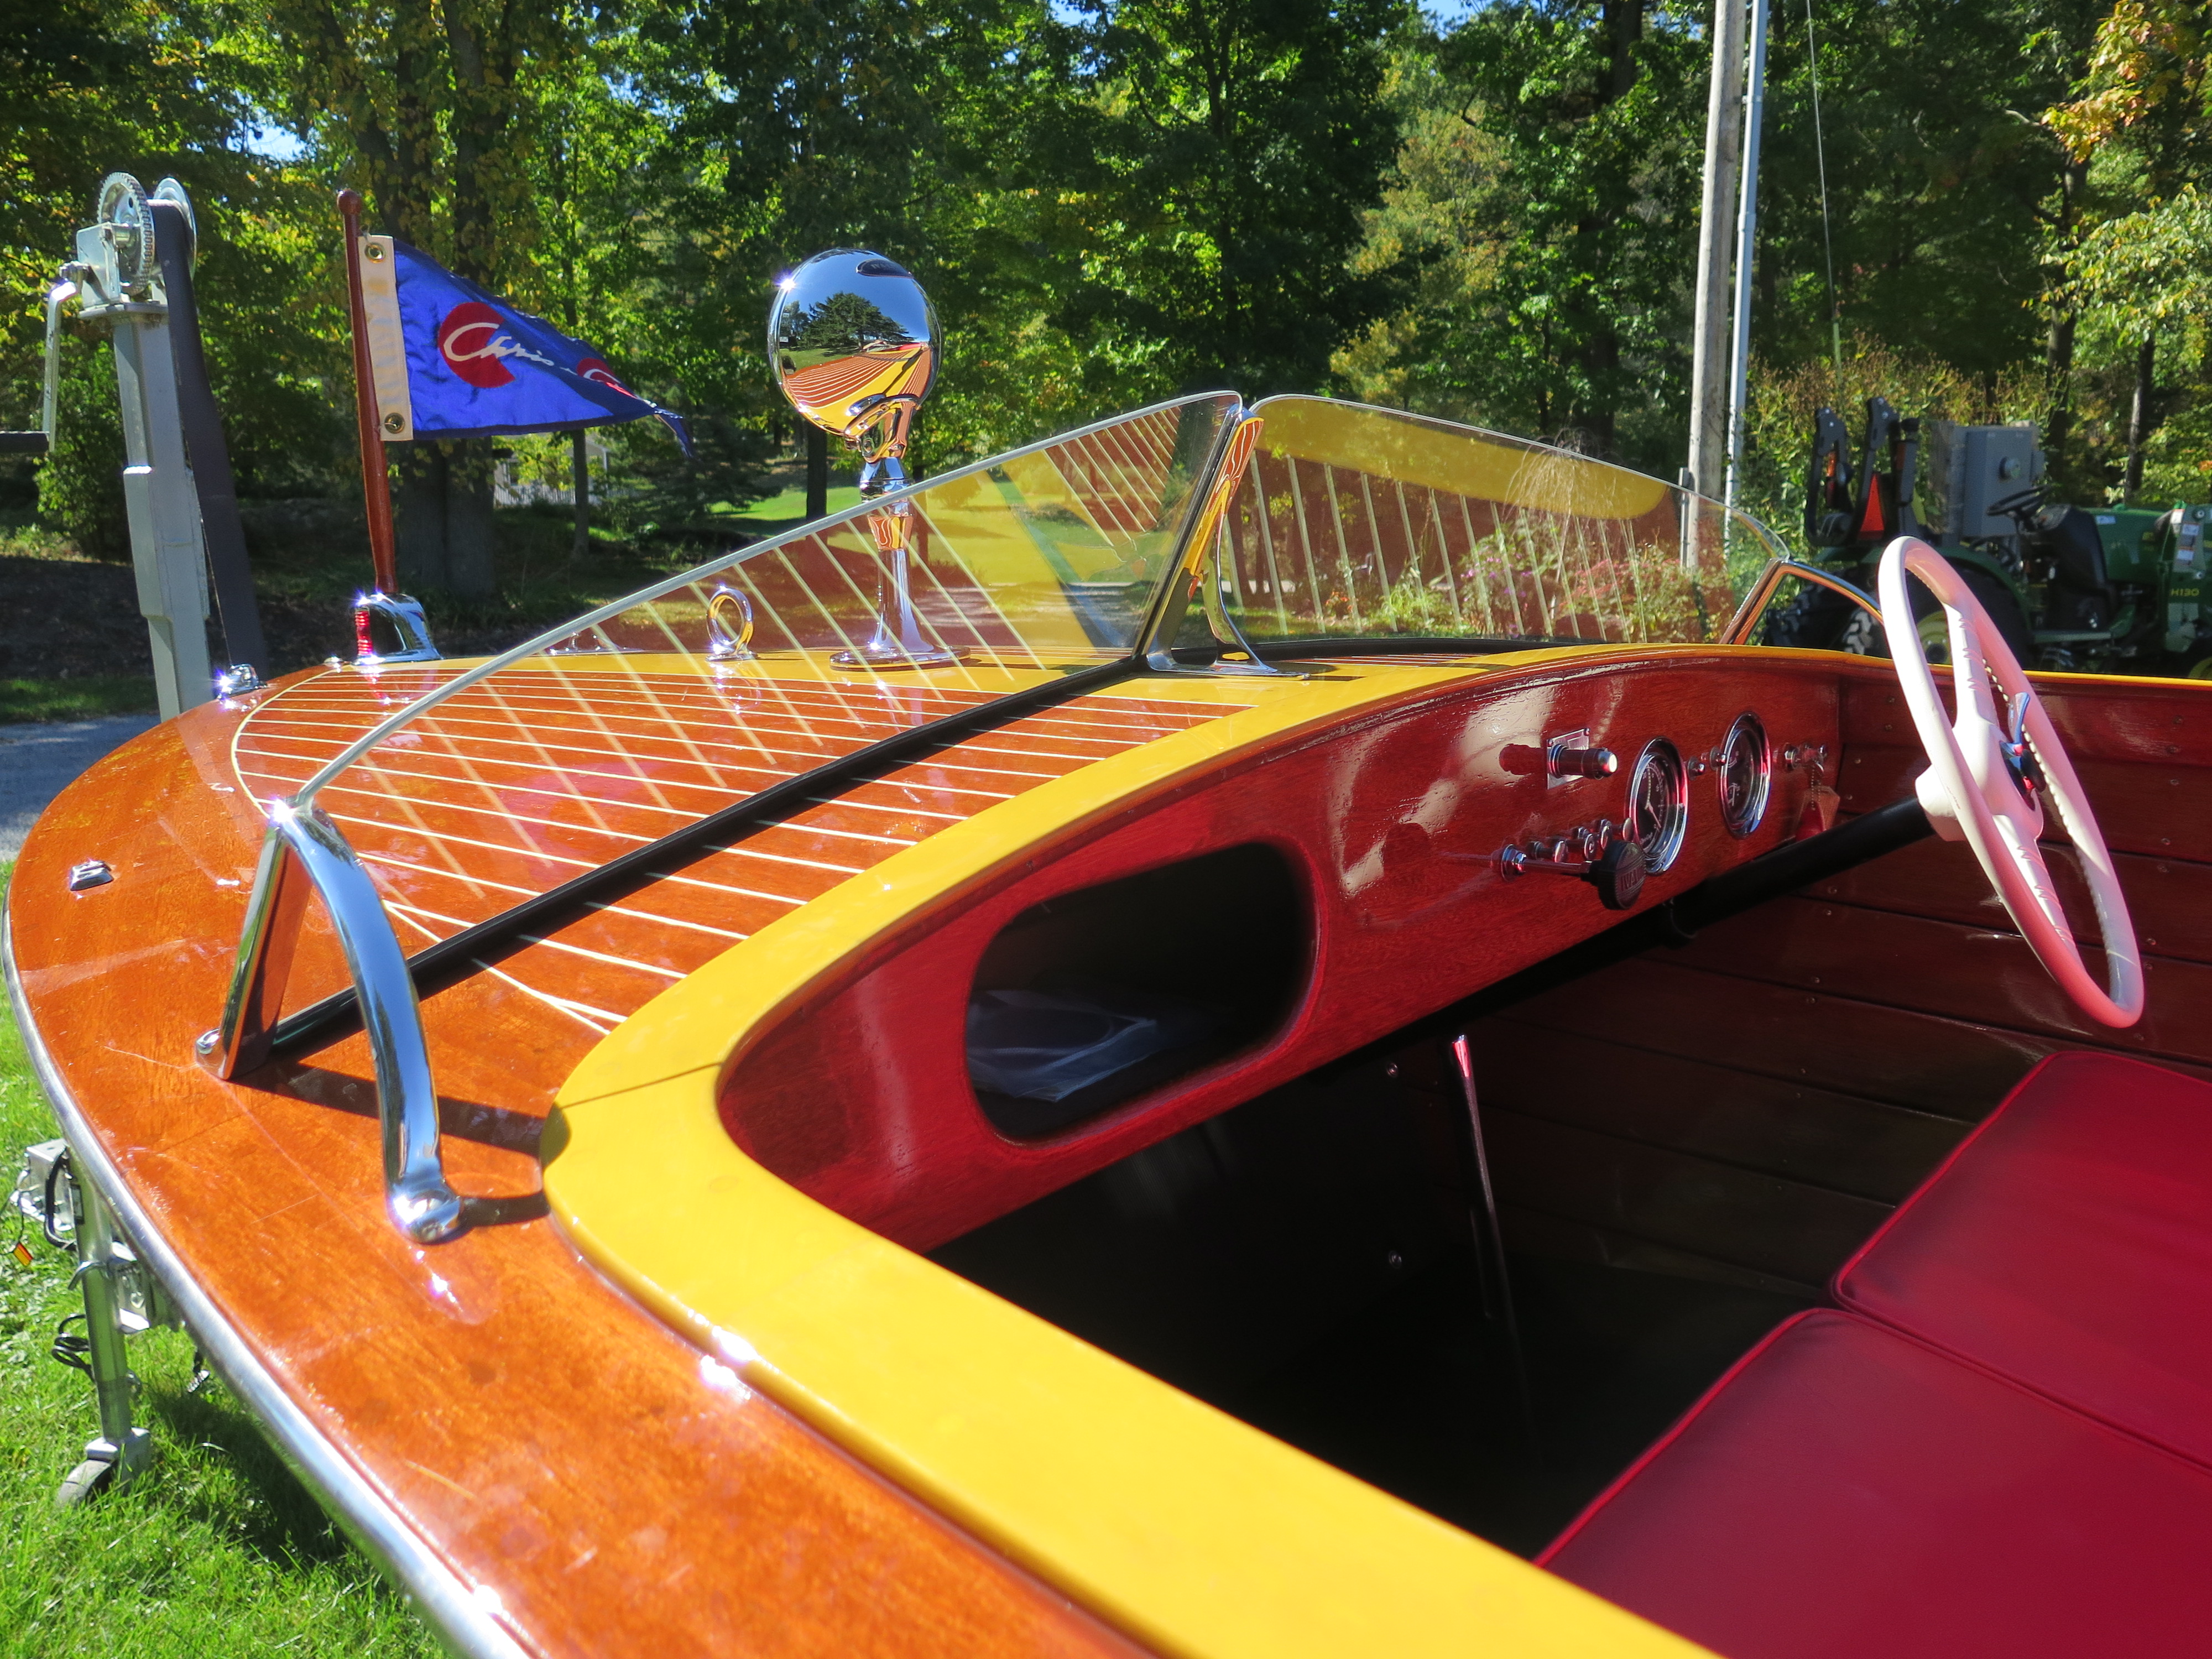
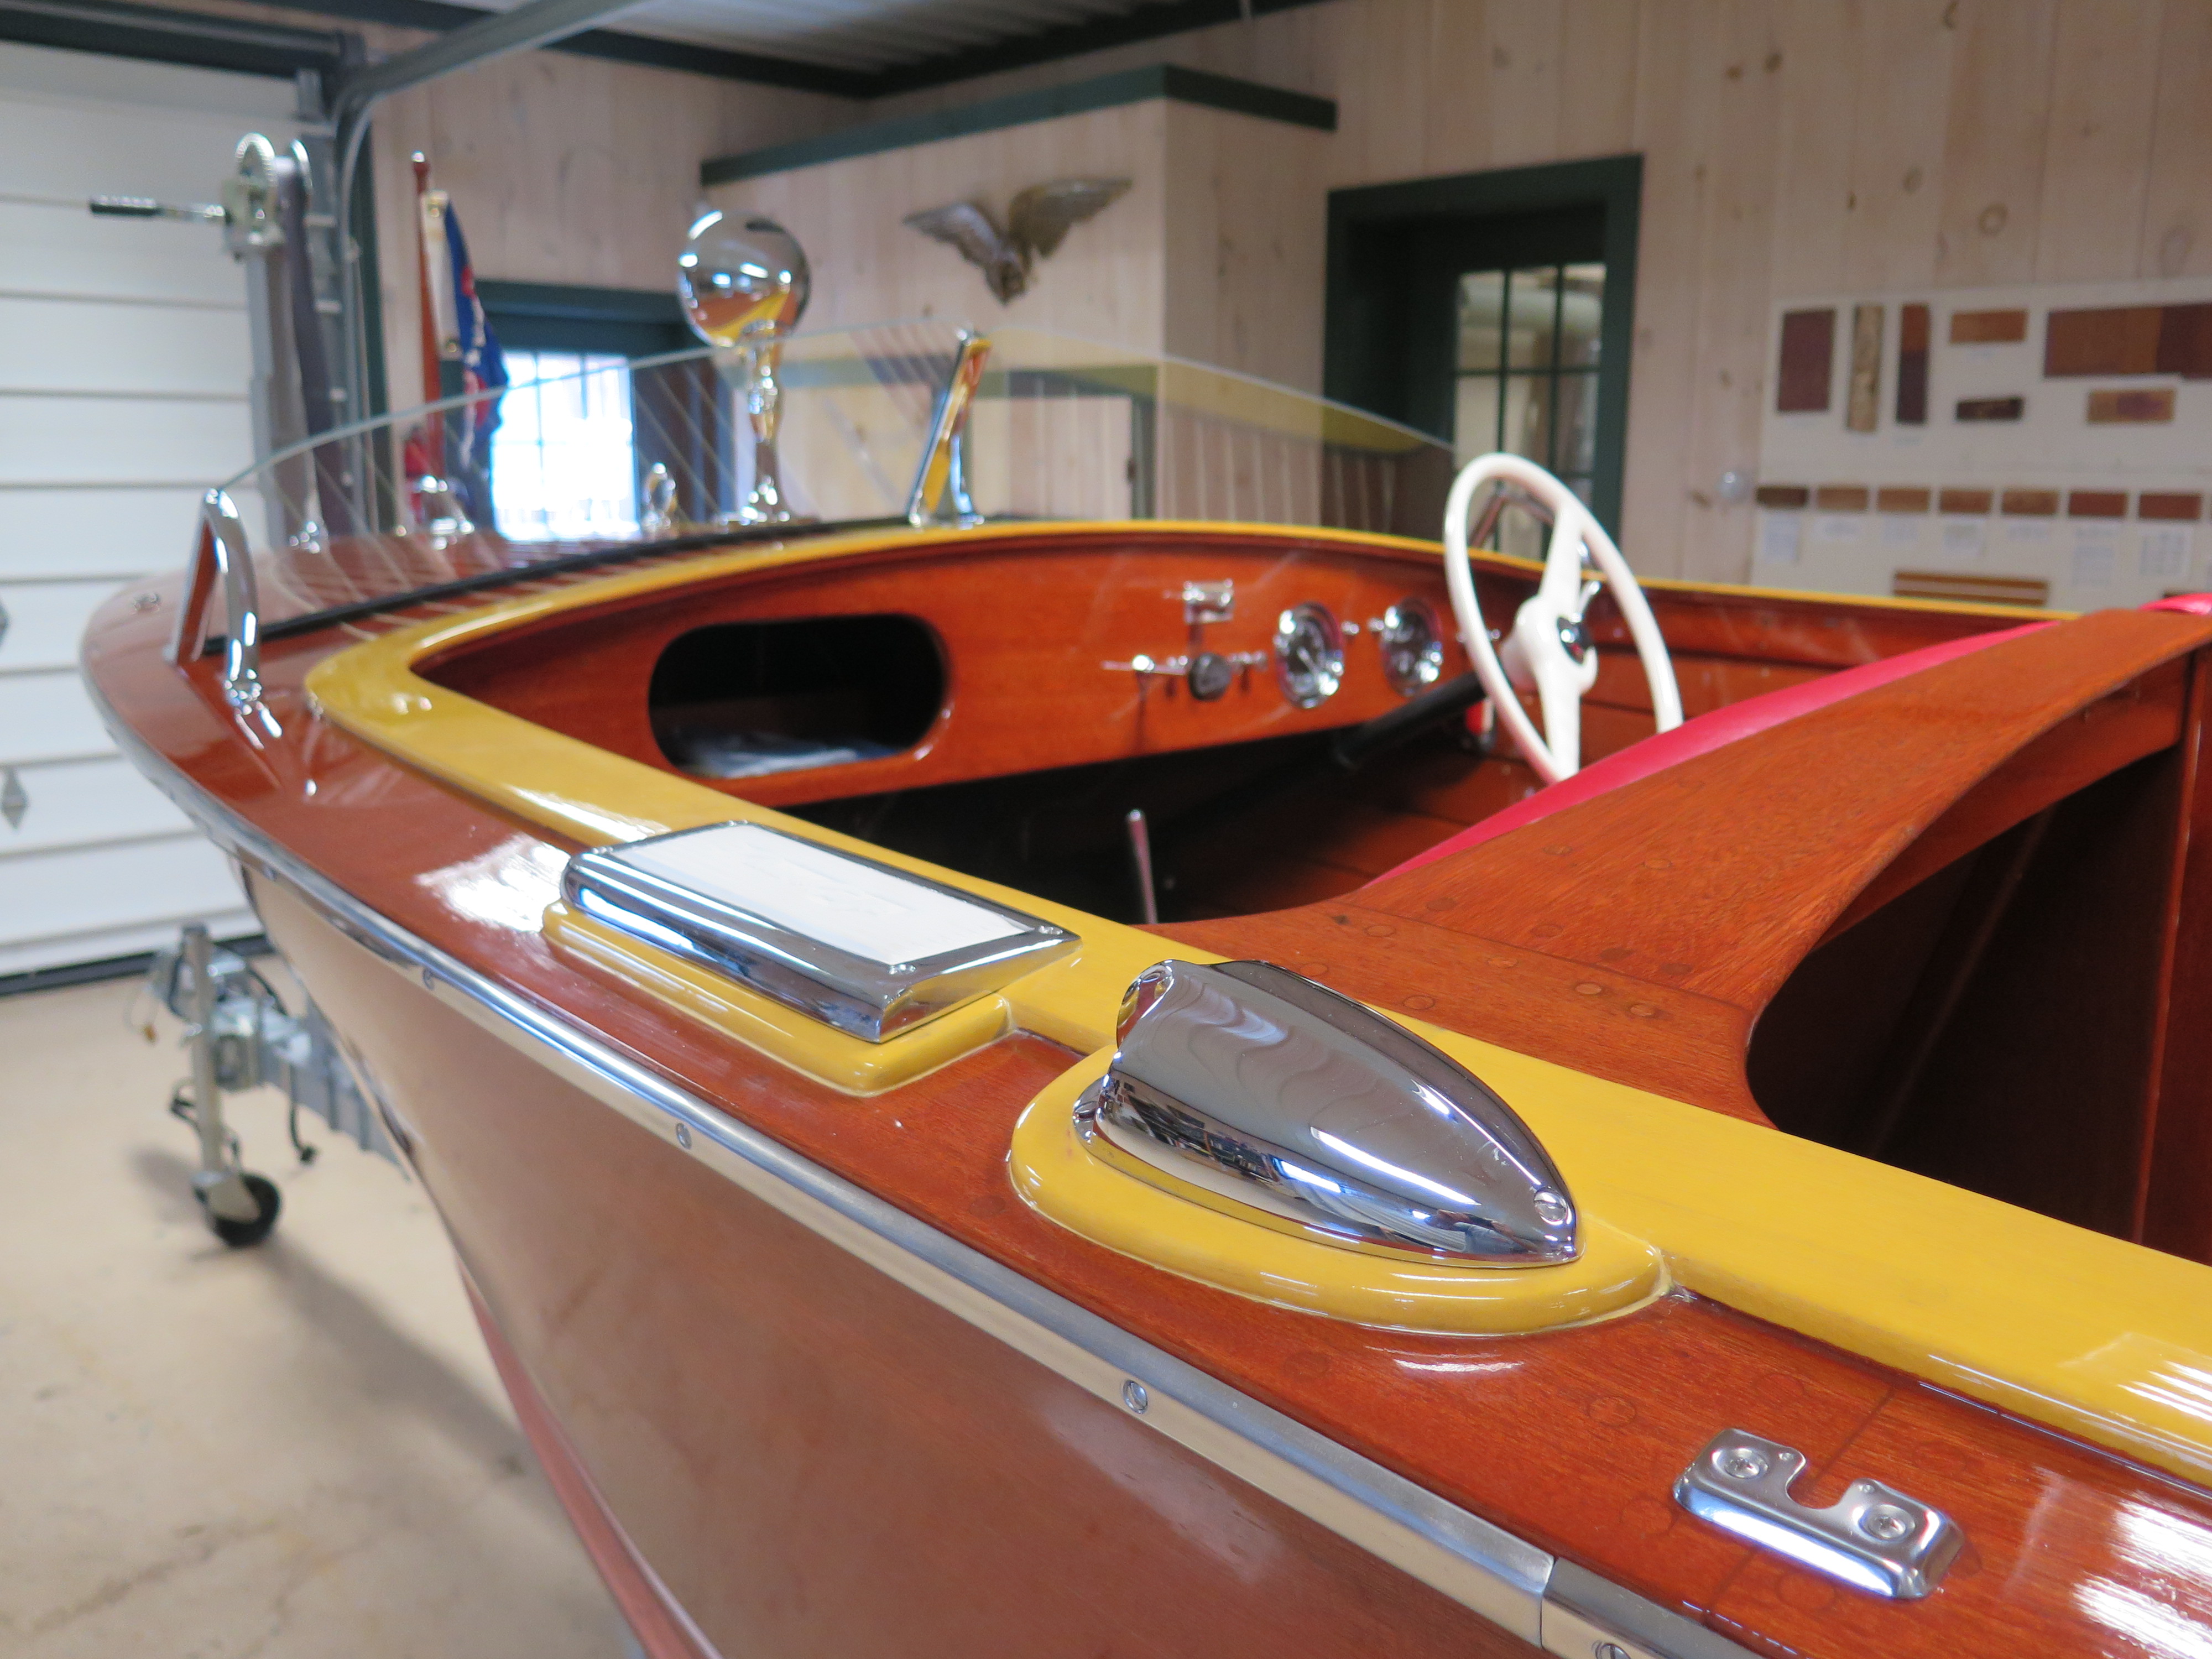
She has the blonde king plank and split helm seat, which is a 1957 treatment, but her straight windshield was typical of the 1956 model.
That she is identified as a “Special Sportsman” also points at 1956.
No, she is not a “marriage of convenience,” put-together boat. We purchased her from her second owner, who, in turn purchased her from the original owner, his son. Both father and son took and saved documentation, including her original build sheet. She stands before you now as she left Algonac.
The immediate prior owner, and electrical engineer, began preserving her at least 15 years ago. I purchased her as an empty hull with engine still installed, and with every part, piece, even the screws carefully sorted and tagged.
Upon arrival at the shop we did a complete inventory and realized that nothing was missing.
Generator replaced with a one-wire alternator, which enhances reliability hugely
Points ignition replaced with Petronix for hotter spark and enhanced reliability
Gas tank – The previous owner provided a new, exact copy of the original tank, as well as the original one
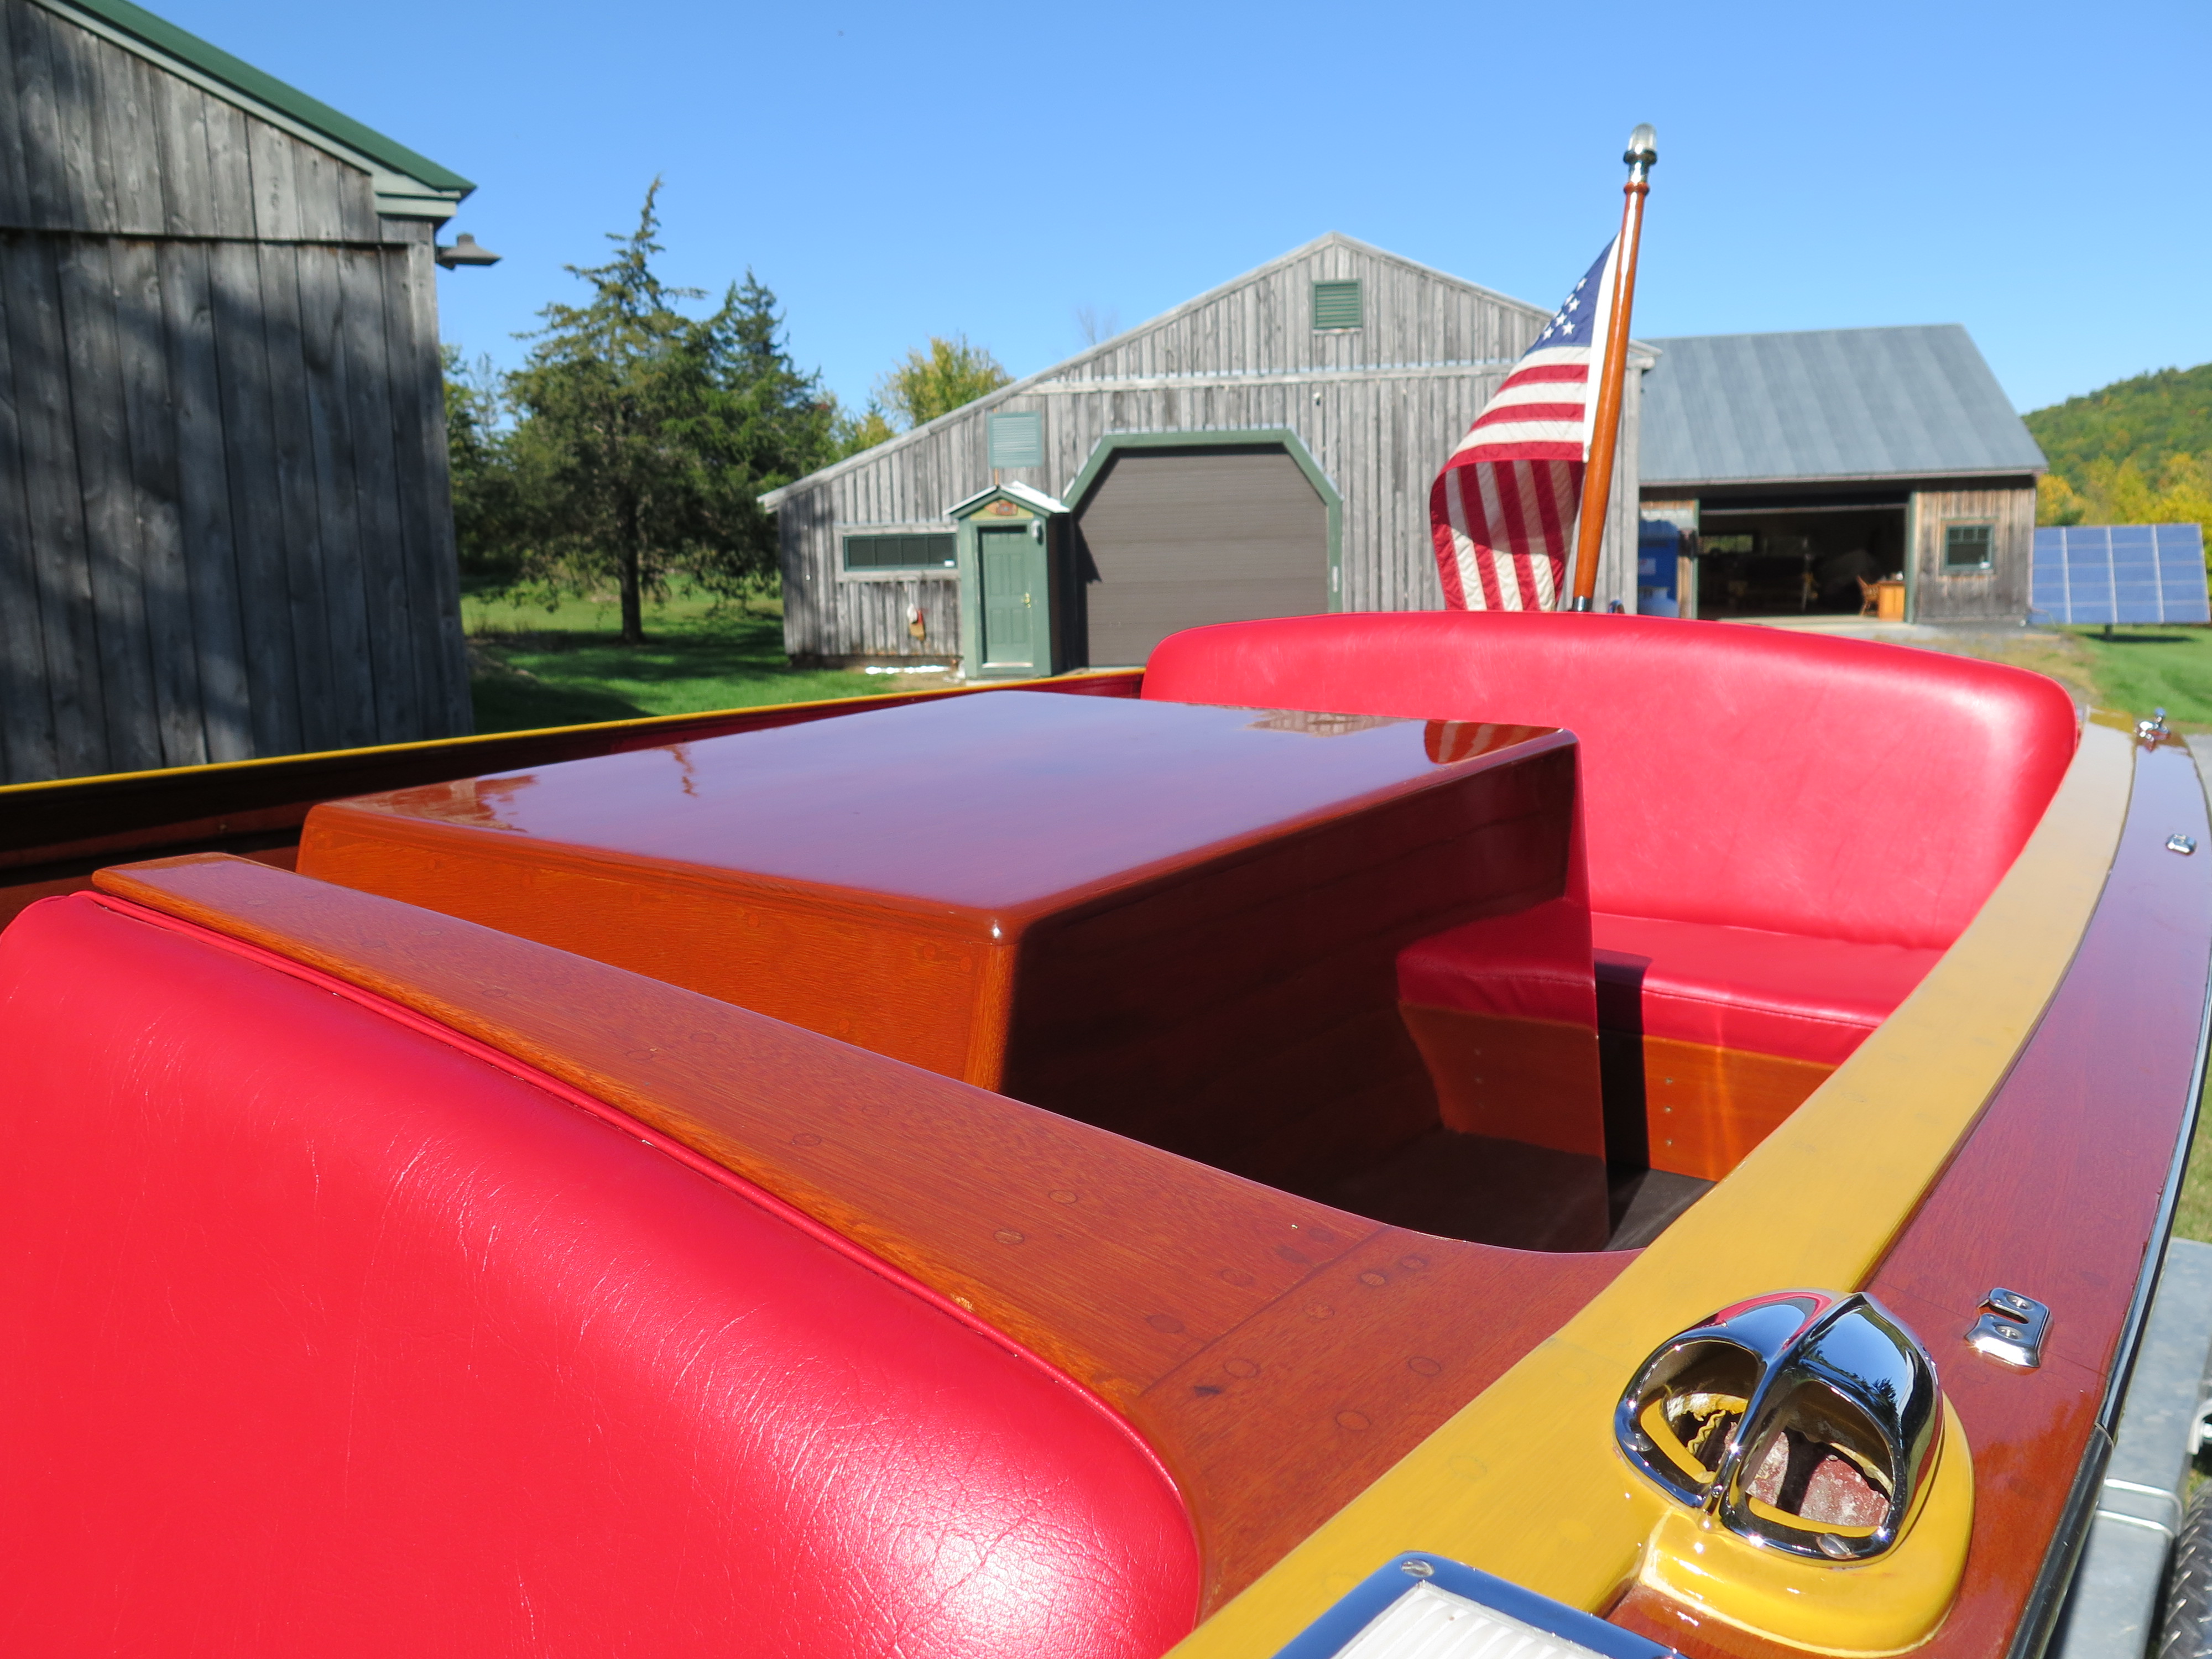
Bilge – Painted with 3 coats of Sandusky Paint Company Chris-Craft red bilge paint
Floor panels – Covered with black small-ribbed rubber sheeting that is correct for Chris-Craft
Mickey Dupuis, D & S Custom Metal Restoration, Holyoke, MA, preserved all of the hardware
Kocian Instruments executed a comprehensive mechanical and cosmetic preservation of the gauges
Snake Mountain Boatworks preserved the wheel
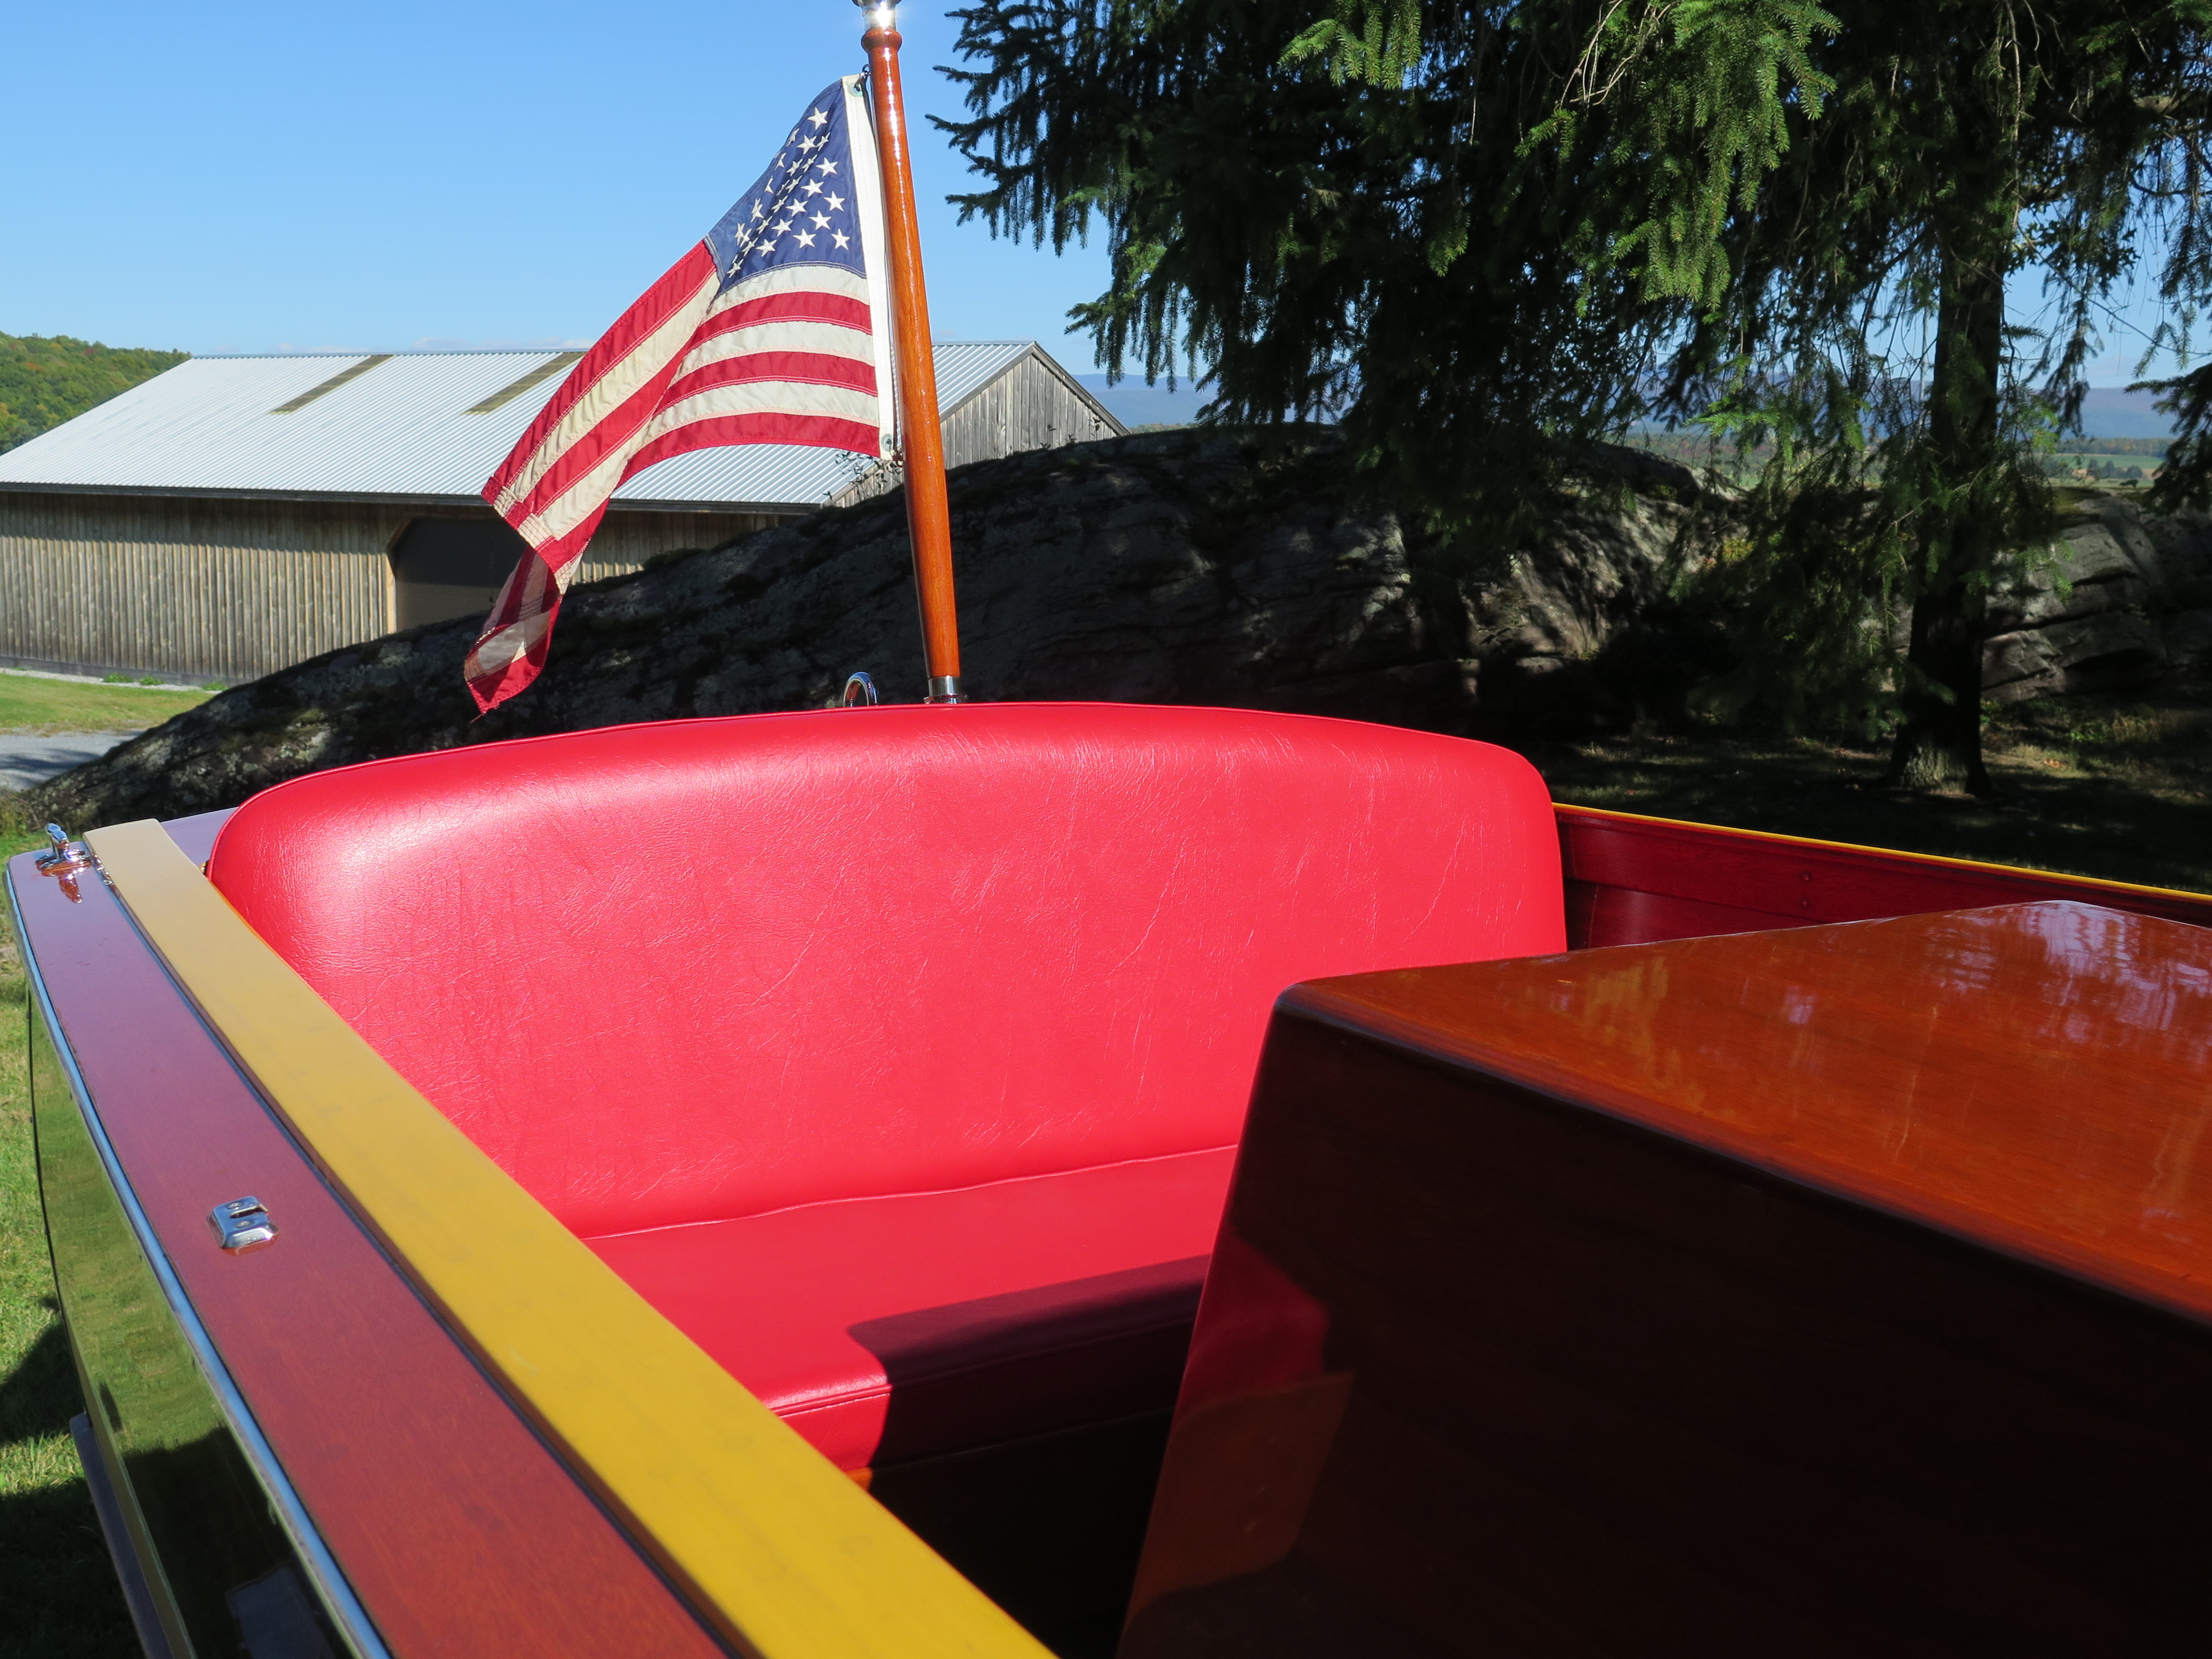
Marks Upholstery, Middlebury, VT, fabricated new upholstery in Chris-Craft red
Hull – was stripped to bare wood inside and out. Every square inch of wood received 3 coats of CPES ahead of any finishing.
Bottom planking released, interior ½” plywood sheathing refastened. The sheathing and planks were sealed with 3 coats of CPES before being re-installed bedded in 3M 5200.
The topsides, decks, covering boards, ceilings, seating, seat boxes, engine box and dash were bleached, stained either blonde or mahogany as appropriate.
All bright surfaces received at least 16 coats of Pettit High-Build varnish
Below the waterline, the hull received 5 coats of Interlux 2000-E barrier coat, followed by 4 coats of Pettit hard racing bronze bottom paint
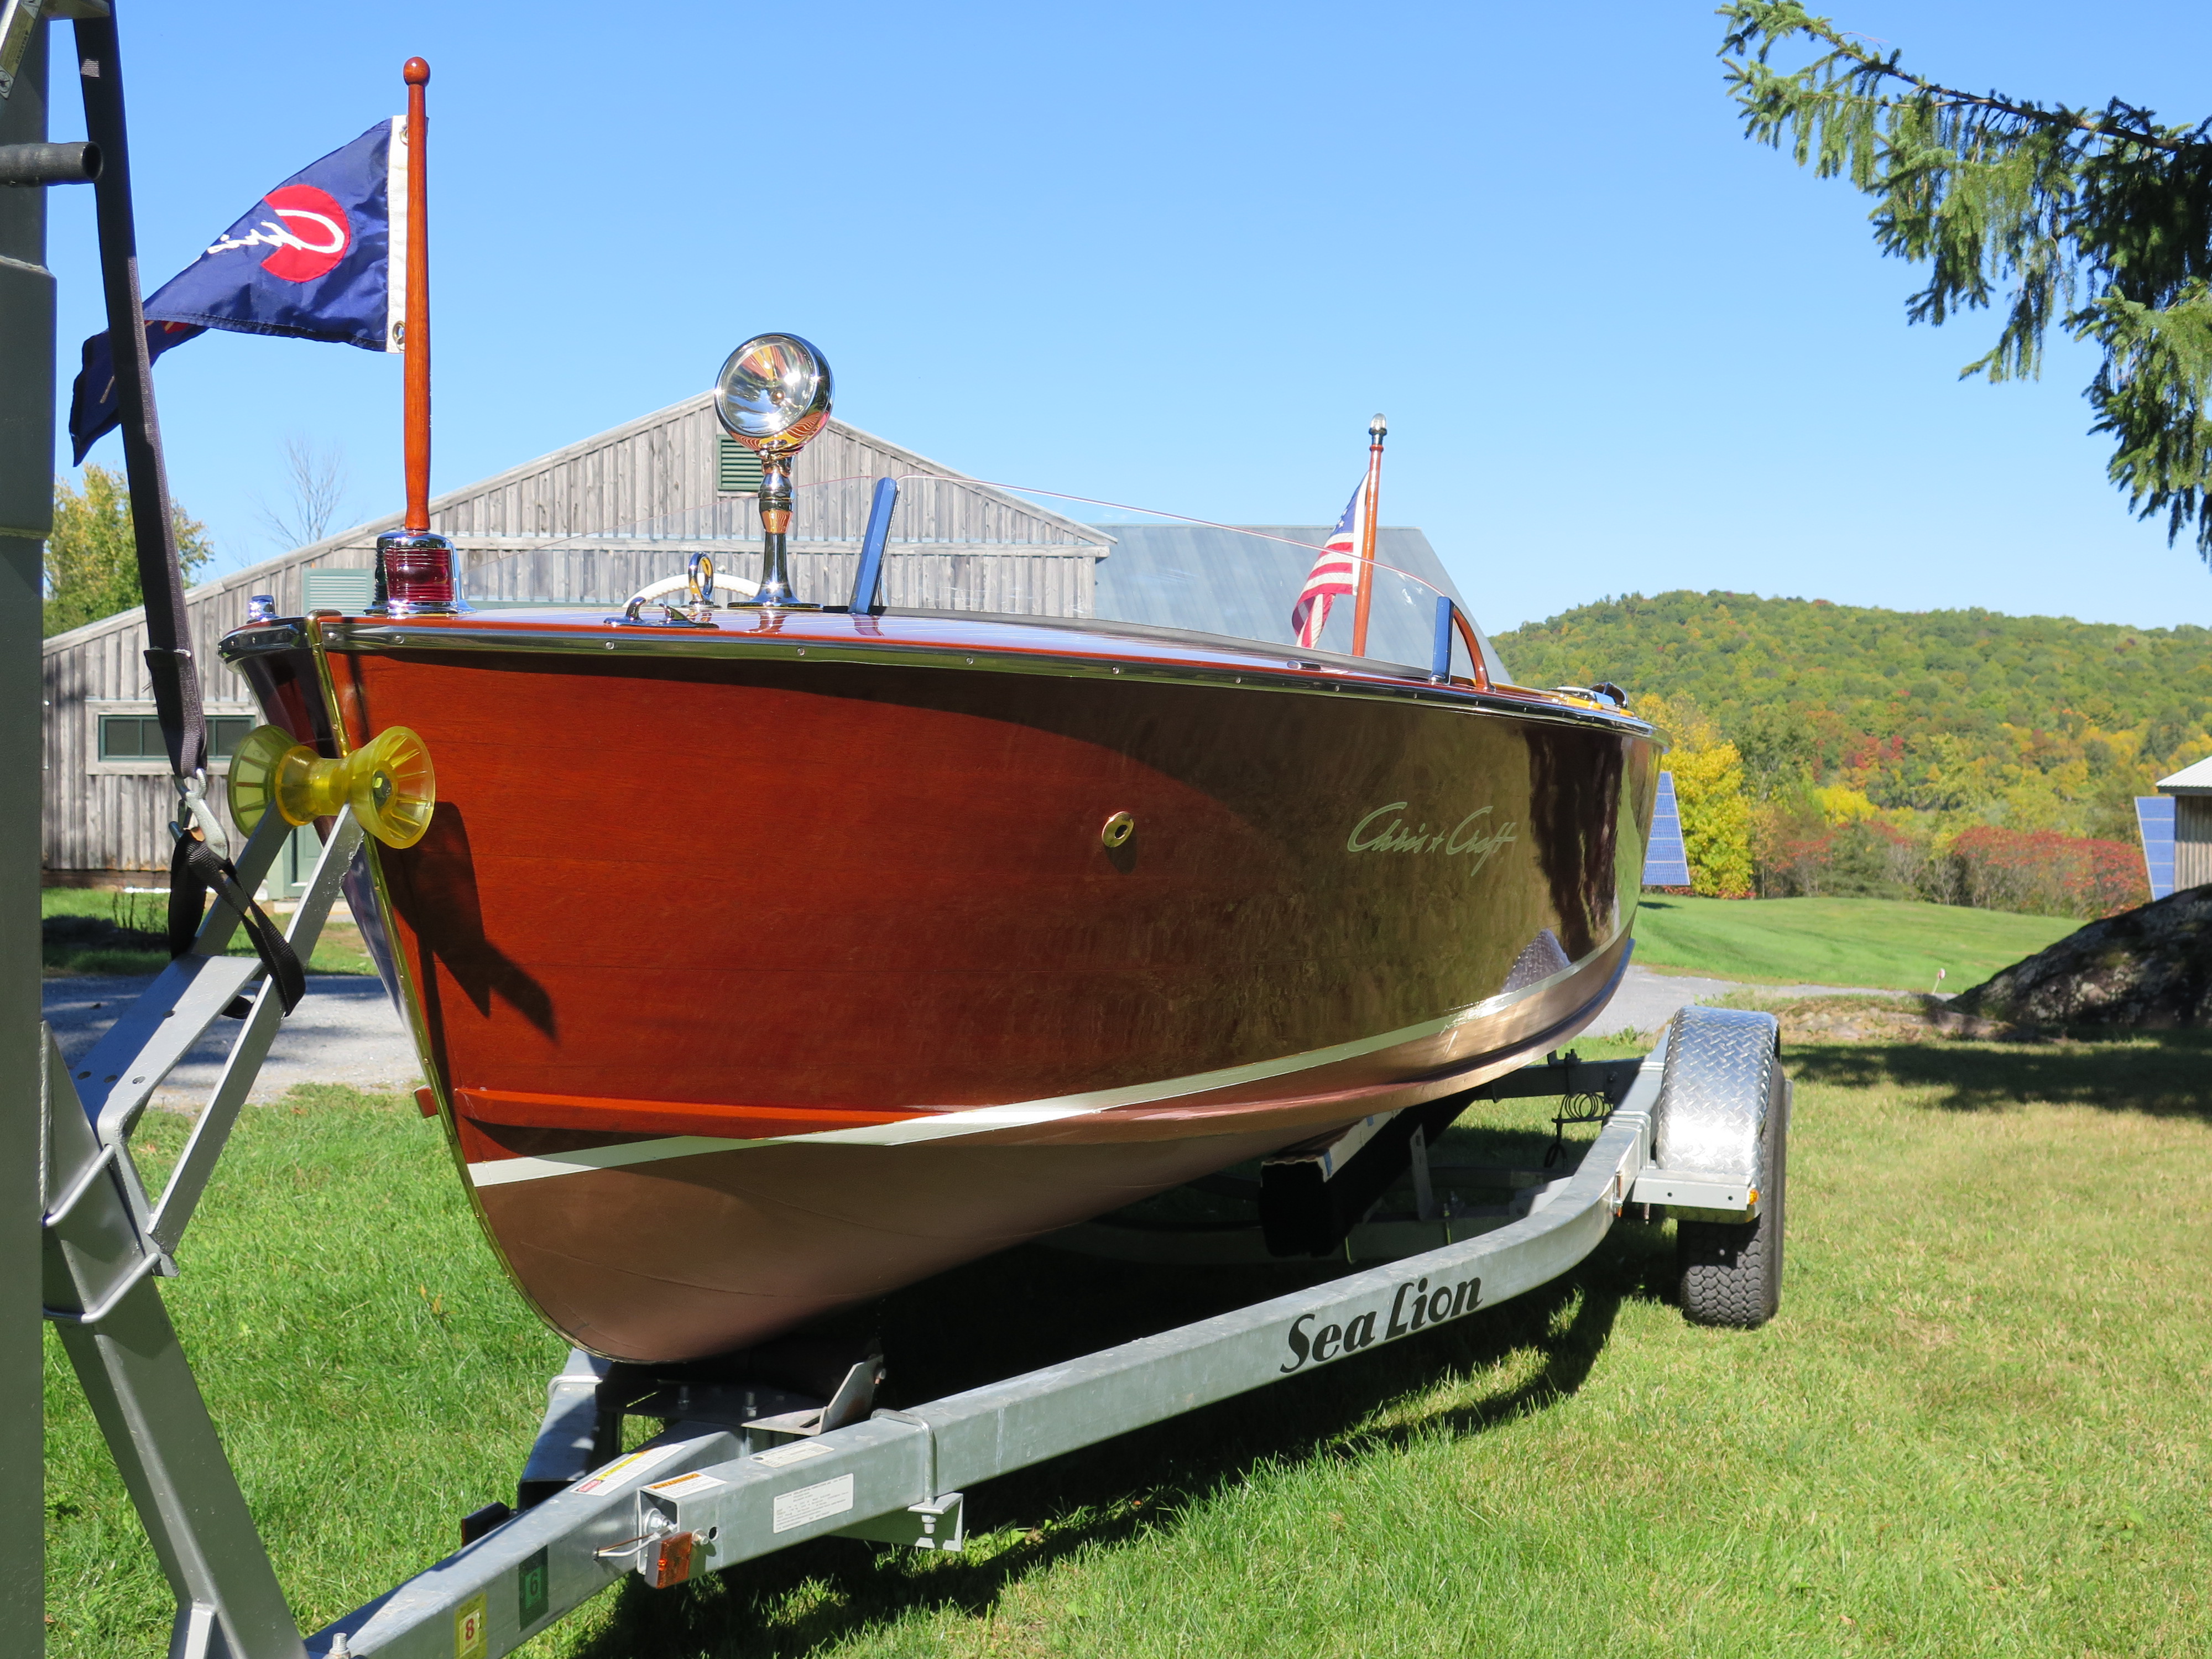
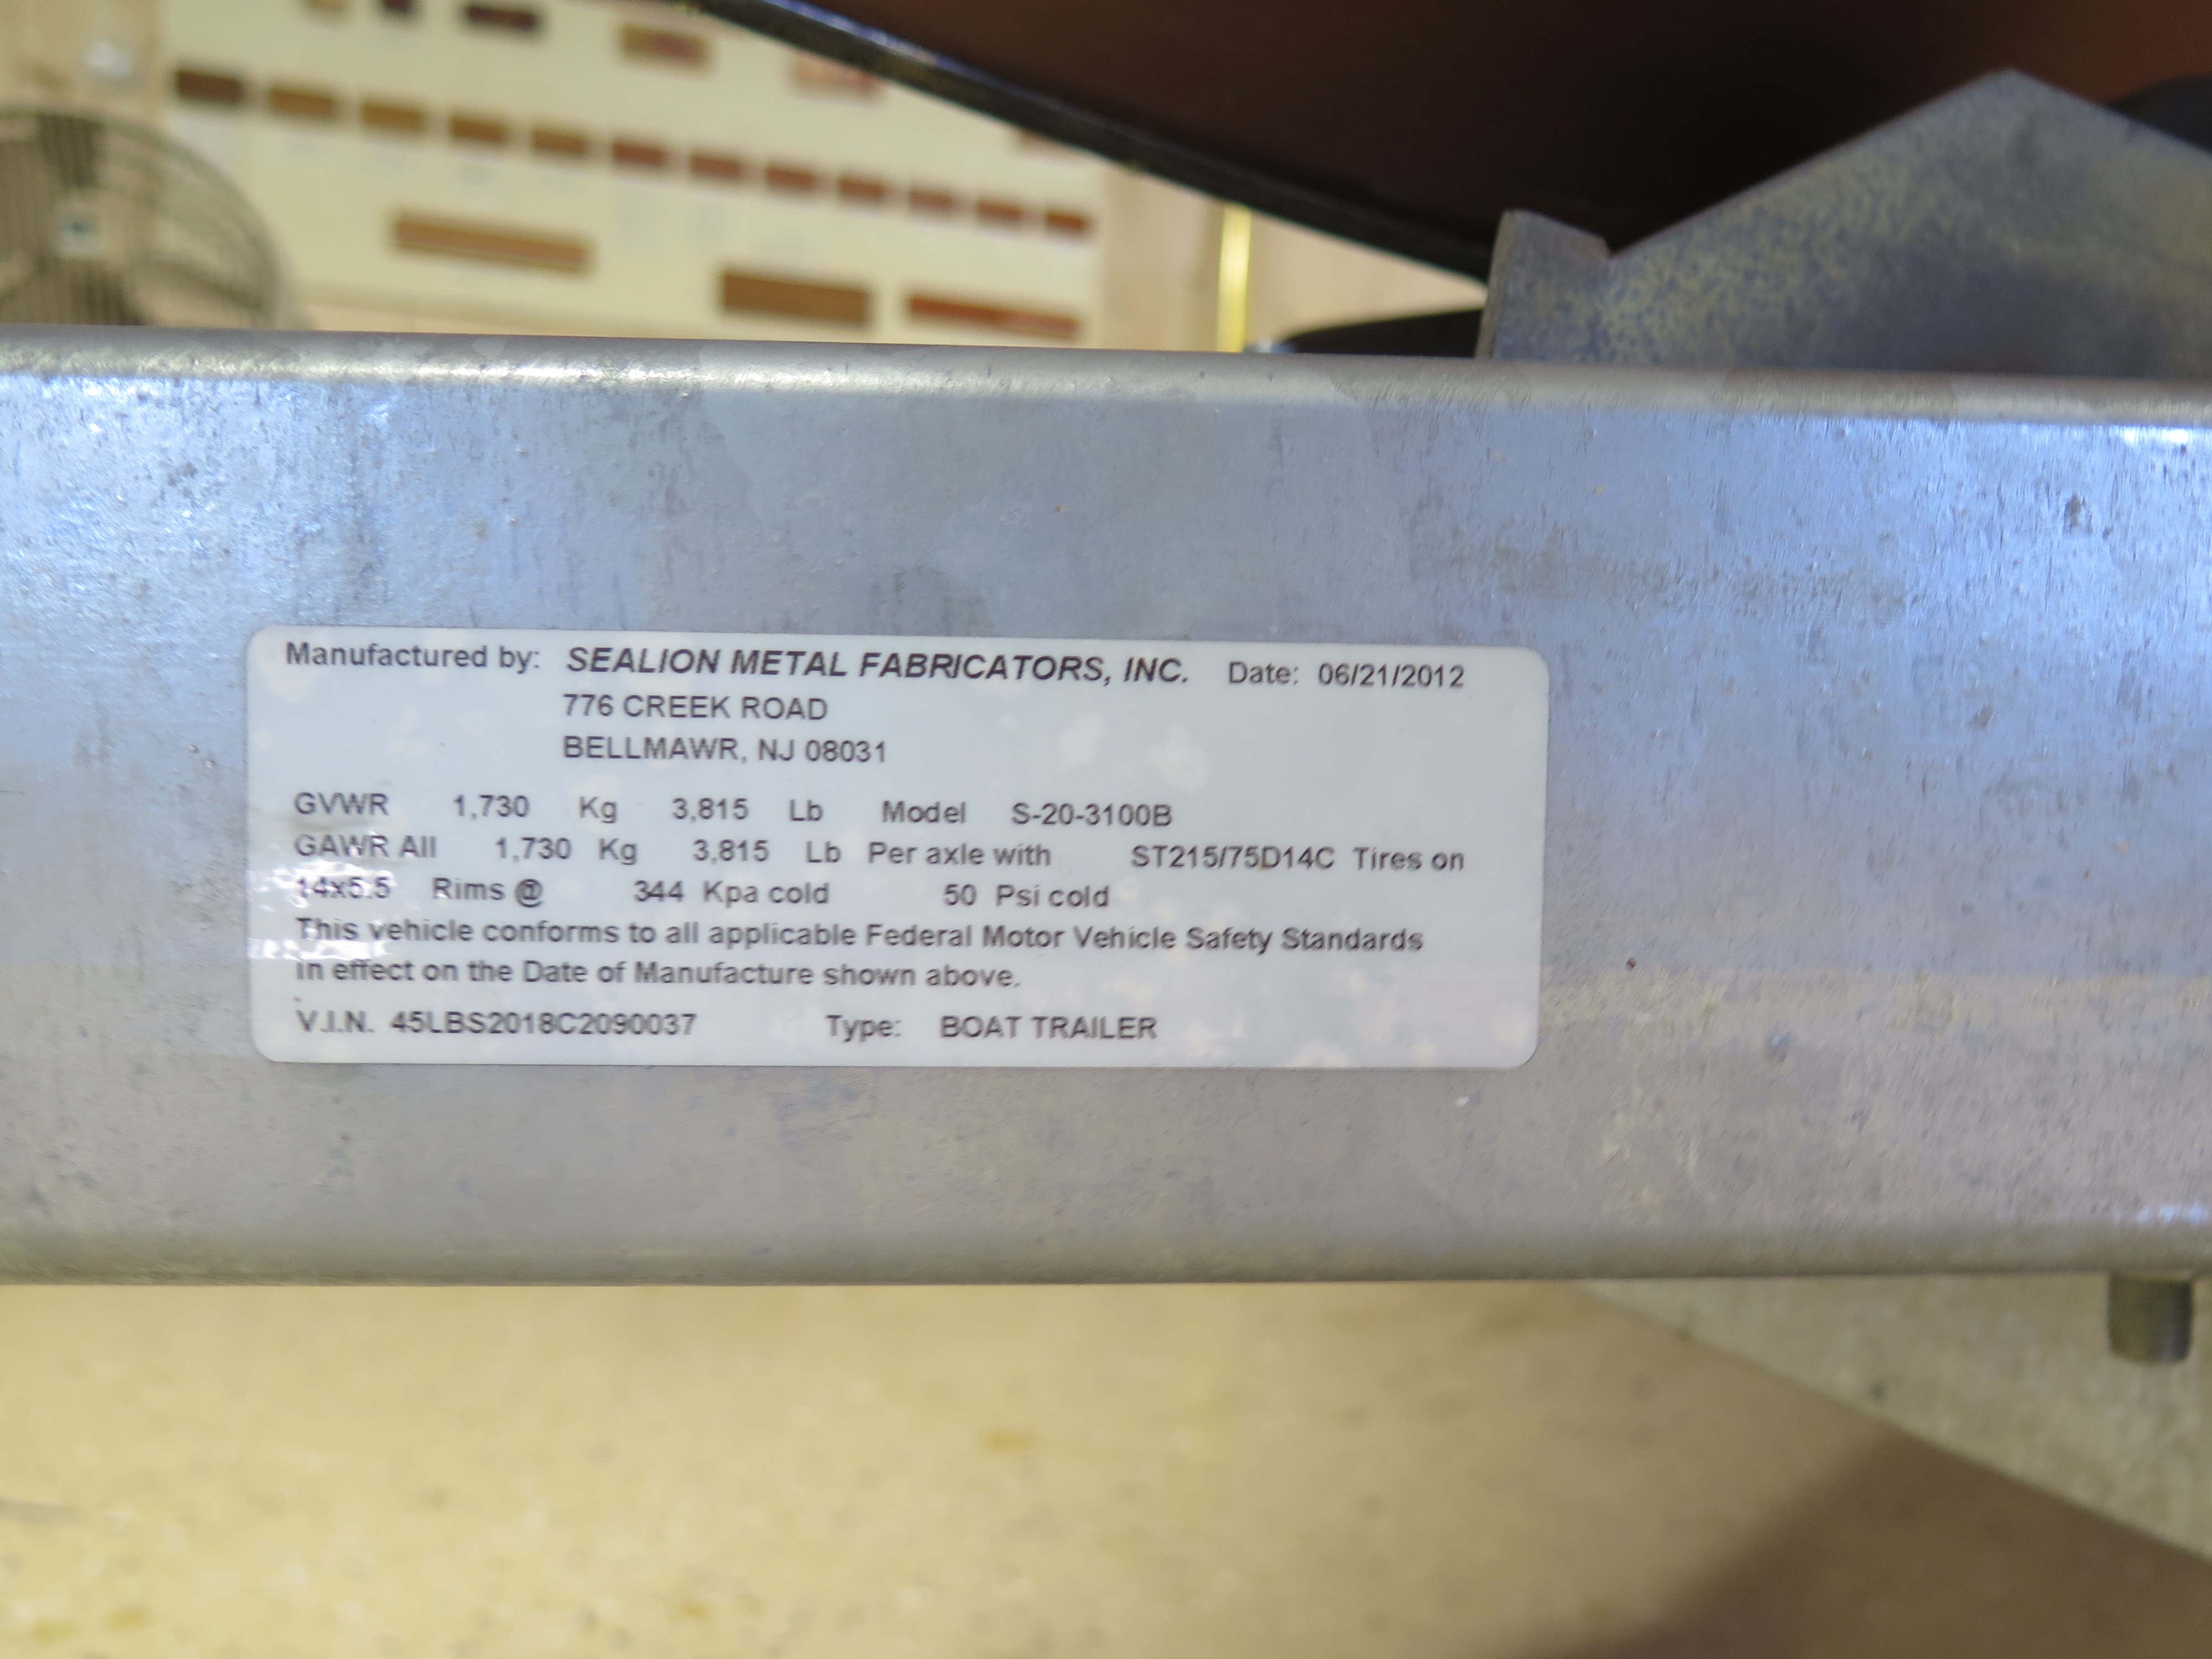
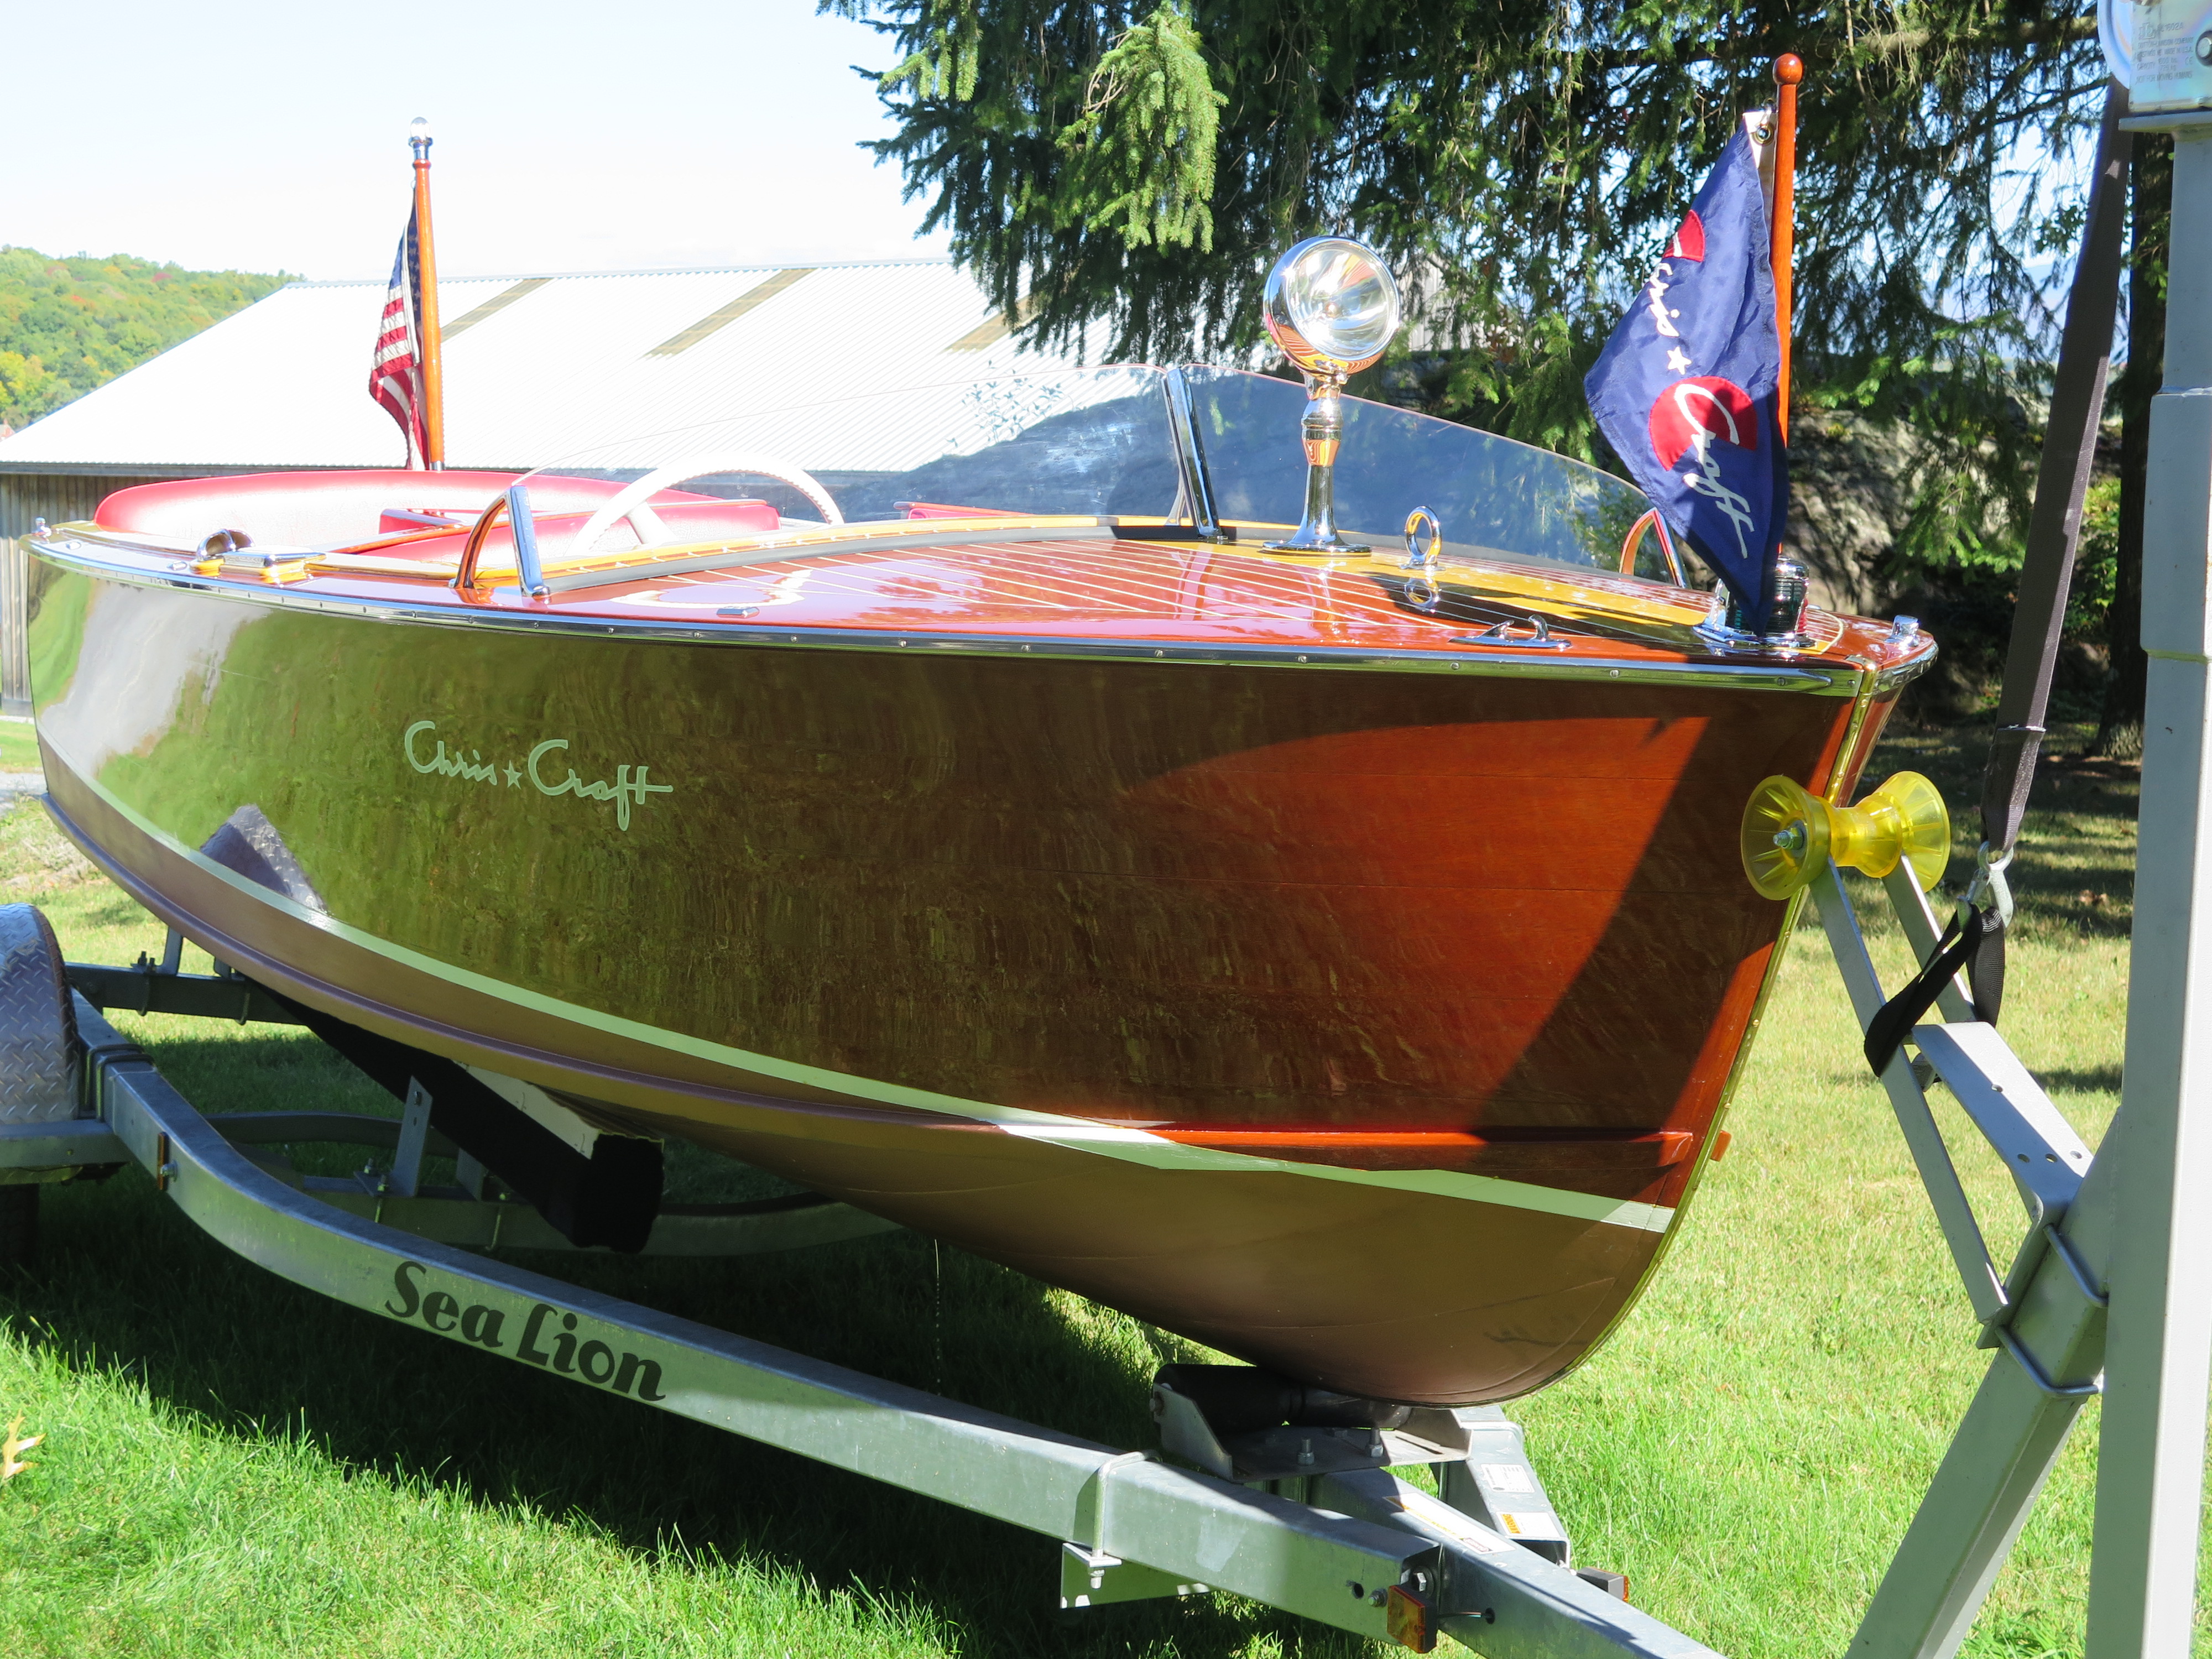
Sea Lion trailer
Galvanized box beam bunk trailer with electric disc brakes
Fewer than 150 miles since purchased new by Snake Mountain Boatworks.
Extended bow tower, which greatly eases retrieval from the water, and guarantees that the bow winch line never touches the boat
According to Conrad, the 17’ Special Sportsman weighs between 1,600 and 1,800 pounds. The trailer’s GVRW is 3,800 pounds, more than sufficient to carry the boat easily and smoothly.
We could not be more pleased with the preservation results as this truly darling 1955 Penn Yan Commander Aristocrat, hull number is ORH 552832, who rides on her brand new, 2016 Load-Rite aluminum trailer, debuts post-preservation and is now available to the person or family who falls in love with her.
She is quite original, even to the point of retaining the original covering plate for the steering column hole in the dash not being used as the helm station. Her Taylor Made windshield is original as is her hardware, all of which is still with the boat.
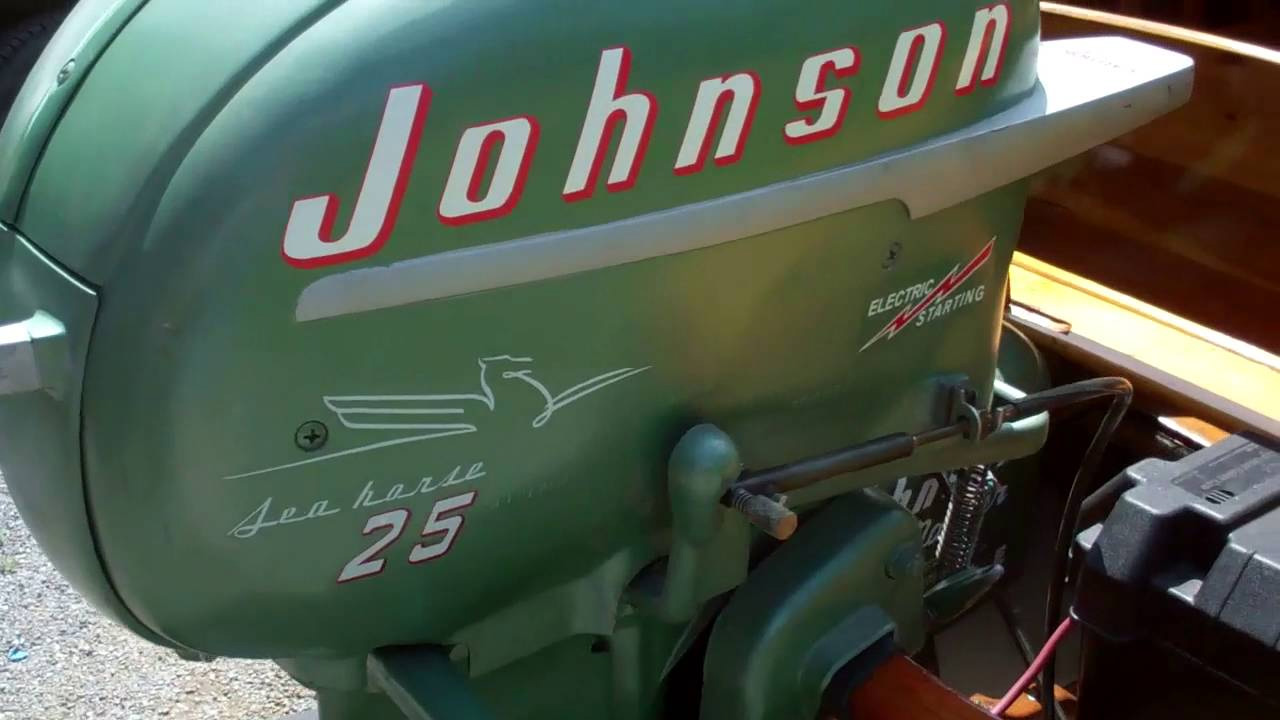
She is powered by a 1954, Model RDE-16 25 horse Johnson Sea Horse engine. The engine, solenoid box and engine controls retain their original Johnson Sea Horse Green paint, all of which is in exquisite condition. Removing the cowl reveals an equally clean, bright engine that also retains its original Sea Horse green paint. Her ignition plate matches the rest of the ensemble in terms of its originality, color and condition. We serviced her completely, part of which process involved installing a rebuilt starting motor and new electric choke along with the standard plugs, points, etc.
As you will see in her post-preservation debut video, the engine starts, idles and revs up easily, smoothly and strongly.
The boat is interesting in that the center-steer station can be installed in either compartment. We plan to re-position the original Wilcox Crittenden steering wheel and engine controls to the forward compartment.
The Striptite hull and transom, both inside and out, was in superb structural condition when she arrived last fall, but now has been preserved to an eye-popping show-ready condition throughout. We retained the original and unbelievably rich color and varnish on the decks, and similarly for cedar and oak interior, as well as the oak gunwales by sanding all surfaces flat by hand and with great care.
The decks, gunwales and rub rails then received six top coats of Pettit Hi-Build varnish that was carefully sanded with progressively finer grades of paper, until the last pass with 500 grit following the fifth and in preparation for the sixth and final coat. I hope you will agree that, as presented in the photos and video that accompany this offering, she is a stunner who has not been spoiled by over-preservation throughout.
Perhaps the most tedious portion of the preservation process was first scrubbing her interior clean, followed by sanding with 180 and then 220 grit. Three coats of Sikkens Cetol Marine completed the interior preservation.
The finish on the transom, seating components and rub and spray rails just could not be saved. We had to strip to bare wood, sand, stain and seal with three coats of Clear Penetrating Epoxy Sealer. The seating then received three coats of Sikkens Cetol Marine. Twelve coats of Pettit Hi-Build varnish were rolled and tipped onto the transom and rub and spray rails.
We stripped the exterior hull to bare wood from gunwales to keel and sealed it with three coats of Clear Penetrating Epoxy Sealer, followed by five coats of Interlux 2000E Two-Part Epoxy Barrier Coat which makes water infiltration impossible. We finished the project by applying six coasts of Epifanes Monourethane above and below the waterline.
Her 2016 Load-Rite trailer is brand new and comes with both a title and Bill of Sale. We will also provide a Bill of Sale for the Commander Aristocrat.
Here is an example of the best of Penn Yan who will be a strong contender to win Best of Class, if not Best of Show in any show she is in.
Ninnyfish is slowly coming together, but only after she rose up and demanded more attention than we had included in our expected scope of work.
Once released for cleaning, sealing and priming, we discovered that the keelson and keel were badly hogged in a matching pattern. And there is a full ¼” deep layer of rot on the keel’s inner face. Neither could be saved, and both have now been fabricated from FAS grade white oak. Both have been sealed with three coats of CPES and primed with multiple coats of Interlux 2000-E. As you see in this clip, the new keel has been installed and is as straight as an arrow. Yahoo! (not @yahoo… )
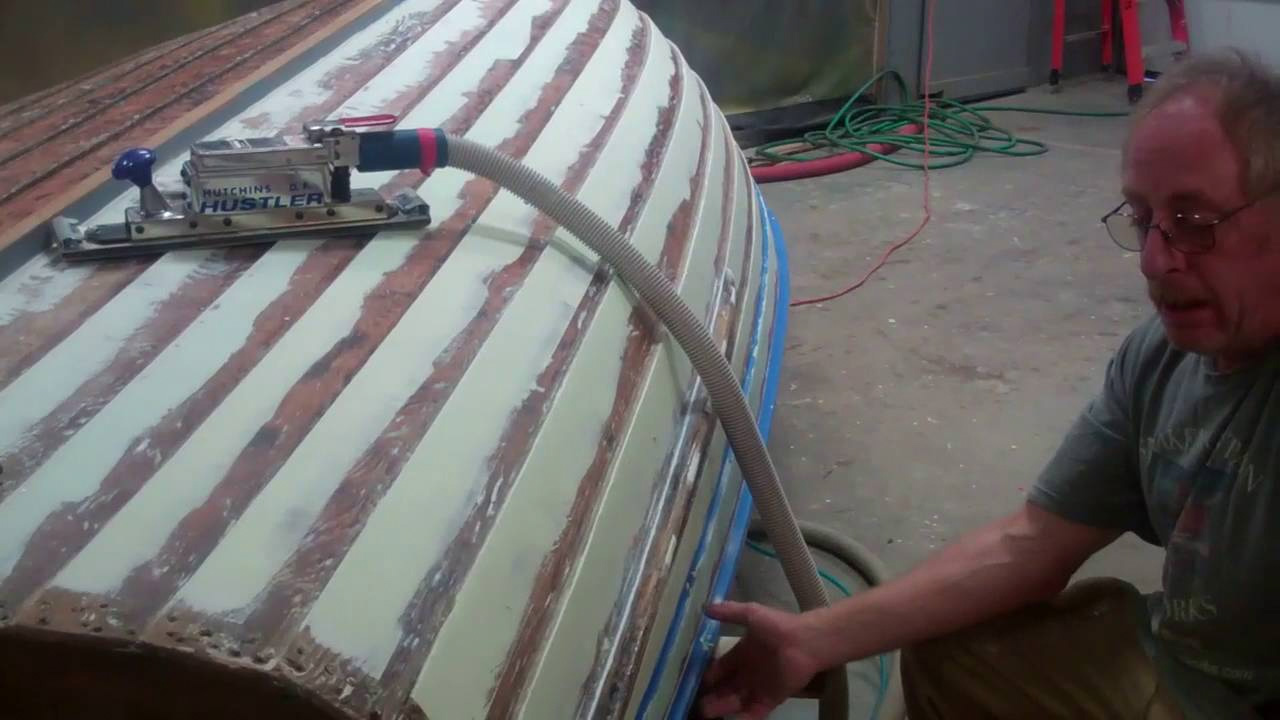
Happily, a close inspection of the hull confirmed that every clinch nail remains solidly in place and tight, but wood shrinks just enough over the years that most of the heads were proud of the surface. Fairing every strake from stem to stern using 3M Premium Marine Filler, which is approved for both above- and below-waterline applications provides the solution.
But first RJ sanded the entire strake surface with 80 and then 120 grit longboard paper. (We use the longboard here to protect against producing the moonscape look we have encountered in way too many hull surfaces.) Three full coats of CPES followed the sanding.
John then taped all of the strake-to-strake seams to keep the Filler out of these difficult-to-sand areas. Applying two coats of the Filler followed. He has completed applying the Filler on port and is now sanding the surface, again with 80- and then 120-grit paper. The sanding is accomplished with a dual-action random orbit sander, which John moves quickly over the surface.
Once the sanding is complete, he will seal every strake-to-strake seam with white 3M 5200. Starboard awaits…..