Here is the handout John prepared for the crew:
The first starboard-side Dutchmen covers 5 screw holes that were driven through the topside plank and into the block added behind the damage, and the longitudinal splits in the plank that appear to have resulted from tangling with a dock and losing.
1. Since the backing block was left flat, rather than shaped to the curvature of the plank, the “fix” results in severely distorting the proper shape.
2. Our first task was blocking the planking out from behind so that the contours match those on the port – undamaged – side, and so it can be faired to that original shape via careful sanding.
3. This Dutchman repairs the screw holes and the two splits in the plank.
4. Excising material to create the female side of the Dutchman is accomplished with a combination of a router followed by detailed hand-chisel work.
5. A template is then fabricated out of cardboard, and then used to rough out the Dutchman.
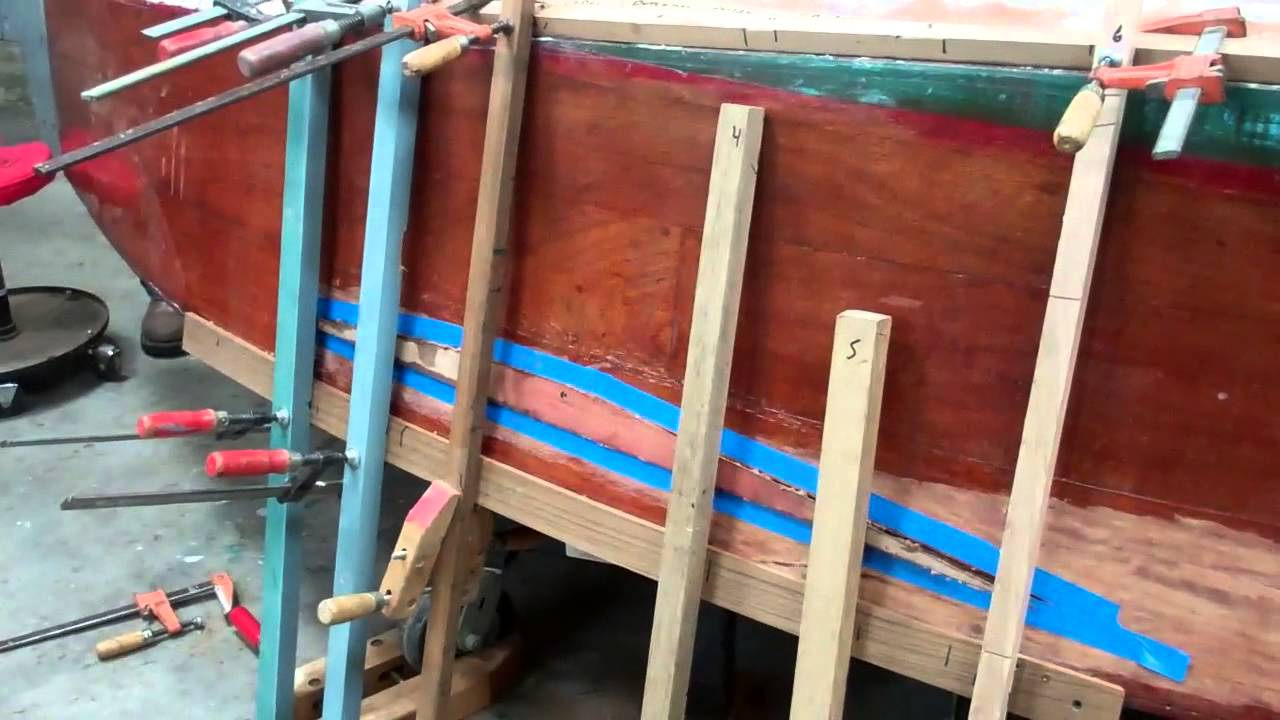
6. The Dutchman will initially be thicker than needed, both to provide a proud surface for clamping and then to sand in so that it is fair with its surrounding planking.
7. The inner side of the through-and-through splits will be secured with TotalBoat Thixo Thickened Epoxy adhesive when the Dutchman is applied and wedged into place using a SMB-original clamping system.
8. Glaze both the Dutchman and its female counterpart with Thixo, put the Dutchman in place, and clamp aggressively.
9. Once the adhesive between the Dutchman and the plank has cured, remove the clamps and sand the patch fair.
10. You are now ready to bleach, stain and varnish the topsides.