As is typical of all Chris-Craft utilities and runabouts, this 1938 19’ Chris-Craft Custom Runabout, Flyin’ By’s hull is comprised of a series of heavy frames to which the bottom is fastened. A series of battens run athwart between the frames, thereby adding substantial stiffness to the bottom.
Simply put installing battens is a thankless, two-person challenge. Here are the steps for installing one batten at a time, followed by filling the countersinks, fairing the bottom, sealing, priming and applying bottom paint. The process is described for one batten, one that will be repeated for all of them:
Installing the Battens.
- From the inside, drill two pilot holes towards the ends of the batten. • Using a straightedge and pencil, scribe a line between the pair of holes.
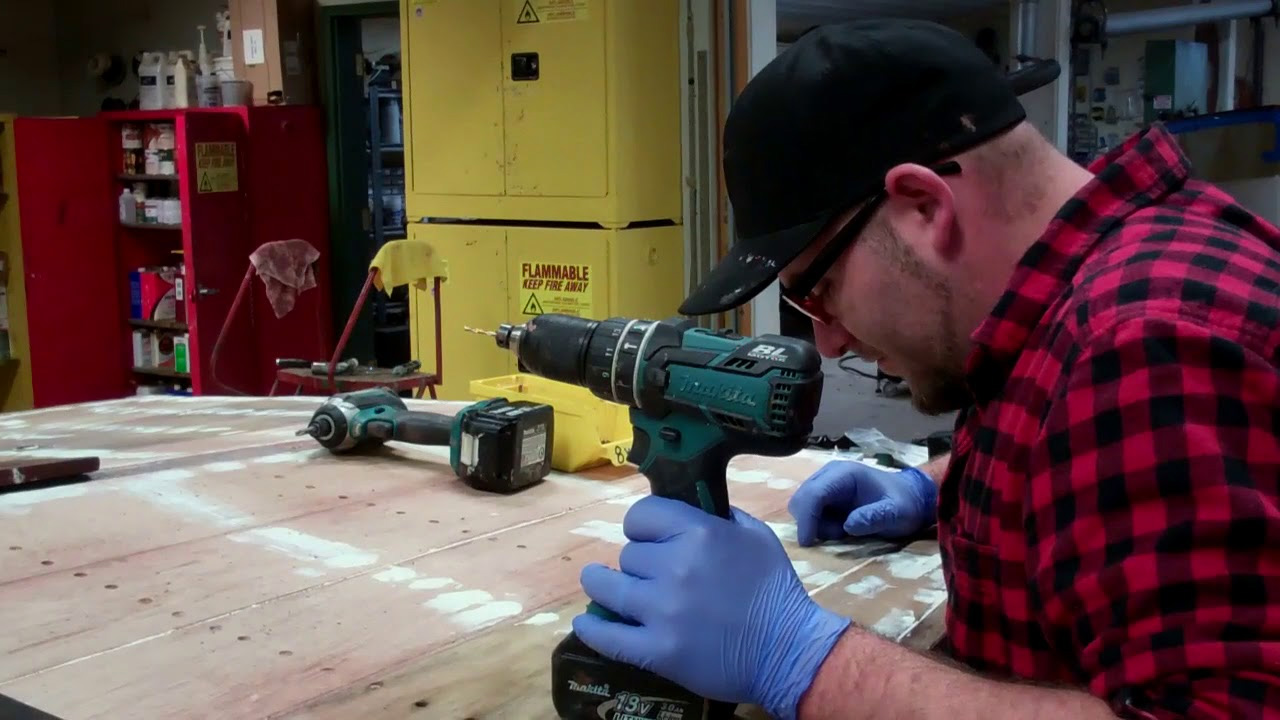
- Drill holes along the line, about 1.5 inches apart using a countersink pilot drill.
- Dry fit the batten and, while the guy underneath presses it in place, drill two holes from the outside in through two of the countersinks.
- Sink screws through those two holes. We use #6 x 1 or x 1-1/4, depending on the thickness of the inner plywood skin plus the exterior planks.
- Stand the remaining screws through the remaining holes and drive them home.
- Release all of those screws for now.
- Butter the batten’s bottom face about 1/8” thick with 3M 5200 – mahogany.
- Hand it to the guy beneath the boat, who presses it in place.
- Starting with the two end screws, and remembering to stand screws in all of the holes, drive all of them in place. (Standing the screws in the holes first ensures that fountains – volcanoes? – of 5200 do not squirt though the other screw holes as you work along the batten.)
- Repeat for all battens on both bottom faces. Flyin’ By has twenty of them per face.
Filling Countersinks and Fairing the Bottom.
Filling countersinks and fairing the bottom is next. We use 3M Premium Marine Filler, available from Jamestown and elsewhere, to fill and fair the countersinks.
Three applications are required. We sand using 80 grit and one of our Festool random orbit sanders after the first coat, just to knock down ridges and what I call overspread.
Once the last application has cured – about 4 – 6 hours – we sand the entire bottom fair using 80 grit on our pneumatic longboard sanders. Declivities may show themselves at this stage, which requires interrupting the sanding as Premium Filler is applied to them. Sealing, Priming and Bottom Paint.
Once the bottom is fair, apply three coats of Smith’s Clear Penetrating Epoxy Sealer. Danenberg recommends applying the second coat immediately after the first, so we apply the CPES to one entire face and then return to where we began and apply a second coat.
I know there are other penetrating sealers available, and we’ve tested most of them. Let me just say that we use Smith’s CPES, which is available at good prices from Star Distributing in West Mystic, CT: http://www.star-distributing.com/smit….)
Our go-to primer is Interlux InterProtect 2000E Two-Part Barrier Coat Epoxy Primer because it works
From Jamestown:
Interlux’s Micro-Plate formula creates an effective barrier against water permeation. 2000E may be used above and below the waterline as a universal primer for all surfaces. It is also an excellent primer for all metals and can be used as part of a no sand system.
From Interlux:
- Two-part epoxy water barrier with Micro-Plates
- Up to two weeks is allowed between coats of 2000E
- Now available in two colors, Gray and White
- Fast drying, easy application
- Sag resistance to insure the elimination of sags and runs during application
Technically, InterProtect Micro-Plates provide millions of overlapping microscopic plates that create a barrier similar to shingles on a roof. These overlapping Micro-Plates eliminate any direct path for water migration and also improve the sag resistance of the epoxy making application easier.
We will have a gallon each of gray and white 2000E on hand for Flyin’ By’s bottom and chine plank – boot stripe included. Once we’ve applied five thin coats, we will have created an impenetrable barrier against water permeation.
Since Flyin’ By will be dry sailed by her new owners, we will apply three coats of Pettit Old Salem Copper Bronze Hard Racing Enamel, at which point she will sport a True 5200 Bottom.
Finally, she was in show ready condition, with over 20 coats of varnish having been applied and buffed when the moment to flip her arrives. No matter how careful any of us is, and no matter how many pads we placed strategically, Flyin’ By is heavy, and her hull shape presents long sweeping curves. And with three of us working around, under and even atop her, bumps and bangs are all but inevitable.
That said her varnish is scuffed in several places, so we will sand the entire hull flat anew and apply three or so coats of Interlux Perfection Plus Two-Part Varnish to her, and let it clear before she returns to storage.

