The goal here is removing fairing-compound-filled countersinks and releasing the over 1,000 fasteners driven through the bottom planking and chines without damaging the edges of the countersink hole.
We begin with a portable drill and drill bit. (We use a pilot bit because it can withstand lateral pressure without breaking.)
Why drill all these holes? The Rotabroach cutter includes a positioning, spring-loaded pin. Yes, it can position the cutter in the countersink center, but it quickly gets loaded up with residue and fails to pop out once a countersink is opened. Then it walks across the plank until you grab a vice grip, remove the cutter and clean it.
Drilling the pilot hole gives the pin someplace to go without being pressed into the cutter head.
Next clean the hole using a scratch awl, and then the Frearson head slots using a pick, and blow the hole clean with an air chuck. (A shop vacuum will work here if the crevice tool is used, but the blast of compressed air cleans much, much more thoroughly.
Grab the impact gun to which you have fitted a #2 Frearson (Reed & Prince) driver and carefully back the screw out. (The impact gun’s trigger must be feathered so that it turns as slowly as possible for the initial rotations. A portable screw gun can be used, but it is much slower.)
The mini hook comes into play for those fasteners that simply spin in the hole. Carefully work the hook under the screw head and apply a bit of upward pressure by levering against the edge of the countersink. (Yes, “unpleasant” utterances are part of this process.)
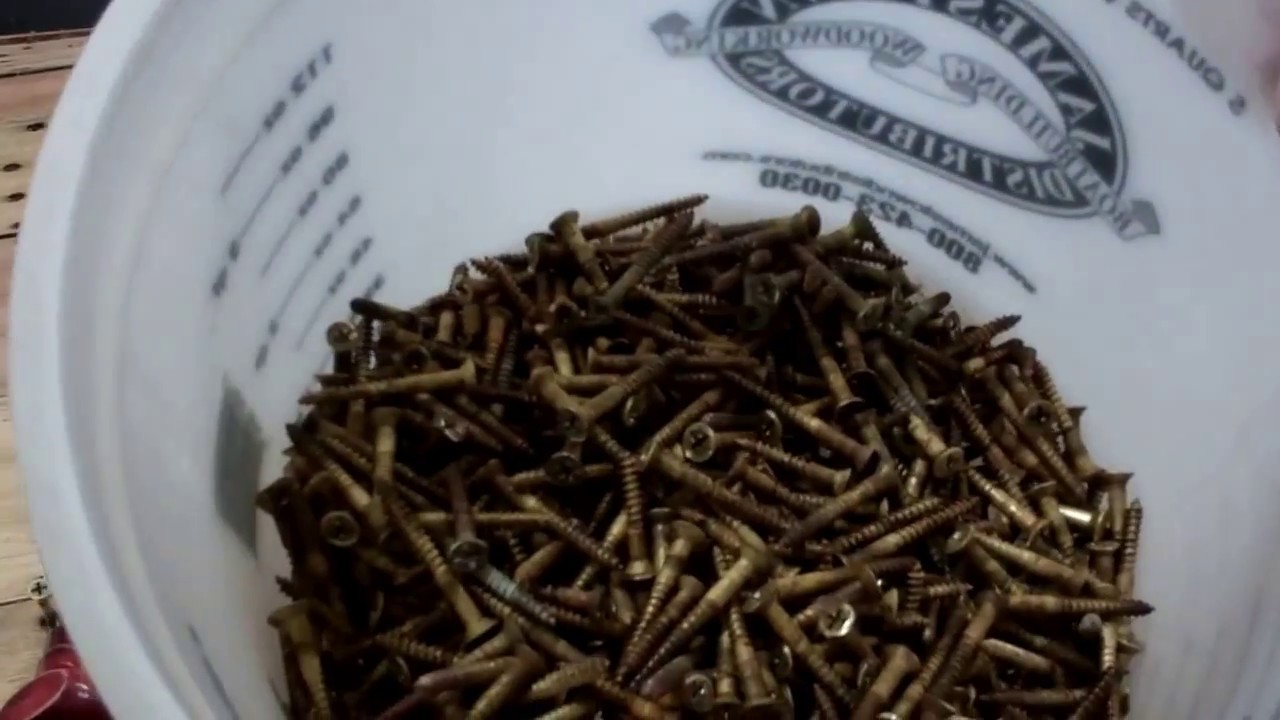
Once you have all the fasteners – which you absolutely will not reuse – safely in the recycling bucket, and have teased all the planks off the inner planking, you are ready for the next steps. In the case of the ’59 Chris-Craft Sportsman, since the plywood inner skin presents as almost new, the next step is scraping all the canvas off, cleaning the surface and proceeding to toothpicking every fastener hole in the entire bottom.
Once you have inserted 4 to 5 toothpicks dipped in Gorilla Glue, or about 5,000 in total, into all the fastener holes, and the glue has set, reach for your Fein Multimaster and “shave” the plywood. What a mess!
Time for CPES, 3M5200 and installing bottom planking!
Tools:
- Rotabroach Cutter Kit – available at Amazon.com
- Portable drill and pilot bitdrill bit
- Portable drill for 3/8” Rotabroach cutter
- Portable impact driver with #2 Frearson (aka Reed & Prince) driver
- Scratch awl – a Stanley brand awl is available from Amazon.com
- A mini hook and pick set like this