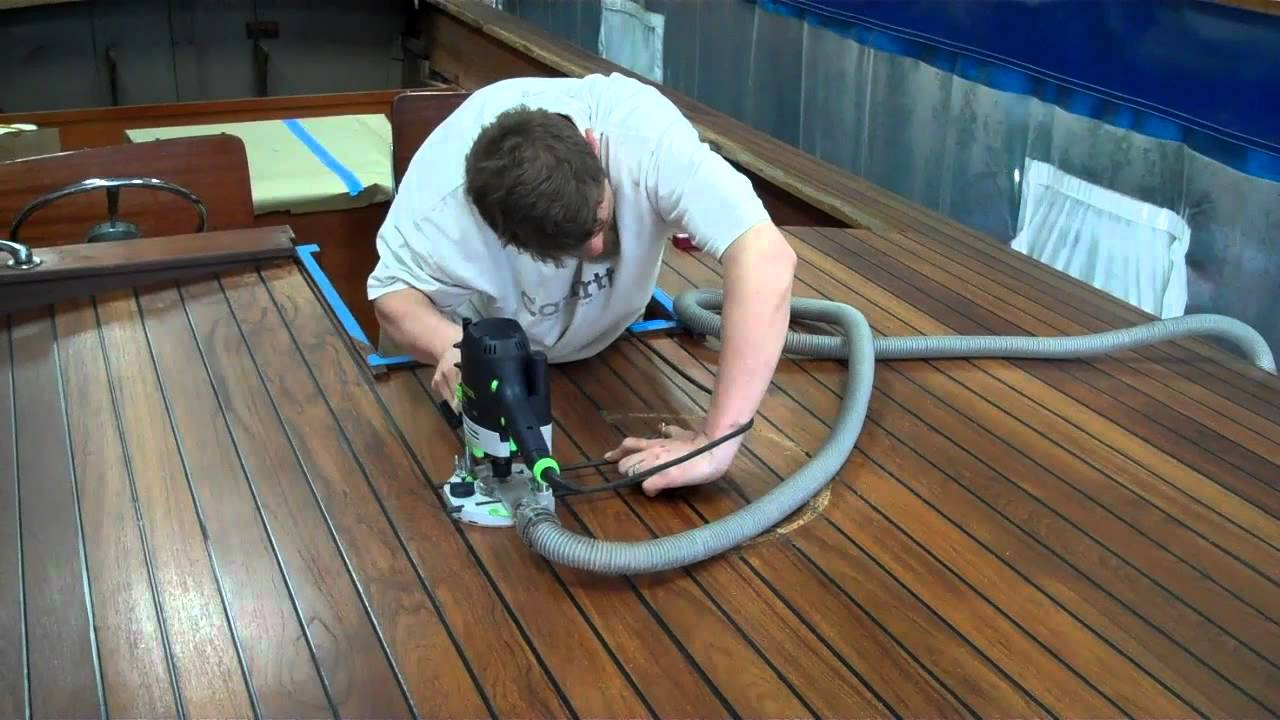
Stripping paint and varnish from antique and classic wood hulls must be the least rewarding element of their preservation. It’s all about getting it off.
That it is a cliché’ is immaterial. Preparation is 95%+ of great wood boat preservation. Cleaning the wood completely, until all traces of penetrating stain or surface coatings have vanished, is the cornerstone of thorough and complete preparation.
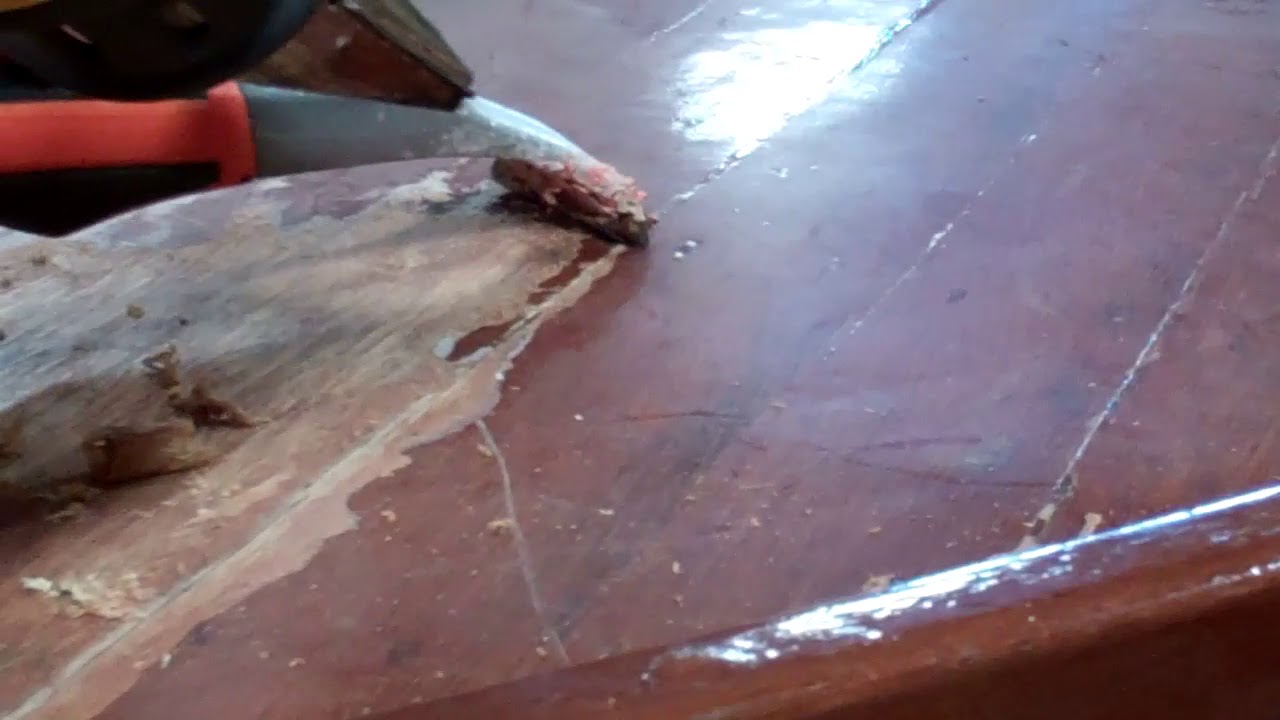
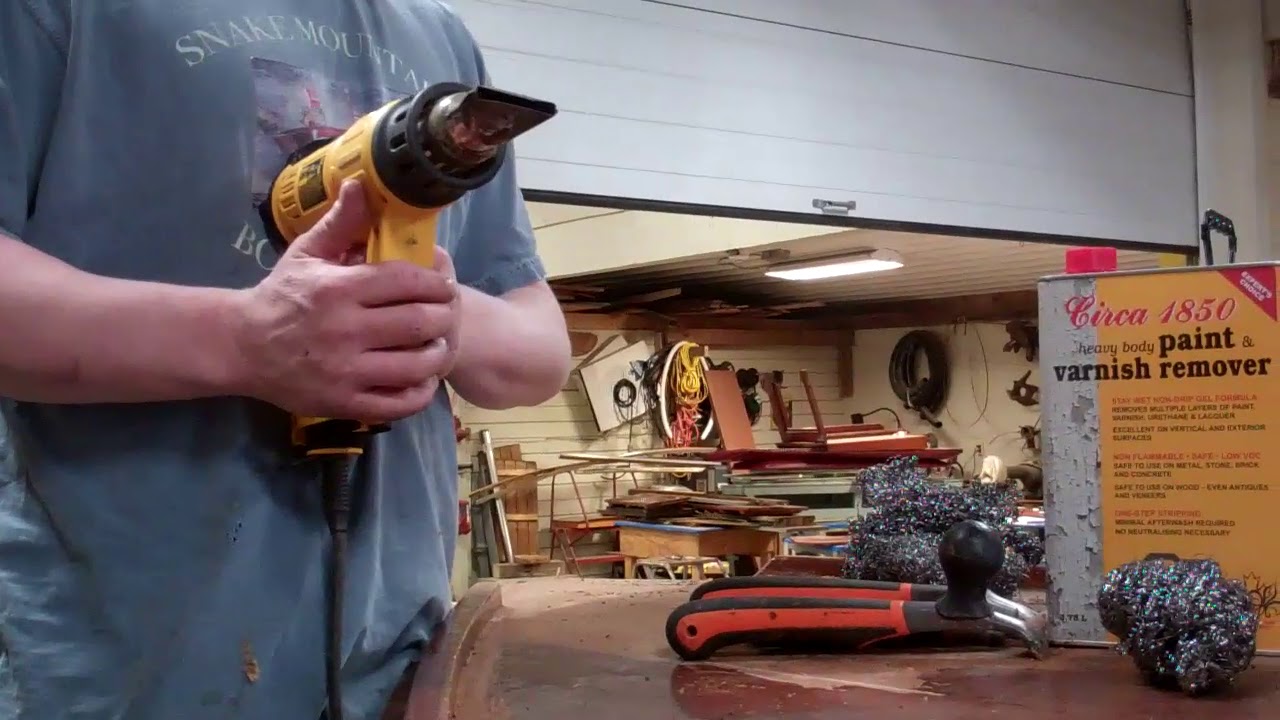
And, what with grain typically running in multiple directions, great care must be taken that the scrubbing involved here does not raise a forest of cross-grain scratches in the process. While we do sometimes reach for the heat gun when stripping paint, chemical stripping is our go-to method, especially when stripping bottom paint. The chemical stripper encapsulates any lead that might be released by the stripper, where there is danger in using a heat gun that exceeds 1,100 degrees Fahrenheit, the temperature at which lead vaporizes.
Stripping varnish with a heat gun has advantages, not the least of which is that the waste flakes off in a dry state, which obviates the need for taping areas off lest dribs and drops of chemical stripper fall on them. But, as is evident in the clop, and RJ’s implicit expressed disdain for heat, it is both slower and potentially more damaging to wood, especially those portions of the hull that will be finished bright.
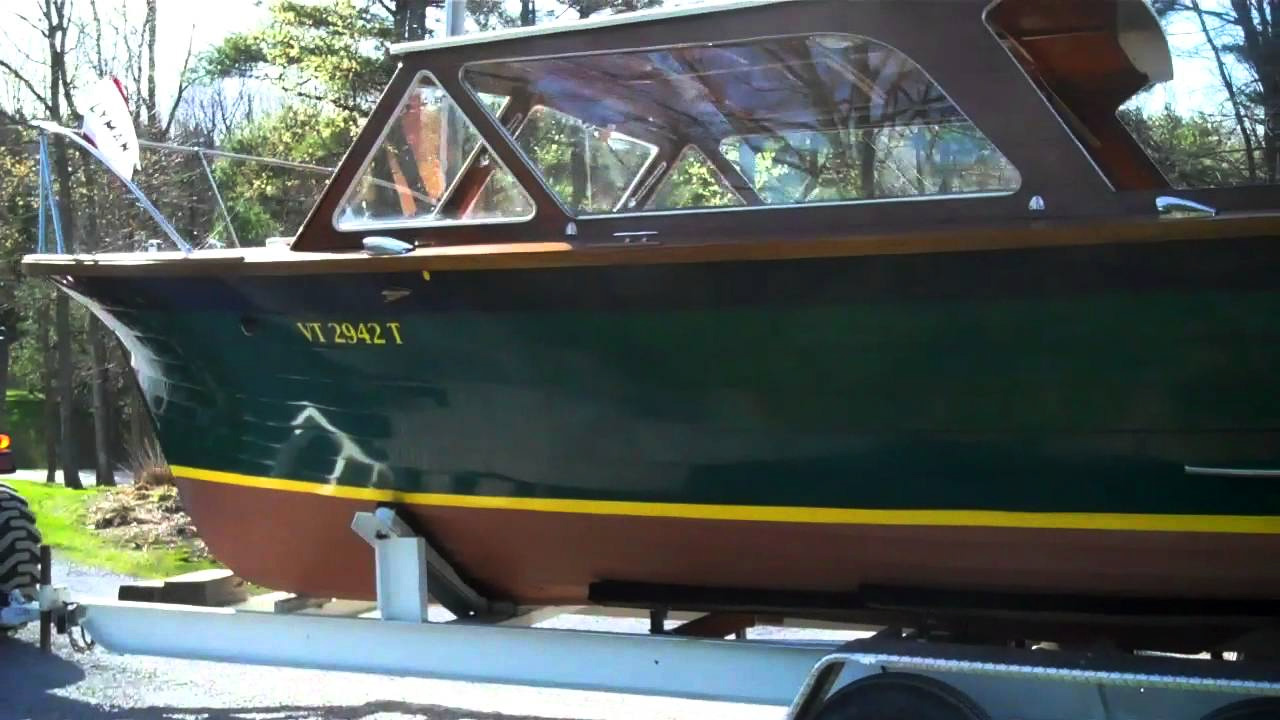
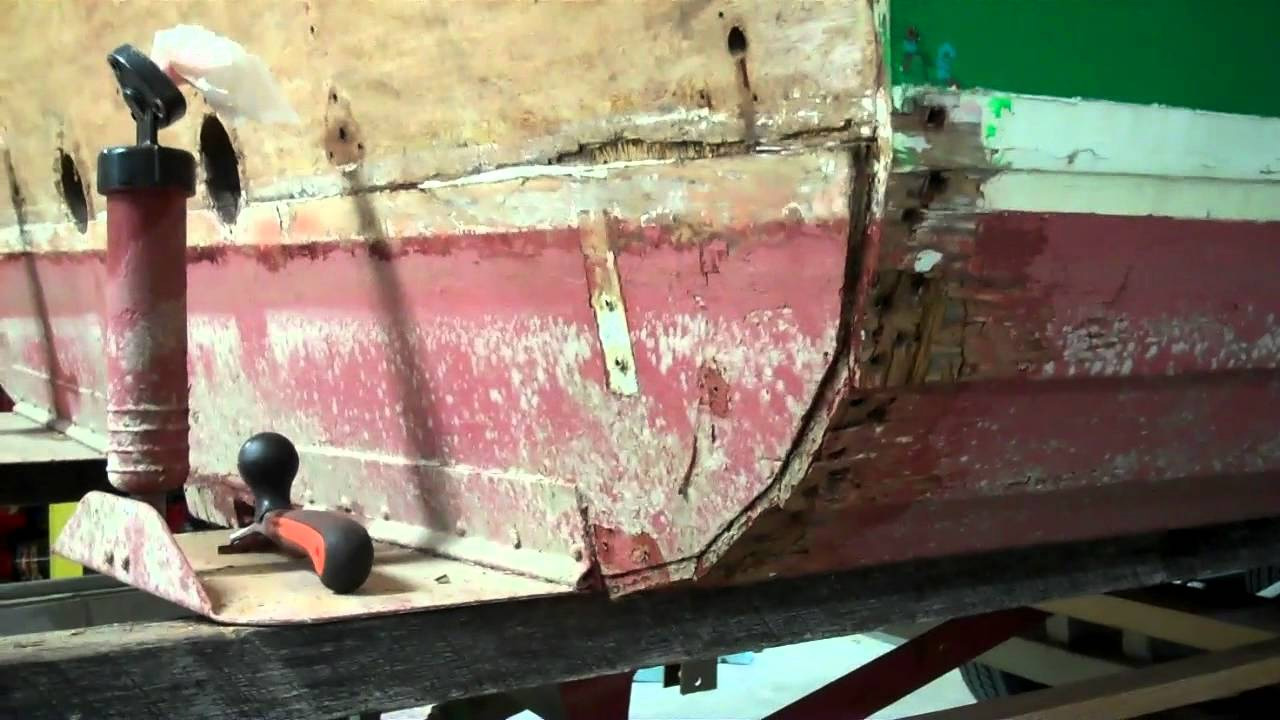
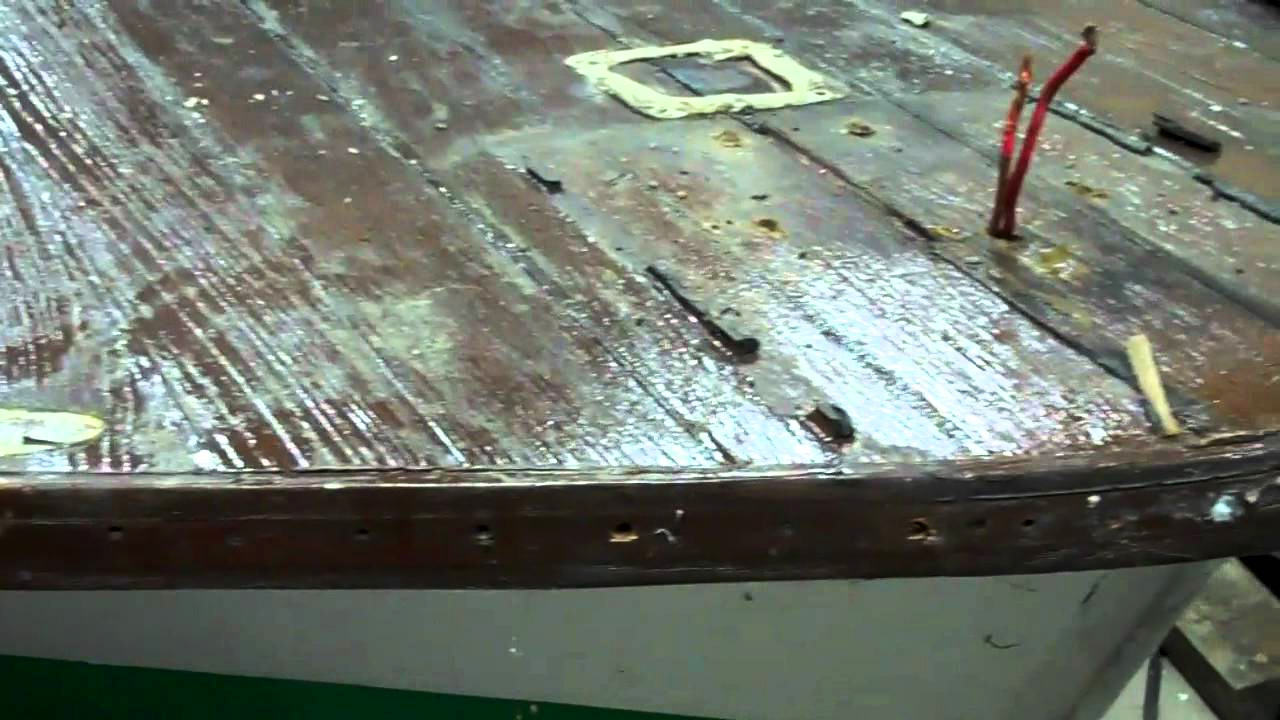
Burning the wood or dissolving the glue in plywood strakes of a lapstrake hull is the major risk when going the heat gun rout. Indeed, the blackened mahogany tells us that someone must have stripped our 1937 20’ Lyman Runabout’s hull sides with heat. What we found beneath the many, many layers of black paint and primer is a veritable sea of blackened leopard spots.
Fortunately, Eagle’s strakes will be painted. Even more fortunately, the same person did not strip the decks, covering boards, windshield and coamings, for sanding through the singed areas would require major thinning of the planks.
We are standardized on three BAHCO-Sandvik ergonomic scrapers and the wide variety of BAHCO carbide blades. Both are available from JamestownDistributors.com and Amazon.com.
- BAHCO-Sandvik 650 Premium Ergonomic Carbide Scraper, 1”, 2” and 2.5” – a one-handed scraper
- BAHCO-Sandvik 650 Premium Ergonomic Carbide Scraper, 1”, 2”, 2.5” – a “big dog” two-handed scraper with a knob just behind the blade.
- BAHCO-Sandvik Premium Ergonomic Carbide Scraper, 1” – a small detail scraper
- BAHCO Heavy Duty 2-Inch Replacement Scraper Blade #442
- BAHCO 449 L-inch Triple-Edge Triangle Scraper Blade
While we do occasionally give competing brands a chance to outperform it, nothing we’ve tried holds a candle to Jamestown Distributors’ Circa 1850 Heavy Body Paint and Varnish Remover. Period., at least during our nine months of winter when cold temperatures, snow and ice make stripping hulls outdoors with one of the spray-on strippers at best impractical.
Finally, after trying a dozen or so brands, we have settled on New Star Foodservice 54460 Extra Large Stainless Steel Sponges Scrubbers sold by Amazon.com. (https://www.amazon.com/gp/product/B00…)
RJ takes you through the steps needed to arrive at you clean wood goal.
- Strip the surface material – varnish or paint – using the chemical stripper of your choice.
- The Chemical Rout
- Apply the stripper three times, allowing about 20 minutes working time between each of the coats.
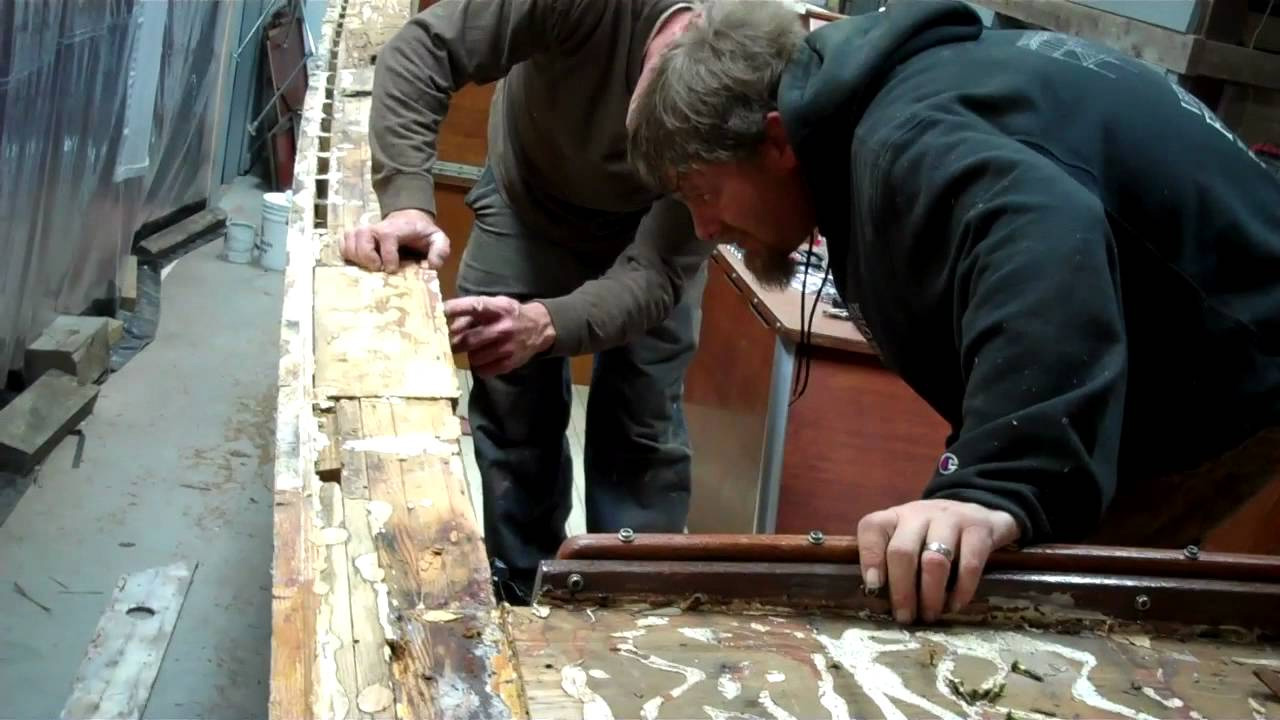
- Scrape with the wood grain using the two-hand scraper and long strokes.
- Apply another coat of scraper. Let it work for five minutes or so and repeat the long-stroke, two-handed scraping.
- Apply the stripper again, wait a minute or so, reach for the stainless-steel sponge scrubber and scrub the surface briskly with the grain until the wood is dry.
Avoiding produce long, deep scratches that result if excessive down pressure is applied. While we continue using the same sponge for job after job after job, reaching for a new one, which will be less aggressive on the wood, might be a good “first-time-through” strategy.
Congratulations! You have reached the clean-wood goal and are ready to bleach!