Carvel planked construction leaves spaces in the seams between the planks that are traditionally caulked with cotton caulking. Here I am about one-third finished caulking Roxanne’s topsides, and share how I go about this process with you
The tools are very low-tech: two caulking irons, a plastic-headed hammer, a smallish plastic pail and a hank of rope. The cotton caulking arrives packed in one-pound packages of loosely coiled “rope.”
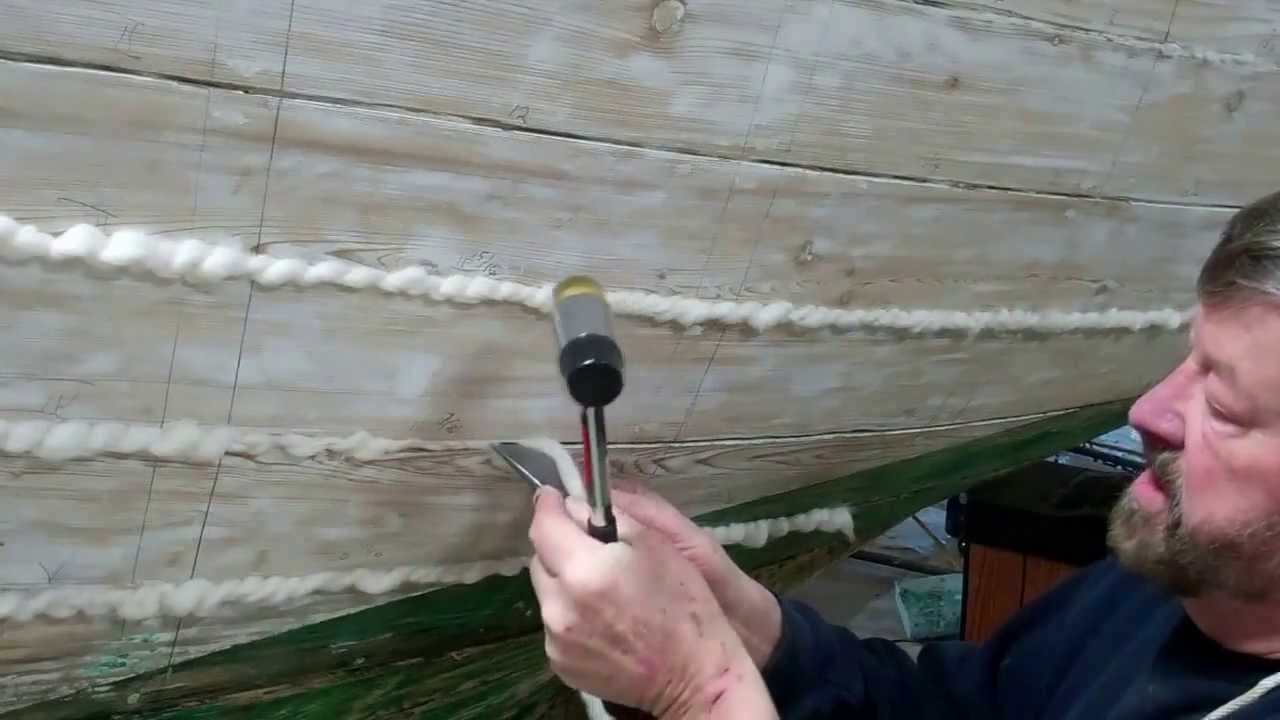
Before the caulking begins, I roll the cotton into balls somewhere between a large orange and a small grapefruit in size. After dropping a couple of balls into the bucket, hanging it around my neck, I grab the hammer and sharper, smaller of the two irons and proceed with step one of stuffing the seams with cotton caulking.
The goal in this first step is to create what looks all the works like braided rope. The cotton passes through the palm of my hand and beneath the iron, as I successively capture approximately one-inch-long lengths against the plank below the seam, slide it up into place and drive it home with a couple of taps of the hammer. It is amazing the rhythm that begins to take hold: grab, slide, tap, tap; and over and over until the entire length of the seam is filled. Then, using the blunter, wider iron set at an angle, I attack the “rope” and drive it home until the cotton disappears into the seam.
Once all seams are filled, the cotton and edges of each seam must receive a copious coat of oil-base paint, preferable one that is consistent with whatever the final topside paint will be, We will use Interlux Pre-Kote on Roxanne since our topcoat will be Interlux Premium Yacht enamel 220 — semi-gloss white.
Before we can begin our finish painting, however, we will fill and fair all of the seams using Interlux white Seam Compound above, and Davis Slick Seam below the waterline.
How to Caulk Seams With Cotton Roving – Palmer Launch Roxanne