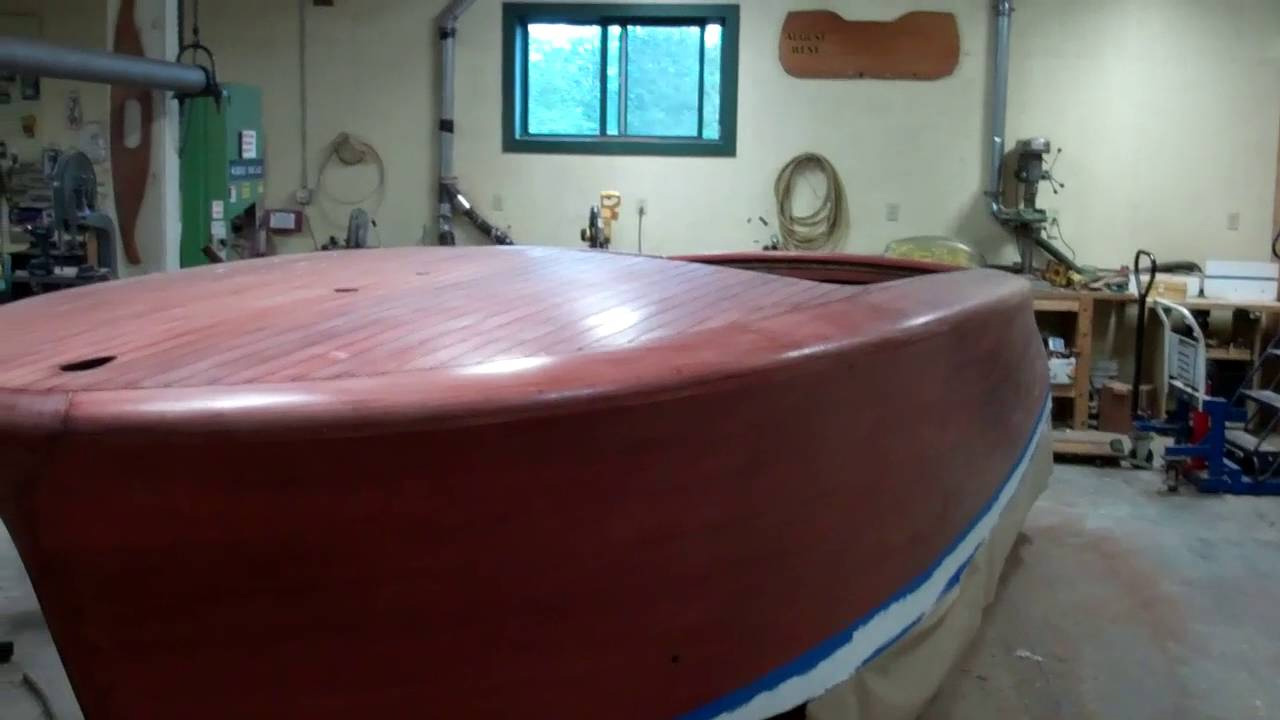
It is Monday, so must be seam-semi-filling day. John, RJ and I have been wrestling with how best to execute this task. The bottom of each seam must be filled completely – no voids allowed. Yet the mahogany Sikaflex 191 LOT must not intrude upon each seam’s top edges. They must remain crisp and uniformly sharp.
Our regular seaming technique, filling each seam to be even with the deck’s surface, and then removing the smallest bit to leave a uniformly curved concave surface using one of our shop-made spoons of the appropriate radius.
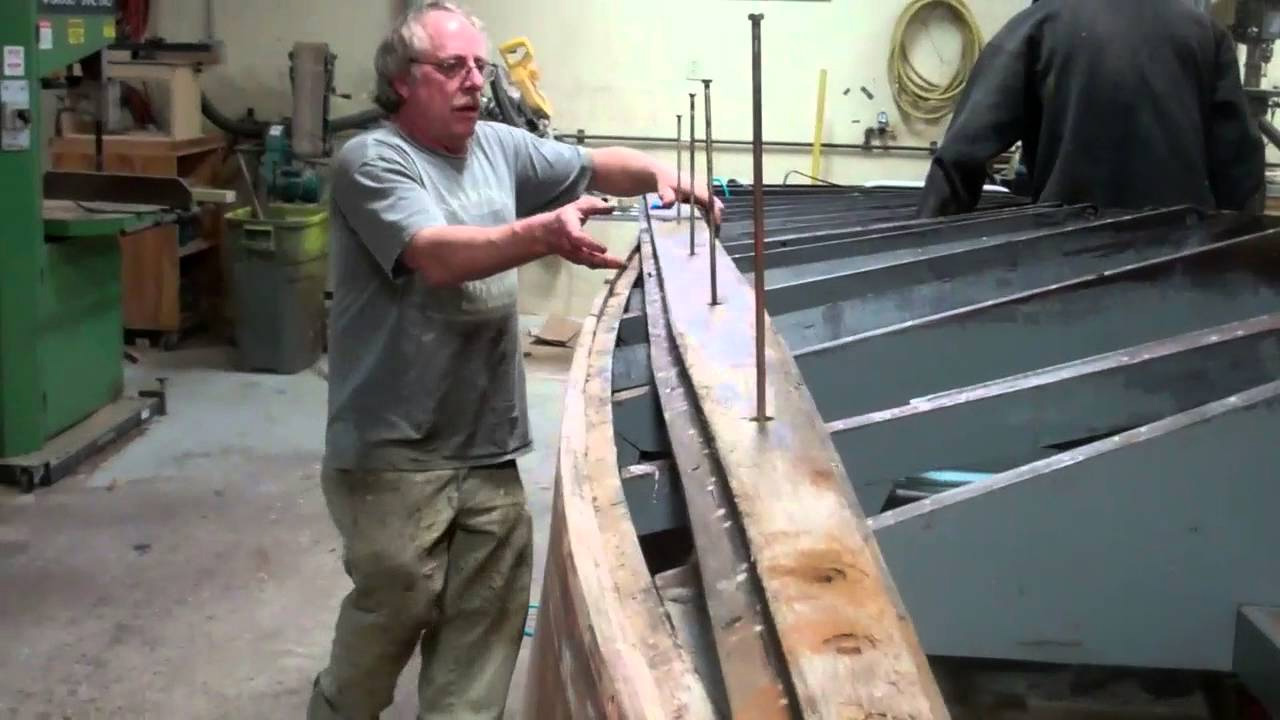
We tried using a reefing hook backwards, but it is quite heavy and cleaned too much Sikaflex out of the seam.
Then Vermont ingenuity kicked in, when John grabbed a paint stick and tested it in a seam. Perfect. We had our leveling-cleaning tool. But how best might we pay the material into the seam? The standard tip that comes with the 10 oz. tube is just too large, even at the very end. Enter a pair of plyers.
John squeezed the tip, which now fit down into the groove and tested an engine hatch seam. He typically needs two passes to ensure there are no voids or bubbles, but what we did not see was material pushing up and out of the seam.
Several passes with the stirring stick, making sure he was applying the lightest possible pleasure, followed by a wipe down with a cotton shop cloth and, voila, the seam is filled perfectly.
Added bonus: John did the entire engine hatch using less than an inch of the material in the 10 oz. Sikaflex 291 LOT tube!
Sure, we found a super low-rent solution to a vexing challenge, but it is quick, certain and delivers exactly the outcome we were seeking.
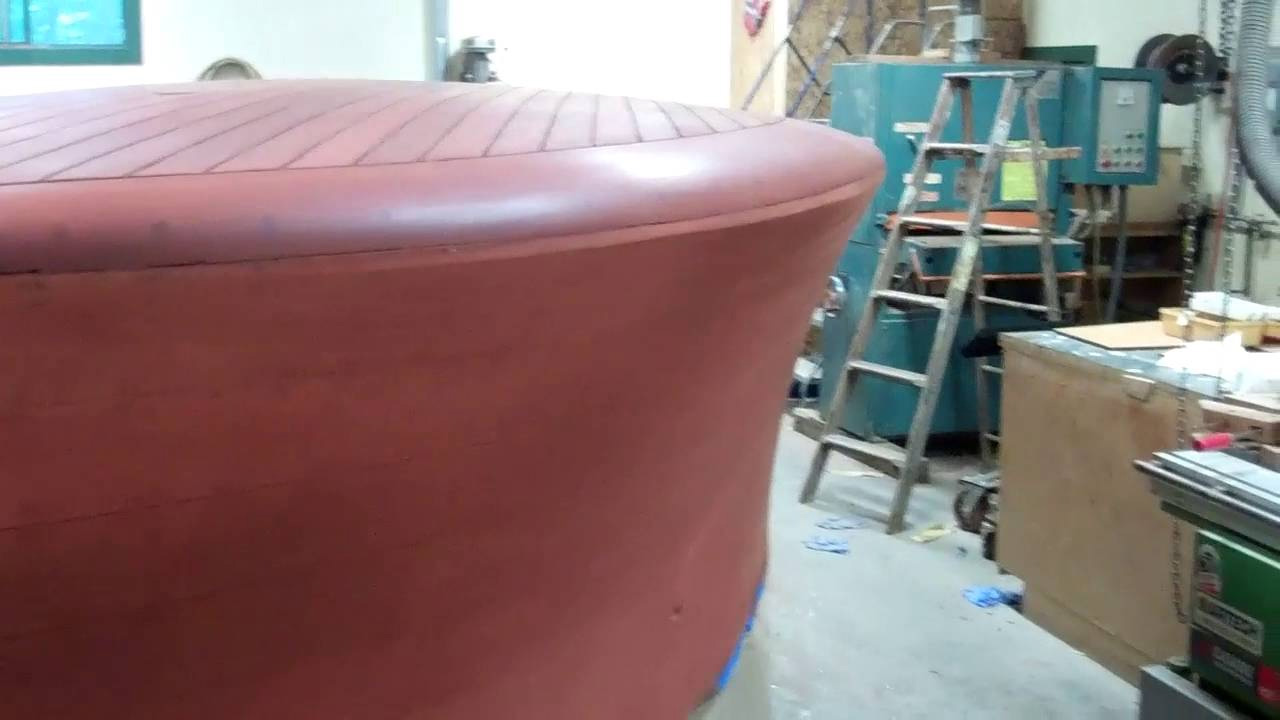
Bleaching is in our wake. Now the real fun begins. Bleaching is easy. Apply it over and over, keeping the surface wet. Let it dry. Lightly sand it with 320 grit. Call it good.
Staining? Get ready for exhausted shoulders, arms and especially hands and fingers! We used Interlux Interstain Wood Filler Stain, 2 parts of Chris Craft Red Mahogany (0573) to 1 part of Brown Mahogany (042), thinned to the consistency of thick house paint using Interlux Brushing Liquid 333
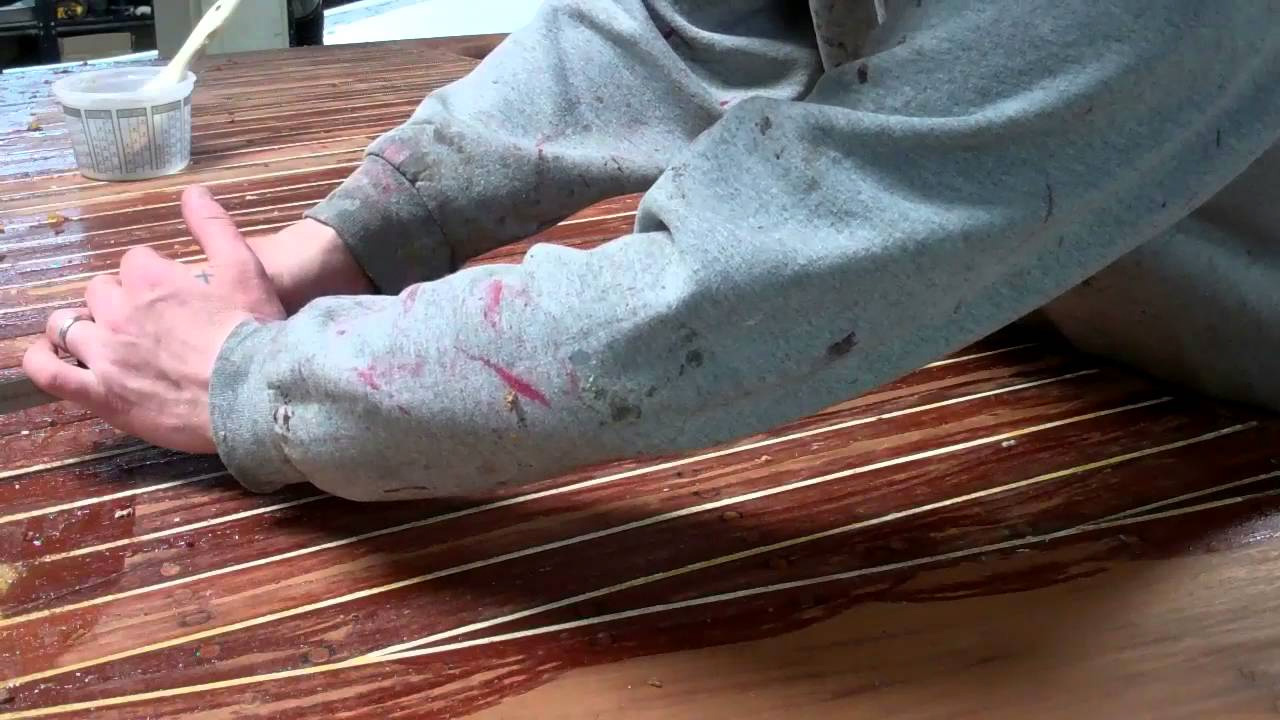
The 22-foot Shepherd’s seemingly endless expanses of mahogany presents two challenges when staining. The thinner tends to gas off, causing the working stain to become ever more viscous. We found ourselves thinning the “soup” anew multiple times as we applied stain.
The real challenge, however, is controlling the degree to which the stain is flashing in front of us as we worked, always cross-grain, rubbing the stain into the valleys while removing it. (We use cheese cloth here.) Getting anxious and scrubbing away too soon produces a very weak, almost totally transparent outcome.
Waiting too long and the stain flashes to being nearly dry to the touch, which renders that stain virtually impossible to scrub into the grain and off the surface.
Even though we had masked off all but three boards along ta seam on the topsides, we found ourselves racing against flashing …. and losing. (It was uncomfortably hot in the shop and we had a fan running, which only compounded the rate at which we were losing the race against excessive flashing,
No amount of swearing, scrubbing or sweating made any difference. What to do? In desperation I wet a new shop towel with 333 and went at if. Voila! The stain liquefied just enough so I could scrub it into and off the surface. (My shop towel was wetted to the point of being damp, not dripping with the 333. While I have not experimented doing so yet, my gut tells me that applying too much 333 risks washing the stain away prematurely and excessively.)
In any case, after a long, long day that ran well into the evening, she is stained.
We bleach using Daly’s A & B Bleach, which is available via their Web site.
The task before us, wetting down and then keeping the wood wet for at least 16 hours is daunting to be sure. Where 3” chip brushes usually suffice, we needed heavier artillery for this job, so I turned to a 12” 2/3” nap paint roller.
Even then, and especially on the topsides and transom, I found myself circling back continuously as the mahogany soaked up the bleach and seemed to be drying. Once John and RJ were able to join the fun, we became somewhat like a train with me using my roller, which applied copious amounts of bleach to the wood, and the guys following up with their trusty chip brushes.
We always take great care to begin bleaching at the waterline and working to the gunwales, followed by the covering boards and finally the decks.
Why? Soaking the wood is the goal, and beginning at the gunwales and working down all but guarantees rivulets of bleach flowing down the side of the hull and leaving vertical whitish stripes that are hellish difficult, if not impossible to disappear.
We are experimenting with Danenberg’s sanding progression, rather than employing the 80-grit rough surface approach to prepping the bull for bleaching and staining. That progression from 60 through 80, 100, 120, 150, 180 and finally 220 grits leaves the surface silky smooth.
That we have made so many additional passes with our 18” pneumatic flatboard sanders delivered an additional benefit. The surfaces is absolutely flat and should provide an excellent foundation for the varnishing to come, which is Danenberg’s core contention.
We kept her wet for 16 hours, and then let her dry down until the moisture meter read 12%. Time to stain, yes?
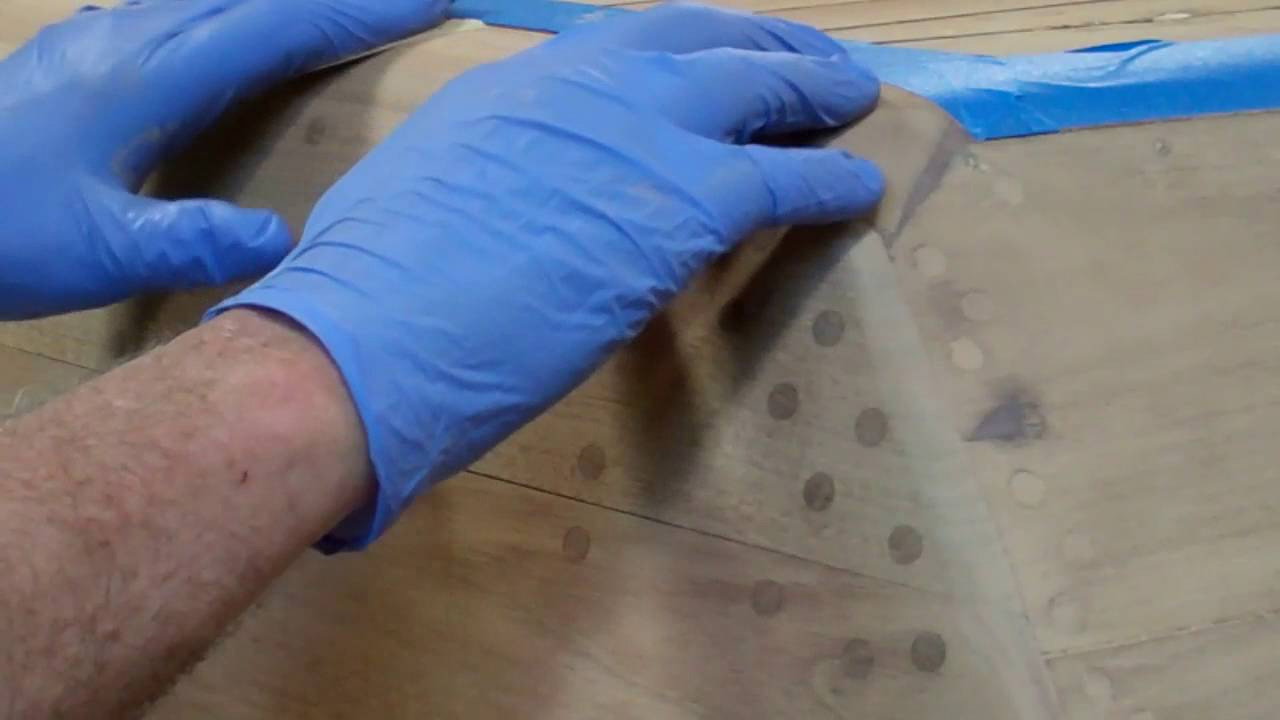
Not quite. The bleach wreaks havoc on the formerly silky smooth surface. The grain is raised and sometimes bleach residue presents in unpleasant, blotchy hues. The remedy? Don Latex or Nitrile gloves and grab a role of 320-grit, sticky-backed longboard sandpaper, and, yes, sand the entire hull, but this time by hand.
Key here is using the lightest touch possible and knowing when it is time to move on. Let your fingers be your guide Even through the glove fabric you can feel when the surface is silky once again. Move on right then, or risk sanding through the approximately 1/32 – 1/16 inch of bleached wood.
We follow sanding with vacuuming and then tacking the entire surface.
Removing Sikaflex and caulk of all sorts from a wood deck seam is tedious process replete with downsides. We have used fences held down by two crew and a Dremel mini router, which is fine, unless and until it walks. Everything else we have tried is makes cleaning seams the task that all three of us happily hand off to the next guy.
I discovered Teak Decking Systems while searching online for some other solution. TDS distributes its products through value added resellers, Jamestown Distributors in our case. The copy on its Web site, http://www.teakdecking.com/index.php?…, made it seem way too easy, as you can read below, but I ordered both the TDS Reefing Hook sand the TDS Seam Sander.
They arrived and stayed on a shelf until yesterday. TDS calls for using a razor to free the caulk from the sides of the seams. That seemed way too much like the misery we have already “enjoyed” for way too long.
Using a waste piece of seamed decking as our lab rat, I first experimented with using a heat gun set at 1,000 F to soften the caulking, thereby rendering its removal easier. The results were excellent, but the process remained very slow, as I found myself heating and removing a layer, heating again and removing more, and on and on.
Then RJ, who was stripping the ’53 Shepherd’s decks using Circa 1850 Heavy Bodied remover, suggested laying a thick coat of stripper onto each seam and waiting half an hour. As the Millennials among us are given to exclaim, “OMG!”
RJ inserted the reefing hook and pulled. Out came a complete length of caulk. One pass cleaned 95 percent and more caulk out of the seam.
And there was a bonus. The edges of the seams were/are razor sharp. We will use the TDS Seam Sander for final clean-up, and the jury will be out until we have applied this process to many additional boats, but for now we have a new problem, “How about letting me have a turn at cleaning the seams?”
Please weigh in with your thoughts, reactions, ideas, and even your secret sauce method for getting past this nasty milestone, one that plagues every wood boat preservation project!
Teak Decking Systems Information:
TDS REEFING HOOK Available from Jamestown Distributors
Used before re-caulking, this tool is for removing caulk or other sealants from a seam. A razor knife should be used to free the caulk from the sides of the seam. Our Reefing Hook is specially designed and constructed for long service life, and ease and speed of operation. You can remove most of the caulking, leaving minimal material for final hand sanding – using the TDS Seam Sander. TDS Reefing Hook is made to be a fine quality tool with hand comfort in mind. Different sizes can be made to order.
Designed for vertical sanding of the sides of a seam, to remove old material before re-caulking, the TDS Seam Sander ensures the best possible preparation for new caulk to bond to the teak. Our Seam Sander is specially designed and constructed for long service life, and ease and speed of operation. Use it to remove final residue of caulking, leaving a totally clean surface for the new caulk to bond to.
Made of the finest quality steel and hardwood, TDS Seam Sander is manufactured with a comfortable smooth grip and has an adjustable depth sanding surface – from 5mm to 22mm (1/5″ – 7/8″). Other special sanding surfaces can be made to order.
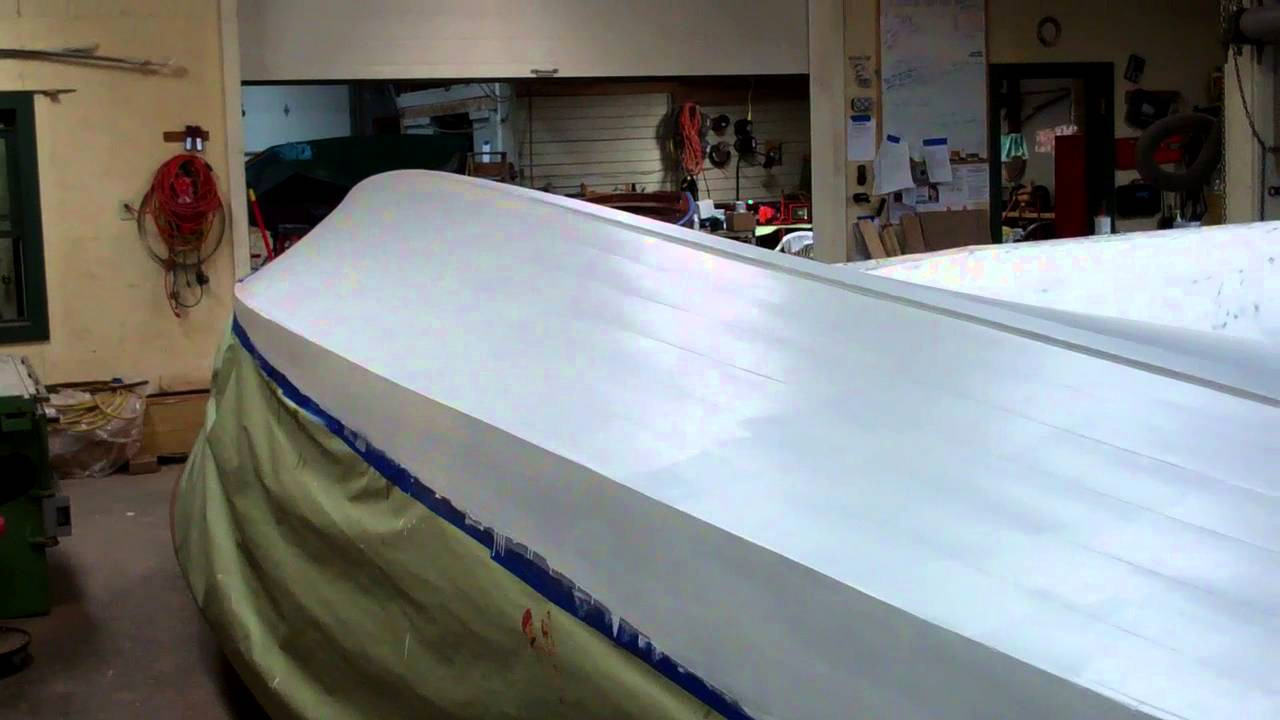
Finally! The True 5200 project was completed with the application of one final coat, of five, of Interlux 2000E Two-Part Epoxy Barrier Coat and three coats of Pettit Hard Racing Bronze bottom paint.
Communication with, actually a trip to the woodshed with Don Danenberg convinced me that our 80-grit, coarse-surface strategy leaves too many cross-grain scratches, which either remain visible beneath the varnish or require many more coats to fill and produce a truly flat surface.
Starting with the Shepherd, we will follow the Danenberg model: cross sanding with 40 and 60, followed by sanding with the grain through 80, 100, 120, 150 and 180 grits, and finishing off with 220 grit. (I now understand why he budgets 600 hours just for sanding the hull of a typical 18’ wood boat!)
Yes, the Shepherd’s topsides and transom a very, very, very flat, but will the wood take filler stain? Yes. Remember that thorough bleaching is next. We will keep her exterior wet for 12 hours through repeated applications of bleach, and I mean really wet.
Bleaching raises grain, so once the feathers resulting therefrom have been knocked off with a quick 220 grit hand sanding, the grain will be open and stain will penetrate.
But there is a milestone, well two milestones standing in the way of bleaching. The decks, covering boards and various trim elements must be stripped to bare wood, including removing all residual stain.
The July 9 ACBS show in Gravenhurst, Ontario is racing at us. We are committed to bring Orca, my 1953 22’ Shepherd Model 110-S Sportsman. As this video portends, many a late night are in our future!
But her 331 cubic inch, dual-quad-four, V-drive Hemi is on track. Robert Henkel, Robert Henkel Inc. (chris-craft-parts.com) has engaged a comprehensive tear-down and re-build that will include porting, polishing and balancing among a long list of particulars. The purple monster is on schedule and will be back and install-ready by the first week of May.
And the hull? Well Mickey Dupuis, Custom Restoration, Holyoke, MA, has finished working his magic on the hardware.
Shauna, Kocian Instruments, Forest Lake, MN (kocianinstruments.com), reports that the instrument cluster’s preservation will also be back by early May.
Her original wheel needed a complete preservation. Once again the pros at PearlCraft, Rowville, Victoria, AU (pearlcraft.au) transformed a totally shabby wheel into jewelry.
The Marmoleum is in hand, and the upholstery is in process.
ALL that is left is finishing the hull… all..
By the end of the week we will have applied all five coats of Interlux Interprotect 2000E two-part epoxy barrier coat will have been applied. Installing the True 5200 bottom will be complete. Three coats of hard racing bronze bottom paint will follow.
Then off comes the paper and out come the longboard sanders for the final topside and transom planking, followed by staining and sealing.
After flipping her over, I “get” to strip the decks and covering boards…
Seems so straightforward… guess we will just let her romp on Lake Champlain in June… yes?
The port face of my 1953 22’ Shepherd Model 110-S Sportsman is one plank course shy of being fully planked.
We had installed the last of the first five courses, complete with a new aft chine plank, yesterday. And I had previously packed the countersinks in the first two courses with two applications of 3M Premium Marine Filler.
The butt joints between planks should never land on a rib. Doing so permits a single course of fasteners driven through the last about 3/4″ of each plank, which can tear out over time.
Landing them between the ribs and onto a 3/4″ marine plywood block permits driving three courses of silicon bronze wood screws through the plank. (Each block is coated in 5200 prior to its positioning so that screws can be driven through the planks and into it.)
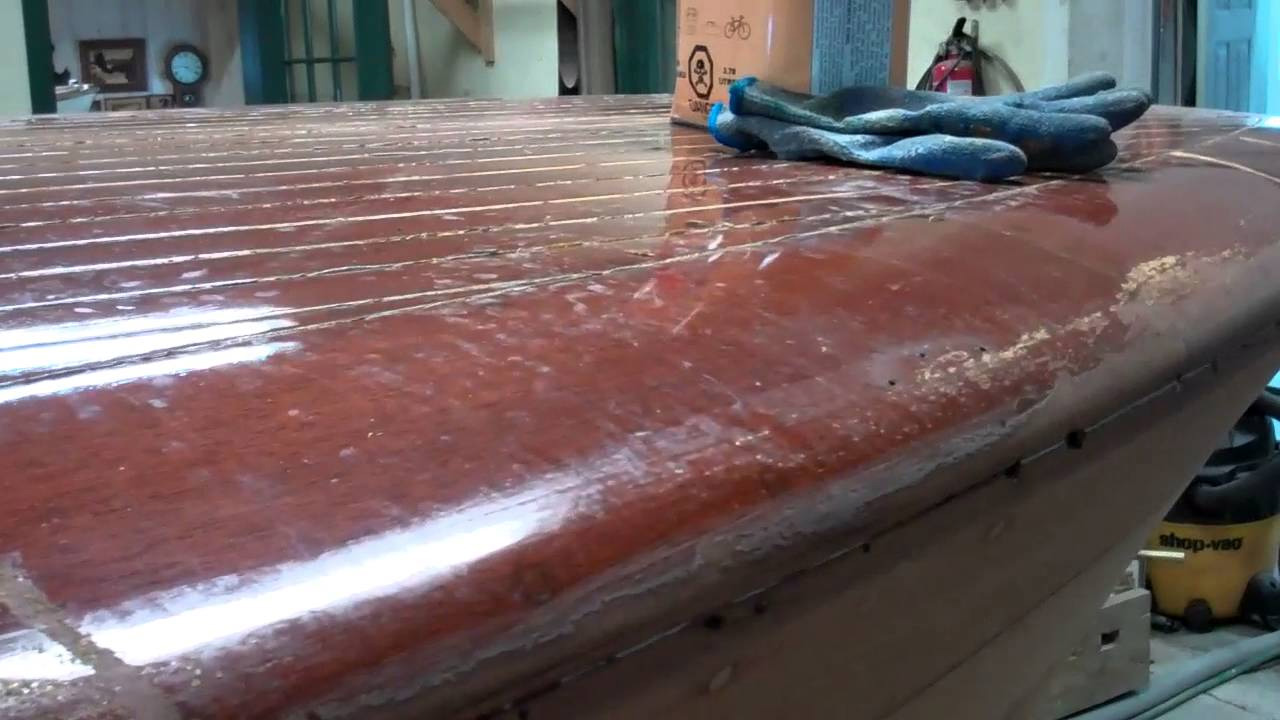
We know that each plank has been sufficiently slathered with 3M 5200, when it bleeds out through the seams and countersinks as we screw it down. Cleaning the seams and especially the countersinks is therefore a vitally important step in the process.
We clean the countersinks with a terrycloth rag soaked in Interlux 333 brushing liquid and a small flat blade screwdriver. Especially above the waterline where they will be bunged, the countersinks must be akin to surgically clean.
We wipe the seams and plank surfaces with a terrycloth rag, being sure that the surface of the 5200 in the seams is slightly concave and below the plane of the planks themselves. Leaving it flush with, or what is infinitely worse, proud of the planks adds special challenges to the flatboard sanding that follows once the 5200 is cured.
Folks have emailed me wondering if what they see in the clips is correct, that we are using white 5200. Why? Cost is the driver here. I have kept count, and thus far we used 18 tubes, installing the plywood inner skin, and an additional 33 tubes installing the first five port-side courses – just over 6 per course – of bottom planks. If we stay on course and use 6 more for the final course, the port-side planks alone will have “cost” us 39 tubes, and we will have used upwards of 80 total once the starboard face is planked, and almost 100 tubes including installing the plywood.
Mahogany 5200 cures in about half the time required by the white alternative, but it also costs between $20 and $23 per tube, depending when you buy it. White 5200 runs between $12 and $14 per tube.
The approximately $8 differential between mahogany and white adds about $800 in material costs for an application in which the 5200 all but disappears. (We do use mahogany for the forward ends of the planks that land above the waterline and will therefore be finished bright.)
Yes, there is push out along the bilge framing when the plywood is installed, which we clean, leaving a very faint white line along the seam between frame members and the plywood.
The entire bilge will be coated with multiple coats of bilge paint, which, if the seams have been cleaned properly, should render them invisible.
of which hide the seams nicely. And, any adhesion failure at these seams remains largely invisible, especially in the case of the gray bilge paint.
Chris-Craft, however, used Chris-Craft red bilge paint. In such cases we offer owners the option of using mahogany 5200 for installing the plywood. The two colors are very, very close, and doing so avoids the contrast between the C-C bilge red and the white 5200.
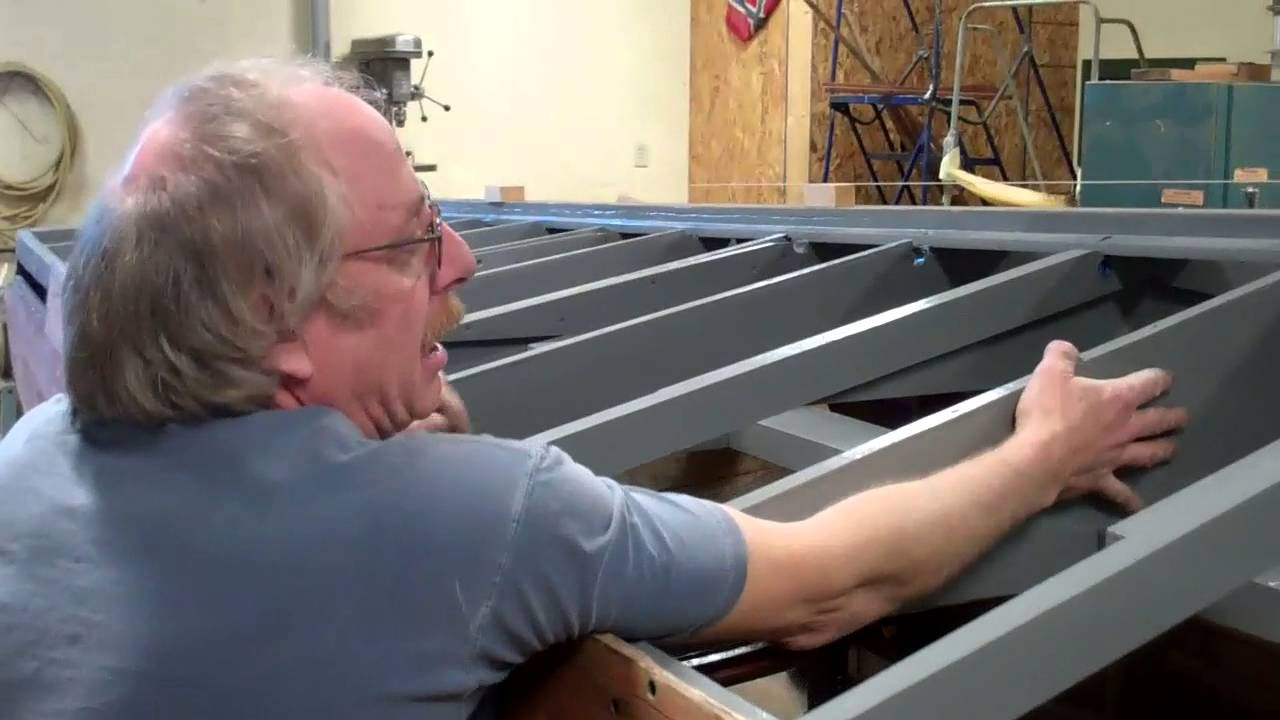
We reached a critical milestone in this preservation project this morning. The repair and preservation of the bilge framing, stem and keel of my 1953 22’ Shepherd Sportsman 110-S is behind us!
All existing fasteners have been replaced with silicon bronze.
About 40% of the ribs were replaced completely, including all the frames beneath the engine compartment. We added stiffness by replacing the 7/8” thick mahogany with 1-1/8” white oak ribs.
Almost every other rib was repaired to some extent, with all of the fasteners replaced in the components of the floating (secondary) ribs.
As chronicled in an earlier video, John rebuilt the gripe and knee using his amazing Dutchman technique.
The broken and rotted aft 3’ of the keel has been replaced and repaired by John using a long scarf joint.
Every gusset at the knees was fabricated anew and installed bedded in 5200.
Everything has been re-installed bedded in 5200. (No, I do not care that we have created a nightmare for whoever is “lucky” and inherits the challenge of disassembling the literal monolith we have created.
She came to us suffering a significantly hogged keel amidships. Years of hanging with water in the bilge almost up to the chines had taken its toll. Virtually all of the ribs in this center section had either loosened or completely broken away from the keel. The wood had rotted and stainless bolts had snapped. Sadly, the gunwales spread about 1-1/2” as a result, and the still-attached ribs tugged the keel into the hull.
We squeezed her hull until her beam returned to 7’, braced her and, using strategically-placed chain falls, gently teased the keel back into its proper shape. Rotted floating frames were then fabricated anew to fit properly, rather than to the dimensions of the failed members. The solid ribs were shimmed ever so slightly. Finally we had every rib landing properly on a keel that is straight as an arrow, at which point every joint was bedded in 5200, and secured with new silicon bronze carriage bolts.
Her former owner mentioned that the hull seemed to flex when he dropped the hammer on the Hemi. No wonder, since the bottom planking was at best symbolically fastened to the ribs and chines, and many of the ribs themselves had long ago been freed at their landings.
All of the components’ surfaced received three coats of CPES, followed by two coats of Interlux Bilgekote before being reassembled and installed. All surfaces then received another coat of Bilgekote.
Fabricating and installing the inner layer of 5/16” Okoume plywood is next. Using construction paper, and starting at the bow, John will begin patterning the pieces. All surfaces, and especially the edges of each sheet, will then be sealed with three coats of CPES, and the inner side will get two coats of Bilgekote.
Once installed, bedded in copious amounts of 5200, the hull will be materially stiffer than it is now based on John’s test, scaling the hull and bouncing up and down on the keel. OMG!
And me? All of those mahogany bottom planks must be cleaned, sanded and sealed with CPES before being bedded in a literal sheet of 5200 and screwed down.
In answer to an earlier question, given the size of the Shepherd’s bottom, we project needing at least 75 tubes of 5200, and several thousand #8 silicone bronze wood screws to complete this process.
The survey completed immediately after she was flipped made clear that the 1953 Shepherd Sportsman 110-S’s knee and forward keel had seen much better days.
Could it be repaired using TotalBoat Thixo two-part epoxy? Possibly, but then I put a wrench on one of the carriage bolts – all of which were beyond suspect and must be replaced. The nut moved, but so did the entire bolt. And as it turned, the head, the sides of which were ground flat, split what was left.
In this clip, John takes you through the process. Using one of our Fein Multimasters, John carefully excised the damaged material in preparation for executing another of his remarkable Dutchman repairs.
Why not just tear all the planking away and replace all of it with new wood? We strive towards preservation over “restoration,” a major component of which is replacing only that which cannot be repaired. As is clear in the clip, repair is readily available and a sound choice for addressing this issue. We would replace only that wood which we cannot save.
John shaped the replacement sections, refining the profile and sanding the adjoining faces in using a combination of hand-held and horizontal belt sanders.
Here is the result … so much better than trying to “save” these parts using epoxy forced into the splits.
Reinstalling the framework is next, so fabricating and installing the first layer of the new True 5200 Bottom is not far away..
I spent much of this afternoon scraping frame members, during which I could not help but notice several loose fasteners running through the keel into the ribs. Backing them out conveyed a stark realization that every one of them was rusted common steel. When I released four that ran through the transom and into the keel’s aft end, and, you guessed it, all of them were badly rusted common steel.
Releasing the keel is the only way to address this issue, and release it we did.
Ever have one of “those” nagging feelings that something is amiss? We finally had all of the fasteners released.
Save for the brass – maybe silicon bronze, but I do not think so – hex bolts passing through the keel and into the ribs, every one we removed was severely rusted common steel.
Still that sense of unease remained, and was only answered while I was shooting this video, and after the keel had been moved off the hull. Listen and you will hear John say, “You have a broken keel.”
Now I understood that gnawing discomfort. Thank goodness we decided that, with all the common steel fasteners we found and the copious amounts of grease- and oil-soaked wood among the ribs, releasing the keel was just the right thing to do.
Just imagine if we pressed ahead with the keel in place and completed our preservation only to have her waggle her fanny across the water each time we accelerated!
We will scarf a new section of white oak to the aft 20 inches of the keel and all will be fine there.
At the same time, we will be releasing a hideously ineffective collection of ¾” plywood gussets, all of which have failed, and likely began failing the day they were installed. Each will be released with a mahogany gusset fabricated to match the original ones which are still to be found on the hull.
We will also be fabricating mahogany replacements for every rib member that shows any sign of deterioration. That Hemi power plant can either drive her forward or twist her out of shape. We will render the hull so true and stiff that every ounce of power the Hemi delivers translates into acceleration.