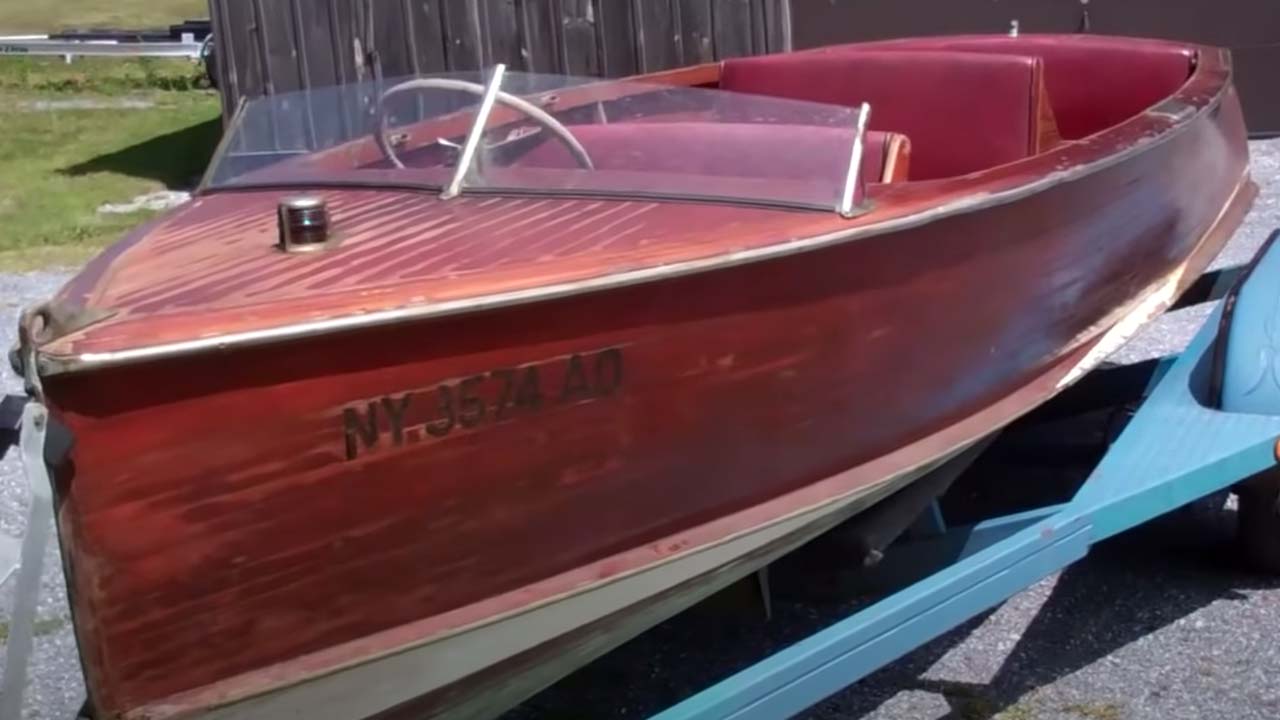
Meet Our 1951 Penn Yan 18′ Stern Drive President

1951 penn yan president stern drive

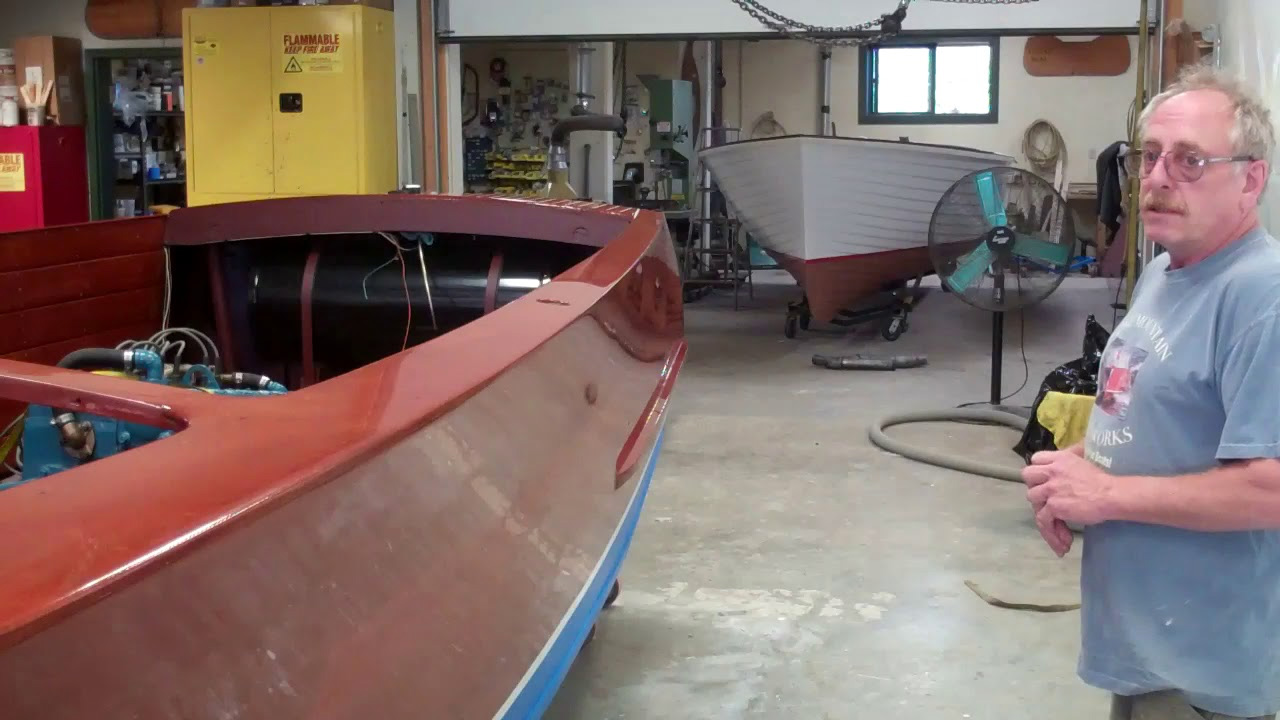
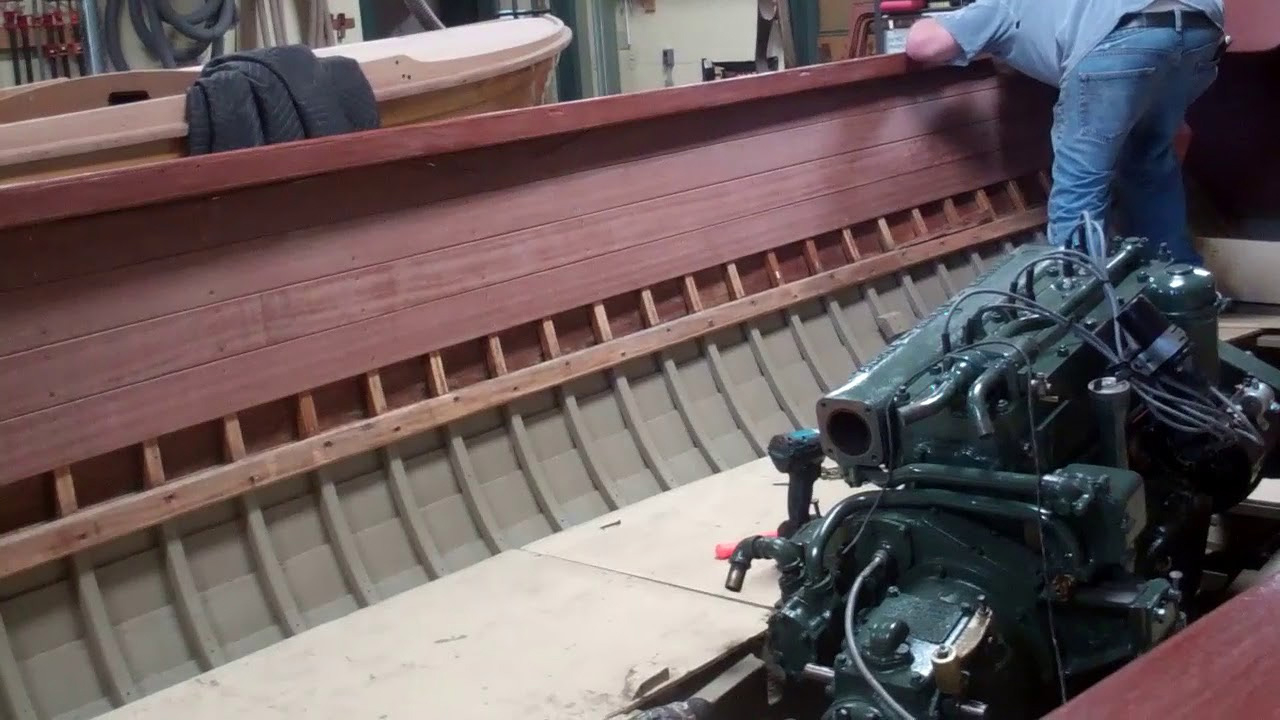
Her HIN is WR5167, and she is an example of Penn Yan “Stern Engined” inboard boats, powered by a twin carb Gray Marine Phantom 112-6.

According to Bob Speltz (Bob Speltz, The Real Runabouts VI, p. 213-14). Penn Yan offered four models. The Transport and President were utilities. The President and Aristocrat were runabouts. Three lengths, 16-ft, 18-ft and 19-ft were available, as were several engine options.

According to Speltz, “The ‘heavy stern/light bow’ balance produces uncommon action characteristics that delight all Penn Yan owners…

“A Penn Yan inboard could make the tightest turns, either way with a perfect ‘gravity’ bank. There was no skidding whatsoever. Running downwind in a heavy sea will find a Penn Yan being able to run wide open because it is light in the bow and heavy in the stern….

“The stern engine arrangement used by Penn Yan was used ever since 1932 and enjoyed great acceptance by all who owned such boats. Each Penn Yan inboard came equipped with a safety strut which was one piece bronze casting attached to the transom carrying both the prop shaft and rudder stock. It was so rugged it could hardly be destroyed…

“It has the effect of boat length behind the motor without hull buoyancy in that position, and that produced running characteristics we have already mentioned that were hard to believe.”

She must wait until winter 2019, but my goal is to preserve her then and have her on the water the following spring and summer.

1946 Chris Craft Brightside U22 Buffed!

1946 chris craft brightside u22 buffed

Finally… Only two years plus into this incredible journey, our 1946 Chris-Craft Brightside U22’s hull is finished!

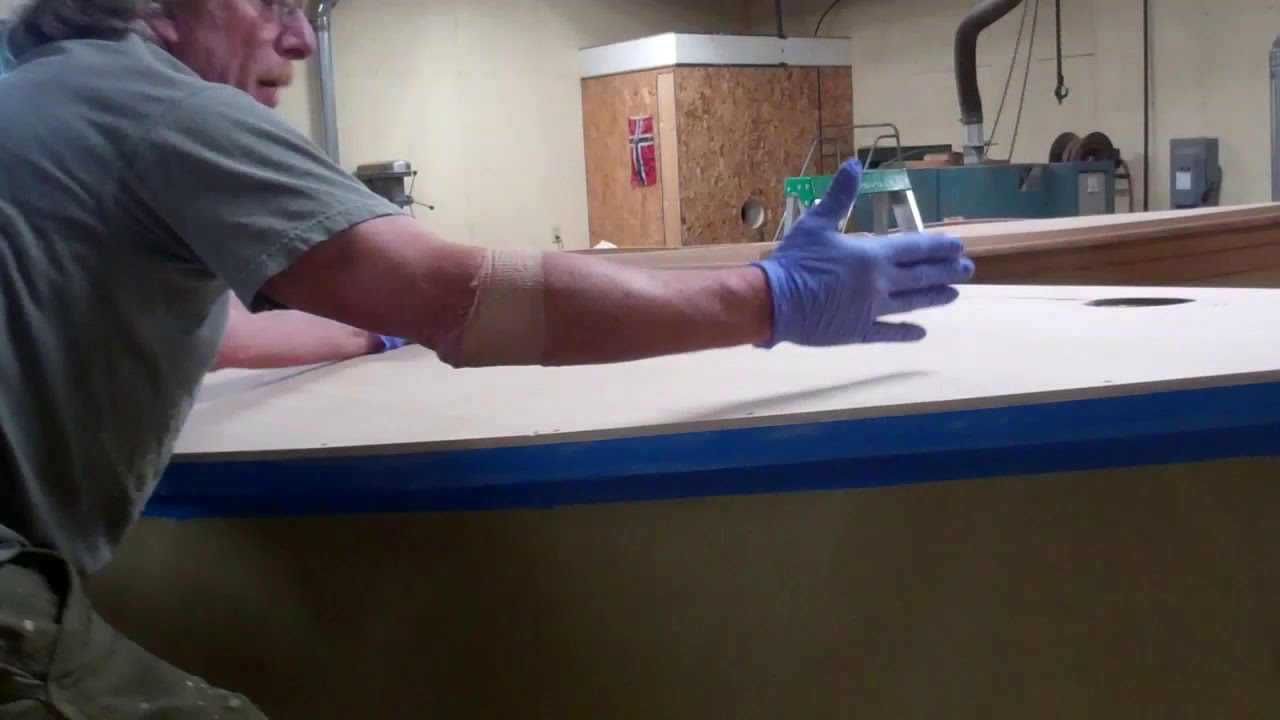
Getting there “only” took John many, many trips around her, wet sanding with 600 to 5000 grit wet/dry sanding paper. That all her surfaces were flat at the end of this chapter were evidence by the absolutely uniform snow fields he produced.

Buffing followed, and we will let the result and John speak for themselves.

We allowed the 21 coats of Interlux Perfection Two-Part Varnish to cure for 6 weeks, which also allows the varnish to shrink tightly as it cures fully. She was then left standing in the sun for several days … shrink more and more, surface!

We knew we’d learned something, however difficult being patient is for all of us, by waiting, waiting, and then waiting some more.

The surface is literally as hard as glass, and just as flat. John’s reflection in the aft port corner tells it all…

Want a shoulder workout? Wet sand and buff your varnish!

1946 Chris Craft Brightside U22: How to Buff Varnish

1946 chris craft brightside u22 how to buff varnish

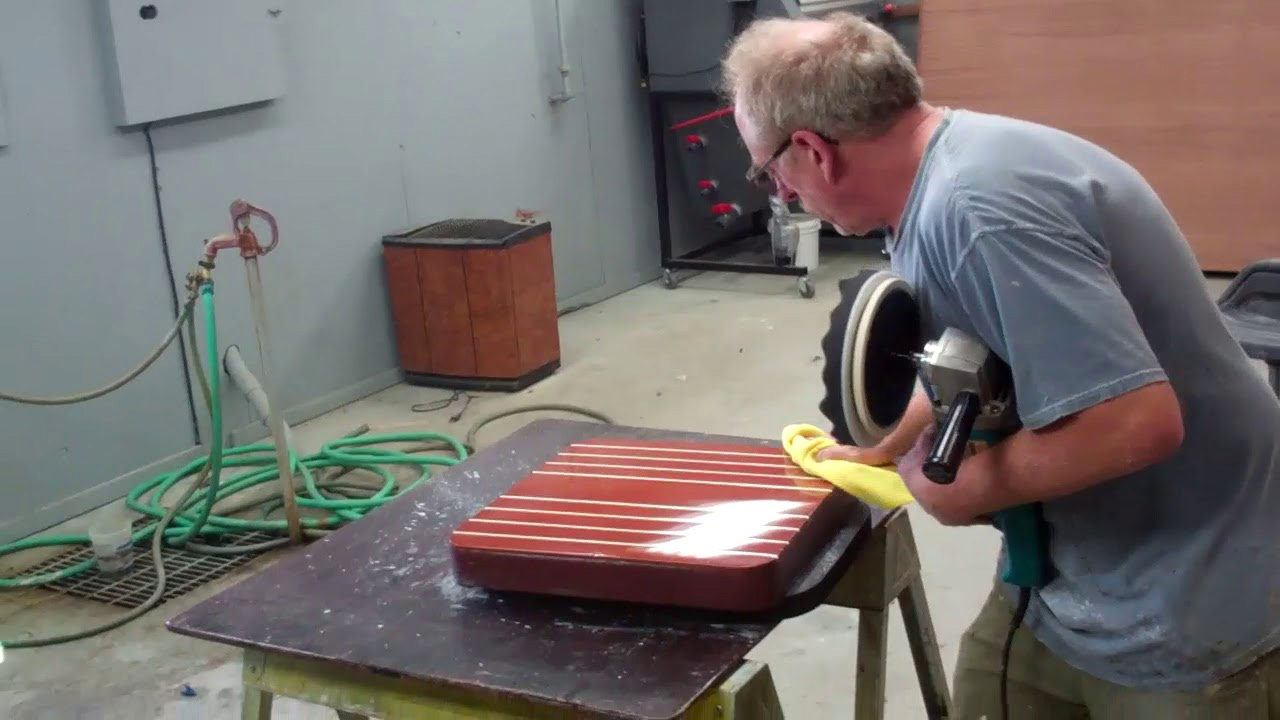
John has now made 16 passes over the 1946 Chris-Craft Brightside U22’s hull. Buffing her to a brilliant gloss is the final step.

John will use waffle cut foam light-cut and finishing pads together with a series of Mequiar’s Mirror Glaze polishing compounds, Ultra Cut Compound M101 and Final Finishing Polish M205.

Besides achieving a super-flat surface and therefore a brilliant gloss, the goal here is removing all 5000 grit scratches.

He begins his process using a variable speed orbital Makita polisher and finishes using a random orbit.

Yes, it is time-intensive and tedious, but the final result, a glossy, glass-hard surface is worth the time and effort.

RJ and I will be reassembling her starting sometime next week.

Her sea trials are just peeking over the horizon, and cannot come soon enough.

1946 Chris Craft Brightside U22 Varnish Buffing Update

1946 chris craft brightside u22 varnish buffing

John has worked last week and through late yesterday to wet sand our 1946 Brightside Chris-Craft U22’s topsides and transom from raw, fully-cured varnished surface to one that is as flat as glass.

Once he’s finished wet sanding the decks, covering boards, seating elements and dash, it will be time to buff everything using three Presta buffing products, at which point she will be blindingly glossy.

We buff with:

  • Presta Ultra Cutting Crème
  • Presta Ultra Cutt Light (PST-133-401)
  • Presta Ultra Polish (Chroma 1500)

John’s sequence:

• Wet sand using 3M wet/dry paper on a hard rubber sanding block and making successive passes with 600, 800, 1000 and 1200 grits

• Wet sand using Mirka sponge-backed discs and making successive passes with 1500, 2000, 3000 and 5000 grit using one of our pneumatic palm random orbit sanders. (He adds a half-inch-thick soft backing pad for 3000 and 5000.)

John insists on changing the water at least three times during each pass, which keeps the surface clean and minimizes scratching. We will be back once he’s reached buffing time.

1957 Lyman Runabout How to Mock Up Helm Station Seating

1957 lyman runabout helm station seating mockup

Our 1957 23’ Lyman Runabout’s owners asked us to replace the unworkable, basic helm station seating and storage she was originally fitted out with in Sandusky, OH, with the optional center pass-through alternative.

It will offer a flat floor from the engine box to the firewall, two storage lockers, one behind each “bucket” seat, and additional storage beneath them.

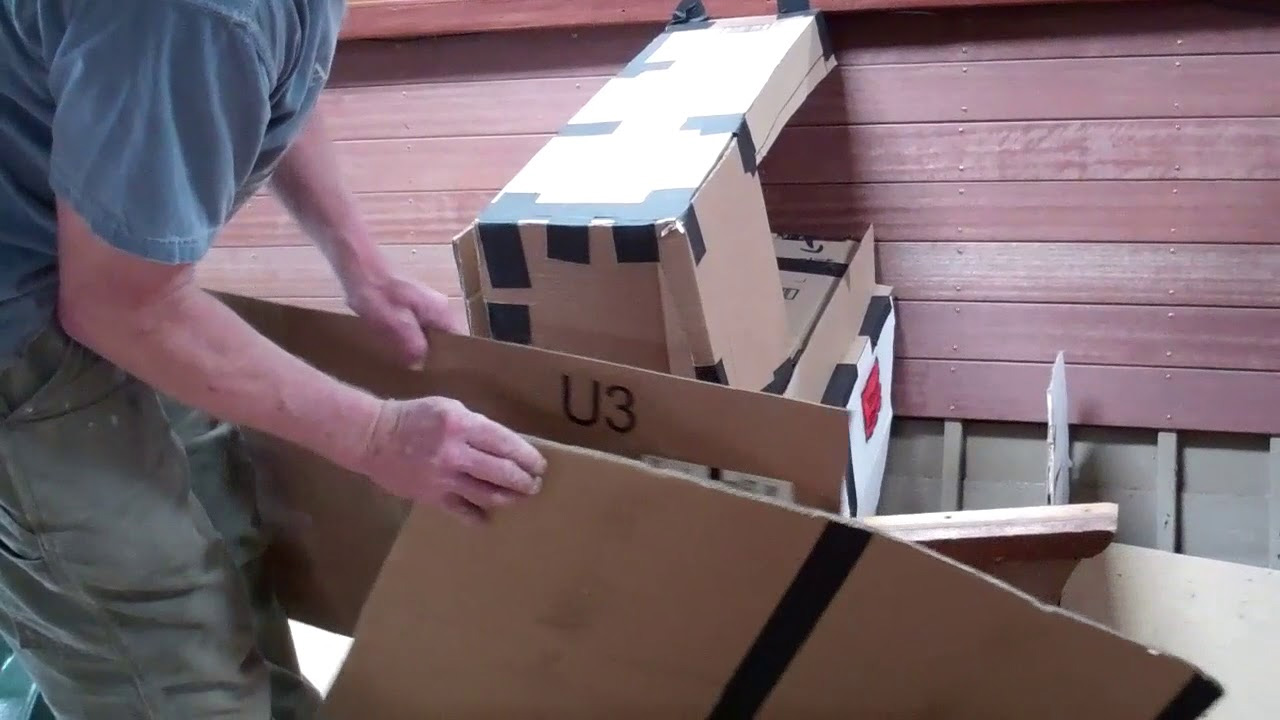
Where to begin? Fortunately the two seating configurations share interior seating pedestals. John began there, shaping and fitting each seat and locker, including the shelves within and the door he will fabricate and install. That door will be fitted out with the traditional Lyman anchor cutout.

John’s ability to imagine and then translate his ideas into a concrete, three-dimensional reality is at least inspiring, if not just a bit intimidating!

1957 Lyman Runabout: How to Fabricate and Install Ceilings

1957 lyman runabout how to fabricate ceilings

Ceilings – hull-side mahogany planking – and helm seating with a center pass-through and storage lockers fixed to the aft side of the forward seatbacks were available options on the 1957 23-foot Lyman Runabouts.

Her original owners opted for the stripped-down configuration, no ceilings and basic seating. The latter included a wide, solid seatback centered in the helm station with two short hinged wings at each end.

Her owners are opting for the upgrades, including a pair of lockers, complete with silhouetted anchors in the doors. Even better, once finished, our optional seating configuration will include a flat floor from stern to firewall, and a small step-up to each helm station seat.

We will fabricate and install the ceilings and mock-up the seating and lockers while her owners are on the east coast. Presenting our concept to them in person helps us reach a joint decision, which must translate into a superior results for all.

1959 Chris Craft 17′ Sportsman Engine Install Alignment is Cricital!!!

1959 chris craft sportsman engine install align

Frustration dominates the shop this afternoon. Why? Whoever last stuffed this 283 into her bilge failed to align the engine and driveline properly, or even at all.

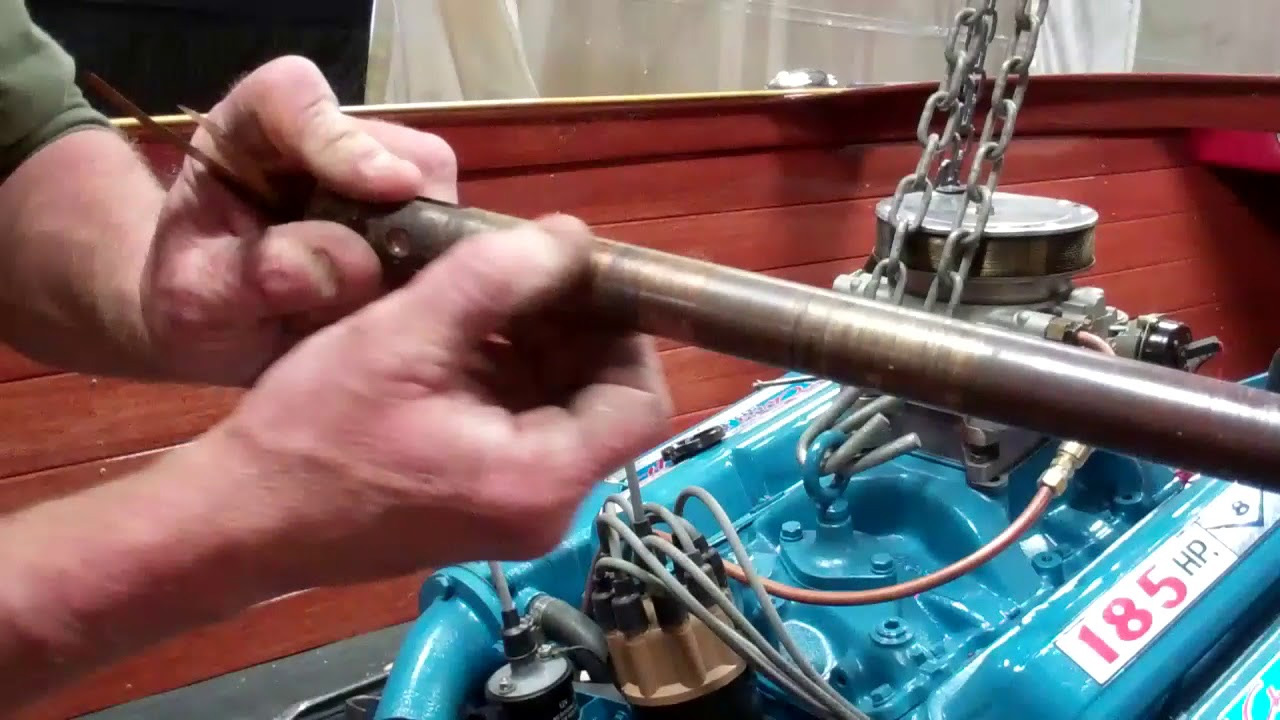
As is clearly evident in the video, we now understand why her original prop shaft was so badly scored and had actual, almost inch-wide grooves worn into it. The shaft log is worn completely out of round as well.

The shaft log can be used, but the prop shaft will be replaced with a stainless one.

You simply cannot just drop the engine onto its mounting wedges, crank down the mounting bolts and then bolt the mating faces of the transmission and prop shaft couplers together with a long ratchet handle. Yes, you can force – distort – them until they appear to mate by reefing on the coupler bolts.

But all you have really accomplished is initiating destruction of the strut bushing, the prop shaft, and the shaft log, while also visiting potentially high-wear forces onto the transmission and engine.

Once properly aligned, and before any bolting begins, alignment is a hands-only process, with the wedges being tapped this way and that, and the engine being teased laterally back and forth until it is impossible to insert a 4 mm feeler gauge between the coupler plate faces when the latter are held in place by hand.

Repeat all the way around 360 degrees while holding the plates in place. If the feeler gauge can be inserted anywhere, the engine is not properly aligned.

Spin the prop shaft and its coupler. When correctly aligned, inserting that gauge remains impossible.

That the original prop shaft was polished along the section passing through the shaft bore as well tells us the latter was bored slightly too small, so we cleaned it out using a Forstner bit on the drilling shaft John fabricated to open the bore until the prop runs without touching any wood once the engine is aligned.

Yes, alignment is a slow and at times incredibly frustrating process, but oh is executing it properly critical to achieving rated horsepower output as well as to the long run viability of your engine and driveline.

John, who spent decades building high-performance engines for mud racers, knows of what he speaks on this front.

1957 Lyman Runabout Bleach & Stain Part II

1957 lyman runabout bleach stain

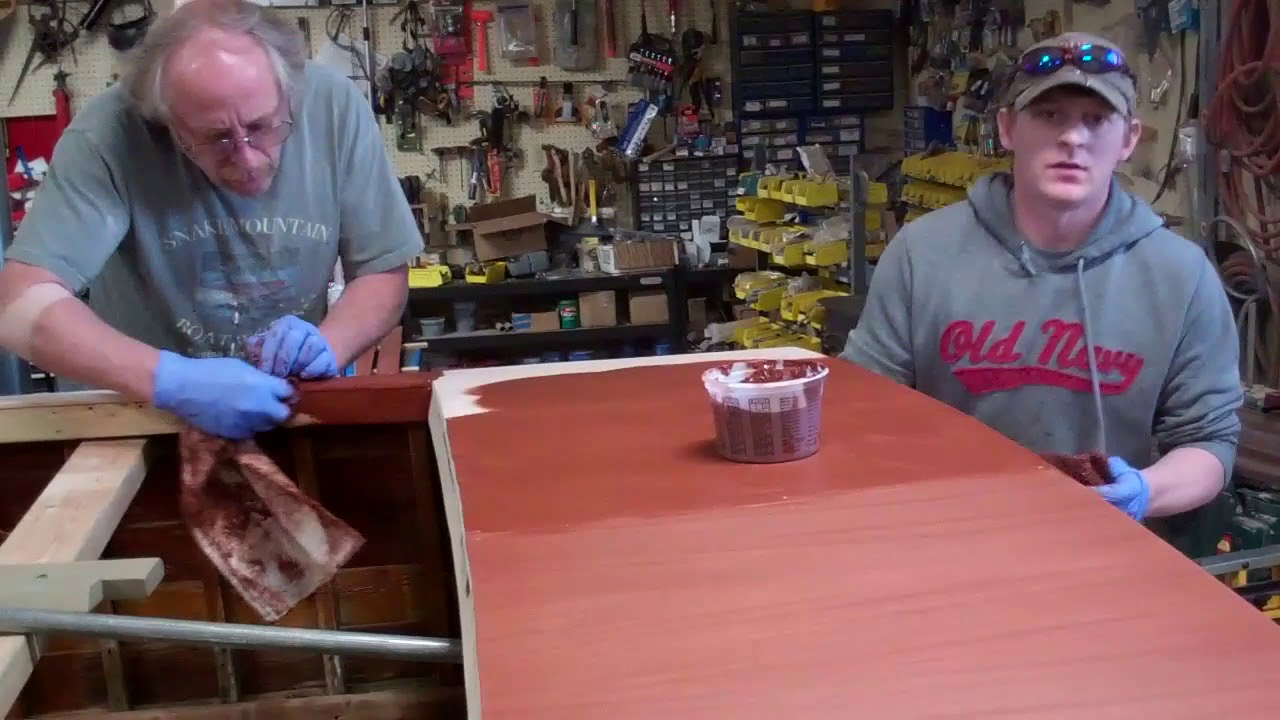
Here is Part II of the crew blasting through the bleach-stain milestones as we apply Wood Kote Products Jel’d Wood Stain on our 1957 23-foot Old Style Lyman Runabout.

Part I’s narrative focused on the how, why and advantages of jel’d over filler stain in these applications. Yes, it is far easier to apply and delivers an incredibly uniform color. It, goes an incredibly long way; we used about 12 ounces to stain everything we stained today. But it is not a filler stain, which translates into a surface that retains most of its cross-sectional declivities – hills and valleys – post staining, especially compared to a filler stain, which is designed, well, to fill these selfsame valleys.

Bottom line even following three full coats of Clear Penetrating Epoxy Sealer, filling these valleys and thereby achieving the truly flat surface we thirst for requires at least 3-5 additional coats of varnish.

We are not ready to jettison our Interlux Interstain Wood Filler Stain yet, but the ease with which we achieved an absolutely uniform color across all these surfaces makes it truly difficult to hide the Wood Kote in a deep corner of a dark cabinet!

1957 Lyman Runabout: Bleach & Stain Part I

1957 lyman runabout bleach stain

Our 1957 23-foot Lyman Runabout conservation project blasted through two milestones today. We bleached her decks covering boards, toe rails, king planks and helm station bulkhead earlier this week. Today we stained all of the same surfaces and components.

We have long standardized on Interlux Interstain Wood Filler Stain, but have recently been seeing dramatic and superior results using Wood Kote Products Inc.’s Jel’d stains – dark and red mahogany mixed in equal proportions for our Lyman products, and a bit more red relative to dark mahogany for Chris-Craft.

Jel’d stain is not a filler stain and it is not meant to be applied and let sit until it flashes. Instead, it is applied in a circular motion using a terrycloth or old T-shirt rag and then wiped – not scrubbed – off immediately with strokes that follow the grain.

The uniformity of the result is dramatic and easily attained compared to the sweat and blood required to achieve a similar result with a filler stain.

One of the advantages of jel’d over filler stain is that those nasty, light “Oops!!” events we all experience when sanding too aggressively after the first few coats of varnish are easily repaired with a rag and a bit of the jel’d stain. That offending light spot or area disappears, at least in our experience with it thus far.

Part II follows John and RJ as they stain the balance of these surfaces.

1946 Chris Craft Brightside U22 Engine Install

1946 chris craft brightside u22 engine install

One more milestone as come and gone.

Finally, her newly rebuilt power plant is sitting on her engine mounts. Because, much early in this preservation project, we removed a twist and hog from her hull, and then replaced the keel and keelson, aligning everything perfectly was not a challenge we were eager to tackle.

However a combination of relocating the engine wedges ever so slightly and reaming the prop bore a bit aligned everything nicely. The engine couplers mate perfectly through 360 degrees, and the prop shaft runs freely in its stuffing box and the strut.

We will be making some final adjustments, pack the stuffing box and tighten everything down. Installing the rudder and related steering components is next.

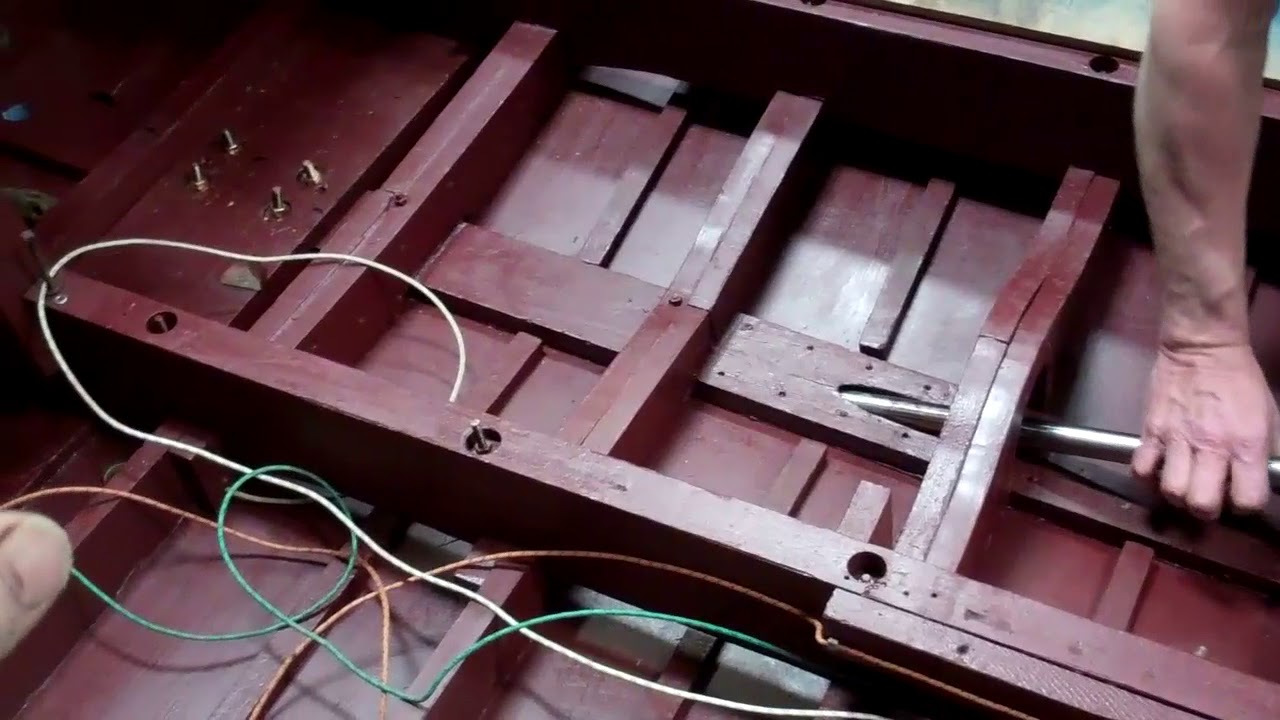
Inspecting the wiring “harness,” by contrast, informed us that the guy who assaulted her in so many ways also created a huge fire hazard. The wiring is a patched-together rat’s nest of short lengths of wire that are strung together with horrific butt connectors. The single wraps of black electrician’s tape he/she used to hide the bare wires everywhere made us shudder.

Much of the wire was hanging loosely from bilge stringers and elsewhere, with much of it laying in the bilge.

The cherry on top was the absence of proper termination. Our electrical genius simply stripped and wrapped bare wire around terminals. My goodness!

Suffice it to say that RJ has spent much of yesterday afternoon and all of today building an entirely new harness using proper gauges of cloth-wrapped marine wire.

We will begin installing ceiling planks tomorrow, with a goal of having everything in place by week’s end.

I know it is cliché to say so, but really, really, the light at the end of the tunnel is shining more brightly with each passing day!