1953 Shepherd Sportsman 110S Extracting Stain From Planking

There is no glory in pulling residual penetrating filler stain out of planking. However the returns for doing so are worth the drudgery and elbow grease involved. Sandpaper does not fill up as quickly, and subsequent bleaching delivers a materially more uniform result.

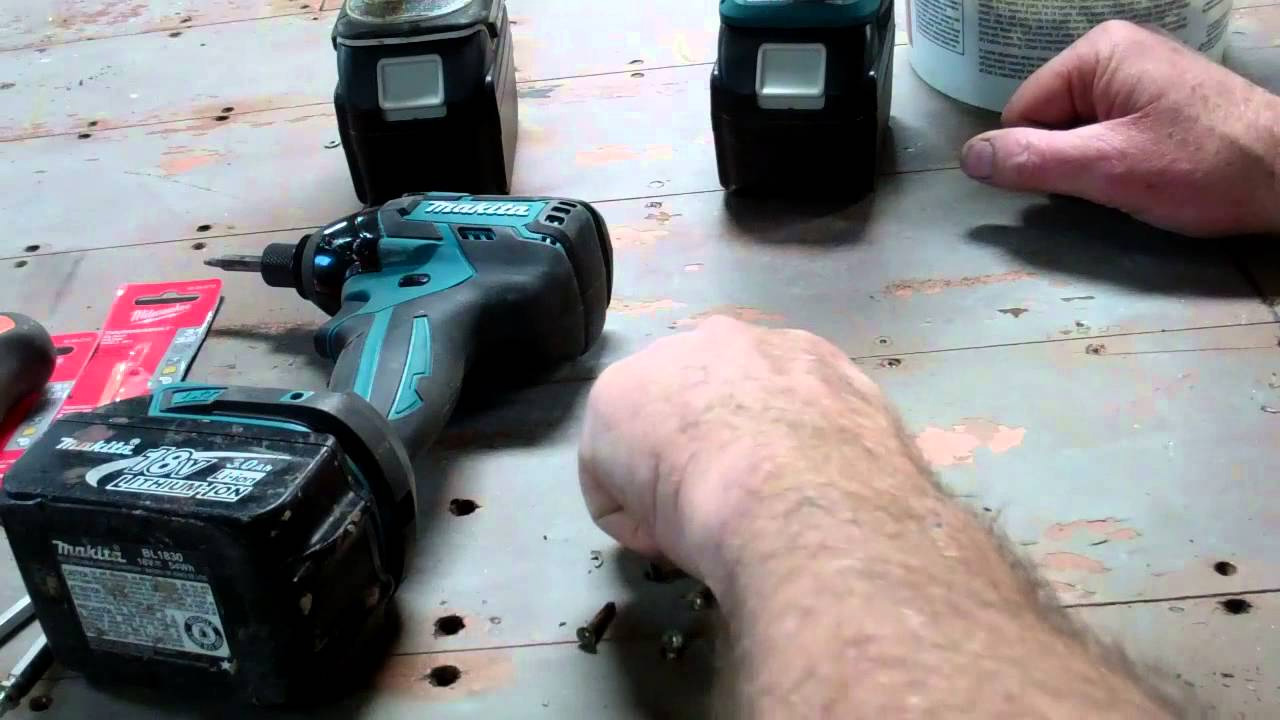
Our tools for the job: sandvik scraper with forward hand hold, heavy duty stainless steel scrubber, stiff-bristled brass brush, and Circa 1850 Heavy Duty Paint and Varnish Remover. I have experimented with several scrubbers, but the one that we find most effective is available from Amazon.com. Search for “Heavy Duty Stainless Steel Scrubbers, 3.5” large Diameter…” A pack of twelve is $12.99 on Amazon Prime.

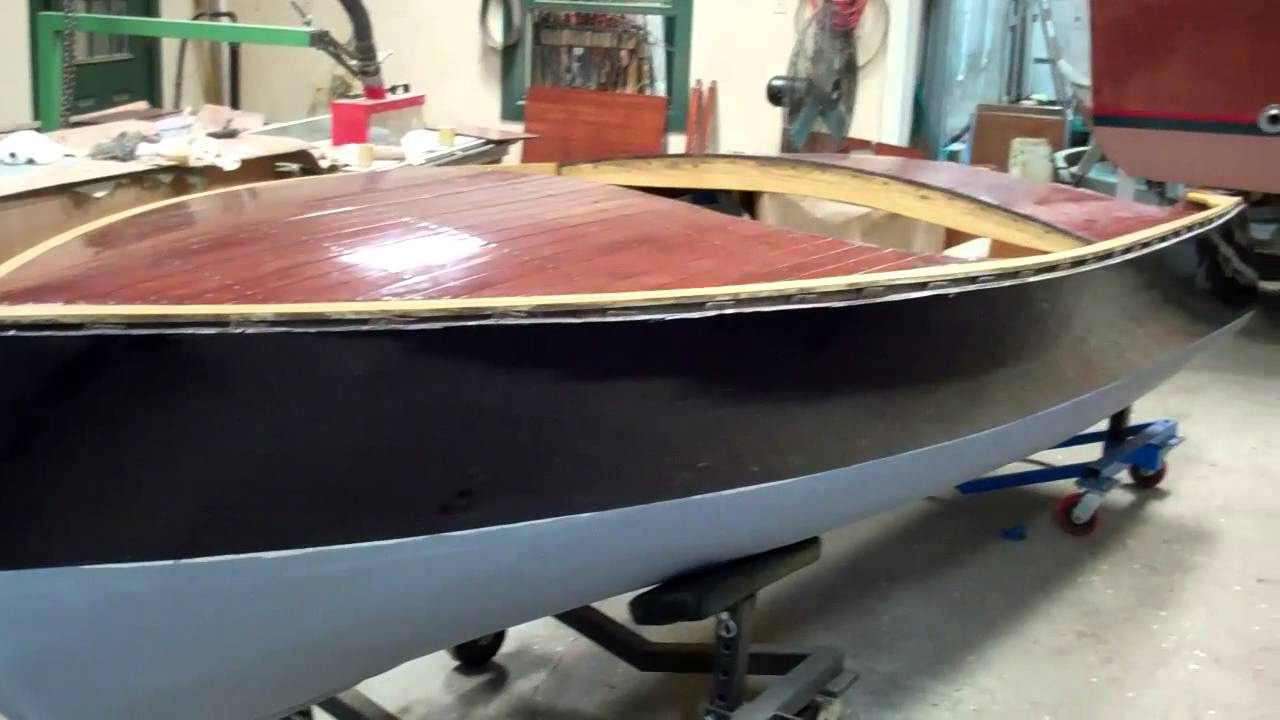
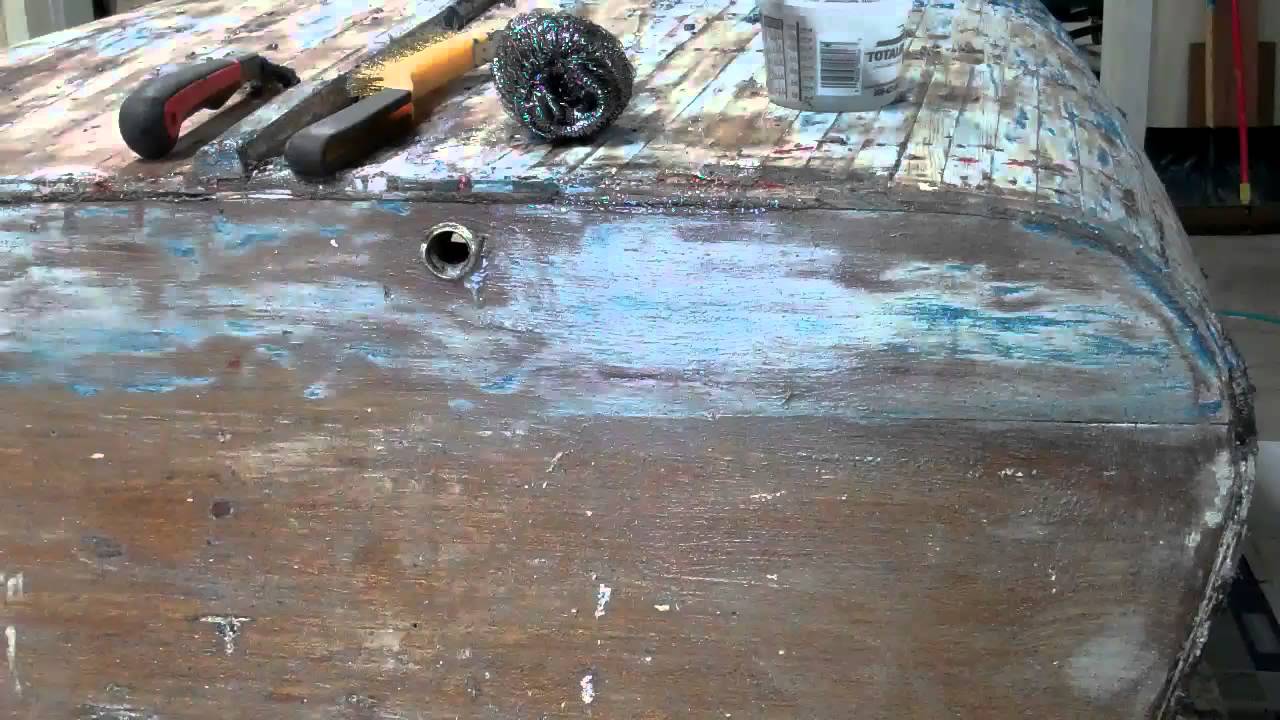
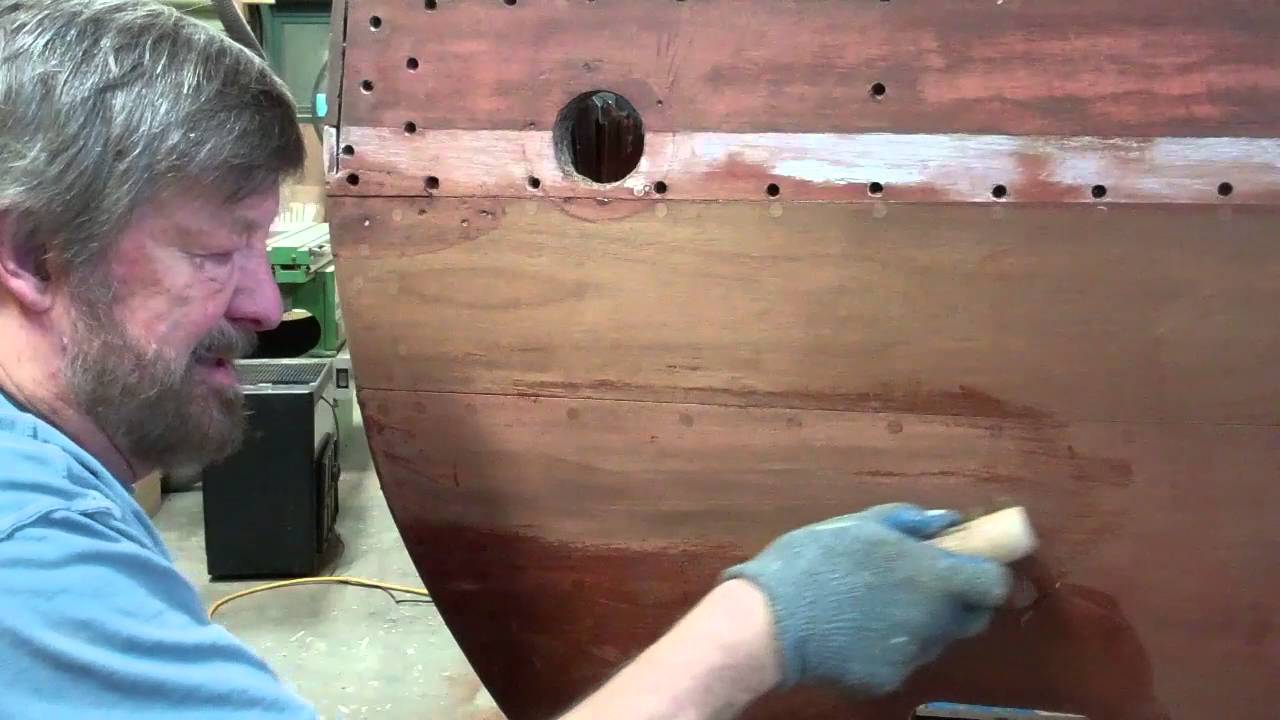
I had previously made four passes, mostly with the scraper and brush, and one with the scrubber on the transom in the clip. Now I continue with one additional scraper and brush passes and two scrubber passes.

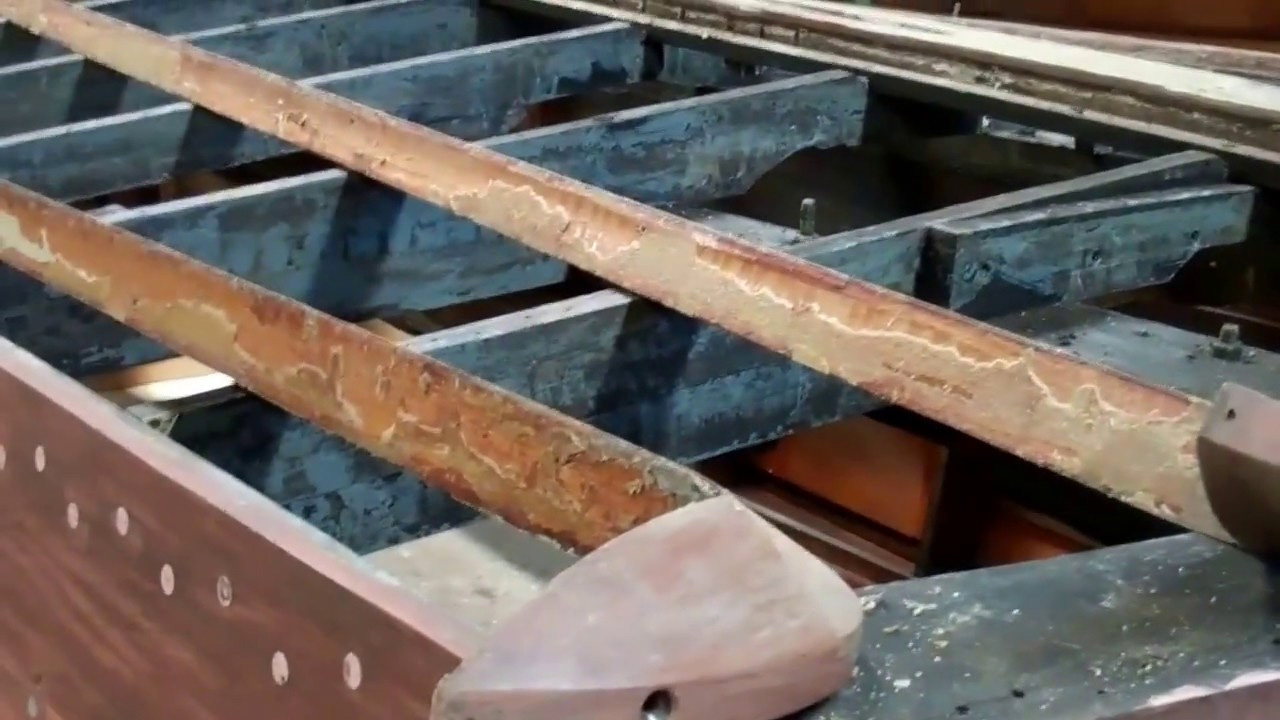
My hope is that the camera picked up the increasing difference between the area worked and that surrounding it. An additional plus is that, after seven or eight passes, we become intimately familiar with the planking, its fasteners and bungs, which also renders discovering blemishes or damage needing Dutchman repairs quite straightforward.

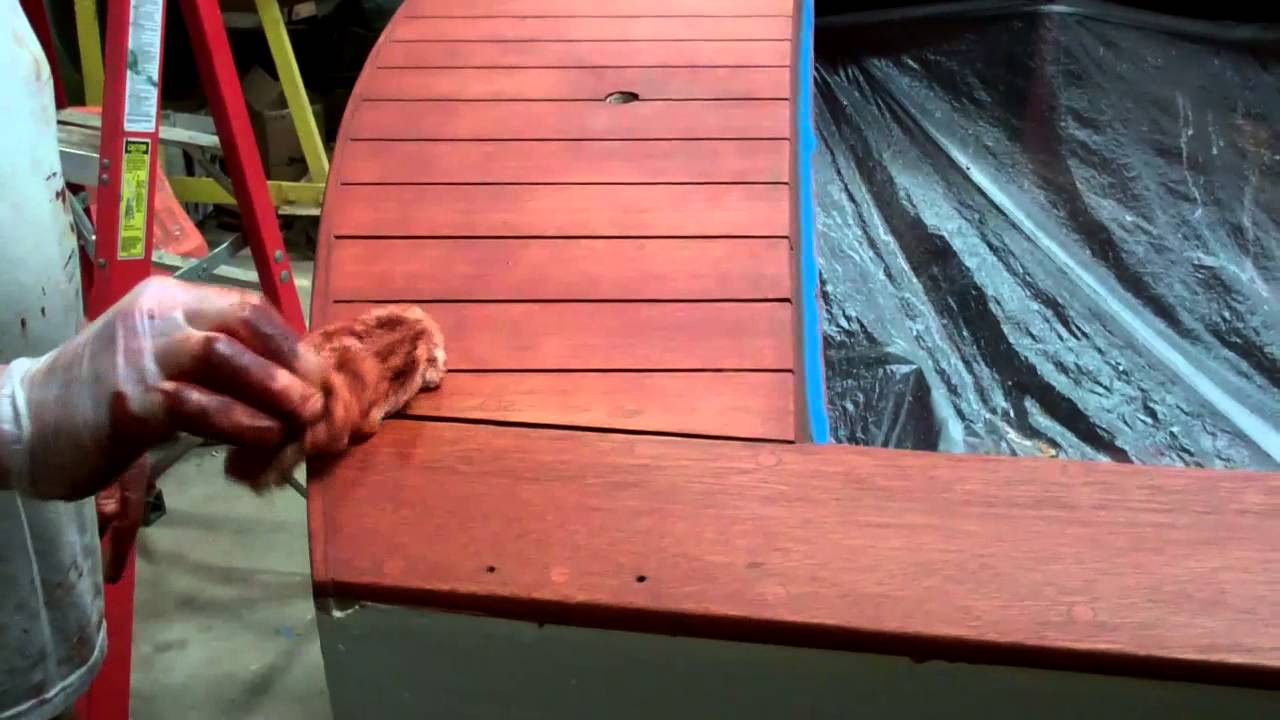
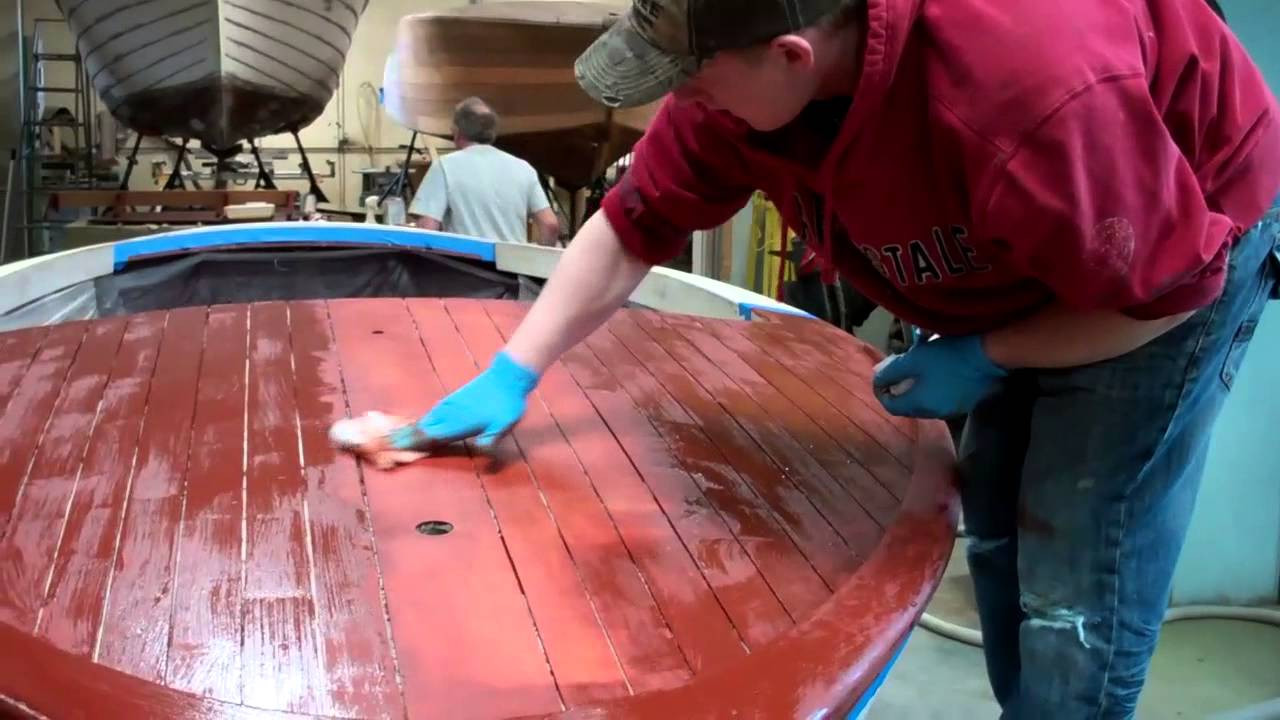
Once the cleaning is complete, we will flat board the topsides and transom with 80 grit, making sure we do not leave any cross-grain scratches, before we proceed to bleaching, staining, sealing and varnishing.

1953 Shepherd Sportsman 110 S Fabricating a Stem Dutchman

1953 shepherd sportsman 110s fabricating a stem dutchman

The survey completed immediately after she was flipped made clear that the 1953 Shepherd Sportsman 110-S’s knee and forward keel had seen much better days.

Could it be repaired using TotalBoat Thixo two-part epoxy? Possibly, but then I put a wrench on one of the carriage bolts – all of which were beyond suspect and must be replaced. The nut moved, but so did the entire bolt. And as it turned, the head, the sides of which were ground flat, split what was left.

In this clip, John takes you through the process. Using one of our Fein Multimasters, John carefully excised the damaged material in preparation for executing another of his remarkable Dutchman repairs.

Why not just tear all the planking away and replace all of it with new wood? We strive towards preservation over “restoration,” a major component of which is replacing only that which cannot be repaired. As is clear in the clip, repair is readily available and a sound choice for addressing this issue. We would replace only that wood which we cannot save.

John shaped the replacement sections, refining the profile and sanding the adjoining faces in using a combination of hand-held and horizontal belt sanders.

Here is the result … so much better than trying to “save” these parts using epoxy forced into the splits.

Reinstalling the framework is next, so fabricating and installing the first layer of the new True 5200 Bottom is not far away..

Why using stainless steel fasteners below the waterline is VERBOTEN

stainless steel hull fasteners

Don Danenberg’s seminal piece on 5200 bottoms, “What is a TRUE 5200 bottom,” Classic Boating, September/October 2014) is a must ready for anyone undertaking replacing an antique or classic wood boat’s bottom. The section on fasteners is particularly apt in this setting:

“Stainless steel was invented in 1913. The 300 series (302-316) includes 18-20% chromium and 8-12% nickel. (316 has 2-3% molybdenum, which makes it slightly less susceptible to crevice corrosion.) In the presence of oxygen, the chromium and nickel form a surface coating that protects 70% of the material is mild steel. If you bury them in the hull, covered with putty and paint, they are cut off from oxygen and will soon corrode like mild steel. Only silicon bronze is long lasting here. The only apparent reason some use stainless steel is that, coming from Taiwan, they are cheap!

“It doesn’t matter if they are advertised as ‘marine grade.” That only applies in the presence of oxygen. Please see this website (sic) link: http://www.stevedmarineconsulting.com

This clip illustrates exactly what Danenberg asserts. These fasteners have been in the chine planks for fewer than eight years, and have already failed completely.

Please insist on silicon bronze below – or near – the waterline. In fact, Snake Mountain Boatworks will not fasten anything but hardware with stainless. Yes, the silicon bronze, Frearson head fastener is much more expensive.

Here once again is a prima facie example of how eventual cost being seldom equals the initial price. Chines should not fail in fewer than eight years, and replacing them is far, far more expensive than the original cost differential between stainless and silicon bronze would have been had this owner insisted that only the latter be used to fasten her new chines.

How To Release Clinch Nails – 1942 Century Imperial Sportsman

how to release clinch nails 1942 century imperial sportsman

Clinching (sometimes spelled “clenching”) is when you drive a nail that passes through both thicknesses of wood you are fastening. The tip of this nail sticks out about 1/4” and is bent over and driven into the wood.

That is all and good, but how about the poor person trying to repair or preserve a wood boat like the 1942 Century Imperial Sportsman that has been clenched?

If you can get to the edge of a board so fastened, and there is room for the tool, the nails can simply be cut off using a tool like a Fein MultiMaster.. It is quick, clean and relatively easy to execute. It also leaves the tip of the nail imbedded into whatever framing the nail was clenched to. Woe be unto the unsuspecting person who reaches in there with a fine handsaw or worse, has released the frame member that is too thick for some reason and runs it through his/her planer! Those blades are anything but free!
Seeing me with the Fein tool in hand, RJ suggested pulling them with a simple hand tool, a staple or upholstery tack puller.

Voila’! Yes, a bit of patience and care is involved, but the tool can be gently inserted beneath the nail’s head, which is then carefully rocked upward to reveal its shaft.

In the clip I used right-angle needle nose pliers to finish carefully levering the nail free. Yes, it works, but it is also clumsy and can exert too much force all at once. (Or the operator can do so!)

Shifting to a six inch, very fine flat bar is the answer. Levering it slowly caused the nail to rotate as it was releasing, thereby leaving only a very small hole behind, one that is easily repaired with toothpicks and Gorilla Glue and faired.

I do not recommend this method on planking that is finished bright as it does tend to tear the edges of the holes left behind on the outer surface’s. Here I would go back to the Fein tool method so I could either clench anew or use silicon bronze wood screws during reassembly.

Do not try to pull the nails out by hand! I did so and yelped. That copper head’s edges are super sharp. Putting your heart into your work is one thing. Bleeding on it is quite another!

1953 Shepherd Sportsman 22′ Varnish Stripping Update

1953 shepherd sportsman varnish stripping

My wife keeps asking, “Why is it taking you so long to just strip the varnish from that Shepherd?”

Well, 22 feet long, almost 3 feet from chine to gunwale translate into lots and lots of surface area. Lots!
And, whoever varnished her last made sure the stain penetrated the mahogany, and then must have applied something like 18-20 coats of varnish.

I have complete a first pass on port and about 40 percent on starboard. Once the balance of the starboard side and the transom are denuded of all varnish and bottom paint, I will begin another lap using the Circa 1850 Heavy Bodied Stripper and stainless pot scrubbers to pull the stain out of the wood.

I have exhausted 3 gallons of Circa 1850 to this point, and expect to go through at least another 2 gallons before I have the topsides and transom down to truly bare wood.

As you see in the clip, and as is our custom, the spray rails have been released. Doing so is the only way to inform ourselves about the condition of the topside planking behind them. We are also afforded an opportunity to examine the fasteners – stainless square drive here – and toothpick the fastener holes with waterproof Gorilla Glue so the new fasteners have something to bite on after we have drilled new pilot holes and countersinks.
Even though they appear to be fine, never, ever will we use stainless fasteners at or below the waterline, or anywhere else on a wood boat save for hardware installation. Stainless is completely unforgiving, and they weaken very quickly when exposed to water, especially in an anaerobic environment.

For the same reasons we will likely replace the chine fasteners as well, but first it is slop on, scrape off, slop on, scrape off… So much fun.

1955 Penn Yan Commander Aristocrat Finish Painting

1955 penn yan commander aristocrat painting

Epifanes asserts that its Monourethane One-Component hard high gloss paint “provides incredibly hard urethane abrasion and chemical resistance with outstanding gloss, durability, color retention and U.V. protection. It can be brushed or rolled with the application ease of an enamel.”

Our experience is absolutely consistent with that claim. We selected dark blue for the topsides and, as is correct for the Commander Aristocrat model, she will be light oyster below her spray rails.

We have continued our practice, one that is urged by Don Danenberg, of applying five coats of Interlux Interprotect 2000E barrier coat below the waterline, but have also applied three coats to the topsides to absolutely inhibit any water infiltration.

As Epifanes Monourethane explicitly forbids direct application over an epoxy primer, which 200E is, we followed the barrier coat application with two coats of Jamestown Distributors’ TotalBoat Topside Primer.

The existing finish on the splash, rub rails and coaming proved to be beyond saving, so we have stripped and bleached, stained and have begun varnishing them.

Happily we will be able to save the original finish on the fore and aft decks. A light sanding with 320 grit will be followed by 6 – 8 coats of Pettit Easy Poxy Hi-Build varnish.

The existing finish on the hull’s interior and bilge will be saved as well. We will clean vigorously with a brass brush, sand all surfaces lightly and then apply several coats of Sikkens Cetol Marine varnish.

1953 Shepherd Sportsman Removing Bottom Plank Fasteners

1953 shepherd sportsman removing bottom plank fasteners 112015

There is no glory in removing fasteners from the bottom of my 1953 Shepherd Sportsman. It is all about being finished.

This clip responds to your several requests for a walk-through on how I am removing them, one by one by one.

The tools:
– The shop is well-stocked with cordless drill and impact guns. Today I will use four of them, with a different driver in each gun. Doing so saves me from endlessly removing and inserting drivers, which makes the drudgery pass by more quickly.
– The two impact guns hold the square drivers – a #2 and a #1 – I use to remove the #8 x 1-1/2” screws driven into the ribs and the #6 x ¾” screws driven into internal battens running between the ribs.
– One screw gun holds a 3/32” twist drill, and the other one holds #2 Pro Grabit screw extractor.

As stated in the narrative, I first stripped all of the paint down to bare wood on the starboard side, but doing so softened the putty used to fill the fastener countersinks. When I drilled through the putty and into the center of each fastener, I was left with a clean hole when I was hoping that the drill would also shatter the surrounding material.RJ suggested experimenting with removing the fasteners ahead of applying the Circa 1850

Heavy Bodied stripper to the planks. What a great suggestion. I had about 60 percent of the fasteners removed in the scant two hours I had been working when I shot this clip. Reaching the same point on the starboard side took me a bit over three and a half hours.

The process is pretty straightforward. Drill through the center of the filler and into the square drive hole.

Clear the debris with an air chuck set to run at 120 PSI. Then “simply” insert the requisite square driver and out comes the fastener.

Theory is truly remarkable!

In my experience, about 80 percent of the fasteners did simply back out, but the other 20 percent offered all sorts of impediments. Some of them broke, so only part of them released. Others simply spun in place and thus released with the plank when it was pried off the hull. But about 10 percent of them required reaching for the Pro Grabit.

But as I draft this description on December 1, the entire port side is free of fasteners, and the circa 1850 is now working on the forward third of the port side planks.

I cannot wait to get back on task…

How to Strip Bottom Paint Off a 1955 Penn Yan Commander

1955 penn yan commander aristocrat strip bottom paint

The 1955 Penn Yan Commander Aristocrat left the factory with her transom, topsides, decks and interior finished bright. She was painted ivory below the spray rails.

By noon today RJ and I released my Commander’s hardware, as well as the seating, bracing in the bilge, steering, coaming boards, rub rails and spray rails.

The good news is that we found neither soft wood nor rot anywhere. Even the undersides of the spray rails are solid. The finish, however, its beautiful patina notwithstanding, will be difficult to save, but we will try to save it before we strip it away.

The painted topsides, transom and bottom are very much another matter. The paint, especially that hideous purplish blue bottom, must go. As always, I was suspicious that varnish had been replaced by paint as part of an effort to hide condition issues in the planking.

Happily, as RJ noted once I had it about 95% clean, “Looks like we can work with that transom.” Yes we can. The planking, which is clearly original, is in excellent shape. The same holds true for the bottom now that we have it about three-quarters stripped.

Patience, combined with not brushing stripper out like it is paint are the keys to efficient paint stripping. Trying to stretch the stripper is pure folly in my world.

Patience means, “Let the stripper work.” I apply it liberally, almost as though I am frosting a cake. Indeed, I pour it from the can and spread it with as few brush stroked as I can. Then I leave it alone for at least half an hour, but even as long as an hour.

Now it’s time to scrape? No. Apply more stripper on top of what is already there, and go away again.

Our go-to stripper, Jamestown Distributor’s Circa 1850 Heavy-Bodied Paint and Varnish Remover, has softened the paint down to the wood by now. It’s time to begin scraping, in our case, with a BAHCO scraper, rolling the material off the surface.

We complete the task using ordinary stainless steel kitchen pot scrubbers purchased from a local super market. Apply a thin layer of remover, begin scrubbing with the grain immediately, and watch the residue disappear.

To be sure, nothing about stripping paint or varnish is glamorous, except being done.

1946 Gar Wood Ensign Staining Complete

Staining day for the 1946 Gar Wood Ensign is complete.
Our aggressive bleaching, which involved keeping the wood well-soaked with bleach for 19 hours, created the perfect palette for the Interlux Interstain we scrubbed into the wood today.
That the process has worked as planned is clear from the homogeneity of the color across all surfaces, from the decks to the covering and then to the combing boards.
Notice the absence of any telltale dark rings around any of the bungs, and that the bungs, all of which are new, match the hues of the wood surrounding them perfectly.
Sealing is next, and here I will correct a misstatement I made in the previous Gar Wood staining day clip. While not always, and likely due to a chemical incompatibility between them, our occasional experience is that applying Smith’s CPES over Interlux Interstain seems to lift the stain here and there, but the result is absolutely unacceptable.
For that reason we use only two-part Interlux Clear Wood Sealer Interlux, a fast drying urethane used for priming wood prior to application of single part varnishes or two component urethane finishes, over Interlux Interstain.
The first coat of Pettit High-Build Varnish will be rolled and tipped on Friday!

1946 Gar Wood Ensign Staining Day

It is staining day for the 1946 Gar Wood Ensign.
Once we confirmed using our moisture meter that the wood is back to about 15% or less moisture content, we lightly hand sanded the entire surface with 80 grit dry paper, vacuumed it and then washed it down with Interlux 202 thinner.
As Ensigns were originally much browner than we are used to in the case of Chris-Craft boats, we mixed a 1:1 ration of two Interlux Interstain filler stain, Chris-Craft Mahogany (573) and brown mahogany (42). (Our customary Chris ratio is 2 red to 1 brown.)
We masked both covering boards at their intersection with the foredeck so we’d have more control over the process.
As with other projects, a full coat of stain is applied using a chip brush after which it is allowed to flash – become almost dull in appearance. Then cheesed cloth is used to scrub, and I mean really, really scrub, across the grain until we can discern a sheen across the surface.
We will complete the staining process by day’s end. The first of three coats of CPES will be applied tomorrow morning.
Varnish is not far away!