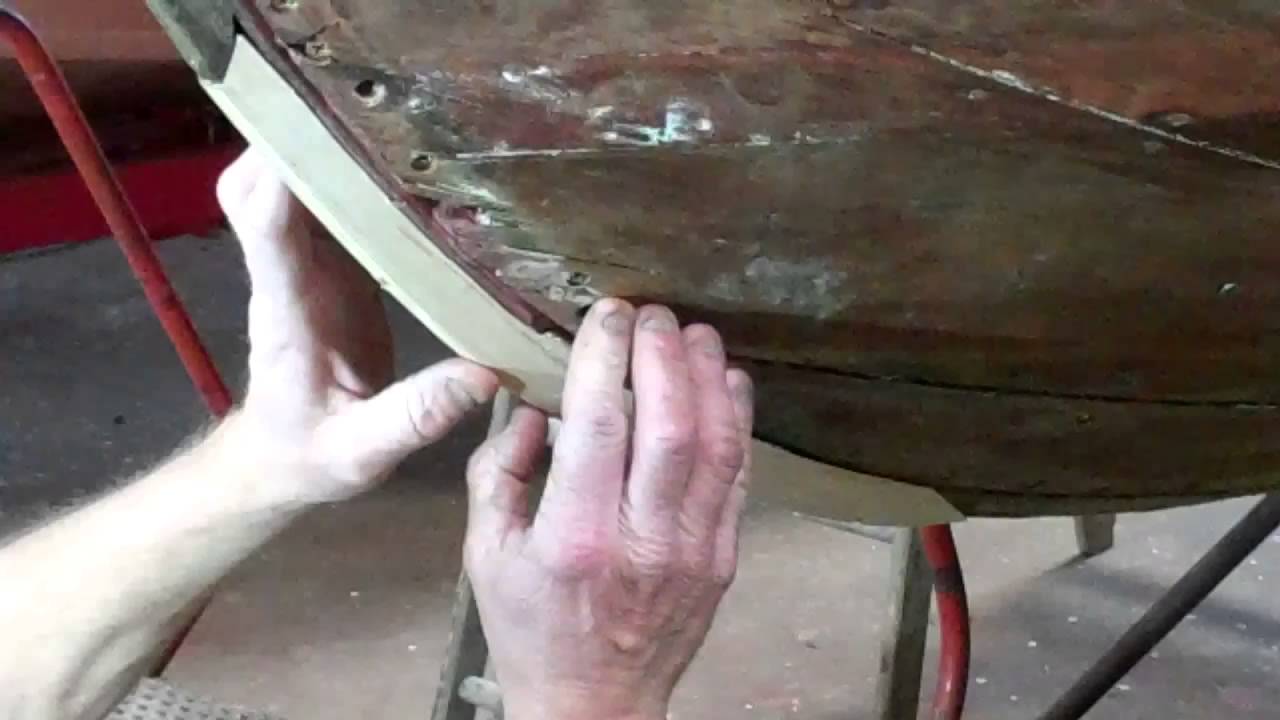
1952 Chris Craft Riviera: Buffing Varnish Triumph

1952 chris craft riviera buffing varnish

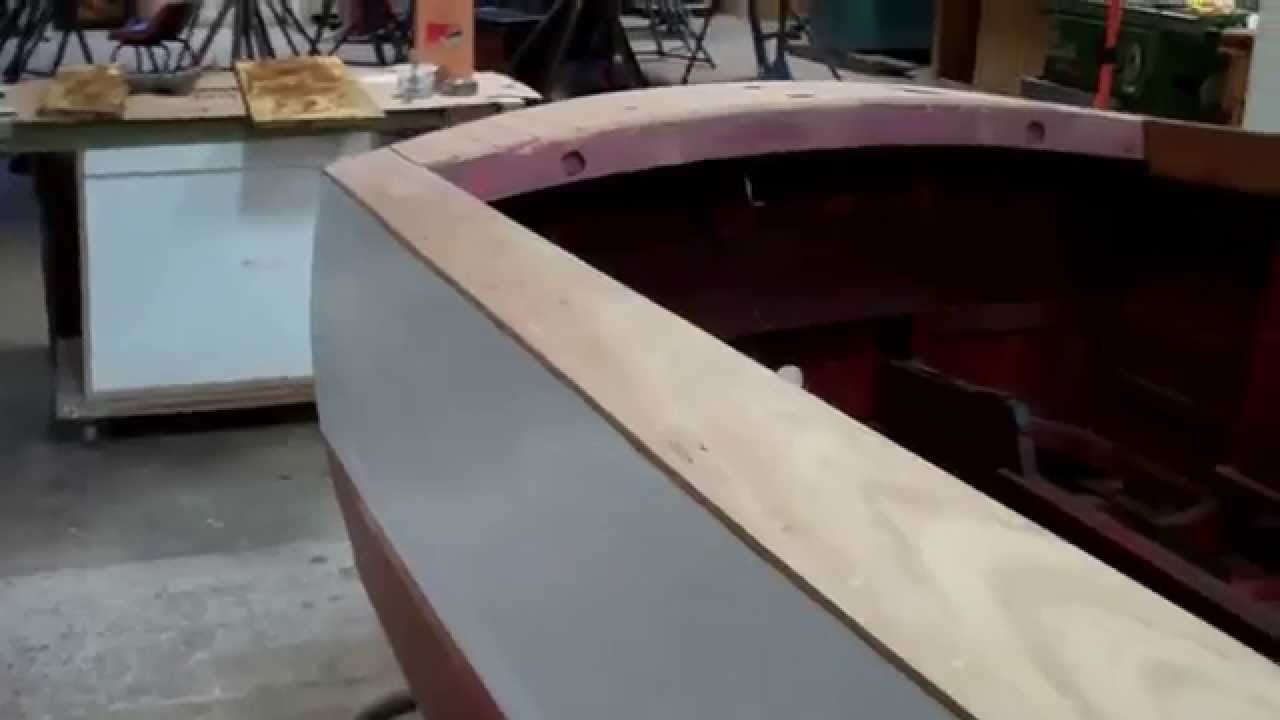
RJ and John rolled and tipped coat number 14 of Pettit High-Build onto the decks and gunwales of the 18’, 1952 Riviera Runabout, and the results seemed to check all the boxes, but not for RJ, “Allow me to see what I can do with my sanding/buffing system, and you will know why what is good now will be great on the other side.”

And he did. I will just let RJ and his body of work tell the story, save for adding some materials details.

Dry sanding with 1500 grit came first. Yes, yet another snow field, but this one was different as a definite luster showed through the haze. Wet sanding with ever-finer grits followed. Having other customer-related things that required my attention, I left. That was Thursday afternoon.

When I arrived this morning, the hatch cover immediately commanded my attention, “BUFFED” said the paper tag taped to its leading edge. What I beheld literally stopped me in my tracks. The gloss is truly 10 miles deep and completely without blemishes. Walking into the shop where the Riviera sits immediately told me the “rest of the story.”

RJ had to have worked into the night. By this afternoon he had “finished the initial stages.” He’d dry and wet-sanded the entire surface, and had begun applying our Ultra Buffing System from Presta to the project. “All that remains are the next two steps, buffing with Ultra Crème Light and then Ultra Polishing Crème, followed by washing, and then she will be just like the hatch cover.” I cannot wait ……

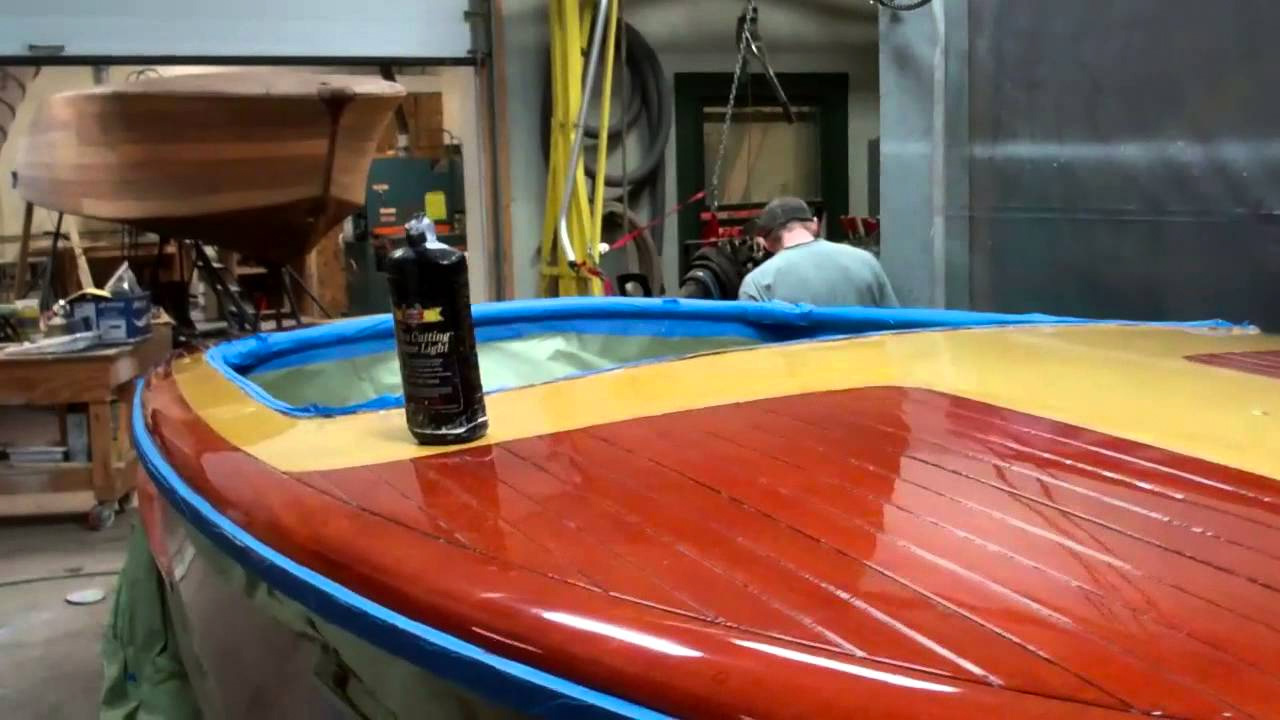
1946 Gar Wood Ensign Newly Planked & Ready for Bleach

1946 Gar Wood Ensign Planking Restoration

We could not be more pleased to have reached this milestone. We knew we had no choice but to plank the decks anew, but she was holding another secret beneath her tired, split and just plain worn out original decking.

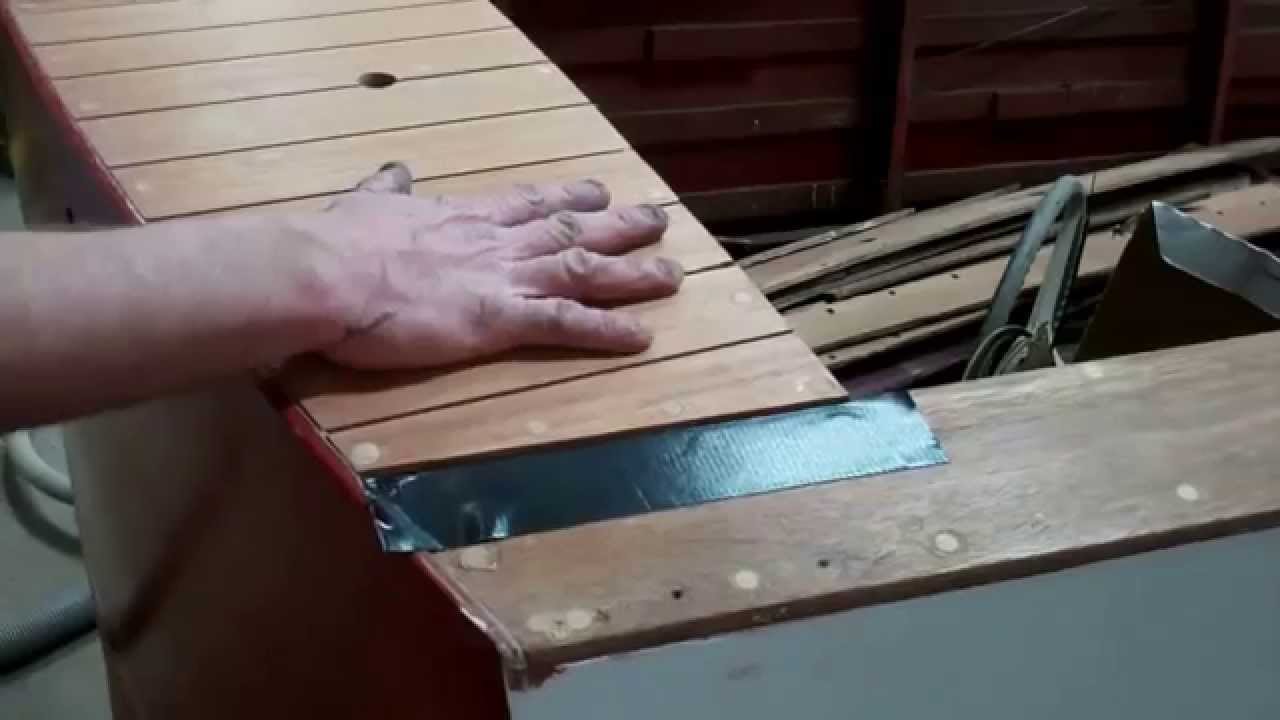
Not only were both decks dripped and broken away from their respective connections to the gunwales, the balance of the framing had become distorted and disconnected over time. When we positioned several trial planks across the foredeck, a pronounced and ill-positioned hump was evident on port, while the starboard side was essentially flat. The aft deck had similar issues.

Our strategy for addressing bringing the decks back to their proper shapes and strength involved releasing and re-fastening the individual elements under pressure. Once everything seemed to be in place, we fastened the newly-fabricated planks, holding our breath all the while.

That we succeeded is evident in this clip. The foredeck has regained its correct “domed” shape. The bulkhead is firmly attached at both ends. And RJ can stand on the deck without deflecting it.

Addressing the aft deck required releasing and replacing much of the framing as the end of most of the members had suffered serious degradation over the years.

Bleaching is next, followed by staining. Only then can we begin rolling and tipping coats of varnish.

1946 Gar Wood Ensign New Deck Milestone Reached Almost

1946 Gar Wood Ensign Deck Restoration

Friday the 13th turns out to be a near milestone day for the 1946 Gar Wood Ensign deck planking project.

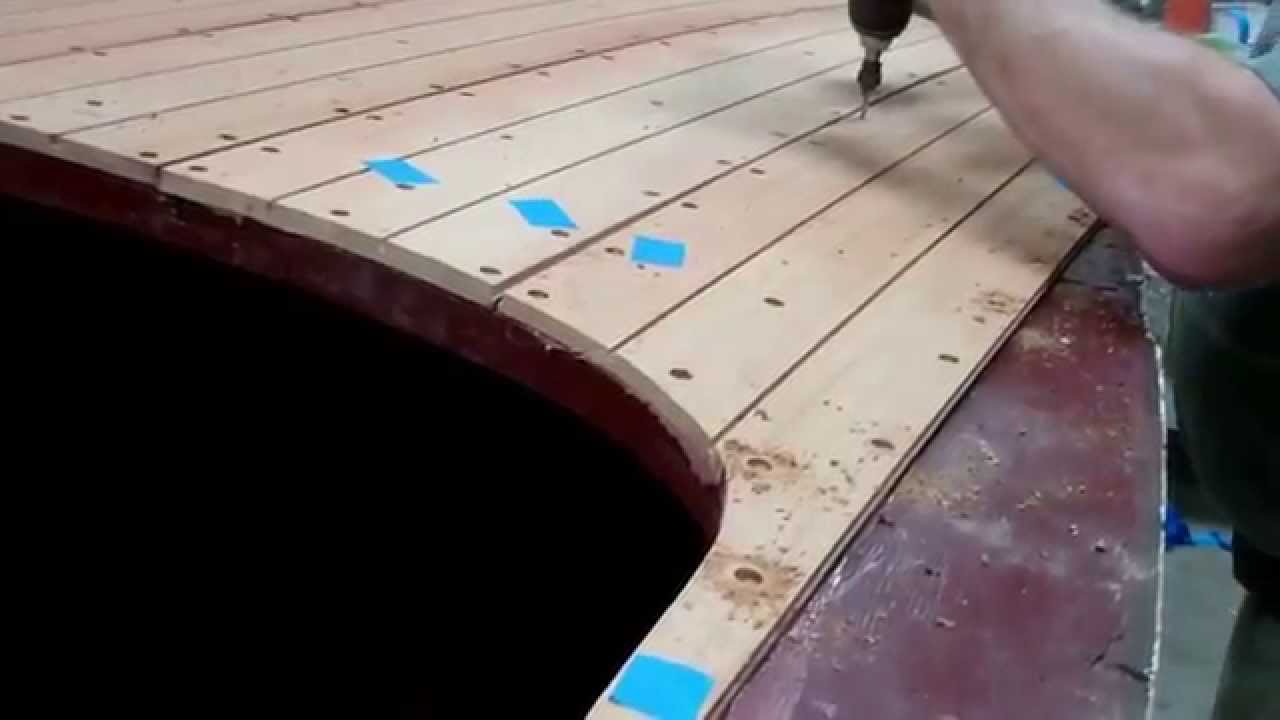
As it opens, you can enjoy with John and me seeing all the planking, fasteners and bungs in place, and all of the deck seams having been routed out.

What remains? As we explained in earlier reports, both decks were flying loose and sagging where they met the gunwales. That droop hid the fact that the deck boards we removed were actually thicker than are the covering boards. As a result, the new planking is proud of the covering boards now that the framework has been completed.

We use the Veritas Detail Flush-Cutting Saw, with a 26 TPI blade (05K34.10) for trimming the bungs fair with the surface. It is the first flush-cutting saw we’ve used that absolutely will not scratch the surface around the bung.

John’s final challenge, one that begins with 40 grit paper on our longboard sander, and ends with 80 grit, is to sand the decks fair with the covering boards.

Bleaching will follow as will follow, which we will chronicle for the community.

1946 Gar Wood Ensign Deck Planking Update

1946 Gar Wood Ensign Deck Planking

We are nearing a major milestone on the 1946 Gar Wood Ensign deck replanking portion of this preservation project.

Fabricating two small sections of planking, fastening them bedded in 3M5200, bunging the countersinks and sawing the excess away, and we will be ready for sanding and fairing the decks and covering boards.

Bleaching and staining will be next, followed by rolling, tipping and sanding coats of varnish.

We will be using Epifanes Gloss Clear Varnish on the decks and transom at the request of the owner.

1930 Dodge Runabout Barriercoating the True 3M5200 Bottom

1930 Dodge Runabout True 3M 5200 Bottom

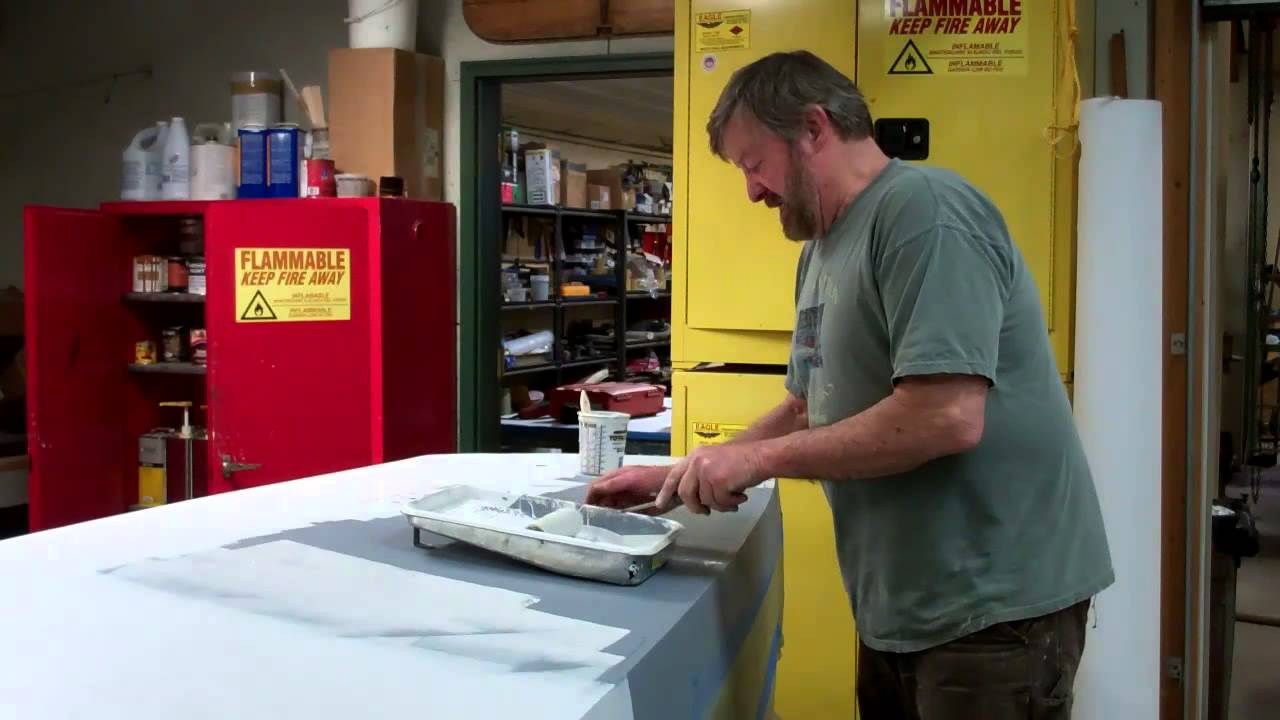
Our “True 5200 Bottom” project on the 1930 Dodge Runabout, the Minnow, has reached the barrier coat stage. In this clip we illustrate the foam-roller application of the second of will be five coats of Interlux 2000E Barrier Coat Primer. Five coats? Really? Yes.

In Danenberg’s words, “One of the biggest problems I’ve seen with shortcut 5200 bottoms is either a total lack of, or inadequate amounts of, Interlux 2000E Barrier Coat Primer. This two-part (thus epoxy) paint is a water barrier coat meant to keep the water from soaking into the bottom planks. It does this with minute platelets in its makeup that vastly slow the movement of water. Unlike hard epoxy laminating glues, it is flexible enough to move with the bottom.

“It is a very important part of the true 5200 bottom. It helps stabilize the bottom construction, keeping adequate moisture in the wood during extremely dry winter storage, and keeping excess moisture out of the wood during summer use. Its use is meant to stop excessive expansion/contraction that cracks open paint coatings, elongates screw holes, and buckles or cracks planks and frames.

“This product’s instructions call for a 10-mill thickness, usually 4-6 rolled-on coats (no sanding between coats), or two gallons for the average 20-footer. If your restorer tells you that 2 coats are enough, he is wrong.” (Classic Boating, September-October 2014, p. 25.)

Yes, Interlux 2000E is pricey, $92/gallon plus hazmat and shipping from Jamestown Distributors, but price and cost so often inversely correlated, and this is an example of that principal. Spend an extra $200 or so in paint now to save thousands repairing failed fasteners and planking way too soon in the future.

Topside Dutchman Repair Completed

One Dutchman repair completed. Just a bit after of this one, also in the first topside plank, several more, albeit much smaller, Dutchmen await John’s attention.

The TotalBoat Thixo Wood thickened epoxy blends beautifully into the surrounding mahogany.

John is still faced with addressing two fastener holes – bungs will do this job, and a hairline split for which Famo Wood is the material of choice.

Once he has addressed the other starboard Dutchmen needs and sanded everything fair with 40 grit, we will apply two coats of varnish to protect the wood until Minnow returns to her owner in Oregon, who will have the pleasure of restoring all the bright work.

Dutchman Topside Repair Clinic – Pt 2

vintage boat dutchman topside repair clinic

Here is the handout John prepared for the crew:

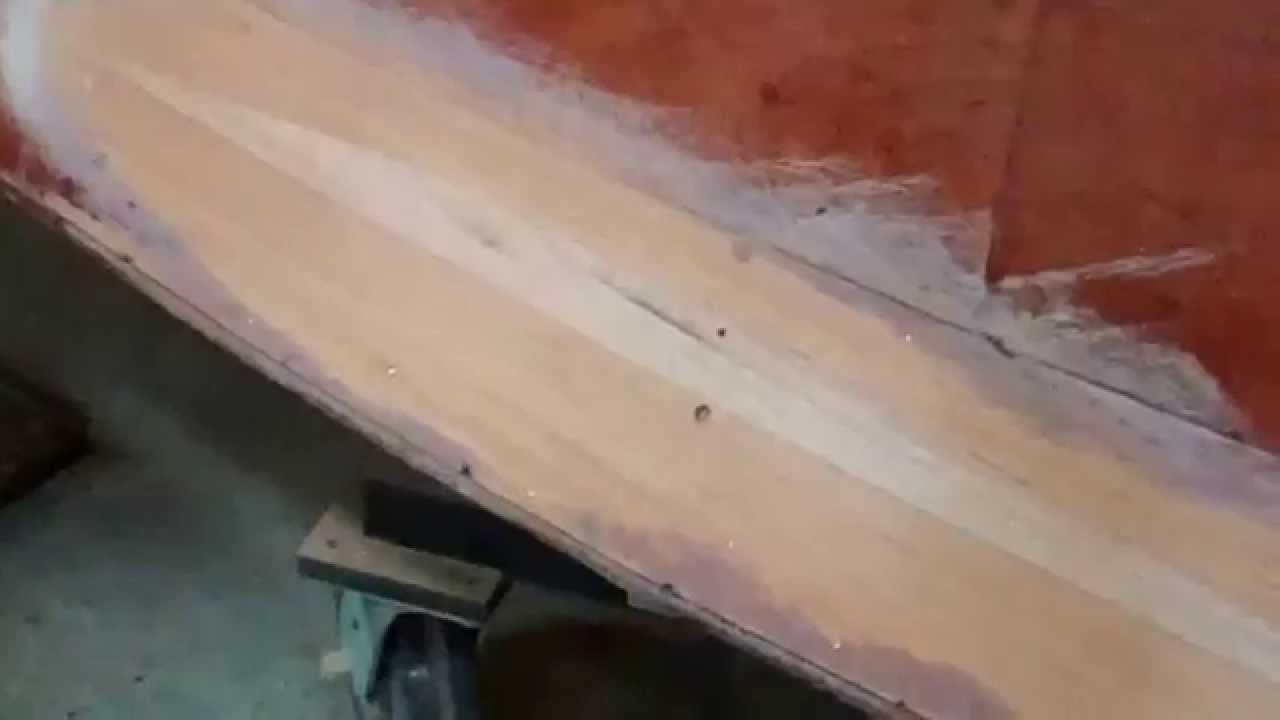
The first starboard-side Dutchmen covers 5 screw holes that were driven through the topside plank and into the block added behind the damage, and the longitudinal splits in the plank that appear to have resulted from tangling with a dock and losing.

1. Since the backing block was left flat, rather than shaped to the curvature of the plank, the “fix” results in severely distorting the proper shape.

2. Our first task was blocking the planking out from behind so that the contours match those on the port – undamaged – side, and so it can be faired to that original shape via careful sanding.

3. This Dutchman repairs the screw holes and the two splits in the plank.

4. Excising material to create the female side of the Dutchman is accomplished with a combination of a router followed by detailed hand-chisel work.

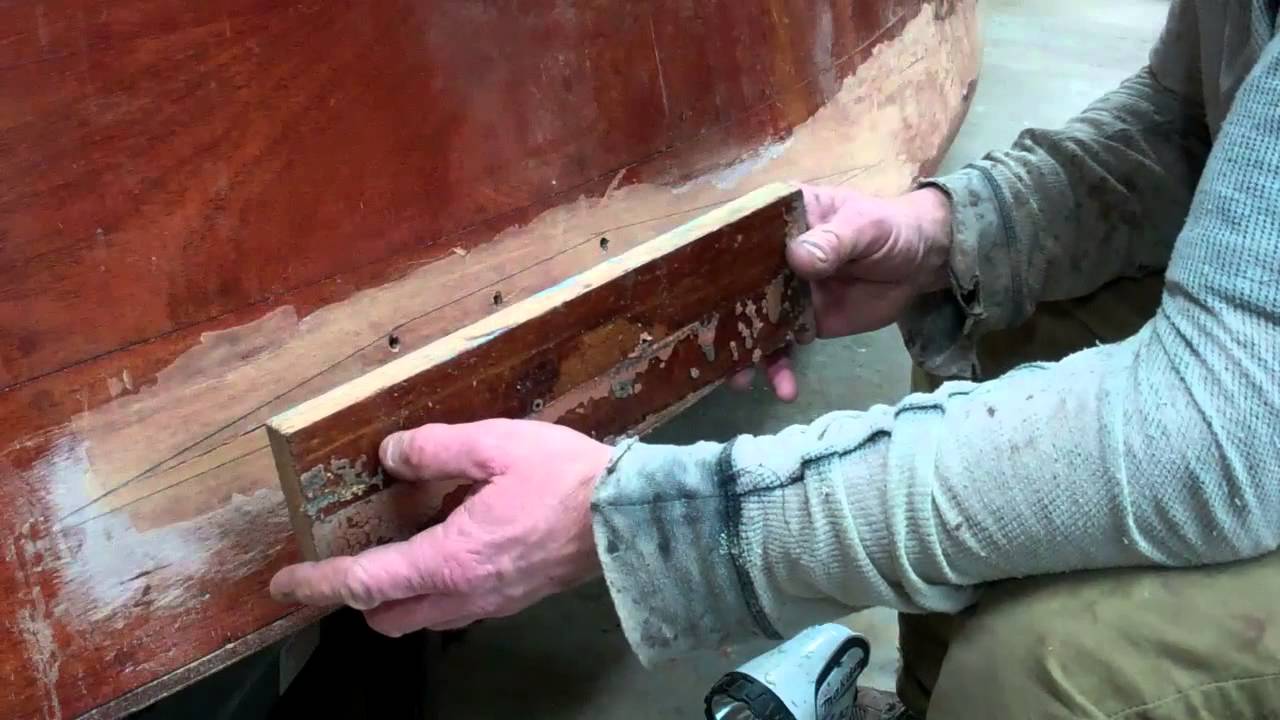
5. A template is then fabricated out of cardboard, and then used to rough out the Dutchman.

6. The Dutchman will initially be thicker than needed, both to provide a proud surface for clamping and then to sand in so that it is fair with its surrounding planking.

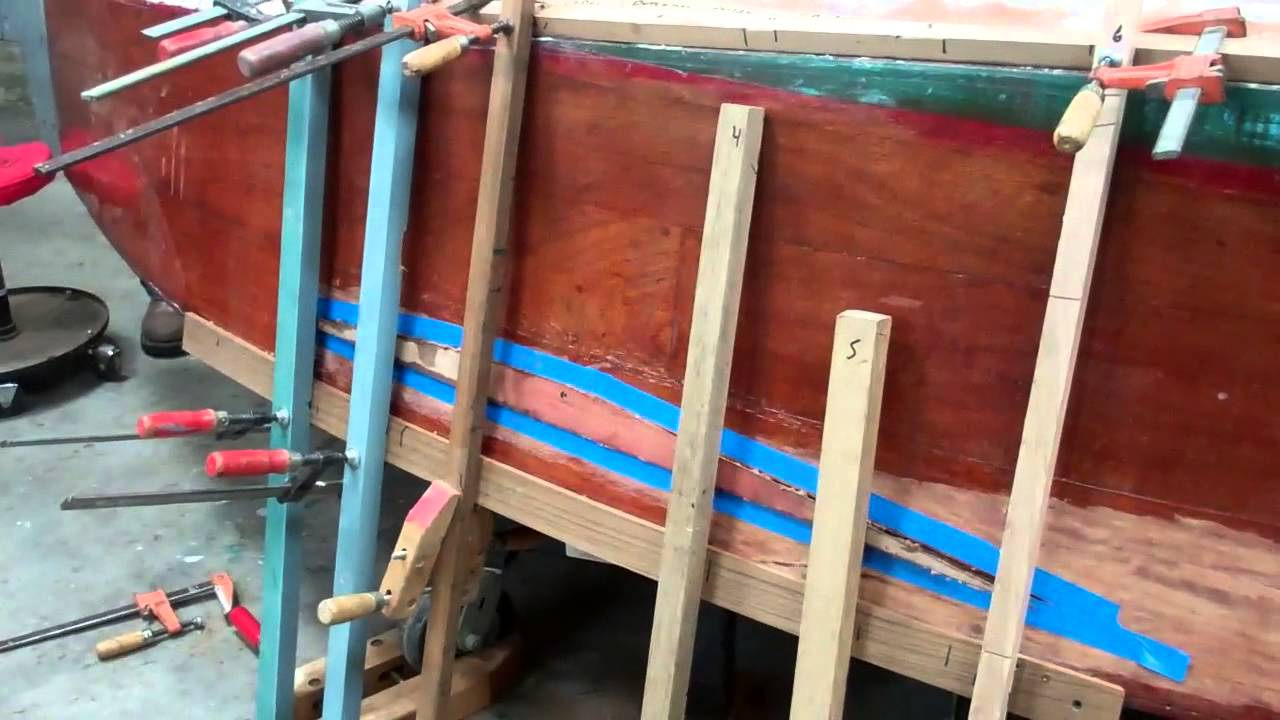
7. The inner side of the through-and-through splits will be secured with TotalBoat Thixo Thickened Epoxy adhesive when the Dutchman is applied and wedged into place using a SMB-original clamping system.

8. Glaze both the Dutchman and its female counterpart with Thixo, put the Dutchman in place, and clamp aggressively.

9. Once the adhesive between the Dutchman and the plank has cured, remove the clamps and sand the patch fair.

10. You are now ready to bleach, stain and varnish the topsides.

Dutchman Topside Repair Clinic – pt 1

vintage boat dutchman topside repair

The Lake Champlain Chapter of ACBS organizes a series of workshops hosted by wood boat shops in the region each winter. It gives us an opportunity to commiserate that, in Vermont we have 9 months of winter and 3 months of hard sledding – our boat season.

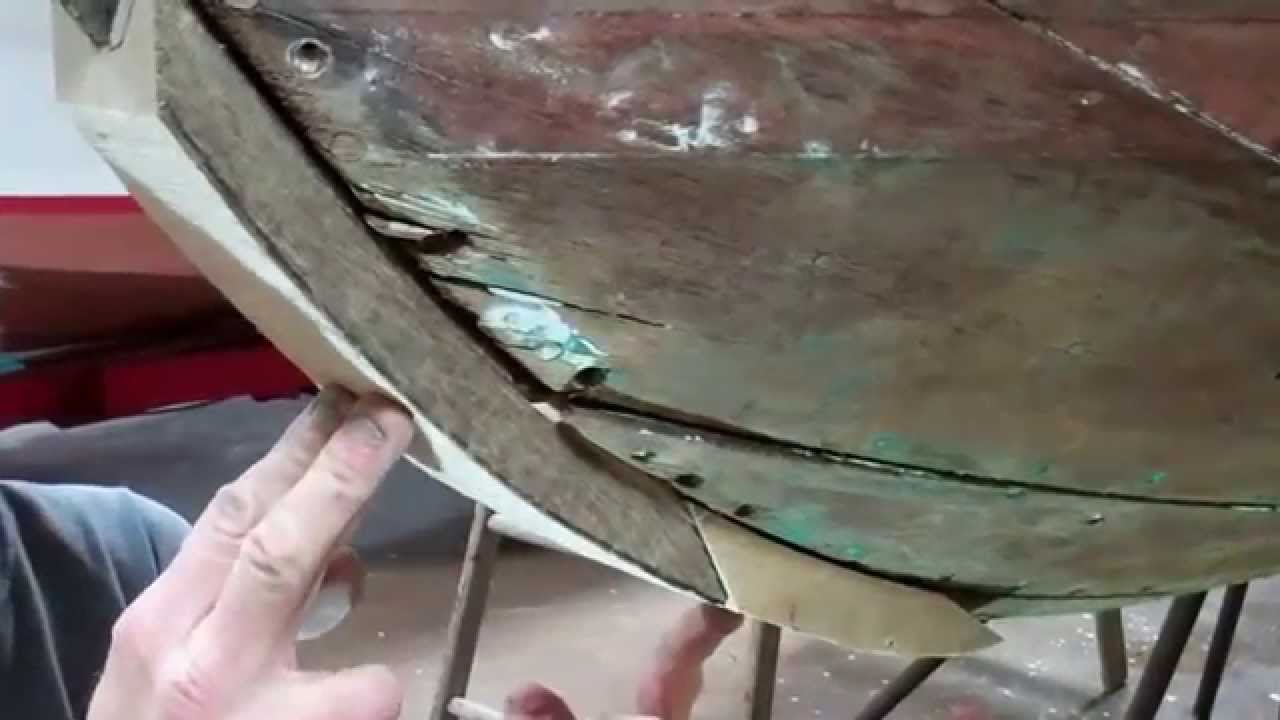
Snake Mountain Boatworks’ workshops place a premium on doing something hands-on that has potential to add value for everyone in the room. Last winter we had folks donning gloves and testing a variety of paint and varnish strippers. This year, and in response to all the questions we have had about invoking a Dutchman repair to preserve the maximum possible amount of original wood during a preservation project.John La Fountain leapt into action and prepared Dutchman projects to repair rotted and separated wood in the stem of the 1953 22’ Shepherd Utility, and splits, random fastener holes in a topside plank of the 1930 16’ Dodge runabout we are preserving.

The Dodge Dutchman repair is presented here and in the clip that follows immediately below. We will post the Shepherd stem/knee Dutchman clinic soonest.

Yes, these two clips are long by YouTube standards, but I lost the story when I edited it down to under 3 minutes. So, grab a cup of whatever, sit back, and enjoy the next 16 minutes or so.

1953 Shepherd: How to Repair a Stem with a Dutchman (update)

1953 shepherd dutchman repair stem

What a nice way to end the week! John has continued working on the Dutchman repair to the 1953 Shepherd’s stem. I hope you will agree as you view this clip that he’s made some solid progress. We filled the cavities around the original carriage bolts with Jamestown Distributors Thixo Thickened Epoxy, which we will allow to cure over the weekend.

Then John will use the same adhesive to bond the stem and knee components of this Dutchman repair to the native surfaces, securing them temporarily in place with wood screws. 3M 5200 will be applied on the two elements’ joining faces.

Once the adhesive has cured and the screws have been removed, John will complete his final sanding-in process and drill new carriage bolt holes from the inside out.

Yes, surfaces will be sealed with CPES prior to being glued in place.

We are doing a Dutchman repair workshop this Saturday, and hope to have some interesting content uploaded next week.