1953 Shepherd: How to use a Dutchman to Repair a Stem

1953 shepherd dutchman repair stem

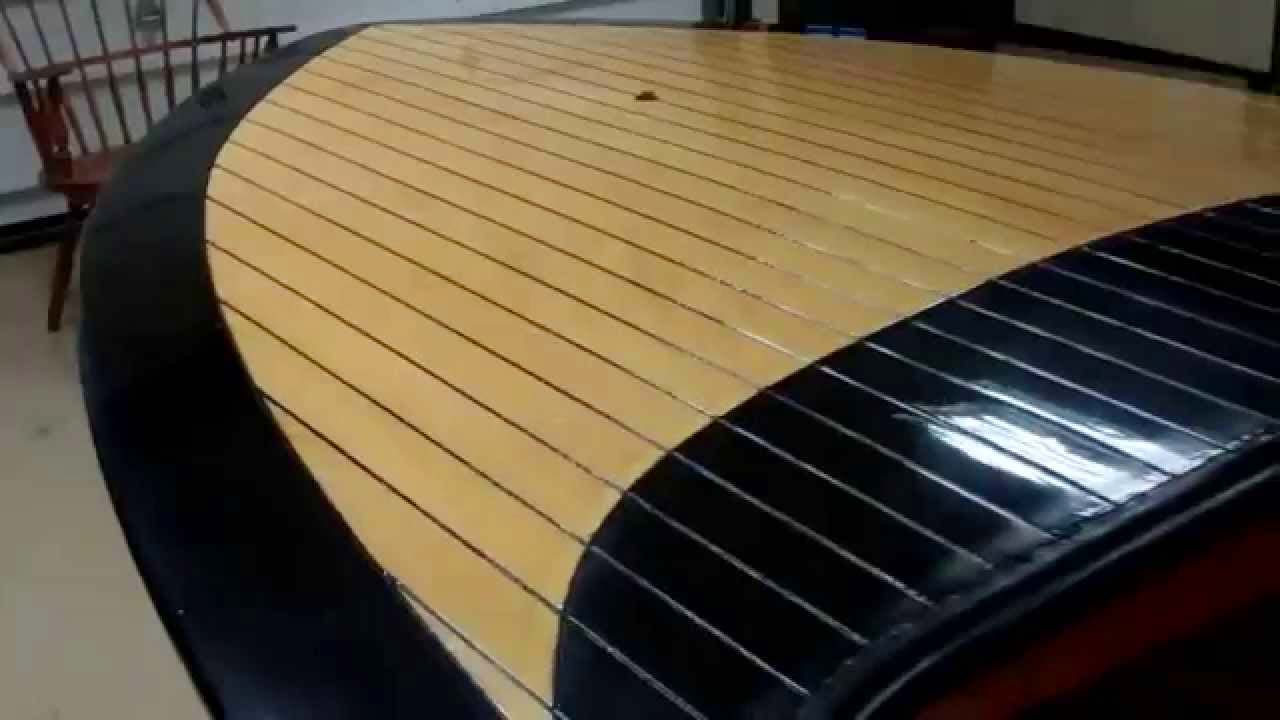
Our January 24, 2015 workshop included a clinic led by John La Fountain on using a Dutchman for repairing the stem of 1953 Shepherd 22’ utility we are preserving.

Following is the handout he prepared and distributed to workshop participants.

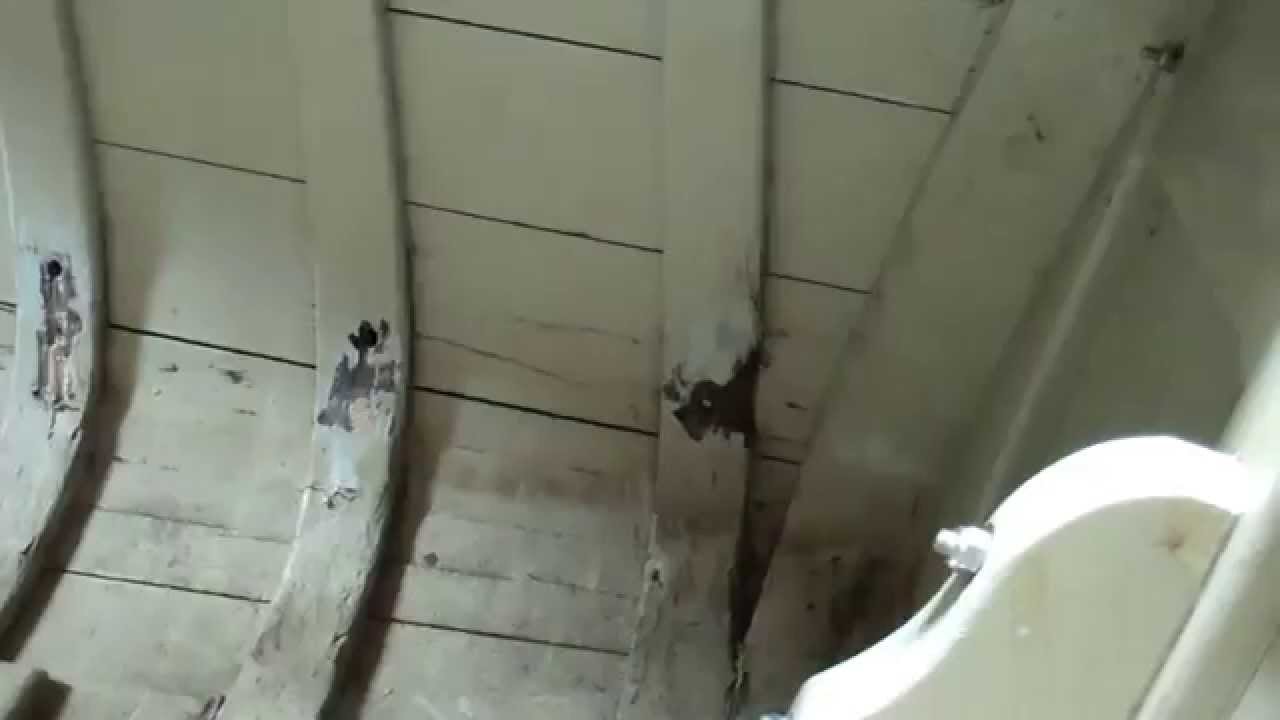
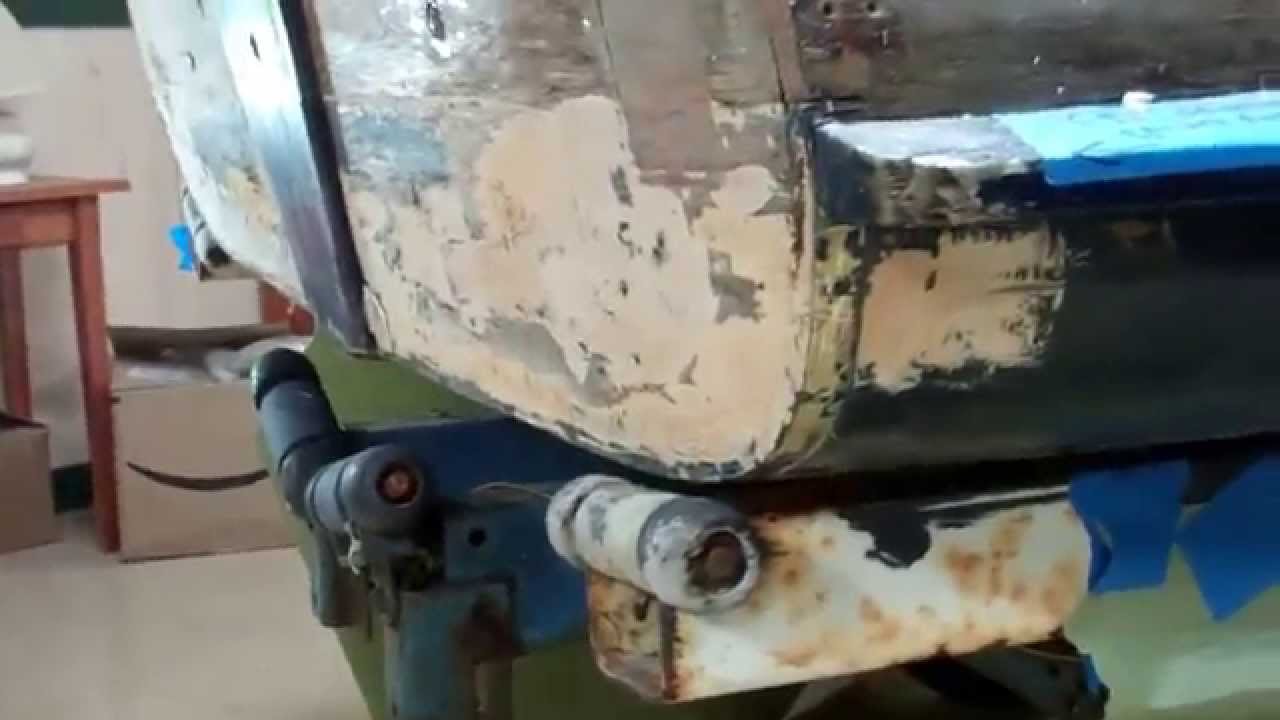
  1. Inspect stem and knee to determine if a Dutchman can solve the rotting and grain separation issues where the stem and knee meet.
  2. Remove the bad part by cutting away any rot or split-out wood. a. Always cut the top at an upward angle relative to the leading edge of the stem so that water runs off the Dutchman, not down inside it.
  3. Make a template using cardboard.
  4. Locate a straight-grained, clear piece of white oak – usually 8/4, as it was here. (Be sure to wear heavy gloves!) a. Using a band saw, rough-out the mating surfaces between the Dutchman and stem or knee, after transferring the templates to the blocks of wood. b. Rough out the abutting faces of the two Dutchmen.
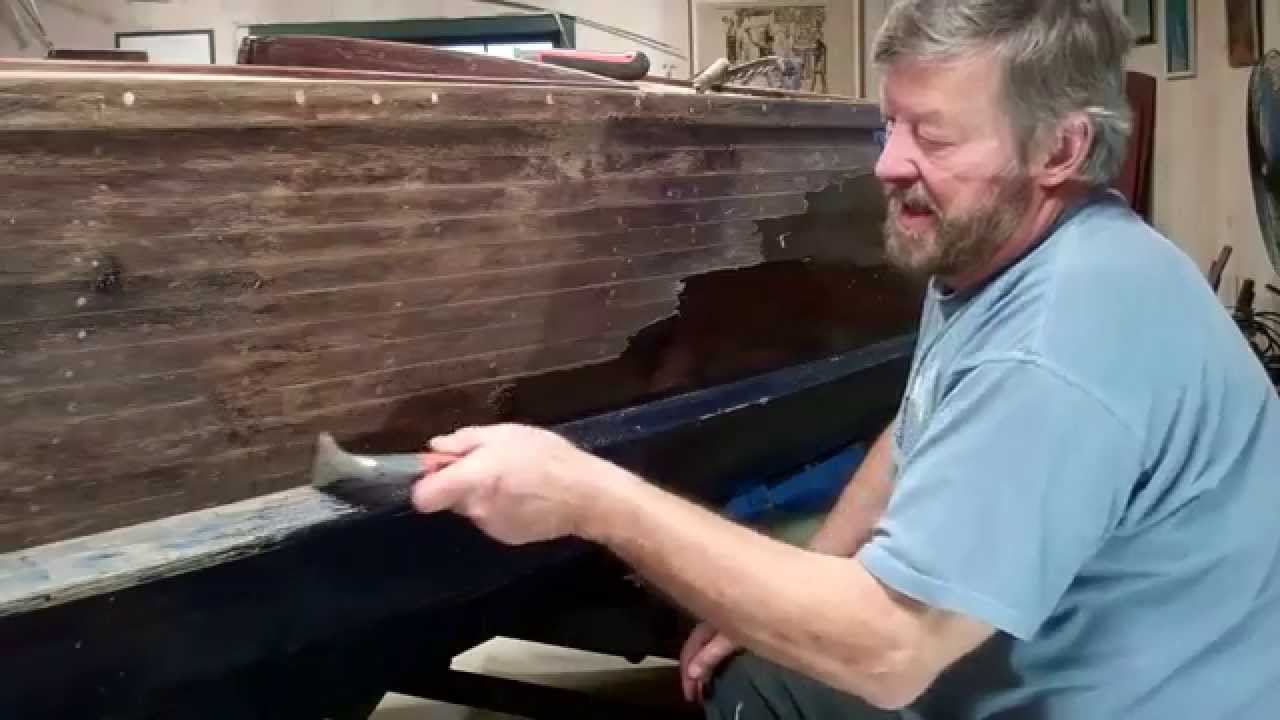
  5. Sand the Dutchmen to shape
  6. Re-fasten the leading ends of the planking – or strakes in a lapstrake hull – bedded in 3M 5200.
  7. Repair any rot, cracks or over-sized holes with TotalBoat Thixo Thickened Epoxy adhesive now. (The above-waterline seams will be affixed with TotalBoat Wood Epoxy System.)
  8. Once epoxy has cured, do a final sanding and shaping of both Dutchmen and the surfaces they will mate to on the stem and knee.
  9. After a final check for fit, some final sanding, fit the Dutchmen in place and one fastener pilot hole into each.
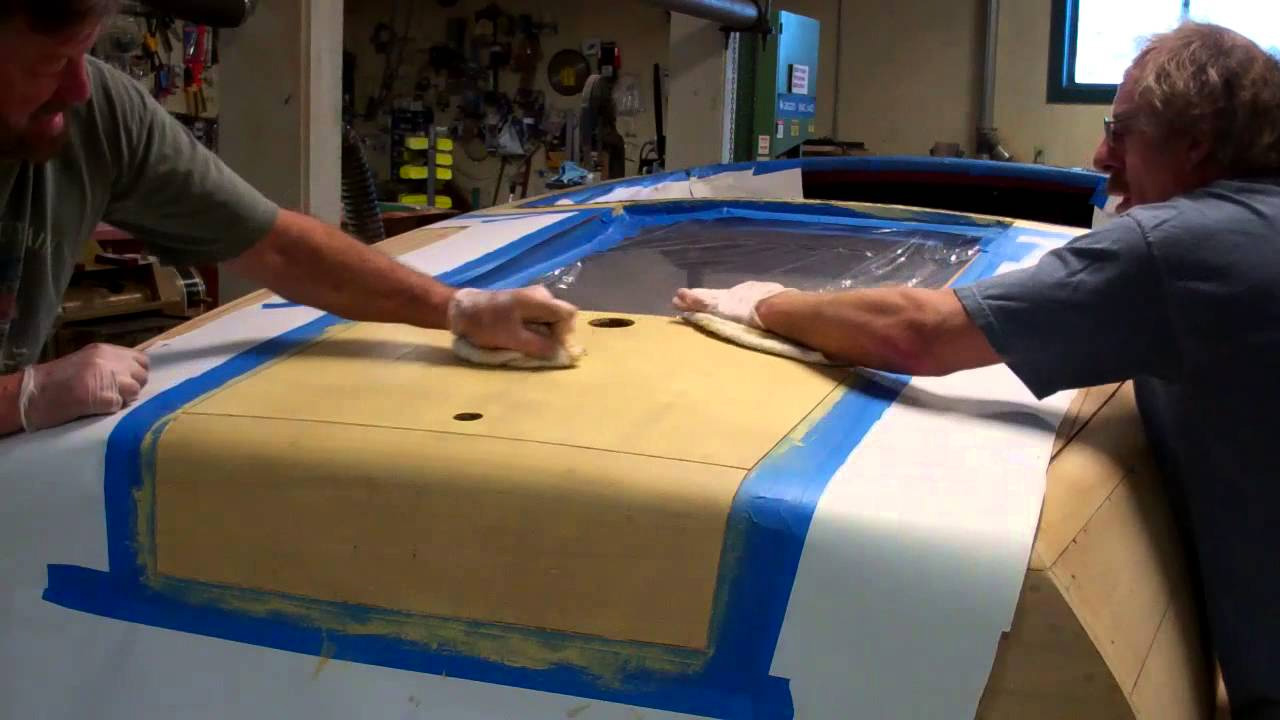
  10. Glaze both surfaces with TotalBoat Thixo, and the abutting surfaces with 3M 5200, and fasten them in place with fasteners passing through the pilot holes.
  11. Wait 24-48 hours.
  12. Drill the carriage bolt holes from the inside of the stem and knew out, and insert silicon bronze carriage bolts – 4 in the case of the Shepherd.
  13. Do a final sanding and fairing.
  14. You are ready for paint!

1930 Dodge Runabout True 5200 Bottom Progress Update

1930 Dodge Runabout True 5200 Bottom

Installing the Minnow’s True 5200 Bottom is progressing nicely. Three-quarters of the bottom planks have been fabricated, which has turned into a near-Herculean task. Why? None of the planks has parallel sides, and the degree to which each plank tapers from chine to keel differs from board to board.

And using the boards from one side as patterns for the other? Well, they are close, but close does not deliver perfect mating with the two boards on either side of the one being fabricated.

John has patiently sanded every plank in using our 36” horizontal, stationary belt sander.

As you see, we lay all the planks out, placing one positioning fastener in each, and then laying out a grid for all the fasteners, and drilling all of the countersink holes, so that the planks end up screwed down where we want them to be.

We test as we go, choosing between #6 and #8 silicon bronze, Frierson wood screws ranging from ¾” to 1-1/2” long.

Why not stainless? Read Danenberg’s article in the Sept-Oct 2014 issue of Classic Boating magazine to find the clearest, science-based, and most objective explanation I have read yet. Each plank is literally buttered with a 1/8” thick layer of white 3M 5200. Why not mahogany? It costs about 50% more because of the color alone. Since it will end up hidden by five coats of Interlux 2000E Epoxy Barrier Coat Primer, selecting mahogany just wastes money.

As you see, John drives the screws in with an impact gun, and then pounds and pounds the edge of the plank with a large rubber hammer. Doing so drives the 5200 all the way out and beyond the plank’s edge.

What we did not show was the next, not-so-fun step, cleaning the excess 5200 from the plank’s face, edge and surrounding area. Pay special attention to cleaning the trailing edge so that the next plank fits snuggly in place.

Interlux will happily sell you 202 or 216, or some other more exotic solvent. Acetone is our go-to solvent throughout the shop. Unlike the expensive thinners, it flashes off almost immediately, and leaves no residue behind, oily or otherwise.

As John remarks in the clip, “There is nothing clean about installing planks as part of a true 5200 bottom!

Wood Boat Varnish Buffing – RJ’s Clinic

wood boat varnish buffing clinic

The last coat of varnish has been oh so carefully rolled and tipped. The mahogany gleams, but up close you see a bit of dirt, or maybe even lots of dirt has been trapped on your otherwise gleaming surface.

Using a pneumatic sander set at about half-throttle, RJ begins the buffing and polishing process wet sanding through five increasingly finer grades of wet/dry paper: 1000, 1200 1500, 2000 and 3000. His goal here is sanding every scratch out of the surface without cutting through the built-up layers of varnish.

After carefully wiping the surface dry, first with dry paper towels and then with Acetone, it is time to begin buffing the surface using our Makita buffer set at approximately 2,000 RPM and the Presta Buffing System.

The first two grades of buffing compound, Ultra Cutting Crème and Ultra Cutting Crème Lite, are applied with an 8-inch wool cutting pad. The final step, using a 9,000 grit foam pad, uses Polishing Crème to bring the surface to a brilliant shine.

Getting a fantastic gloss is all about achieving a flat surface, one that is completely devoid of scratches and even tiny hills and valleys. Compare your reflection in a cheap big box store mirror against it in a high-end mirror. The first can be wavy and even distorts the image you see, while the high-end mirror reflects all that stands in front of it perfectly.

Our goal is transforming that varnished surface into one that is as close to that high-end mirror as is humanly possible. Do it well and you see a face smiling back at you as you peer into its surface.

1952 Chris Craft Riviera Runabout Varnish Update

1952 chris craft riviera varnish

Varnishing the Chris-Craft 18’ Riviera Runabout began last Monday. Today, after RJ lightly hand-sanded the entire hull with 400 grit, he and John rolled and tipped the fourth coat of Pettit Hi-Build Gloss Varnish onto her.

As you can see in the reflection of the lights, the surface is not completely flat yet, and the gloss we are after will not begin emerging unless and until it is perfectly flat.

Two more coats will be applied tomorrow and Saturday, and then she will be moved out into the shop and sanded with a pneumatic random orbit using 400 grit dry paper until RJ has achieved as uniformly white a “snow field” on all surfaces as he can without cutting completely through the cured varnish.

Sanding will be followed by a wipe down with acetone, and then she goes back into the paint room, where the next two coats will be applied followed by the same relocation, sanding and wipe-down process again.

We will continue the back and forth until we hit 14 coats, at which time we will evaluate the situation. One issue we must deal with is that all of the seam grooves are also filling with varnish, and might require careful cleaning to remain deep enough to hold the white Sikaflex.

We will be back to you with updates next week.

Thanks again for viewing our videos and please weigh in with comments, ideas and, yes, criticisms. That’s how we learn. 

1957 Penn Yan Captivator Stripping Milestone

1957 penn yan captivator stain stripping

It was a long, long day. With heat gun in hand, RJ completed stripping the coamings and the dash, but the starboard topsides were all mine. Several of you questioned why I am not using a chemical stripper like Circa 1850 on the painted splash rails and eventually the bottom. We cannot be sure that we are not dealing with lead paint. Since lead will not vaporize below 1,000 F, so we set our guns at 900 F, which keeps the lead encapsulated with the scrapings, which remain dry and safe to handle. RJ carefully released the stem-to-stern long spray rails, despite the forest of sheetrock screws from the outside-in, and an even denser forest of stainless square drive screws driven from inside and through the topsides every 8-010 inches. Happily with a bit of repair using Total Boat Thixio thickened epoxy, the starboard spray rail can be saved. And the best news of all is that there is no rot in the topside planks behind the spray rails. We did unearth some rot in the three aft-most starboard ribs. The ribs will be sistered using steam-bent white oak. The aft section of the port rail must be fabricated anew. We will match the factory scarf joint found on the starboard side, thereby producing a result that, other than the new white oak, matches the original design. I misspoke in the video when I said she is ready to move into the main shop and flip. Before that can happen we must extract all of the residual black walnut stain out of the mahogany topsides, decks, coamings, etc. using Circa 1850 Heavy Body remover, scrapers, brass brushes and repurposed stainless kitchen scouring pads.

1957 Penn Yan Captivator Stripping Continues

1957 penn yan captivator how-to strip stain

This video contains a plea, “If you do not know how to repair rotted members, please do not try. You only make matters worse.”

And whoever had his/her hands on this boat clearly lacked the knowledge, but did not allow that fact to stand in the way of what must be the most abysmal work we have seen, and now must undo to date.

The aft half of the part spray rail must have begun rotting. In fact , as is clear in the clip, the rot had progressed well beyond “just starting.” The below-waterline transom plank was in even more severe dire straits. Band aids do not a proper repair make.

Indeed, what was done to the spray rail only succeeded in trapping water and propelling the rot, as you can see by viewing the aft-most foot or so. A proper repair, releasing the rail and replacing the rotted aft section using a scarf joint, must have been well beyond this person. Better to glop the goo into place and hope for the best.

We must carefully release the rail, if only to see what trapped water has done to the planking behind it, and then fabricate a new section that will be scarfed to the forward portion.

But the transom work is truly special. All the filler that is visible along the entire lower edge of the bottom plank made me wonder is any of it had survived. When my scraper blade unearthed a brass strip nailed across the entire bottom of the transom and riding on the bottom planking, I knew. No wood had survived so the wood putty was inserted into the void across the entire bottom edge of the transom.

Then there is the rest of this plank, a good 70% of it being completely gone and replaced with more putty.

What is our plan forward? I just do not know until we have flipped the boat to reveal the bottom planking. As you can see at one point in the clip, I have already revealed more wood putty just ahead of the transom where the first bottom plank and it meet.

I fear that my adventures with wood putty have just begun.

1952 Chris Craft Riviera Runabout Staining Complete

1952 chris craft riviera staining complete

We passed a significant milestone on the 1952 Chris-Craft Riviera runabout 18’ with completing staining the entire hull.
The blonde sections had been stained, sealed and received an initial two coats of Pettit Hi-Build gloss varnish before we began staining the remainder of the decks, covering boards, transom and topsides this afternoon.
We applied Interlux Intersatin, 2 parts #573 to 1 part #42, Don Danengerg’s favorite combination. After allowing the stain to flash, a process by which the initially shinny and greasy surface morphs into a dull matte finish.
Then the fun begins as the thinner continues gassing off and scrubbing cross-grain with cheese cloth and terrycloth towels becomes ever-more difficult with each passing minute. For this reason, we always stain large boats such as the 18’ Riviera in sections.
You will arrive at a moment where you feel, “Finally, we are done.” Probably not. Grab several sheets of cheese cloth folded into a polishing pad and do a final buffing over the entire surface. The cloth stays pretty clean while the surface becomes lustrous. Now you are done.
Applying three coats of CPES tomorrow morning is next. It will be followed by a very light scuff sanding with 120 grit, and then the boat moves to the paint room where we will begin building what will eventually be at least 15 coats of Pettit Hi-Build varnish.

1957 Penn Yan Captivator Stripping Update

1957 penn yan captivator stripping

It is Saturday and the Captivator project continues. The decks and most of the gunwales are stripped, complete with bleed black walnut stain out of the mahogany planking. Now comes the topsides.

I began as I typically do, applying Circa 1850 Heavy Body Paint and Varnish Remover to the surface. As expected, puddles and curtains began forming, which quickly soaked the cardboard sheets on the floor.

Not expected, however, was the discovery that, once liquefied anew, what appears to have been some sort of dark walnut stain varnish began bleeding black into the mahogany. No, I did not smile. An Old School, heat gun and scraper strategy appears to have saved the day. Operating the De Walt heat gun at between 900 and 1,000 degrees F releases the adhesion between the mahogany and the stain-varnish. While I must go back and bleed black stain out of the wood fibers, at least I am not adding to that challenge while I strip the varnish off the surface.

Once the varnish is released I will go back with the Circa 1850 and BAHCO scrapers so that the mahogany ends up free of adulteration, at least as best we can attain before we begins anding with our pneumatic long boards.

Releasing finishes offer s a critical opportunity for discovering fastener and framing issues. Applied to the Captivator, I have learned that the foredeck planks are floating free at the bow, and that there is a serious structural design/failure to be dealt with where the aft deck inserts into the gunwale framing.

We will continue stripping in the manner, hoping to have the hull and transom clean above the spray rails by Monday morning, when we plan to move the Captivator so we can flip her and begin working below her waterline.

52 Chris Craft Riviera Runabout 18 Staining Deck Corina Blonde

1952 chris craft riviera staining deck corina blonde

We tested early this morning and the hull’s moisture content has dropped to a pretty uniform 15%, so staining can commence.
With the blonde aft deck, king plank and covering boards fully masked off against spatter, we apply Sandusky Paint Co. Chris-Craft Corina Blonde Filler Stain diluted about 10% with mineral spirits, which produces a consistency of house paint.
It took about 15 minutes for the stain to begin flashing, at which time we begin sharing the fun of working exclusively cross-grain, scrubbing excess stain off and filling the valleys in the process.
We will now allow the stain to cure for 24 hours before sealing it with three coats of CPES, after which we will apply a first coat of Pettit Hi-Build gloss varnish as insurance against adulteration of the blonde wood with the Danenberg Interlux Interstain mixture that will be applied to the balance of the hull.

1956 Century Cowhide Palomino Hull Preserved!

1956 century black cowhide palomino hull preservation

She arrived from Long Island, NY last fall, incredibly original throughout, even if a bit tattered cosmetically. As I began deconstructing her, and found the cockpit and bilge fasteners virtually impossible to back out, it quickly became apparent that the seats, ceilings, gauges and floor panels were being removed for the first time since she left Century Boat Company’s factory in Manistee, MI in 1956.

We have saved her original cowhide upholstery, save for the seat cushions and ceilings, and the latter were fabricated using a bolt of NOS cowhide fabric sourced through A&A Marine. Her original 1956 30 HP Johnson Sea Horse was really stuck hard, but we freed it up and have learned from the fellow restoring it that the power head is in great shape. We will end up with a completely restored, numbers-matching engine.

Here Avodire decks, aft hatch and transom were stripped to bare wood, even though doing so was a difficult decision. This boat came to us still in her original varnish, but even applying every finish restoration technique I learned in my decades restoring antique American clocks could not overcome the fact that the finish was just too tired to save.

We sanded the topsides and covering boards flat, primed them with four coats of Jamestown Distributors’ new TotalBoat topside primer. Sanding between coats gave us a perfect foundation for the 9 coats of black TotalBoat Wet Edge Topside paint we rolled and tipped onto the hull. Jamestown has hit the ball out of the park with this new line of paints!

The Avodire decks and mahogany transom were bleached three times, stained and sealed with three coats of CPES before we began rolling and tipping 12 coats of Pettit Hi-Build varnish. Here she is, with hull # P5652 still punched into her glistening transom, and her deck seams painted with our topside paint, as Century had done some 58 years ago.

ll the hardware is back from New England Chrome Plating and American Metal Polishing.

We are chafing at the bit to begin putting her back together. Be sure that we will update you when we do.