1959 Chris Craft Sportsman Porcupined

1959 Chris Craft Sportsman Porcupined

Yes, it is Memorial Day, but we have a boat needing a new bottom, so have dropped all else to make some real progress, but also to discover what is or is not lurking beneath that plywood. Our 1959 Chris-Craft Ski Boat must get back to her owner ASAP, so we are on task.

The good news is that, save fore one of them, her frames are sound; yes, grease-sodden, but solid. Joe was able to sister the one port side forward frame that had broken.

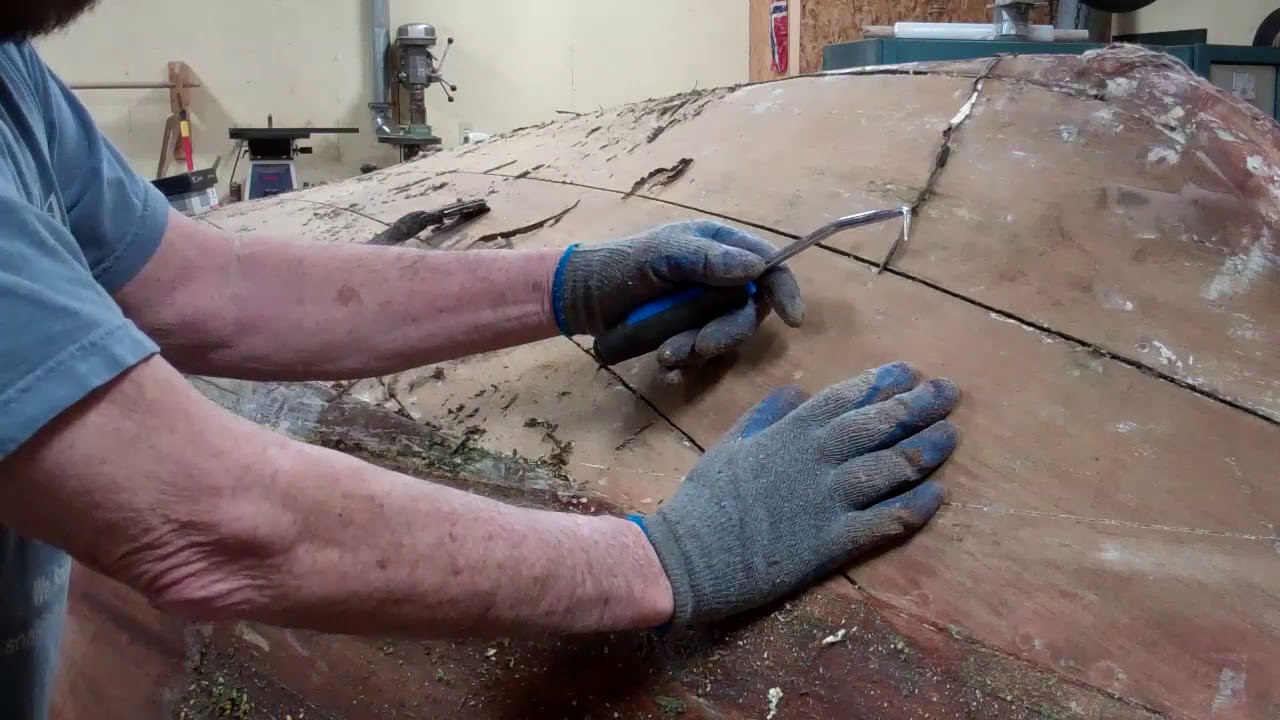
We will not attempt applying bilge paint to the frames as the grease and oil has penetrated to the point it would not adhere. We will scrape and then sand all of the plywood inner skin landings on the frames.

Remember my endless comments about how these venerable ladies keep secrets beneath their skirts? Well, this lady’s secret is that what we have been removing is anything but her original bottom. Indeed, independent of what the owner was told then, whoever is the villain of this piece should be dragged and quartered.

Why? Just imagine using 3/8” A/C construction plywood for the bottom of a wood boat! It has delaminated everywhere. Once again, thank the Lord that she and her owner did not find the bottom!

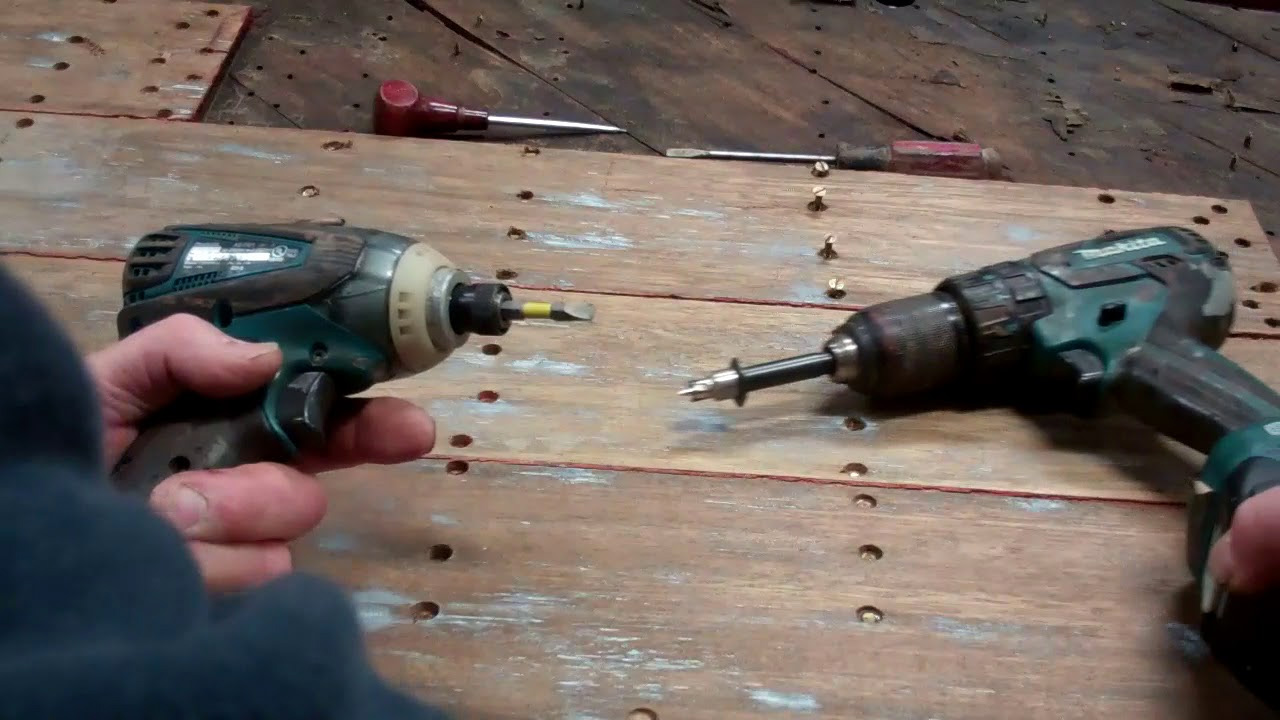
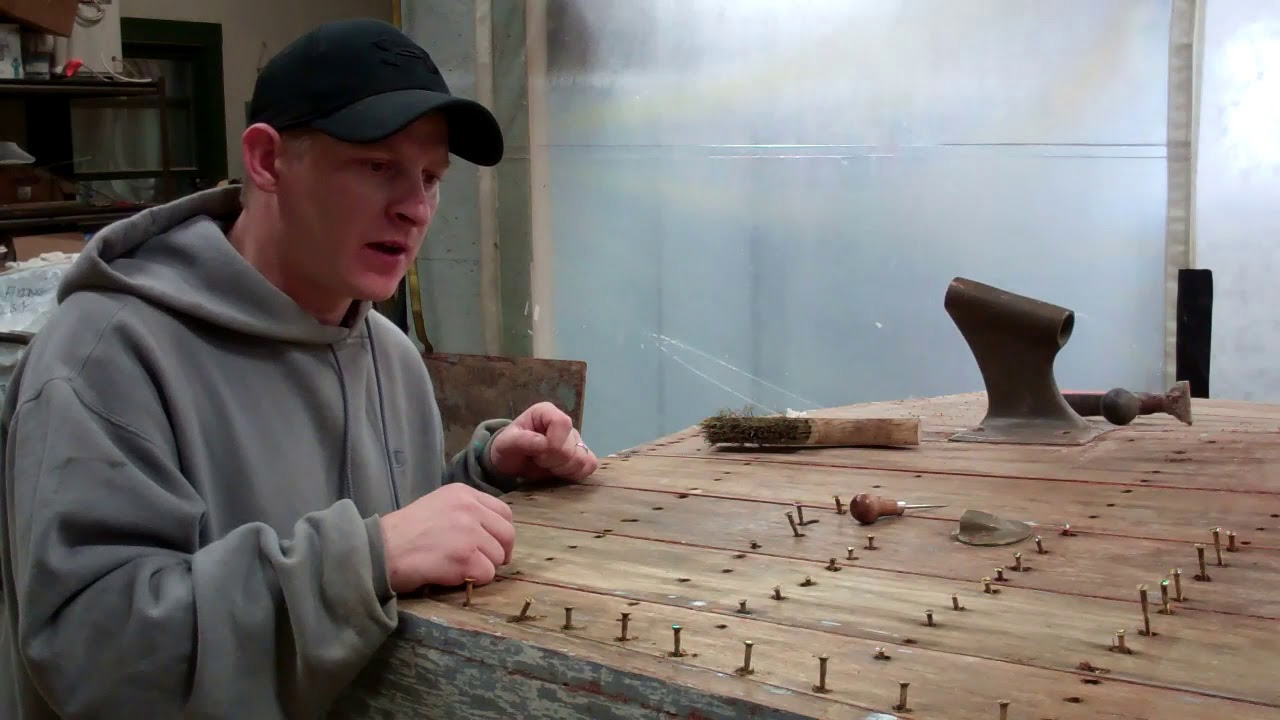
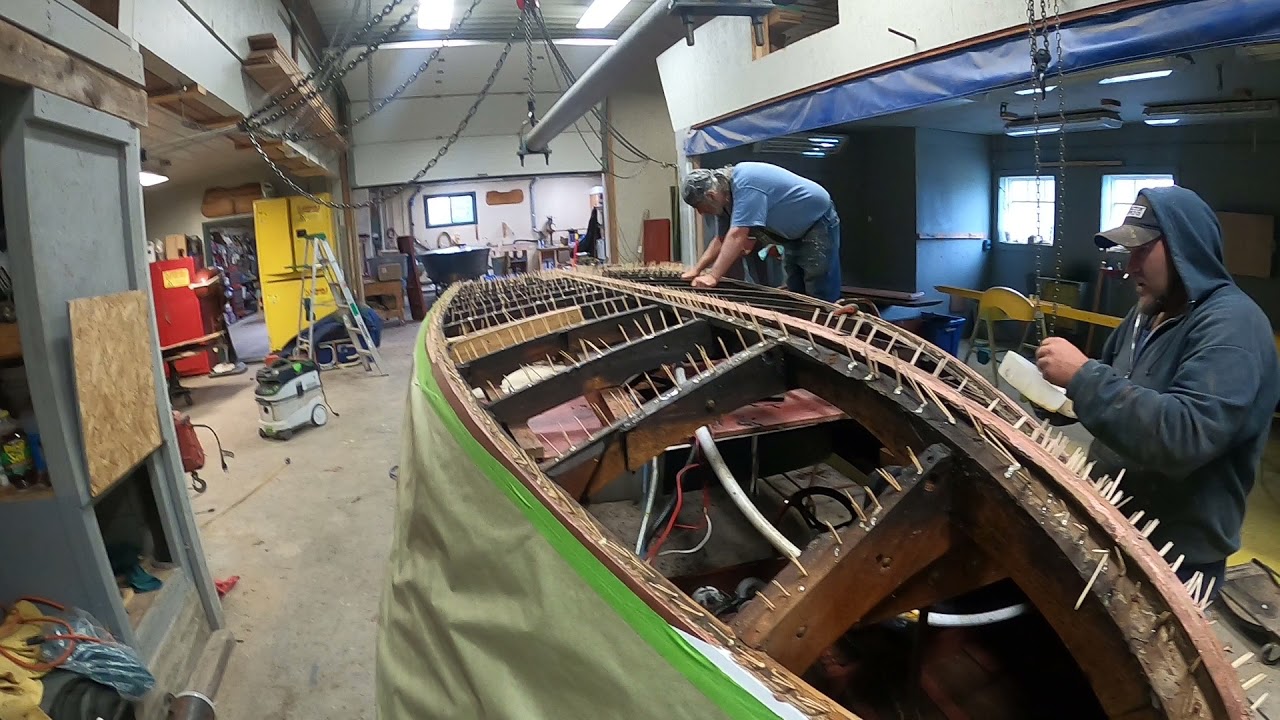
At this point we are “porcupining,” which involves filling every empty screw hole with three to four hardwood toothpicks and waterproof Gorilla glue. Once all of them have been inserted, Joe and Rick will spray the bottom lightly with water. Doing so accelerates curing while strengthening the bond formed between the oak frames and hardwood toothpicks.

Remember, you can access all the materials we use and their sources by navigating to our Materials and Sources page.

Next, we will use our Fein MultiMaster tools to skim off the toothpicks, at which time the landings will be ruthlessly scraped, sanded and treated with three full coats of Smith’s – and only Smith’s Clear Penetrating Epoxy Sealer.

Following will be fitting the Meranti Aquatek Marine plywood bottom panels, sealing them with CPES and applying three coats of Sandusky Paint Company Chris-Craft Mahogany Bilge Paint.

None of the bottom planks, several of which just might be other than mahogany, can be saved. While the 5200 in which the plywood panels are bedded cures, we will be using the released planks as patterns and then sending them to the transfer station for recycling.

As always, you can delve much, much deeper into the what and how of a True 5200 Bottom by navigating to our True 5200 Bottom page.

She will be roaring across her home lake well before our promised July 4 delivery.

1956 Chris Craft Capri Bottom & Stripping

1956 chris craft capri bottom stripping

Our 1956 19-ft. Chris-Craft Capri has had a tough life, what with being assaulted by inept and worse “restorers” a decade or so ago.

We have recently reported on the travesties visited upon her decks, stem and engine hatch. Now that she’s been flipped, are we surprised to discover additional assaults perpetrated against her bottom?

The good news is that, save for needing refastening and a few minor repairs, her bottom planking is in excellent condition.

That said, and other things equal, she still needs a True 5200 bottom. However, as so often happens in life, other things are not equal. While her owner agrees that there is a True 5200 bottom in her future, given all we must preserve elsewhere on her hull and engine, it will not happen now, a decision we agree with based on our detailed and extensive examination of her bilge and its inner bottom planking.

The real issue in the bilge is lots of grease, oil and grime. Yes, that layer is pretty much gone directly beneath the engine, so we will release and execute repairs there. After we remove endless strings of useless cotton roving in some seams, roving that was not sealed with any sort of caulking compound, and yards and yards and yards of failed 5200 in others, we will refasten large parts of the bottom and then apply four coasts of Clear Penetrating Epoxy Sealer – CPES. We will then pay the seams with Jamestown Distributors’ TotalBoat ThixoFlex and sand the bottom fair.

Following applying three more coats of CPES we will prime with Pettit Tie Coat Primer and then apply three coats of Pettit Copper Bronze Hard Racing Bottom Paint.

Now that Methyl Chloride has been banned, and we can no longer source “good” paint stripper, we have turned to TotalBoat TotalStrip Paint Stripper. No, it is not what Circa 1850 was, but it is user friendly and we are adjusting to applying it and then coming back 24 – 48 hours later. It is still wet and has liquefied many layers of paint, even bottom paint, by then.

Finally, we’ve all faced challenges stripping concave hullsides. Using a standard, straight-bladed scraper risks leaving skid marks at each end of the blade while the center floats above the wood. A good friend suggested we try an Allway Tools 2-1/2-Inch 4-Edge Metal Tubular Wood Scraper, the blade edges of which are slightly convex. At only about $8 for a handle and 4-edge blade, why not? Bingo! It works beautifully … nary a skid mark appears behind each stroke.

It is available from Amazon.

How To Remove Bottom Fasteners in a True 5200 Bottom – 1938 19′ Chris Craft Custom Runabout

1938 chris craft runabout bottom fasteners

That Flyin’ By’s bottom was original to the boat is absolutely certain. How do we know for sure? After stripping her bottom’s port face bare, and finding nothing but an original inner layer of 3/16” mahogany laid on the bias, we inspected each frame searching for any evidence of extra screw holes or holes that had been filled during a bottom replacement. No such evidence exists.

Additionally, save for the aft garboard planks, the screw pattern, their sizes and lengths are precisely consistent throughout both bottom faces. The substitution of bronze Reed and Prince fasteners for the original brass slot-headed fasteners tells us that both aft garboards were removed and then reattached at some point.

Nowhere is there any evidence that the inner layer has deteriorated or been replaced. What remains of the original canvas interlayer is somewhere between some and none. Additionally, the original brass screws have been replaced along the keel edge of both forward garboards.

The aft garboards – the #1 planks – and the next ones outboard – the #2 aft planks – lie immediately beneath the engine and transmission, and are sufficiently oil-soaked that their ability to hold 5200 and paint is at best suspect. They must be replaced.

The balance of the original bottom planking is as hard and as sound as the day it left Algonac, MI in 1938. Releasing the screws fastening the bottom is a four-part sequence

  • Using a 3/8” Rotabroach cutter and electric drill set at high speed, drill each countersink until you hear the telltale sound of the steel cutter grinding the head of the brass or bronze (or stainless) screw. Take care here. The Rotabroach is designed for grinding off excess spot weld. The cutters are super hard and super sharp. Applying too much down force or grinding for too long risks rounding off the screw’s head and erasing its driving slots.
  • Reach for a sharpened awl and clean each countersink, paying particular attention to the screw’s slot or R&P driver. Grind through these and you will “enjoy” extracting the screw using one of the damaged screw extractors available today.
  • Blast all residue out of the countersink with an air chuck and compressor delivering at least 110 PSI. (That’s why wearing safety glasses are absolutely required. The particles erupt from the countersink with surprising force.)
  • Using either a slot or R&P driver inserted in a variable-speed impact gun, carefully and slowly tease the screw as it begins backing out of the wood. Trigger control is critical lest you want to destroy the screw’s head and be reaching for the damaged screw extractor.

Voila’! One screw is released. You have only hundreds and hundreds and hundreds to go!

Every screw I’ve released to this point was dropped into a plastic paint pail that now weighs over 20 pounds!

Only a hundred or so to go…

How to Open Countersinks and Remove Fasteners from the bottom of a 1938 19’ Chris-Craft Custom Runabout

1938 chris craft runabout countersinks fasteners

We clean fastener countersinks using a Blair Equipment 11090N Rotabroach Cutter Kit, which is available from Amazon.com (https://www.amazon.com/Blair-Equipmen…)

Yes, even if a plank will be reused and is filled with either a wood or putty, we remove its wood bungs, but in this application always choose a cutter that is smaller than the diameter of the bungs being removed. The cutter bores through the bung without touching the countersink’s edges and is then cleaned using one of the awls we have on hand.

We are much less careful when releasing failed planking, and often use a cutter one size larger than the diameter of the countersink. The goal here is removing the plank without breaking it so it remains available to patterning.

The air chuck is key here, as RJ demonstrates in the clip. With our compressor set at 110 PSI, the chuck delivers a concentrated blast of air that (almost always) leaves the countersink bereft of waste material.

Finally, if you have a super steady hand, as RJ does, you too can back the screws out with an impact gun, not a hand screwdriver.

When stripping a bottom, be sure to remember RJ’s admonishment. Climb beneath the hull, or down into if she’s not flipped yet, and number the intermediate frames, sometimes referred to as battens.

While we will bed them in 3M5200 during final assembly, they are originally installed by driving screws from outside the hull, through the external planking and inner skin, and into the batten without any adhesive applied to the batten or inner skin.

Numbering these battens before they’ve dropped to the floor and skittered about will save endless time and frustration during reassembly.

1953 Shepherd Sportsman Removing Bottom Plank Fasteners

1953 shepherd sportsman removing bottom plank fasteners 112015

There is no glory in removing fasteners from the bottom of my 1953 Shepherd Sportsman. It is all about being finished.

This clip responds to your several requests for a walk-through on how I am removing them, one by one by one.

The tools:
– The shop is well-stocked with cordless drill and impact guns. Today I will use four of them, with a different driver in each gun. Doing so saves me from endlessly removing and inserting drivers, which makes the drudgery pass by more quickly.
– The two impact guns hold the square drivers – a #2 and a #1 – I use to remove the #8 x 1-1/2” screws driven into the ribs and the #6 x ¾” screws driven into internal battens running between the ribs.
– One screw gun holds a 3/32” twist drill, and the other one holds #2 Pro Grabit screw extractor.

As stated in the narrative, I first stripped all of the paint down to bare wood on the starboard side, but doing so softened the putty used to fill the fastener countersinks. When I drilled through the putty and into the center of each fastener, I was left with a clean hole when I was hoping that the drill would also shatter the surrounding material.RJ suggested experimenting with removing the fasteners ahead of applying the Circa 1850

Heavy Bodied stripper to the planks. What a great suggestion. I had about 60 percent of the fasteners removed in the scant two hours I had been working when I shot this clip. Reaching the same point on the starboard side took me a bit over three and a half hours.

The process is pretty straightforward. Drill through the center of the filler and into the square drive hole.

Clear the debris with an air chuck set to run at 120 PSI. Then “simply” insert the requisite square driver and out comes the fastener.

Theory is truly remarkable!

In my experience, about 80 percent of the fasteners did simply back out, but the other 20 percent offered all sorts of impediments. Some of them broke, so only part of them released. Others simply spun in place and thus released with the plank when it was pried off the hull. But about 10 percent of them required reaching for the Pro Grabit.

But as I draft this description on December 1, the entire port side is free of fasteners, and the circa 1850 is now working on the forward third of the port side planks.

I cannot wait to get back on task…