Epifanes asserts that its Monourethane One-Component hard high gloss paint “provides incredibly hard urethane abrasion and chemical resistance with outstanding gloss, durability, color retention and U.V. protection. It can be brushed or rolled with the application ease of an enamel.”
Our experience is absolutely consistent with that claim. We selected dark blue for the topsides and, as is correct for the Commander Aristocrat model, she will be light oyster below her spray rails.
We have continued our practice, one that is urged by Don Danenberg, of applying five coats of Interlux Interprotect 2000E barrier coat below the waterline, but have also applied three coats to the topsides to absolutely inhibit any water infiltration.
As Epifanes Monourethane explicitly forbids direct application over an epoxy primer, which 200E is, we followed the barrier coat application with two coats of Jamestown Distributors’ TotalBoat Topside Primer.
The existing finish on the splash, rub rails and coaming proved to be beyond saving, so we have stripped and bleached, stained and have begun varnishing them.
Happily we will be able to save the original finish on the fore and aft decks. A light sanding with 320 grit will be followed by 6 – 8 coats of Pettit Easy Poxy Hi-Build varnish.
The existing finish on the hull’s interior and bilge will be saved as well. We will clean vigorously with a brass brush, sand all surfaces lightly and then apply several coats of Sikkens Cetol Marine varnish.
There is no glory in removing fasteners from the bottom of my 1953 Shepherd Sportsman. It is all about being finished.
This clip responds to your several requests for a walk-through on how I am removing them, one by one by one.
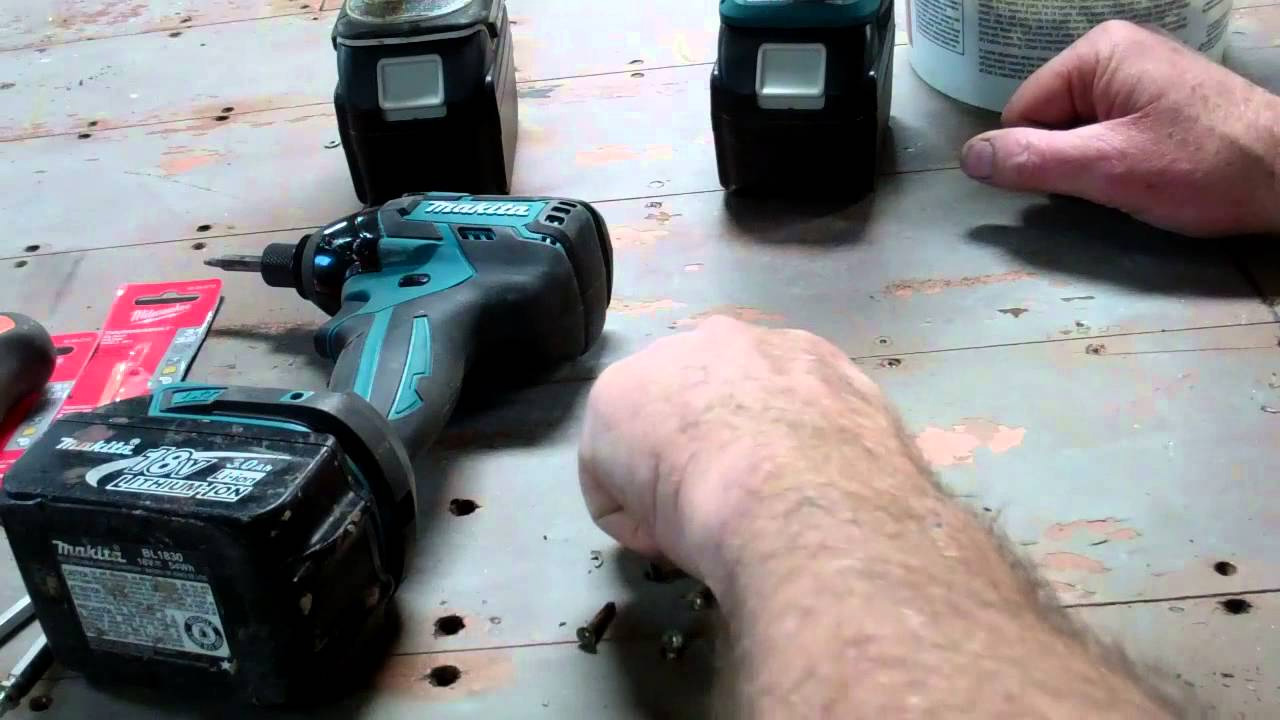
The tools:
– The shop is well-stocked with cordless drill and impact guns. Today I will use four of them, with a different driver in each gun. Doing so saves me from endlessly removing and inserting drivers, which makes the drudgery pass by more quickly.
– The two impact guns hold the square drivers – a #2 and a #1 – I use to remove the #8 x 1-1/2” screws driven into the ribs and the #6 x ¾” screws driven into internal battens running between the ribs.
– One screw gun holds a 3/32” twist drill, and the other one holds #2 Pro Grabit screw extractor.
As stated in the narrative, I first stripped all of the paint down to bare wood on the starboard side, but doing so softened the putty used to fill the fastener countersinks. When I drilled through the putty and into the center of each fastener, I was left with a clean hole when I was hoping that the drill would also shatter the surrounding material.RJ suggested experimenting with removing the fasteners ahead of applying the Circa 1850
Heavy Bodied stripper to the planks. What a great suggestion. I had about 60 percent of the fasteners removed in the scant two hours I had been working when I shot this clip. Reaching the same point on the starboard side took me a bit over three and a half hours.
The process is pretty straightforward. Drill through the center of the filler and into the square drive hole.
Clear the debris with an air chuck set to run at 120 PSI. Then “simply” insert the requisite square driver and out comes the fastener.
Theory is truly remarkable!
In my experience, about 80 percent of the fasteners did simply back out, but the other 20 percent offered all sorts of impediments. Some of them broke, so only part of them released. Others simply spun in place and thus released with the plank when it was pried off the hull. But about 10 percent of them required reaching for the Pro Grabit.
But as I draft this description on December 1, the entire port side is free of fasteners, and the circa 1850 is now working on the forward third of the port side planks.
UPDATE: I am well into her deconstruction today – Saturday, Nov 7, and just found her hull number: 22-53-308. She is a 1953 Model 110S, which makes her among the first of the first dual-quad, Hemi-331-powered Shepherd Sportsman. Wow!
This video and the actions it stems from are examples of one of my life truths, “Things happen for a reason.”
Selling the 1952 18’ Chris-Craft Riviera, the most original boat ever to come through our shop, was beyond painful. Shirley, my wife of 47 years, and I would finally own a boat we could enjoy as ours. But it was not to be, as has been chronicled in earlier videos.
Why? Well, if you peruse the “Our Story” tab, you will learn that, what was then no more than a semi-pipe dream of growing a wood boat preservation shop that delivers at only the highest standards of craftsmanship, was launched with the purchase of a disheveled 1949 Shepherd 22’ utility in Meredith, NH.
Yes, we preserved that boat, but someone wanted her more and she now spends her summers on Lake Winnipesauke’s Winter Harbor.
Then came the ’52 RIV. Perfect in every way and only cosmetically compromised. Once again, but this time driven in large part by an opportunity peeking over the horizon, someone wanted her more than us, and she is now luxuriating in Ohio, from which she will migrate to South Carolina in the spring.
Finally! A dear friend and fellow Shepherd boat addict pinged me from Virginia, “Michael, there is a largely original ’54, 22’, hemi-powered Sportsman available, but she is lying in Pointe au Basil, Ontario, Canada.” A quick Google exercise told me that we were close to 600 miles apart. No matter.
I sold the RIV without being sure I could buy the Shepherd, but things happen for a reason. One week I made a fast overnight out and back trip to deliver the RIV. Just two days ago, towing my new Sea Lion, a custom-made trailer purchased from and delivered by my go-to source of boat trailers, Trailer Outlet in Tilton, NH, I was on the road again.
At 10:00 last night, after driving over 1,200 miles in two days and loading my “new” Shepherd, we arrived home. Taking a longer northern route through Ottawa back meant escaping most of the fury that the remnants of Hurricane Patricia visited on southern Ontario.
Yes, she does have an issue or two, but is just so complete and so correct. Reflecting his about 6’6” height, Tim Simmonds, who agreed to pass her stewardship to me, had the helm seat lowered. At 6’3”, I can deal with returning it to its proper height.
The original gas tank, which we have, is beyond saving, and has been replaced with a plastic tank and “modern” filler spout. Fortunately, Tim had the folks at Desmasdons Boatworks in Pointe au Baril saved the original mounting brackets, filler spout, which will allow us to get very nearly back to original on this score.
The background of the gauge panel has been machined turned chrome on every Shepherd we have worked on to date, and this one is matte black. We will do some research here.
Bottom line: Do not ask. She is not for sale, will not be for sale. Period.
Putting her on the market was truly a difficult decision for Shirley, my wife, and me. We fully intended to make her ours for decades to come, and my entire approach to her preservation was framed in that expectation.
Were the market is attracted to wood boats with no-soak, leak-proof True 5200 bottoms, “our” RIV would keep what is her original bottom and thereby require some soaking before she is completely watertight.
Why? For one we are preservationists, and two, her bottom, both her inner and outer planking, presented itself as in just remarkably fresh condition. Yes, we released a replaced a few fasteners, and tightened others. Yes, we stripped the bottom planking to bare wood and sealed it with three coats of CPES, followed by treating her seams with Interlux Seam Compound designed for below the waterline. Five coats of Interlux Interprotect barrier coat were applied, followed by four coats of Pettit Hard Racing Bronze bottom paint.
The hardware, windshield brackets, wheel, gauges were all preserved as we have detailed in our library of ’52 RIV videos, but not a single component was replaced or added because it was missing.
As is our custom, the few dings and one slightly soft spot we found were repaired with Dutchmen, rather than replacing planks. She remains 99% original as far as her wood is concerned.
Her gas tank was beyond saving so we asked RAYCO to fabricate a new one for us.
The path we followed to bring her cosmetics from as-found to Bristol is chronicled in our earlier videos.
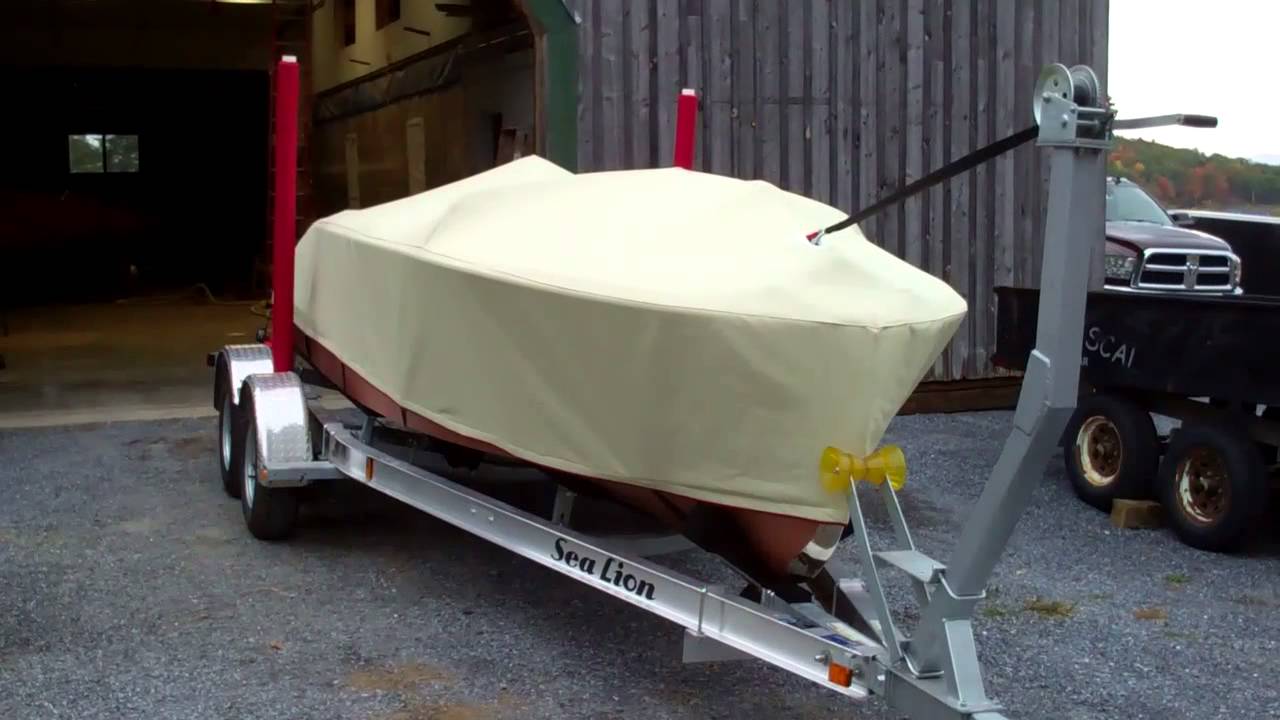
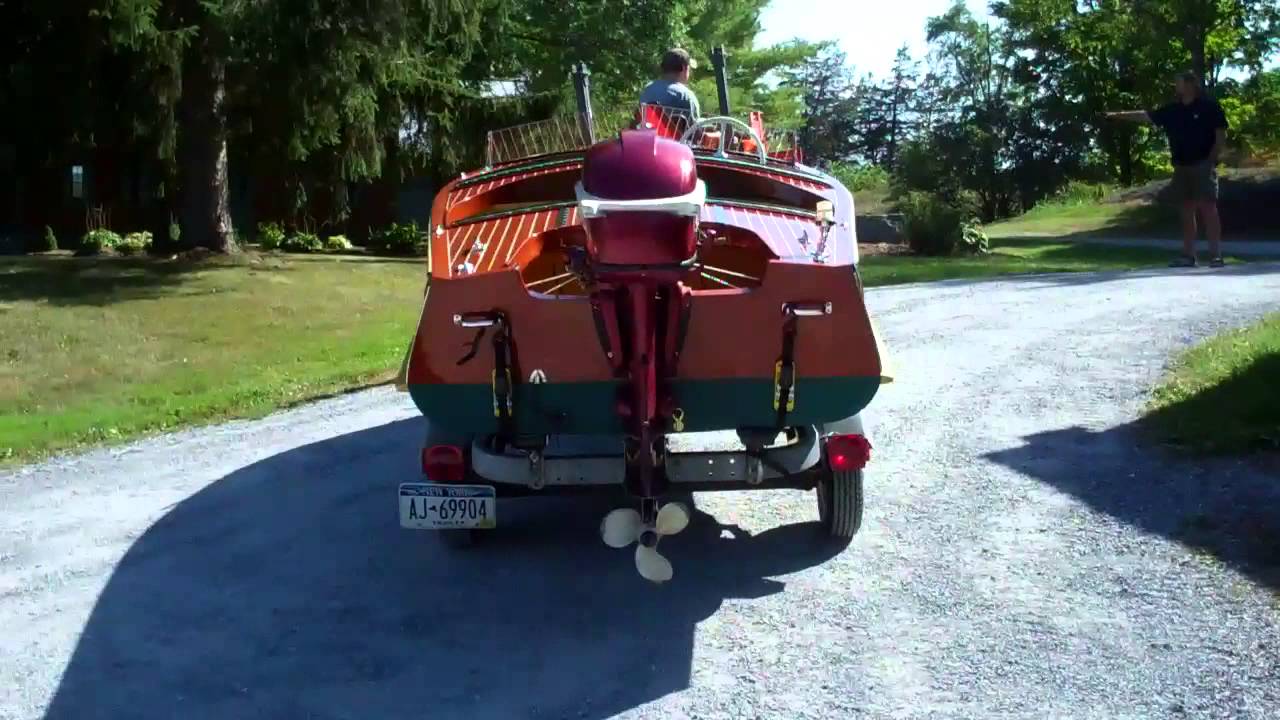
Finally, a huge shout-out to Michael Forshaw and Antique Boat America, who, over a period of about four weeks produced several interested parties and finally what would turn out to be her new owners. I cannot thank Michael and his team enough for how they executed this process.
You see her entombed in her transport cover in the clip, but that is only for this evening, as we have rain in the forecast and I want her hooked to my truck and ready to leave at first light tomorrow. (The cover will be removed before we pull out.)
Yes, it is with slightly heavy hearts that Shirley and I bid the RIV adieu.
Why did we do it? Well, all of you share the addiction to varying degrees. One boat seems perfect, but then some other vessel that is rarer, older, sexier, more powerful appears on the horizon. We are chasing a couple such boats and will share what we find, and our next adventure with you when I tow her or them home.
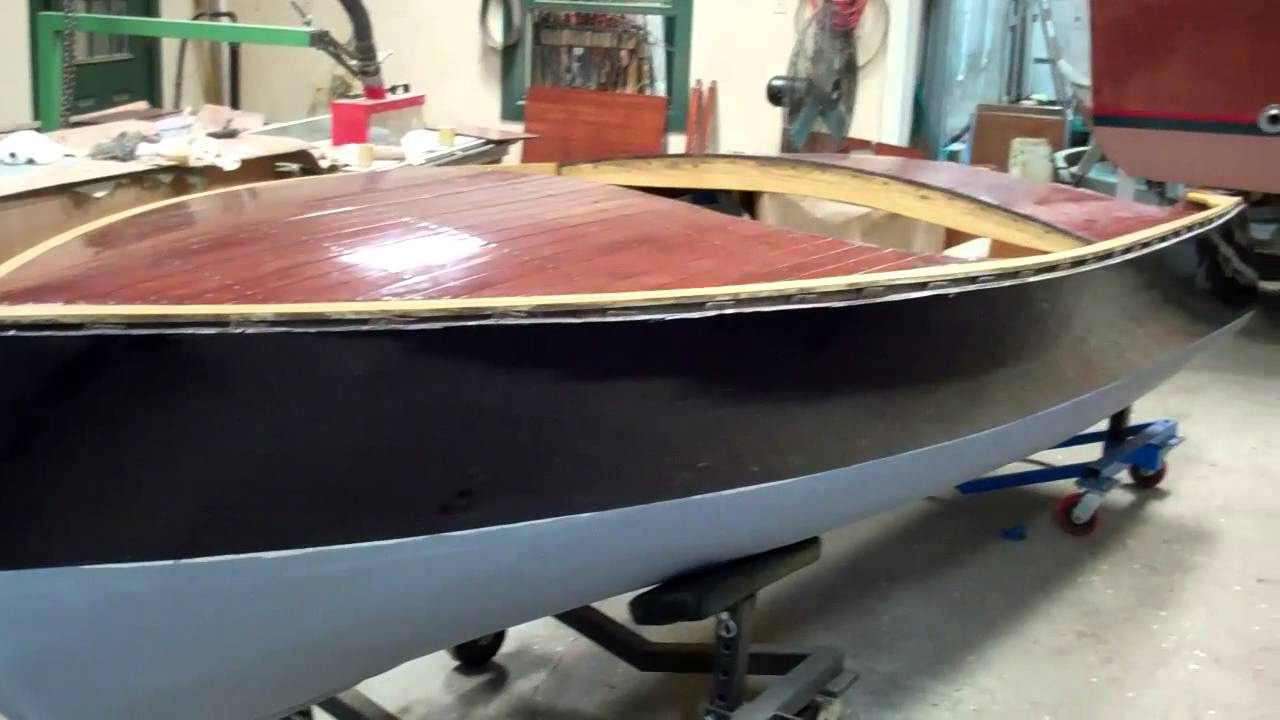
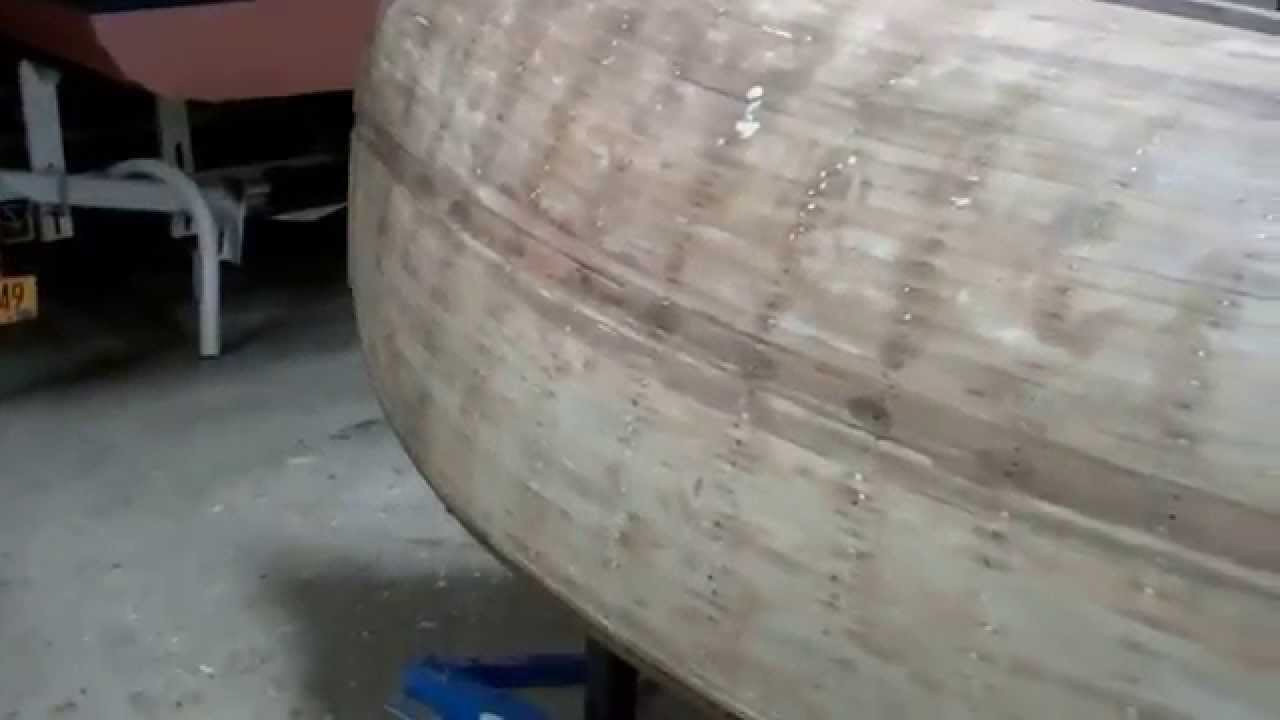
Sweet! We have the Commander Aristocrat’s hull cleaned to bare wood, and “Sweet!” is about what we discovered beneath all the paint.
Overall the Striptite planking is in great shape. There are no soft or black spots and no failed fasteners. Yes, we must set some of the copper nails, but are not faced with any re-planking.
One surprise, given the hull number, ORH 552832, we understood that her bottom planking and transom should be mahogany, which they are, but expected to also find mahogany topside planking, but it is white cedar for sure.
Finishing the topsides bright, as we understand this model was when it left the Penn Yan factory, means cleaning, resetting and then filling the fastener countersinks with appropriately stained putty. My guess is that we will be reaching for the TotalBoat Thixo Wood, which we can color using the same stain we will use on the topsides and transom.
As I closed in the last clip on this boat, there is nothing glamorous about stripping a hull except being done. Yeah!!!! We are done.
The 1955 Penn Yan Commander Aristocrat left the factory with her transom, topsides, decks and interior finished bright. She was painted ivory below the spray rails.
By noon today RJ and I released my Commander’s hardware, as well as the seating, bracing in the bilge, steering, coaming boards, rub rails and spray rails.
The good news is that we found neither soft wood nor rot anywhere. Even the undersides of the spray rails are solid. The finish, however, its beautiful patina notwithstanding, will be difficult to save, but we will try to save it before we strip it away.
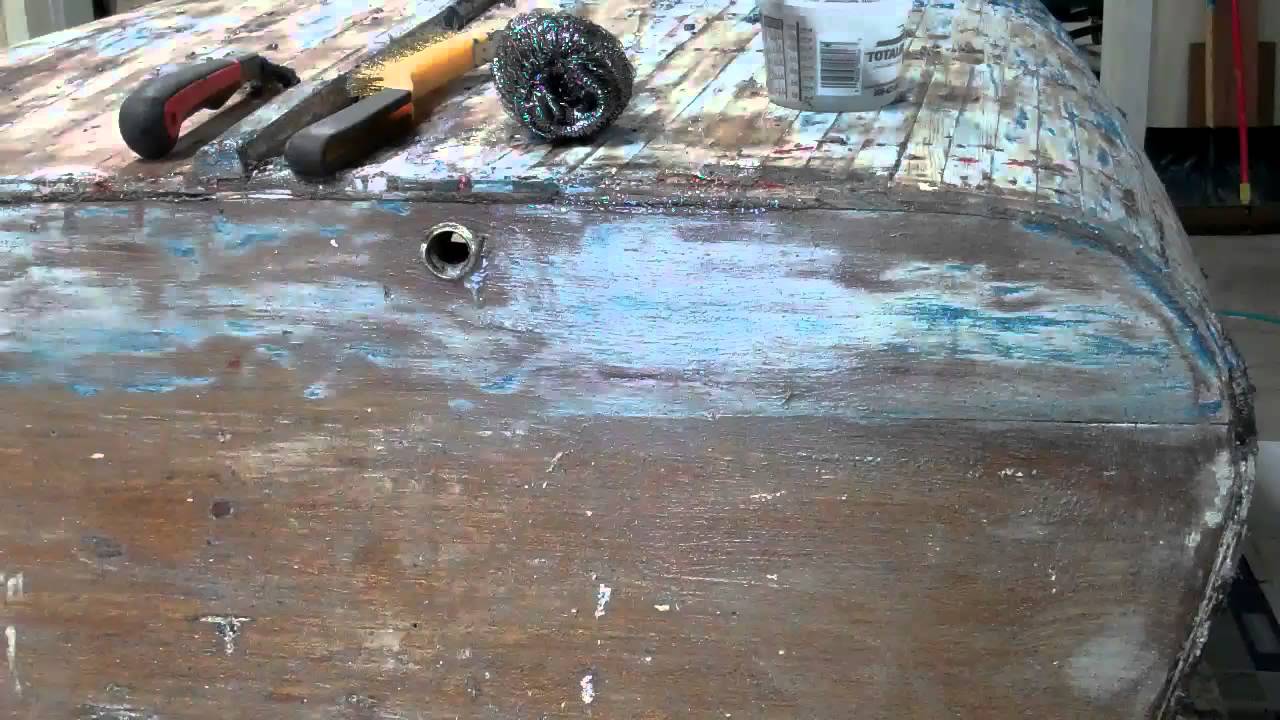
The painted topsides, transom and bottom are very much another matter. The paint, especially that hideous purplish blue bottom, must go. As always, I was suspicious that varnish had been replaced by paint as part of an effort to hide condition issues in the planking.
Happily, as RJ noted once I had it about 95% clean, “Looks like we can work with that transom.” Yes we can. The planking, which is clearly original, is in excellent shape. The same holds true for the bottom now that we have it about three-quarters stripped.
Patience, combined with not brushing stripper out like it is paint are the keys to efficient paint stripping. Trying to stretch the stripper is pure folly in my world.
Patience means, “Let the stripper work.” I apply it liberally, almost as though I am frosting a cake. Indeed, I pour it from the can and spread it with as few brush stroked as I can. Then I leave it alone for at least half an hour, but even as long as an hour.
Now it’s time to scrape? No. Apply more stripper on top of what is already there, and go away again.
Our go-to stripper, Jamestown Distributor’s Circa 1850 Heavy-Bodied Paint and Varnish Remover, has softened the paint down to the wood by now. It’s time to begin scraping, in our case, with a BAHCO scraper, rolling the material off the surface.
We complete the task using ordinary stainless steel kitchen pot scrubbers purchased from a local super market. Apply a thin layer of remover, begin scrubbing with the grain immediately, and watch the residue disappear.
To be sure, nothing about stripping paint or varnish is glamorous, except being done.
Thank you for the emails and generally supportive reactions to our 1954 Penn Yan Captivator Aristocrat. In response to your several pleas that we parade her, her is a follow-up to yesterday’s post-preservation debut clip.
She arrived at Snake Mountain Boatworks last fall having been “restored” by someone about whom I can say nothing nice, so I will say nothing at all.
Revisit some of our early videos on this project and hear the despair in our voices.
But we have saved her. I misspoke a bit on her post-preservation originality in the clip. In addition to the seating, we fabricated new thwart bracing and replaced her transom and transom framing. So she leaves us with much less than 90% of her original wood.
The important fact is that she has been saved and will leave shortly for Lake Simon in Tupper Lake, NY, where we hope for a long fall boating season for her owners
Preserving her has been extremely challenging, but this 1954 Penn Yan Captivator is finally nearing the finish line. While all three of us have worked on this project, John has taken the lead and executed most of the structural work involved in reshaping her hull; and fabricating and installing her new keel, transom framing and transom, ribs, athwart braces, splash rails, rub rails and much, much more.
As is evident in this clip, all that hard work is returning substantial dividends in the form of a stunning outcome. Shortly we will begin installing her new seating and hardware, racing towards the target completion that will have her back with her owners by Labor Day.
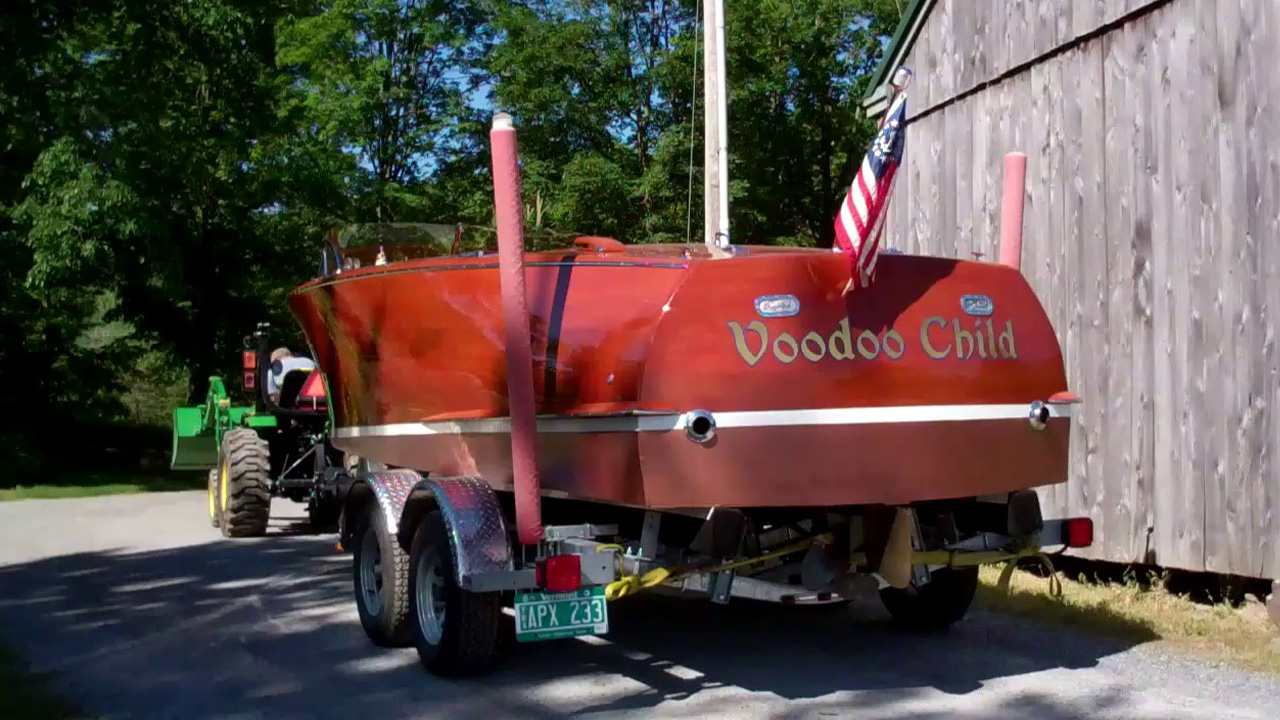
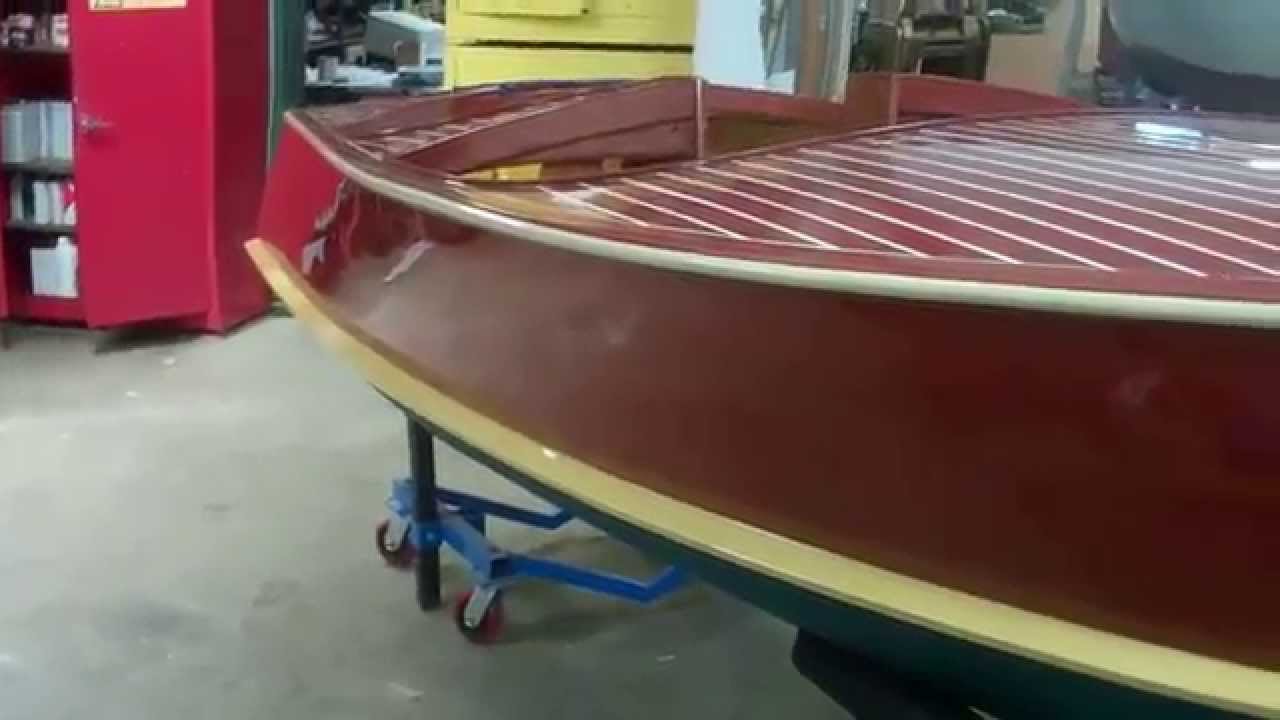
Today we harvest two long years of painstaking preservation of the almost completely original 1952 Chris-Craft Riviera 18 Runabout. Save for several tiny Dutchman patches, her wood is entirely original, as are her upholstery, hardware, gauges, Iva Lite, windshield, steering wheel, and on and on.
We did have RAYCO fabricate a new tank. The burgee is after-market and stern flag is period, but not original. That’s it.
Her Chris-Craft Hercules KBL power plant’s 131 HP should push her along quite satisfactorily.
Pearl Craft of Perth, Australia preserved her steering wheel. Richard Sligh made the Iva Lite new again, as did New England Plating for all the hardware. George Beer and his team at American Metal Polishing transformed the stainless into jewelry.
Tomorrow she will debut at the Lake Champlain ACBS Chapter’s 30th Annual Antique and Classic Boat Show at the Community Boathouse in Burlington, VT.