Launching the True 5200 Bottom assembly is upon us … finally!
But first John and I must address a major issue we discovered when we began re-installing the bottom two transom planks, a discovery that also informed the “why/how” of the hog the hull was suffering when she arrived.
I will follow up with more detail once we have installed the first sheet of Aquatek Marine plywood on the bottom – two videos hence, but here is the gist of the discovery. When we tried to set it in place, post-reframing and re-shaping the transom to remove the hog, John exclaimed, “Oh my God! This plank is almost ¾” too tall in the center, and about ¼” tall at the chines!”
Yep! Old Mr. Butt Joint was here as well. Remember all the open joints we found in the transom framing before we rebuilt it? Well, Mr. Butt Joint was also Mr. Sloppy Joint, and the transom grew in height by almost ¾” in the process. (I now understand why the chine he installed was so ill-fitting. He had to goof around with it so that it fit between the bottom chine plank and the bottom planking.)
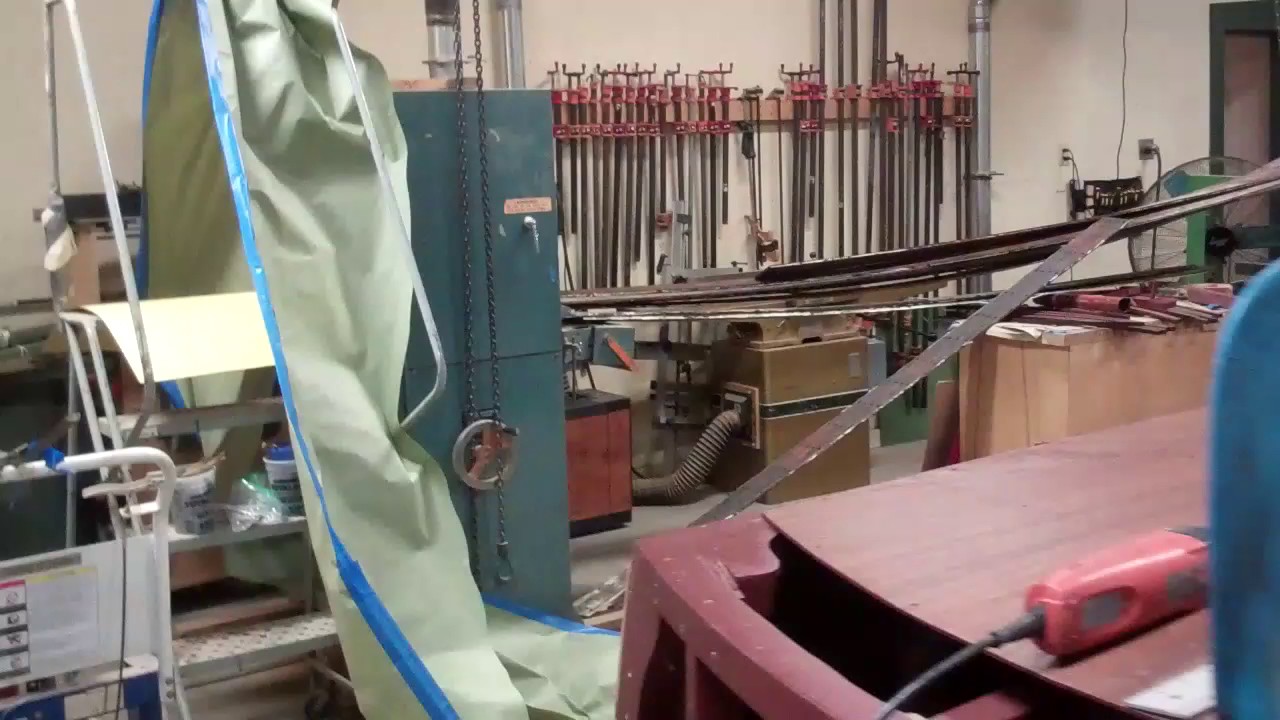
We will address the situation, and trim this plank, but not until the inner plywood bottom layer is fastened. Then we can scribe a line and trim the bottom transom plank accurately using our Fein Multimaster tool.
The happy news is that John and RJ finished fabricating, sealing and coating the components of the True 5200 Bottom’s inner plywood skin with Sandusky Chris-Craft Bilge Paint while I was tracing endless woodies in Tavares, FL.
We are ready to begin fastening the plywood. The finished True 5200 Bottom cannot be far behind!

