1946 Chris Craft Brightside U22 Engine Test

1946 chris craft brightside u22 engine test

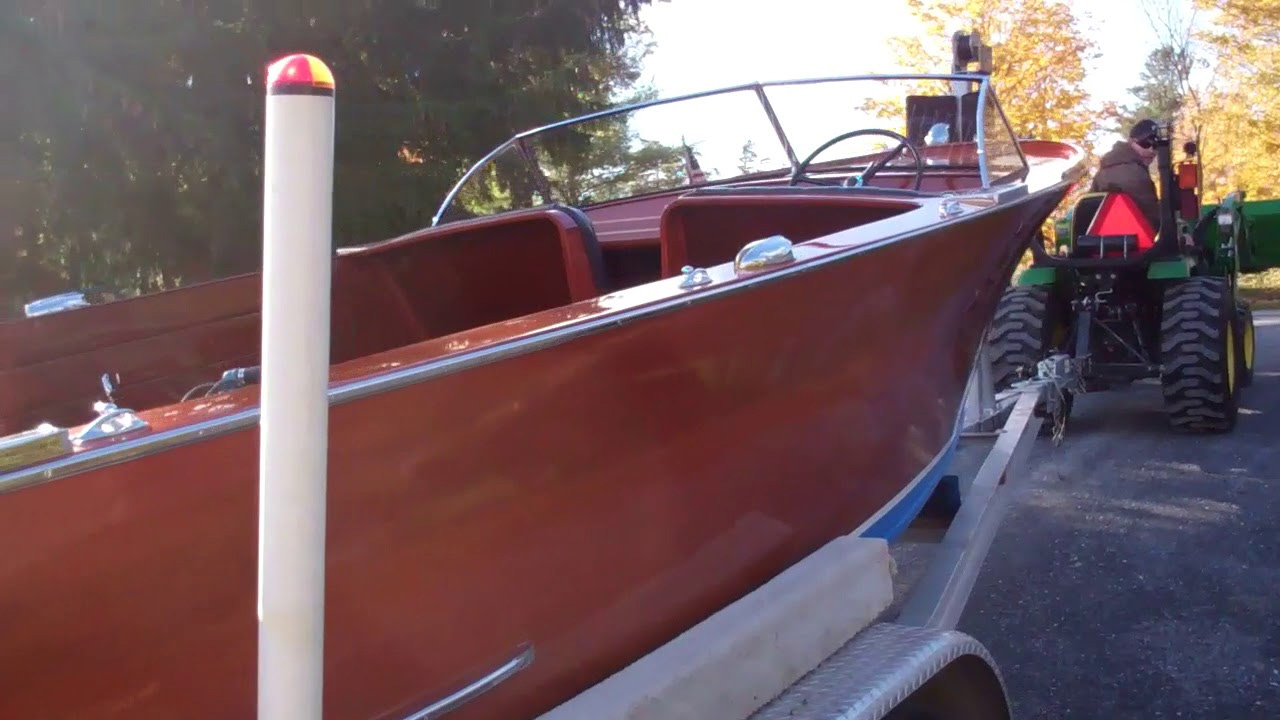
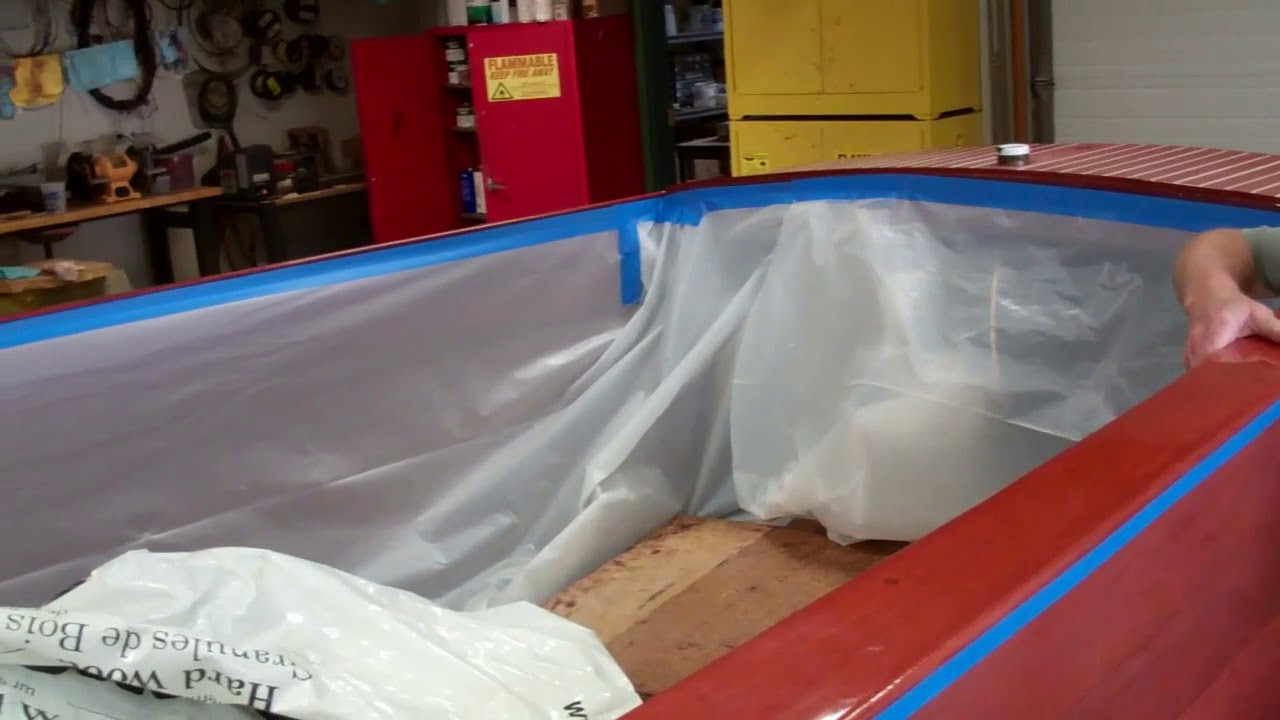
She’s been in storage over the late winter, through spring and until now. Finally, Lake Champlain is below flood stage and heavy winds over recent weeks have driven floating logs and debris to shore. But, with rising north winds in the forecast and beginning now, we will likely choose another day this week to float her.

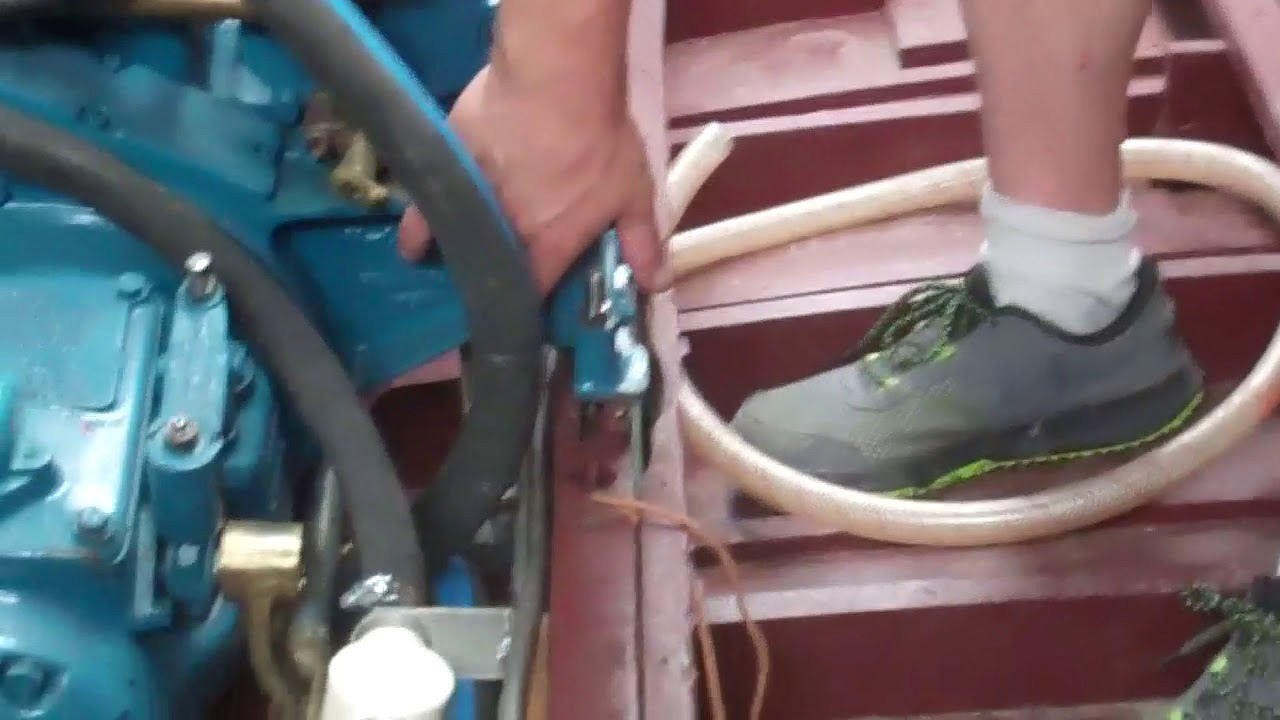
She fired and barked a few times, but now is running beautifully … love that Hercules grumble and growl!

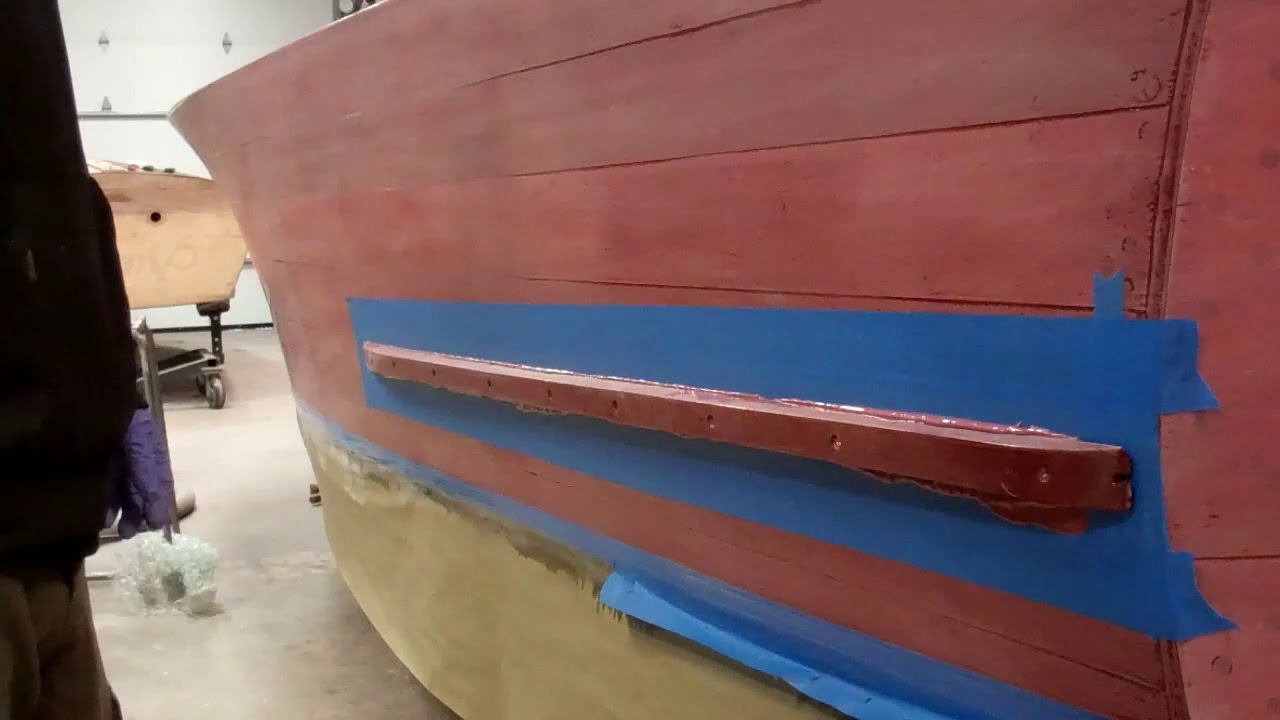
We found a couple of leaky stopcocks, which we are switching out, and the thermostat is being a pain, but we will continue fighting with the engine.

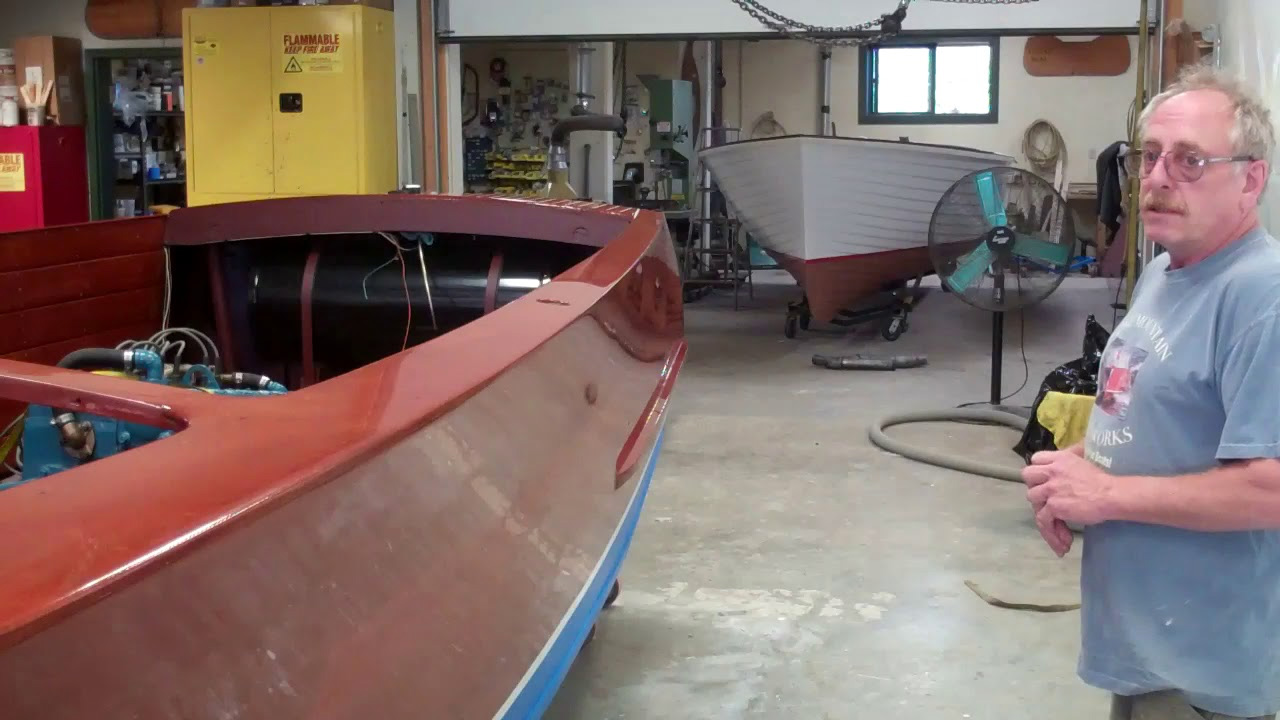
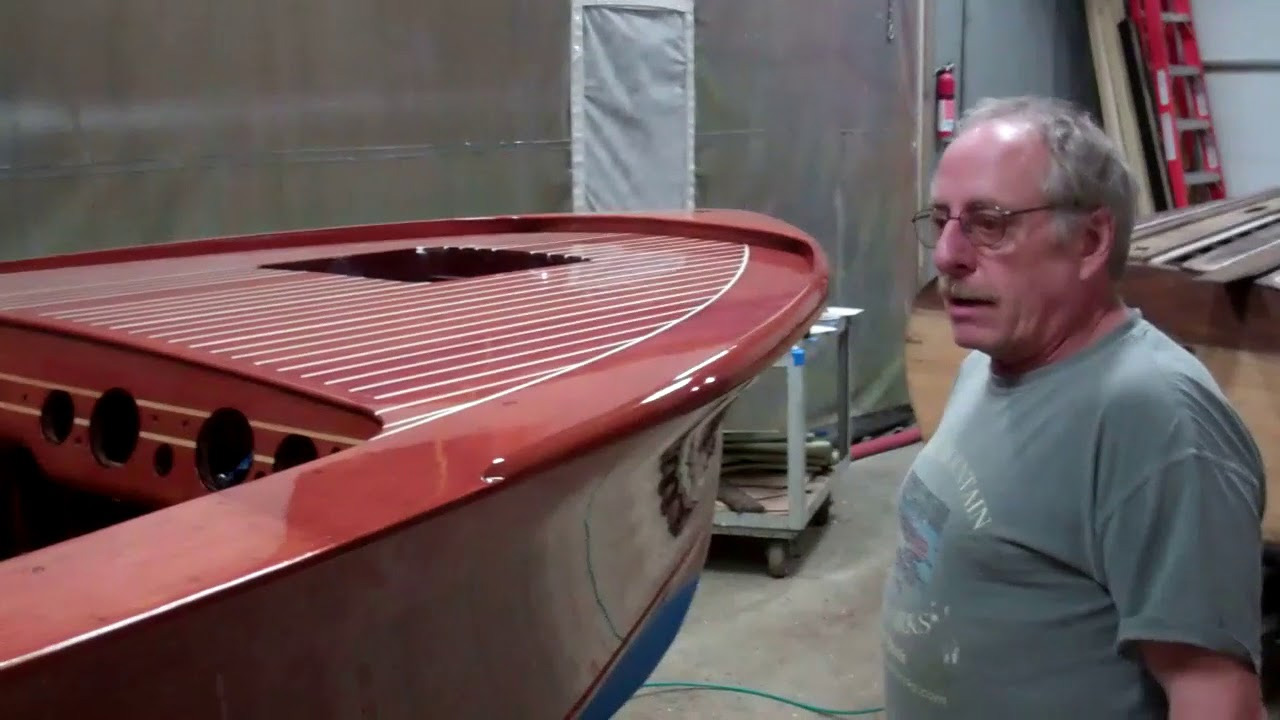
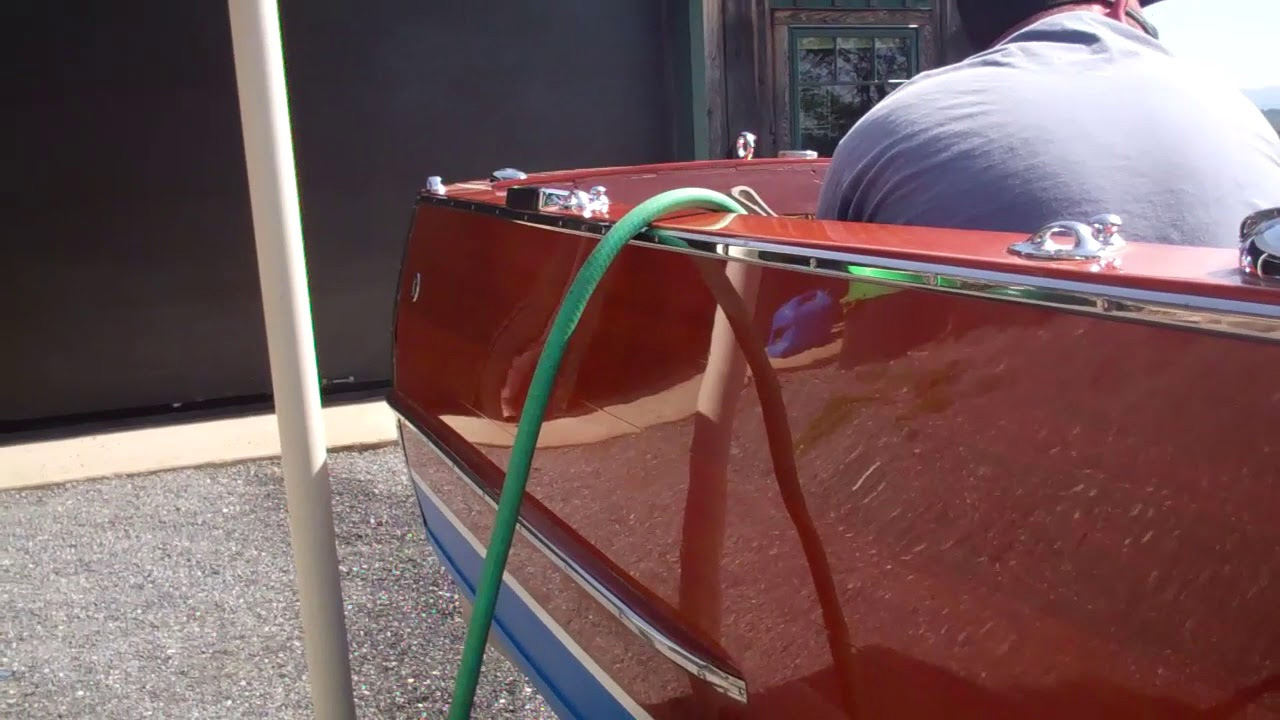
As I hope is evident in the clip, we could not be happier with the final result.

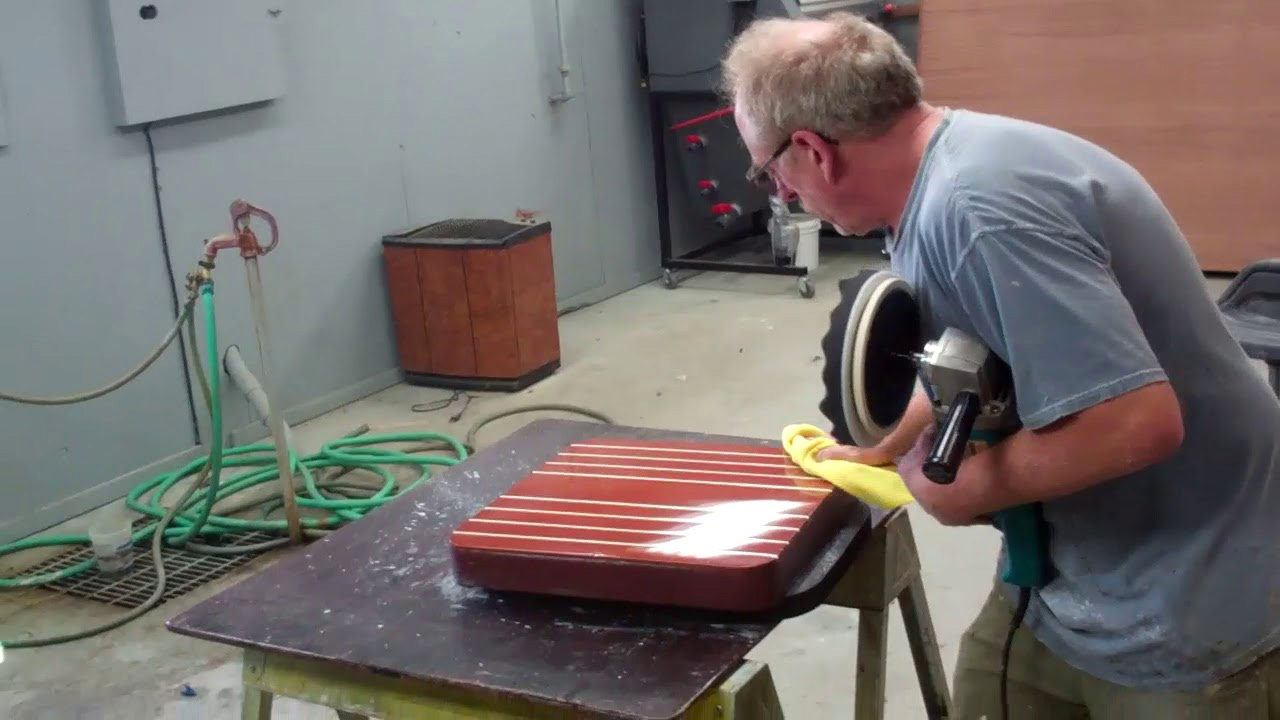
  • Mickey Dupuis and his crew at D&S Custom Metal Restoration in Holyoke, MA, once again transformed pitted and pocked plating into jewelry.
  • Shauna Whiting, Kocian Instruments in Forest Lake, MN, once again masterfully preserved her gauges.
  • Robert Henkel, Peter Henkel, Inc. in Marine City, MI, tore the engine down and rebuilt it, the transmission, and everything bolted onto it.
  • Joanie Alden, Vital Signs hand painted her registration lettering.

1946 Chris Craft Brightside U22 Preserved!

1946 chris craft brightside u22 preserved

As she emerged triumphantly from the shop this morning, our 1946 Chris-Craft Brightside U22 roared (literally) though her mother of all milestones this morning.

Shauna Whiting, Kocian Instruments, Forest Lake, MN, (http://www.kocianinstruments.com) transformed her gauges into perfectly-functioning objet d’art.

Mickey Dupuis, D & S Custom Metal Restoration, Holyoke, MA, did the same for her hardware.

We added a True 5200 bottom after having executed major frame, keel and chine repairs. Happily, we saved every piece of original mahogany and then applied 24 coats of Interlux Perfection Two-Part Varnish.

Buffing all surfaces and reassembly completed the project.

Her engine, having been rebuilt completely by Robert Henkel, Peter Henkel Inc., Marine, MI, (www.chris-craft-parts.com) turned only briefly before roaring to life and running smoothly, cooled first by water and then seven gallons of antifreeze, and finally fogged and shut down.

Our only disappointment is that what seems to be our new weather reality made doing her sea trial impossible, given the early onslaught of freezing ambient and plummeting water temperatures.

She will now rest in our storage facility until we can take her to Lake Champlain once temperatures recover next spring.

1946 Chris Craft Brightside U22 Water Strainer & Winterizing System

1946 chris craft brightside u22 water strainer winterizing

After dealing with two engines that had been run in Lake Champlain for two seasons post-rebuild that were overheating, we will now routinely recommend, read insist on installing a sea water strainer between the raw water inlet and the water pump in every boat we preserve.

In both cases, starting at the water pump and continuing into the exhaust manifold, the engines’ cooking systems were fouled with grit and remnants of vegetation.

Installing a strainer in this Chrysler proved particularly vexing as the water pump lives directly beneath the exhaust elbow, thereby denying us the room needed for an easy install just above the raw water thruhull.

Instead, RJ designed and plumbed lines running beneath the engine from the thruhull to the strainer and then back to the water pump.

Let’s face it. Winterizing is nothing but a chore, and usually a frustrating one. We add a gate valve at the raw water inlet and plumb a garden hose line through a T that continues to the water pump.

The raw water inlet runs into one leg of the T with the winterizing line running into the other one.

Closing the inlet gate valve and opening the winterizing gate valve allows water or antifreeze to be drawn from a five gallon bucket through the garden hose and into the engine.

We will use at least five gallons of antifreeze when winterizing an engine. (Just beginning to run pink out the exhaust is necessary but not sufficient for thorough winterization.

Once the exhaust is running full pink and the engine is shut down, we open stopcocks and any other valve in the block and at the bottom of the water pump.

Note that this winterizing system also affords a simple and straightforward flushing system for boats run in salt or brackish water.

Our system makes these chores easier, but they are still no fun!

1946 Chris Craft Brightside U22 Buffed!

1946 chris craft brightside u22 buffed

Finally… Only two years plus into this incredible journey, our 1946 Chris-Craft Brightside U22’s hull is finished!

Getting there “only” took John many, many trips around her, wet sanding with 600 to 5000 grit wet/dry sanding paper. That all her surfaces were flat at the end of this chapter were evidence by the absolutely uniform snow fields he produced.

Buffing followed, and we will let the result and John speak for themselves.

We allowed the 21 coats of Interlux Perfection Two-Part Varnish to cure for 6 weeks, which also allows the varnish to shrink tightly as it cures fully. She was then left standing in the sun for several days … shrink more and more, surface!

We knew we’d learned something, however difficult being patient is for all of us, by waiting, waiting, and then waiting some more.

The surface is literally as hard as glass, and just as flat. John’s reflection in the aft port corner tells it all…

Want a shoulder workout? Wet sand and buff your varnish!

1946 Chris Craft Brightside U22: How to Buff Varnish

1946 chris craft brightside u22 how to buff varnish

John has now made 16 passes over the 1946 Chris-Craft Brightside U22’s hull. Buffing her to a brilliant gloss is the final step.

John will use waffle cut foam light-cut and finishing pads together with a series of Mequiar’s Mirror Glaze polishing compounds, Ultra Cut Compound M101 and Final Finishing Polish M205.

Besides achieving a super-flat surface and therefore a brilliant gloss, the goal here is removing all 5000 grit scratches.

He begins his process using a variable speed orbital Makita polisher and finishes using a random orbit.

Yes, it is time-intensive and tedious, but the final result, a glossy, glass-hard surface is worth the time and effort.

RJ and I will be reassembling her starting sometime next week.

Her sea trials are just peeking over the horizon, and cannot come soon enough.

1946 Chris Craft Brightside U22 Varnish Buffing Update

1946 chris craft brightside u22 varnish buffing

John has worked last week and through late yesterday to wet sand our 1946 Brightside Chris-Craft U22’s topsides and transom from raw, fully-cured varnished surface to one that is as flat as glass.

Once he’s finished wet sanding the decks, covering boards, seating elements and dash, it will be time to buff everything using three Presta buffing products, at which point she will be blindingly glossy.

We buff with:

  • Presta Ultra Cutting Crème
  • Presta Ultra Cutt Light (PST-133-401)
  • Presta Ultra Polish (Chroma 1500)

John’s sequence:

• Wet sand using 3M wet/dry paper on a hard rubber sanding block and making successive passes with 600, 800, 1000 and 1200 grits

• Wet sand using Mirka sponge-backed discs and making successive passes with 1500, 2000, 3000 and 5000 grit using one of our pneumatic palm random orbit sanders. (He adds a half-inch-thick soft backing pad for 3000 and 5000.)

John insists on changing the water at least three times during each pass, which keeps the surface clean and minimizes scratching. We will be back once he’s reached buffing time.

1946 Chris Craft Brightside U22 Engine Install

1946 chris craft brightside u22 engine install

One more milestone as come and gone.

Finally, her newly rebuilt power plant is sitting on her engine mounts. Because, much early in this preservation project, we removed a twist and hog from her hull, and then replaced the keel and keelson, aligning everything perfectly was not a challenge we were eager to tackle.

However a combination of relocating the engine wedges ever so slightly and reaming the prop bore a bit aligned everything nicely. The engine couplers mate perfectly through 360 degrees, and the prop shaft runs freely in its stuffing box and the strut.

We will be making some final adjustments, pack the stuffing box and tighten everything down. Installing the rudder and related steering components is next.

Inspecting the wiring “harness,” by contrast, informed us that the guy who assaulted her in so many ways also created a huge fire hazard. The wiring is a patched-together rat’s nest of short lengths of wire that are strung together with horrific butt connectors. The single wraps of black electrician’s tape he/she used to hide the bare wires everywhere made us shudder.

Much of the wire was hanging loosely from bilge stringers and elsewhere, with much of it laying in the bilge.

The cherry on top was the absence of proper termination. Our electrical genius simply stripped and wrapped bare wire around terminals. My goodness!

Suffice it to say that RJ has spent much of yesterday afternoon and all of today building an entirely new harness using proper gauges of cloth-wrapped marine wire.

We will begin installing ceiling planks tomorrow, with a goal of having everything in place by week’s end.

I know it is cliché to say so, but really, really, the light at the end of the tunnel is shining more brightly with each passing day!

1946 Chris Craft Mahogany U22 Varnishing Milestone!

1946 chris craft mahogany u22 varnish

We are so close to blasting through the varnished! milestone that I can almost taste it.

While I escaped Vermont’s frigid “spring” for a week, John and RJ applied coats 14 to 16, John sanded all surfaces flat by hand using 400 followed by 600 grit, and they then applied coats 17-19. John must sand everything flat one more time before the 20th coat of Interlux Perfection Two Part Varnish is applied.

She will then sit for two weeks so the varnish can cure before John and RJ begin buffing her to an absolutely mirror-quality brilliance.

John and RJ also finished the “body work” on and bleaching the ceiling planks. They have been stained with Interlux Interstain Wood Filler Stain and sealed with three coats of CPES.

John did a quick hand sanding after four coats of Pettit EasyPoxy Hi-Build Varnish were applied, and that is where things stood when I escaped. My return found the ceiling planks with glistening with coats four more coats of varnish. John spent the first part of this week sanding them flat using 400 grit wet/dry paper and our pneumatic random orbit palm sander.

We can begin installing the ceilings once two to three more coats have been applied.

Then, with the varnishing milestone fading into our wake, it will be time to begin assembly. Yes!

1946 Chris Craft Brightside U22: How to Varnish 10+ Coats

1946 chris craft brightside u22 how to varnish

We have now passed the ten-coat milestone of our varnishing schedule, so it is time to sand the hull flat once again. (We roll and tip Interlux Perfection Two Part Varnish at each step using a three-inch yellow foam roller and a Wooster M5204-3 Tipping Brush.) Our goal is an absolutely flat surface that is devoid of dust and any sort of imperfection. In response to the several requests I have received, here is our varnishing schedule from the first coat through buffing.

  • Coats 1-3 then sand hull lightly with P220 followed by P400, taking particular care not to cut through the varnish to bare wood
  • Coats 4-7 then sand hull to a snow field with P220 followed by P400
  • Coats 8-10 then sand hull to a snow field with P220 followed by P400
  • Coats 11-13 then sand hull flat with P220 followed by P400 to a snow field
  • Coats 14-16 then sand hull flat with P220 followed by P400 to a snow field
  • Coats 17-20 then sand hull flat with P400 followed by P600 to a snow field

Once we have rolled and tipped the twentieth coat onto the hull, we examine surfaces for any remaining pits and sand to a snow field with P600.

  • Roll and tip coats 21 & 22, and let the varnish cure for at least two weeks, after which we wet sand with P1500, P2500 and P2500 and buff the surface absolutely flat to a glossy sheen that gives us the finish we seek.

1946 Chris Craft Brightside U22 Installing Her Splash Rails

1946 chris craft brightside u22 splash rails

Thank you for the several requests that we record how we install the splash rails on the 1946 Chris-Craft Brightside U22.

Since we must avoid screws punching through into the hull’s interior at all costs, we carefully recorded the length of each fastener as we removed them over a year ago now. That record guides RJ and John as they select and lay out the fasteners to be used in the order they will be sunk through the rails and into the hull planks, battens and frames.

Note in the clip that the rails are varnished. Indeed, we varnish all freed components as we varnish the hull. Therefore, all of them have had seven coats applied at this point. The rails will be sanded flat sometime next week before coat number eight is applied.

We bed the rails in generous beds of 3M5200. Why? Rotted splash rails, the planks behind them, and sadly, in several instances, the hull framing within have also been rotted. Sealing the rails with CPES and bedding them in 5200 guarantees that our U22 will not ever suffer this fate again. (We had to fabricate the rails anew because they had begun rotting. Happily the planks behind them were OK.)

Yes, yes. I know that those rails are all but permanently installed. However, Practical Sailor magazine has recently run tests of adhesion breaker materials that worked well freeing up joints that had been joined with 5200