This update on our conservation process at it applies to the 1946 Chris-Craft Brightside U22 is a close sequel to our last update. In that clip John was sanding the decks, covering boards, dash and seat frames by hand using 220 grit and a rubber sanding block.
He continued and completed that stage and is now focused on the topsides and transom. He sanded the transom as he did the decks, by hand using a rubber block and 220 grit, but then followed with sanding it by hand using 400 grit on his block.
Given the compound curves on the topsides however, he is using one of our Festool random orbit sanders and a very soft sanding pad behind the first 220 grit and subsequently the 400 grit.
As you can see in the clip, the topsides started out far from flat. However, after brushing and tipping seven generous coats of Interlux Perfection Plus Two-Part Varnish onto them, John has lots of varnish to work with, so is being a bit more aggressive than was the case when he sanded – then by hand – between coats three and four.
We will wipe all surfaces down with acetone and install the splash rails ahead of applying coats eight to ten, at which time she will be sanded again.
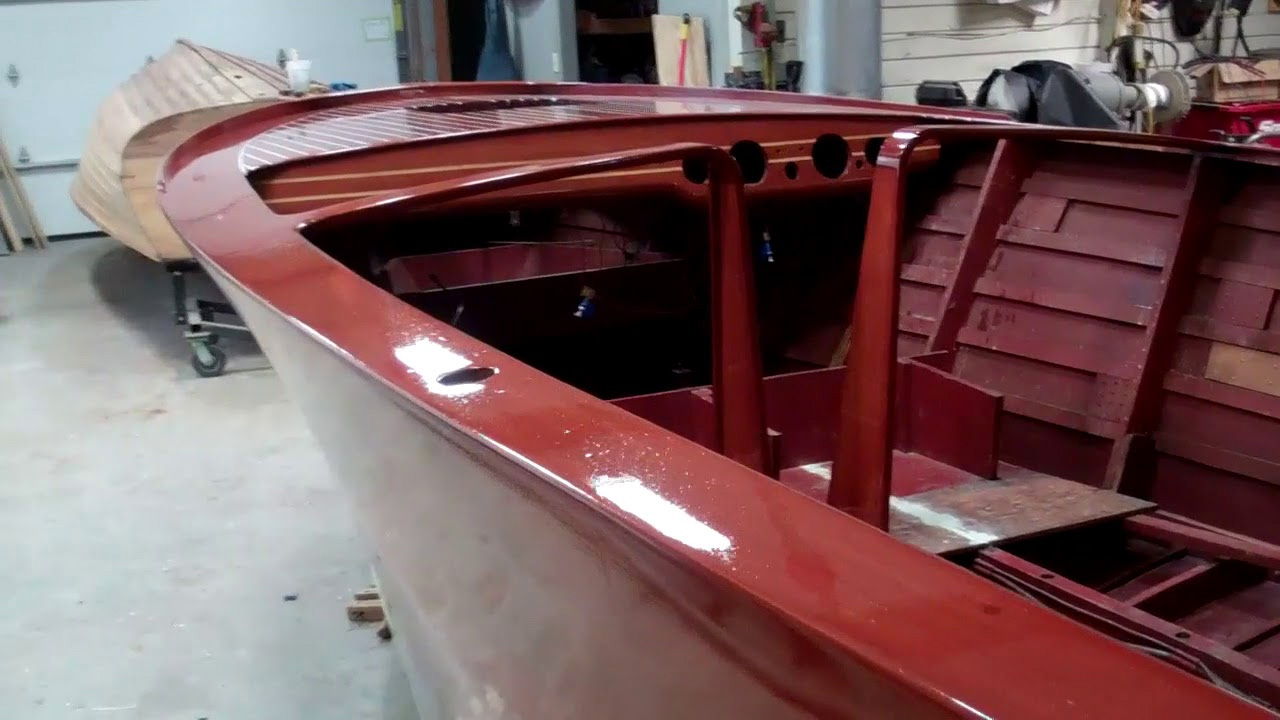
Varnish! With seven coats of Interlux Perfection Plus Two-Part Varnish having been applied, combined with hand block sanding after four coats, our 1946 Chris-Craft Brightside U22 is finally showing her elegance.
A glossy result is all about flat. Cheap mirrors reflect a wavy image. Expensive mirrors return an exact copy of what is before them. Why? Cheap mirrors are silvered to “good enough.” Expensive mirrors are silvered to absolute flat, which delivers an absolutely accurate reflection.
Flat and declivities, pits if you will, are antonyms, one cannot exist is the presence of the other. Varnishing involves building film thickness, but also requires exceedingly controlled hand sanding periodically as it builds. Why?
As Danenberg recommends, the sanding you did ahead of staining your hull stopped with 120 grit. (We stop at 80 grit.) The surface feels so silky smooth, but it is not. Reach for a strong magnifying glass and be prepared for a shock. Viewed in cross-section, the surface is literally a sea of hills and valleys.
Yes, you used filler stain and absolutely scrubbed it only across the grain, which does fill some of the valleys.
Even then, if viewing the surface at high magnification were possible, your “silky smooth” would conjure images of a moonscape.
When applied, varnish begins filling those valleys – pits in boat talk, but it also adds a film of equal thickness to the peaks. No matter how many coats you apply, unless and until you sand off the mountain tops, you will never achieve other than a cheap mirror reflection.
Be careful what you wish for, however. That sanding must be controlled so that it attacks the peaks without invading the valleys. Otherwise you never build film thickness uniformly across the surface. So sand, yes, but not so much that you are at risk of denuding peaks of all their varnish.
We use 220 grit paper mounting on a hard rubber sanding block after the third and seventh coats. John has begun sanding the entire hull, to which we have now applied seven coats, using 220 grit. He and RJ will then apply three more coats, at which time we will sand again, but now using 320 grit.
We will sand with 500 grit once the following three coats are applied, and then 600 grit after coat sixteen and 900 grit between coats nineteen and twenty.
The relative amounts of shinny declivities and absolutely flat surface area shrinks exponentially as we continue sanding periodically with ever-finer grits. Once coat twenty is applied, we will allow the varnish to cure for up to a month – two weeks with Perfection, before we begin buffing the surface, which morphs it into a gloss that appears miles deep and distortion free. Just like an expensive mirror’s silvered surface, it will finally be super flat and therefore super glossy.
Getting the seams filled with Sikaflex 295 UV is materially transforming the 1946 Chris-Craft Brightside U22 in almost magical ways. That seemingly unending field of mahogany, especially on the foredeck, now is beginning to jump out and proclaim, “Look at me!”
But doing it correctly is incredibly tedious and time consuming for John. Masking the planks between the seams gobbles attention resources. The tape’s edges must run precisely along each seam’s edges if we are to achieve razor-edged results.
John uses 1-inch painter’s tape for this purpose. It is much more forgiving and much easier to manipulate than wider tape would be. Doing so, however, requires that additional tape be applied so that all but each seam is masked.
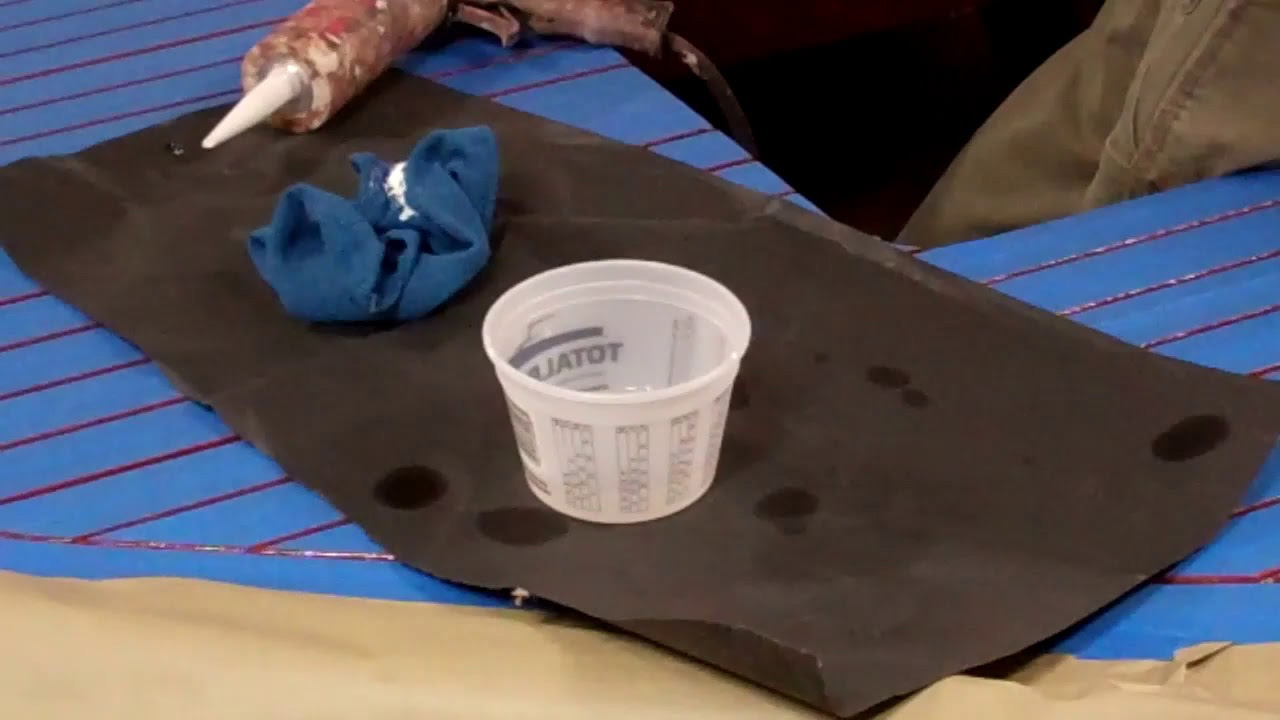
We also use masking paper to protect the toe rails from any splatter, either of the Sikaflex or the Interlux Brushing Liquid 333 that John uses to lubricate his spatula so that it glides along the Sikaflex surface rather than pulling it out of the seam.
We strive for a concave profile, which reduces the chances of going through when we sand between the 20 – 24 coats of Interlux Perfection Plus Two-Part Varnish.
We use Perfection on decks, covering boards and interior helm seat frames for two reasons. When cured it is hard as nails, which means it withstands abrasion and scratches quite well. And Perfection is crystal clear, which allows us to apply it over the seams without discoloring the Sikaflex, as it adds UV protection to the Sikaflex itself.
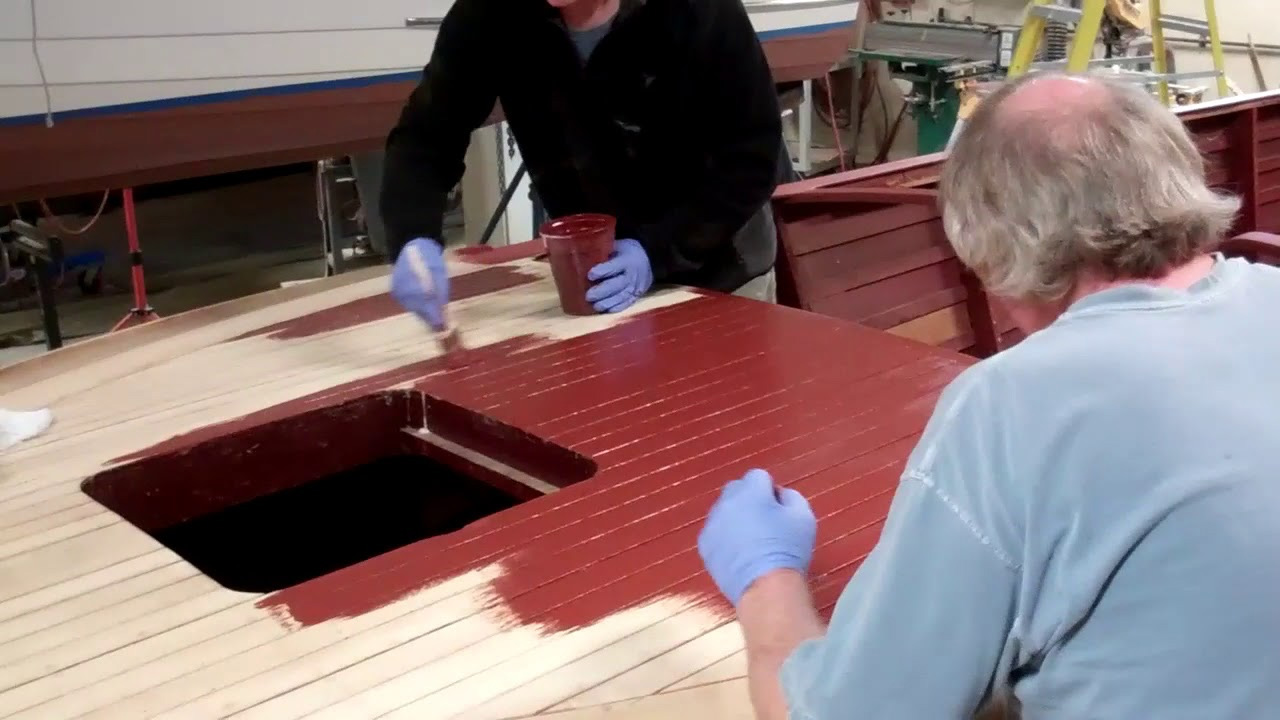
Staining the 1946 Chris-Craft Brightside U22 is a daunting task, one that we divided into two parts. The morning was devoted to staining the decks, covering boards and helm seating framing. The topsides and transom were attacked after lunch.
We used our standard Chris-Craft formula, equal parts of 0042 brown mahogany and 0573 Chris-Craft red mahogany Interlux Interstain Wood Filler Stain. The entire task consumed three pints of each stain, or six total.
RJ applied the stain, with John and I following behind. Interlux’s and the literature’s guidance notwithstanding, we no longer wait until the stain has flashed – turned a uniform dull color. In our experience, and especially with such a large surface area being stained, allowing all or most of the thinner to flash off, creates an unwinnable race against the stain becoming so dry that removing all residue and achieving a uniform color throughout the boat is nearly impossible.
Rather, RJ applies, followed almost immediately by John and me. The first scrubber works the wet stain into the wood, doing very little actual cleaning in the process. The second scrubber follows, repeatedly changing the cheesecloth pads and making a first pass at cleaning. Then the first guy follows the second with a goal of releasing all of the residue without actually scrubbing the filler stain out of the wood grain’s valleys.
We use only circular and cross-grain strokes while executing this process.
You be the judge, but we feel that we get a much more uniform final product using our method, and we need not go through the misery of scrubbing drying varnish, which can leave dark, almost burnished patches of stain in its wake.
Check out the next clip to see why the three of us were beat by day’s end.
Finally! The 1946 Chris-Craft Brightside U22 is all but completely stained.
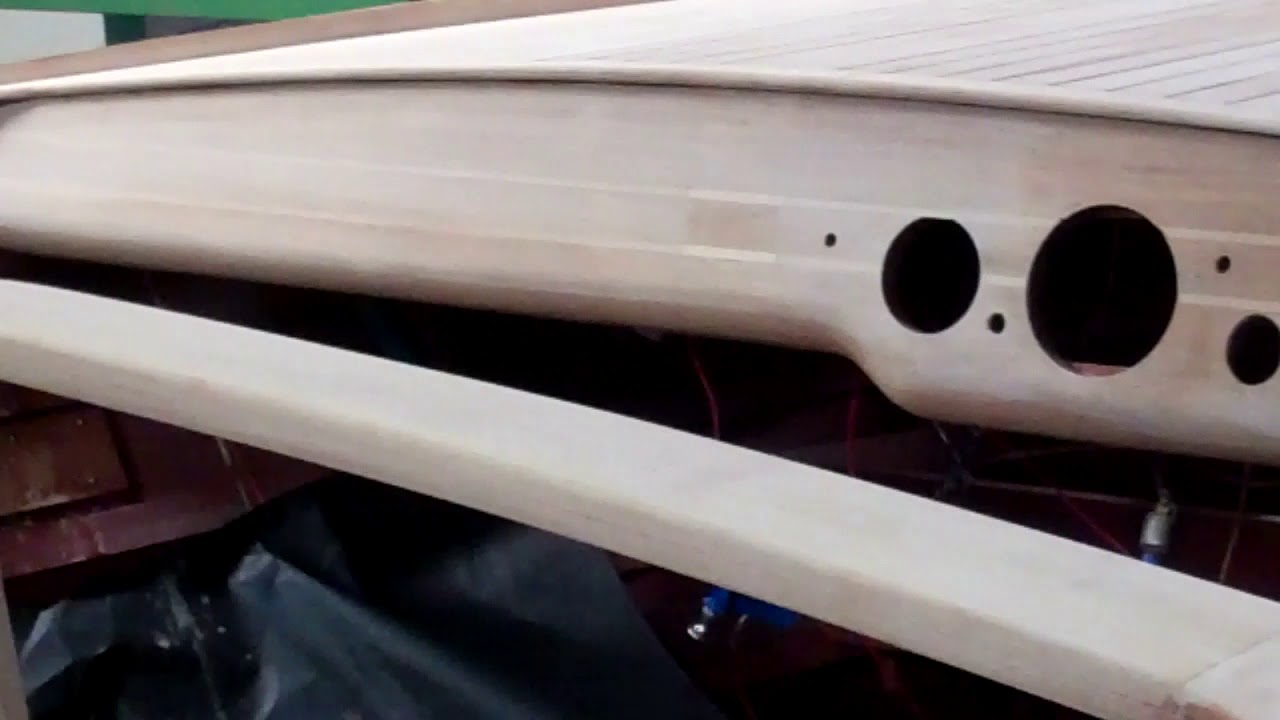
Our SMB staining methodology has delivered an absolutely uniform result. What a sight for sore eyes, and especially sore shoulders! Several staining details remain. The dash was modified at some point. The original horizontal chrome strips that were inset into it at Algonac were replaced by marquetry-like blonde wood stripes. These must remain blonde, so John masked them off and stained them with Sandusky Paint Company’s Chris-Craft Corina Blonde stain, let it dry in, and then taped it off along with the rest of the dash. (Since would not be staining the mahogany portion of the dash today, protecting against flying flicks of stain was a must.
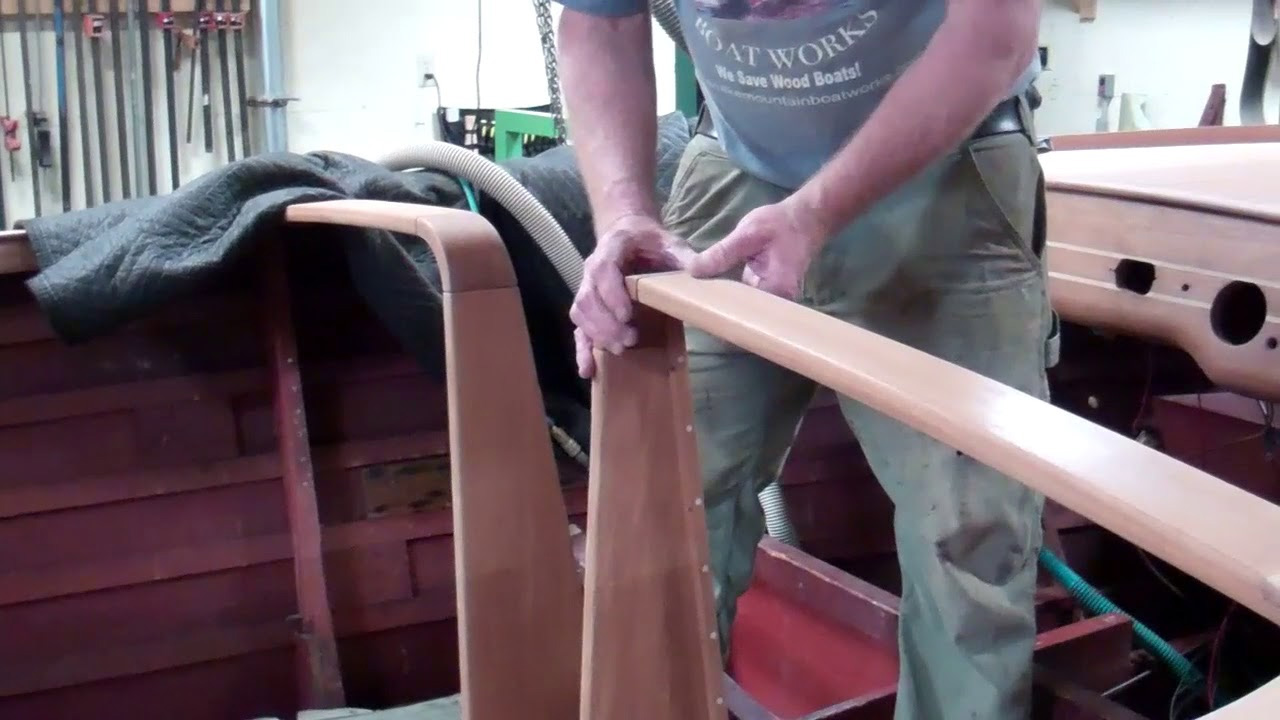
Additionally the U22’s bow terminates in a very pleasing pair of triangular planks and a vertical support plank into which the hull number was stamped at the factory. These will be stained and installed after we have applied CPES to and Sikaflexed the foredeck’s (and aft deck’s) seams. For now she will sit for several days, while her newly applied stain is curing. Then we will seal the entire hull with multiple applications of CPES.
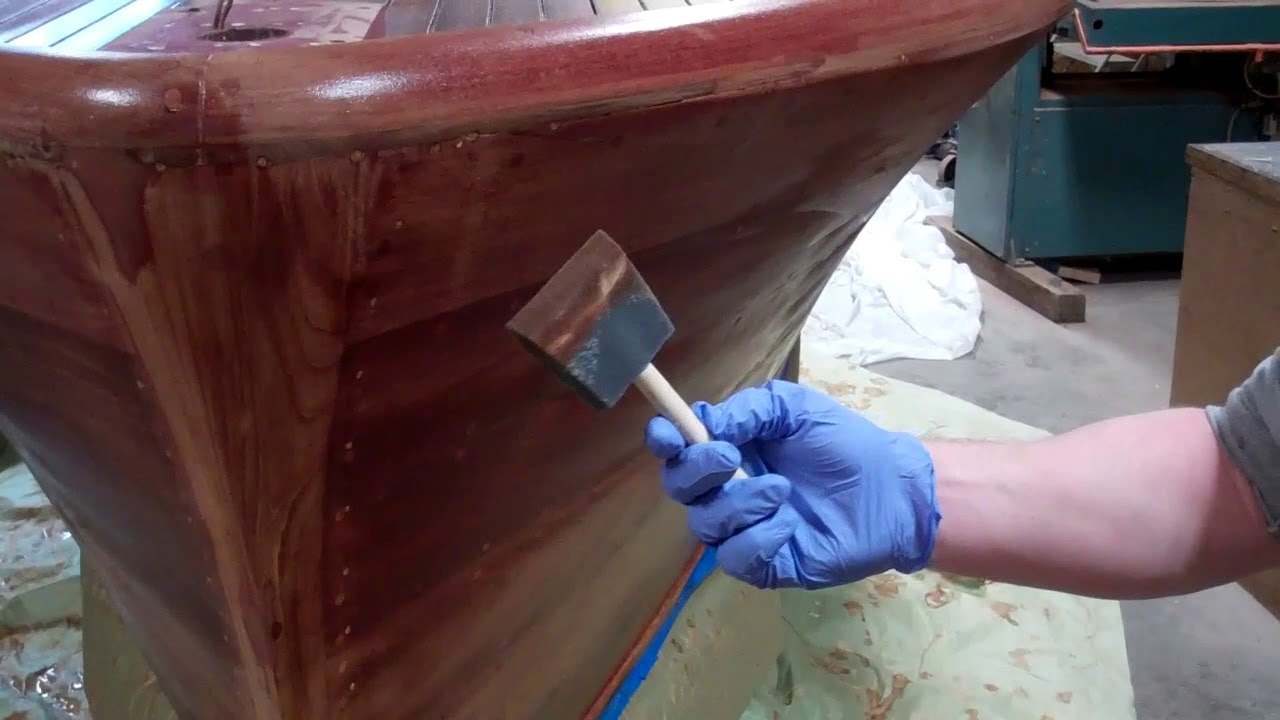
John and RJ trekked between home and the shop periodically into the evening last night, keeping the U22 wet with the two-part Daly’s Wood Bleach we are using, particularly in areas that resisted the bleach.
The result this morning is an albino mahogany U22.
The bleach raises the grain, which is a singular plus for applying the Interlux Interstain in a couple of days.
Once the hull has reached 12-15 percent as measured by our moisture meter, we will lightly hand sand the feathers raised by the bleach, clean the surface with tack clothes and stain using the Danenberg two brown to one red mahogany stain.
CPES will follow. Sikaflex will fill the deck seams, and then, finally, we can begin varnishing the hull.
The bleaching milestone is about to disappear into our wake!
Starting very, very early this morning, John and I began bathing the 1946 U22’s entire exterior and interior surfaces with Daly’s Two-Part Wood Bleach. RJ joined us soon thereafter. (Daly’s is good, but nothing can match Clean Strip Two-Part Wood Bleach for bleaching mahogany! Unfortunately, Clean Strip is no longer available. Word is that it had to do with running afoul of hazmat shipping regulations.)
The key is keeping the wood wet for an extended period of time, and not applying one coat and calling it good. The wood must be kept wet, at least 8-12 hours in our experience, and this boat feels like it doubled in size as we raced around with our pails of bleach and 3-inch foam brushes. (We use foamies rather than chip brushes. Doing so helps guard against applying excessive liquid, especially to vertical surfaces, and thereby allowing rivulets of bleach run down and leave blonde streaks behind.
For the same reason, after applying a first coat to the decks, covering boards and cockpit components, we attach the topsides and transom from the waterline up. That way there is no chance that rivulets of bleach runs down and onto dry wood, which almost certainly will leave a blonde streak behind.
Because the first coat absorbs very quickly, we also apply bleach in tandem, working around the hull until all surfaces have been thoroughly wetted. Then the three of us work different areas, applying bleach until the surface glistens and stays that way.
That the U22 offers seemingly endless surface is evidenced by the fact that, as this clip closes we have applied 1.5 two-gallon kits.
We now leave her alone for several hours, before we will apply more bleach if the process seems to be losing momentum.
It has now been about one year since the 1946 Chris-Craft Brightside U22 arrived at the shop. Our initial Scope of Work involved installing a True 5200 bottom and cleaning up some cosmetic issues. Our goal was to have her back home in the Muskoka Lake Region of Ontario, Canada and ready for the 2017 boating season.
It was not to be. Once flipped, we had a dickens of a time getting the hull to sit squarely on a pair of boat dollies. Sadly, she was twisted. The project grew.
Then, having released two layers of bottom planking and the keel, that she had serious structural issues, starting with the chines and chine frames, and continuing through almost all of her bottom and transom framing. The project grew again, and, at this point we and her super-supportive owner family knew we were in for a major preservation project.
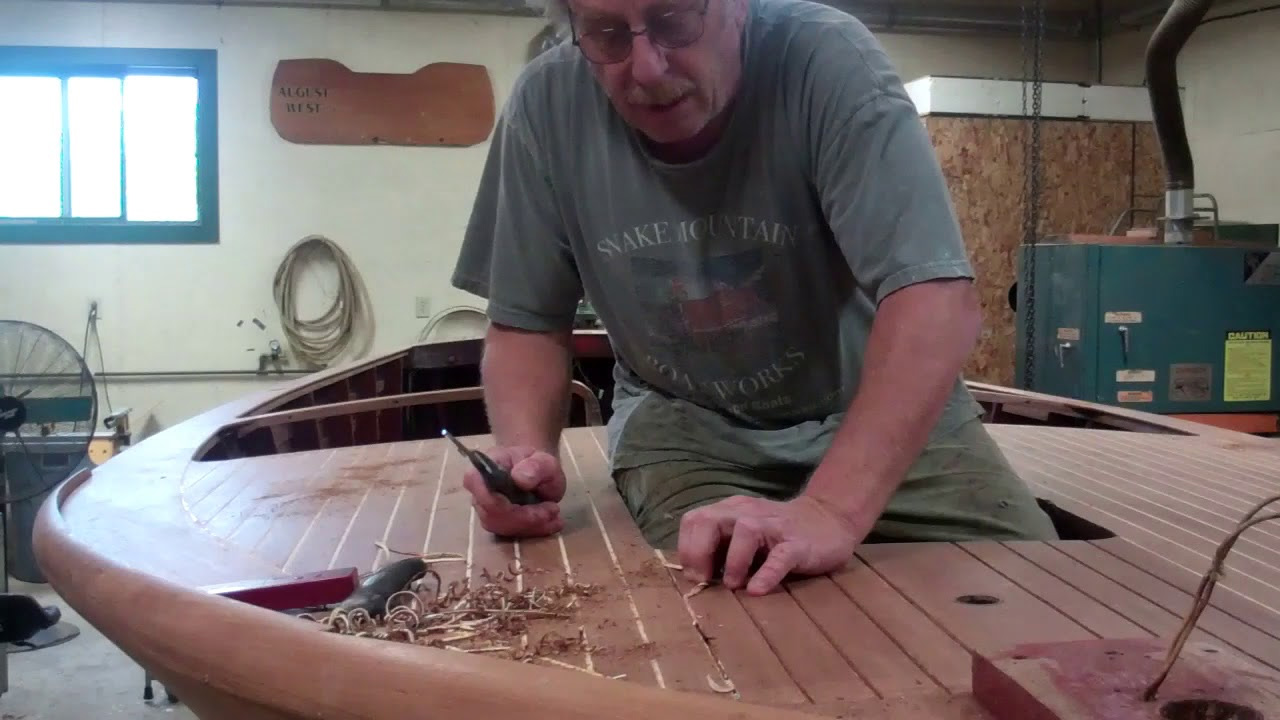
Now, one year later, her hull is true, she sports a True 5200 bottom and new chines. Most recently, John has focused on stripping the decks, covering boards, and everything finished bright in the cockpit. He released all of the white Sikaflex-like material in the deck seams and sharpened the seams’ edges using a variety of reefing hooks.
Every split, dent and ding in the topsides, transom, decks and covering boards has undergone John’s Dutchman-repair procedure. We saved every piece of original wood in the process. The entire surface has been sanded with 40, 60 and 80 grits using a Hutchins longboard sander. Since it is Friday, when the shop typically closes at noon, we very likely will hold off launching our bleaching process until Monday.
We’ll give the hull the better part of a week, maybe longer, to dry to our target 12-15 percent reading on our moisture meter.
Then we will stain, launching another milestone into our wake in the process. Two to three days later we will seal all surfaces with multiple coats of CPES, give it forty-eight hours to cure, and then the fun truly begins. Once the Sikaflex seams are filled and the material cures, which takes several days, we can commence with varnishing!
There is nothing like that first coat of varnish for transforming a dull, stained hull into the beginning of the mirror-like gloss we will deliver some twenty to twenty-five coats later.
A Christmas completion is not out of the question. Yes!
We are so close to bleaching the 1946 Chris-Craft brightside U22’s hull, decks, transom, etc.
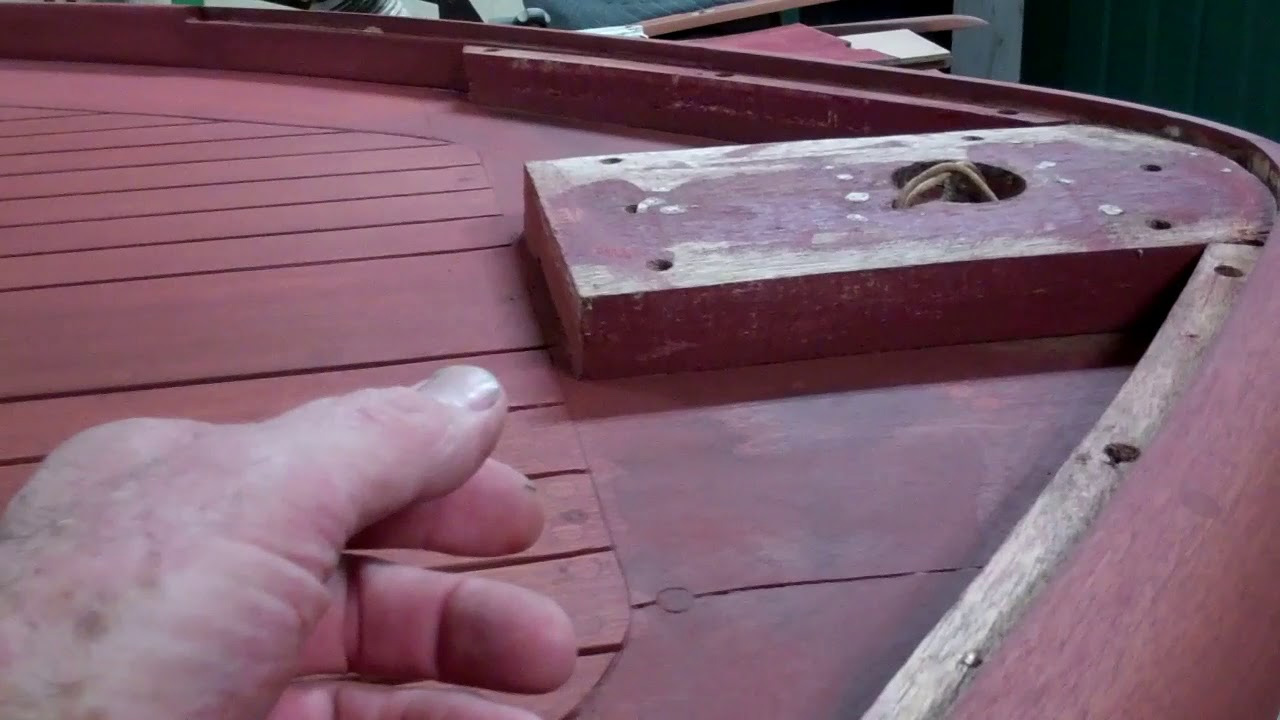
However, as is all too often the case she wants a bit more of John’s attention. He inspected the fore and aft decks, the tow rails and the covering boards, only to identify scores of small dings, divots and scratches. Thank goodness for Jamestown Distributors’ Thixo Wood 2.0, to which John added a bit of stain and used to fill and will soon fair all these little repairs.
Of course, nobody would see many of these from 10 feet away, but having discovered them, I agreed with John that only by addressing every one of them, however small, could we deliver work that meets our standards for craftsmanship.
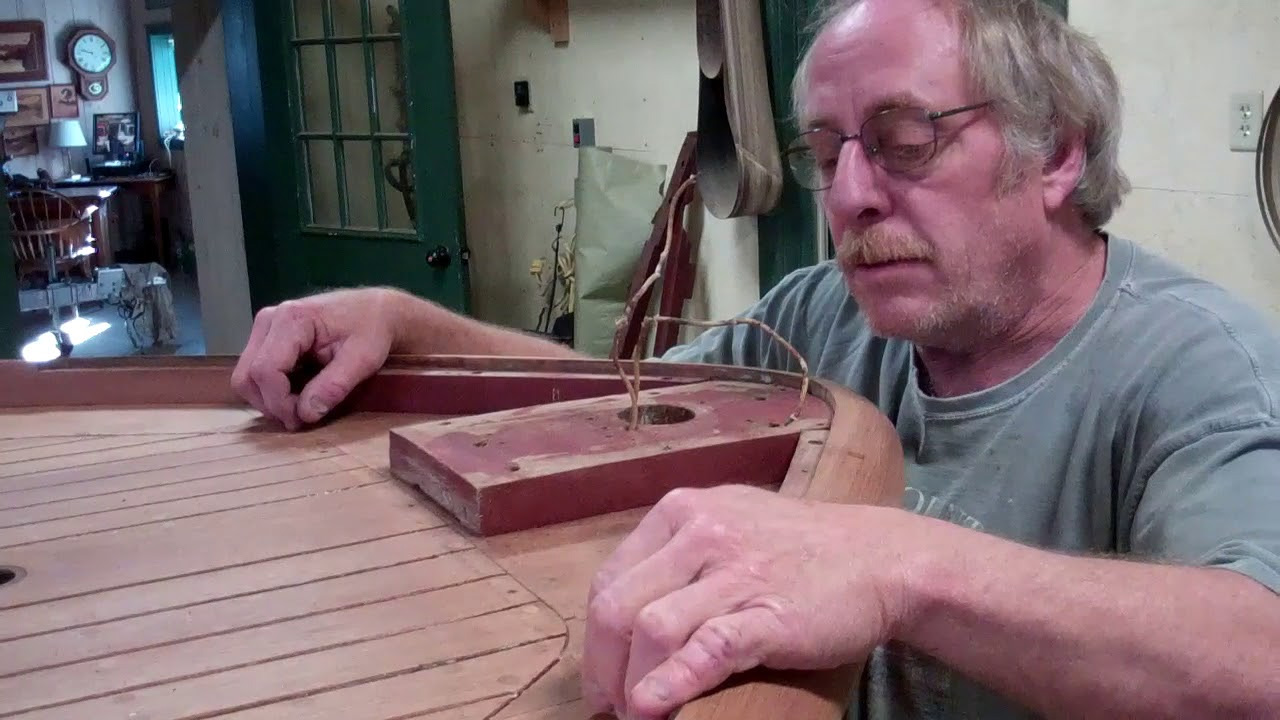
Then we discovered that the plank supporting the center plank of the aft deck had been chewed away beneath the gas bung and stern pole ports. Amidst lots of muttering as he was showered by router shavings as he lay on his back carving out a channel for the supporting patches he fashioned and glued into place.
The two small Dutchman repairs to the plank completed the process, and John next reached for his trusty Hustler longboard pneumatic sander.
Another milestone, well, almost fading in our wake. John has a bit of Sikaflex to release from foredeck seams before he can insert a few Dutchman repairs on the decks and covering boards and then sand all of these surfaces one last time.
Then it’s bleaching time with staining and sealing with CPES to follow.
It won’t be long before we are filling seams with Sikaflex and varnishing.