Happily for her and her owner, we have been saving the last Pattern Grade Honduran mahogany plank from an order I made ten years ago for just the right application. It had been held in inventory for over two decade at the many small furniture shops that fell victim to the Great Recession of 2008-2009. The planks had been sawed, stickered and begun air drying a decade or so when purchased by the shop’s owner.
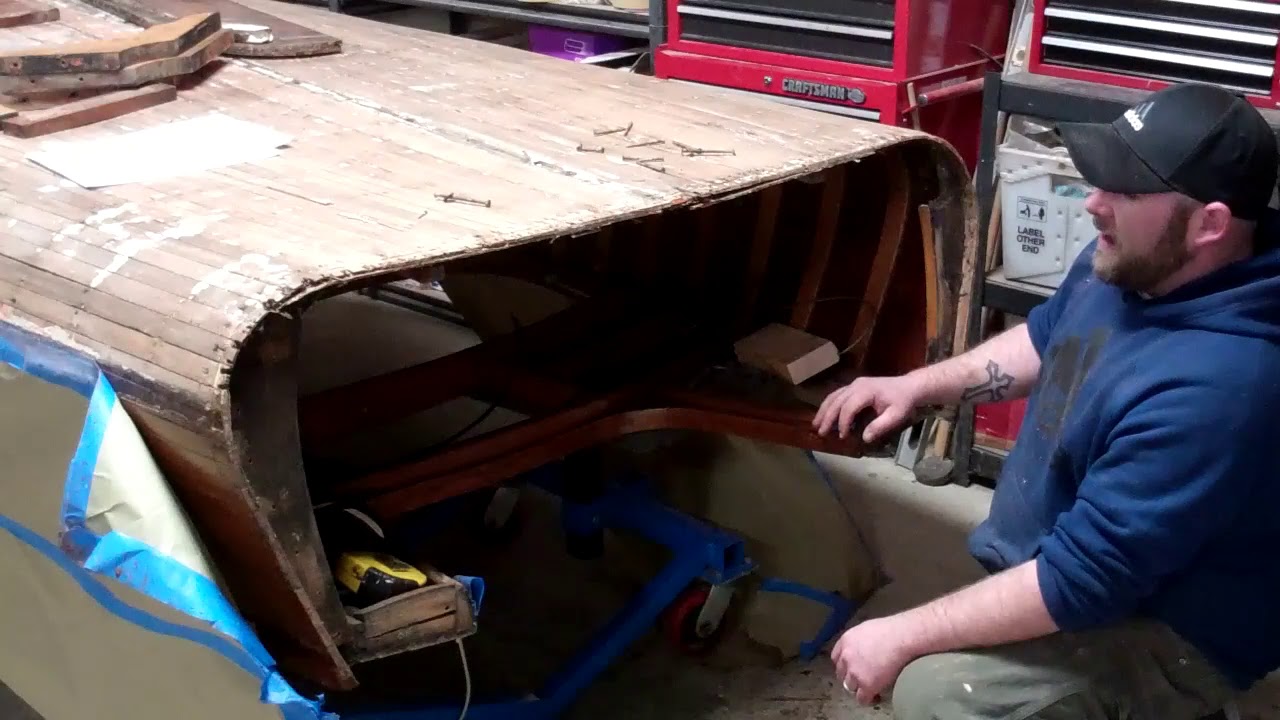
While our 1954 Penn Yan Captivator Aristocrat is losing her original transom, her “new” one will be fabricated using wood that is almost as old as she is.
It took a bit less than a nanosecond for us to agree that we will use that plank for Captivator’s transom planks and center frame member.
The original transom planks were glued up employing a splined joint – grooves cut in the two mating surfaces are joined by a thin strip of mahogany, aka the spline. However, we will mate the two boards using a tongue and groove joint.
Why? Joe, who spent years managing a commercial precision woodworking – custom window and door design and fabrication, has experience with, and has tested, both mating systems. His experience argues for the tongue-and-groove rather than the splined joint as stronger and better able to survive flexing and expansion/contraction cycles.
Joe cut the tongue in one and groove in the other soon-to-be transom plank using a table saw. Two pieces of scrap from the same planks were used for setup.
Finally, once they had been run through the jointer, Joe and RJ will set up a half-dozen pipe clamps, with three spaced along each side of the plank. Wax paper will be laid beneath the joint and copious amounts of Titebond III Ultimate Wood Glue will be applied to all surfaces. (https://www.amazon.com/Franklin-Titeb…)
Even though Titebond stipulates an 8-hour dry time, we will wait a full 24 hours before breaking the clamps down.
We will focus on her bottom once we’ve installed her new transom and its associated framing.
Happily, our worst fears, that we’d discover extensive garboard rot beneath the keel, did not happen. Despite the open seam along both sides of the keel-garboard joint, there was nothing but a tiny bit of rot way forward where the keel and stem join.
That said, once we have tightened fasteners where needed, sanded the bottom fair and applied three full coats of Clear Penetrating Epoxy Sealer to both the keel and bottom planking, keel installation will be upon us.
We will treat the keel installation exactly as we do when installing external bottom planks in a True 5200 Bottom. Fifty-Two-Hundred will be troweled into the entire area beneath the keel, and to an about 1/8″ thickness. Then, as we sink the fasteners from the inside out,, we will be certain that the entirety of the mating surfaces are entombed in 5200.
We will clean the squeeze-out with Interlux Brushing Liquid 333 and then wipe the seam down with acetone, which will accelerated the curing process.
Then the real fun begins as all the seams between Striptite planks must be caulked using Interlux Seam Compound For Underwater Applications.
Why not 5200? Once cured it will not compress. Any drying and shrinking of the planks either breaks the adhesion, as we saw with this bottom initially. Any soaking-up and subsequent plank expansion threatens crushing the planks.

