With the keel and the bottom stripped to bare wood, we are very pleased that the half-inch marine plywood bottom is in excellent shape. Nowhere can we find evidence of delamination, gouges, or other signs of degradation or damage.
The fasteners are a different matter, however. Cruisers Inc. used two-inch smooth-shank nails driven through the plywood along the stem, keel and transom during the initial hull assembly. Drilling pilot hole and sinking #10 x 2” Frearson-head, silicon bronze wood screws through the plywood and into the transom followed. #8 x ¾” screws were sunk into through the plywood and into the ribs elsewhere.
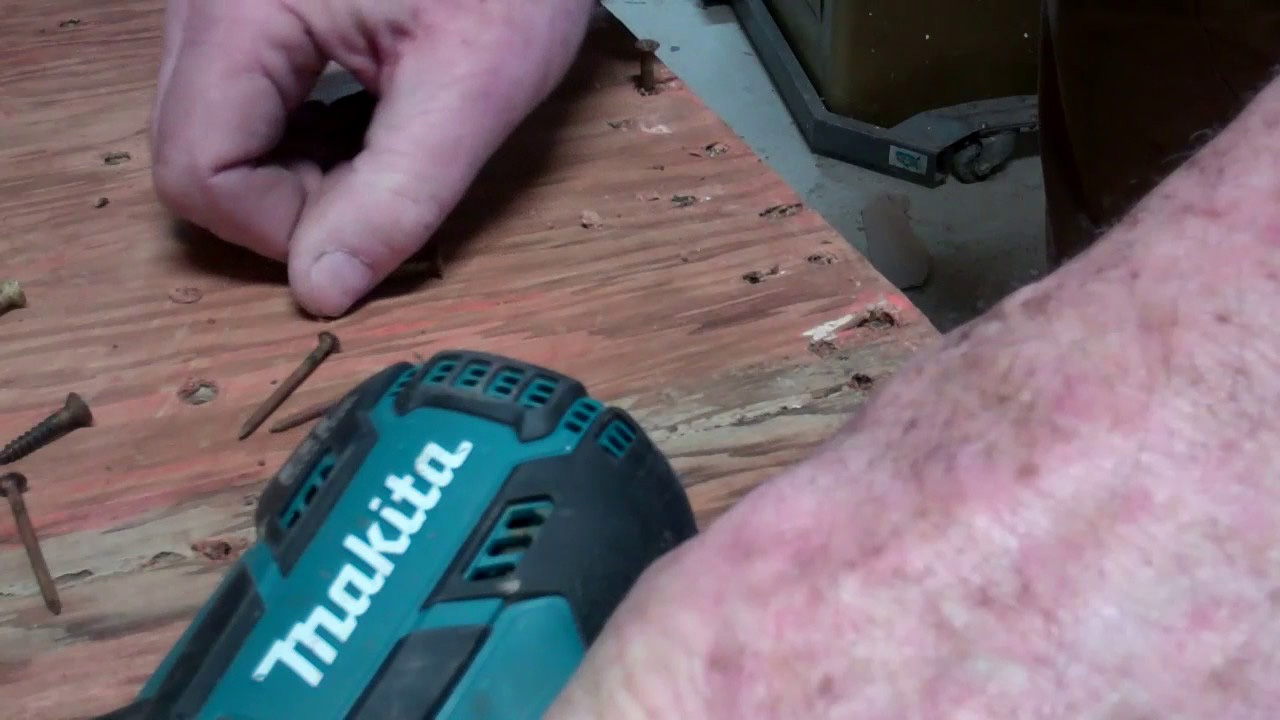
I began releasing these fasteners this morning, using an awl to pop the caulking out of the countersinks and for cleaning the drive slots in the screw heads. At the first one and every one that followed so far, and whether it was the long screws drive into the transom or the short screws driven into the ribs, I can spin them out with the tip of the awl. Yes, they are that loose!
And the nails just pop free when levered ever so slightly using the tip of the awl, something I do not recommend and will not continue doing, lest I snap the awl’s tip.
We must toothpick these holes. In the typical situation we are toothpicking holes in unsheathed ribs, frames or transoms. Here the sheathing is and will remain in place, so we must take care that the Gorilla glue does not spread between the sheathing and the ribs or transom, which will render achieving a watertight seam all but impossible.
To that end, we will execute a stepwise process that involves sinking a #8 x 1” screw in one hole of every course and toothpicking the others. Yes, it will be tedious, but doing so guarantees a tight seam.
Finally, we will actually release the sheathing along the transom’s edge so that we can clean the surfaces, seal them with CPES and pay in 3M5200 before we drive the new silicon bronze fasteners in place.