1960 Cruisers Seafarer Paint Milestone Passed

1960 cruisers seafarer painted

With all painting completed above and below the waterline, save for the boot stripe, our 1960 Cruisers Inc. Seafarer preservation project has her finish line in sight.

Below the waterline:

  • Once we had stripped, sealed and installed the keel, we sanded her fair and sealed her with three coats of CPES.
  • Three coats of Pettit Tie Coat Primer were applied, with hand sanding between coats – 100, 120 and 180 grit in succession, followed by a thorough cleaning with Pettit T120 solvent thinner.
  • Three coats of Pettit Hard Racing Bronze Enamel were rolled and tipped, which left the surface smooth and glossy.

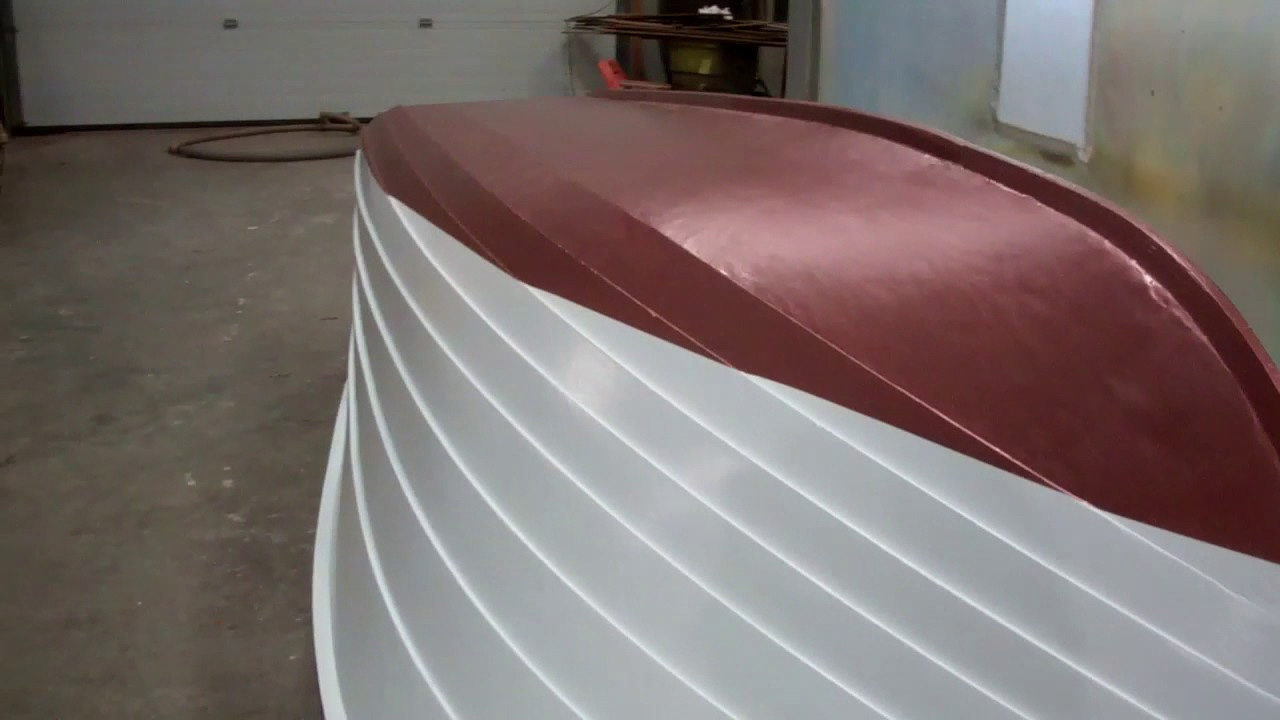
Above the waterline:

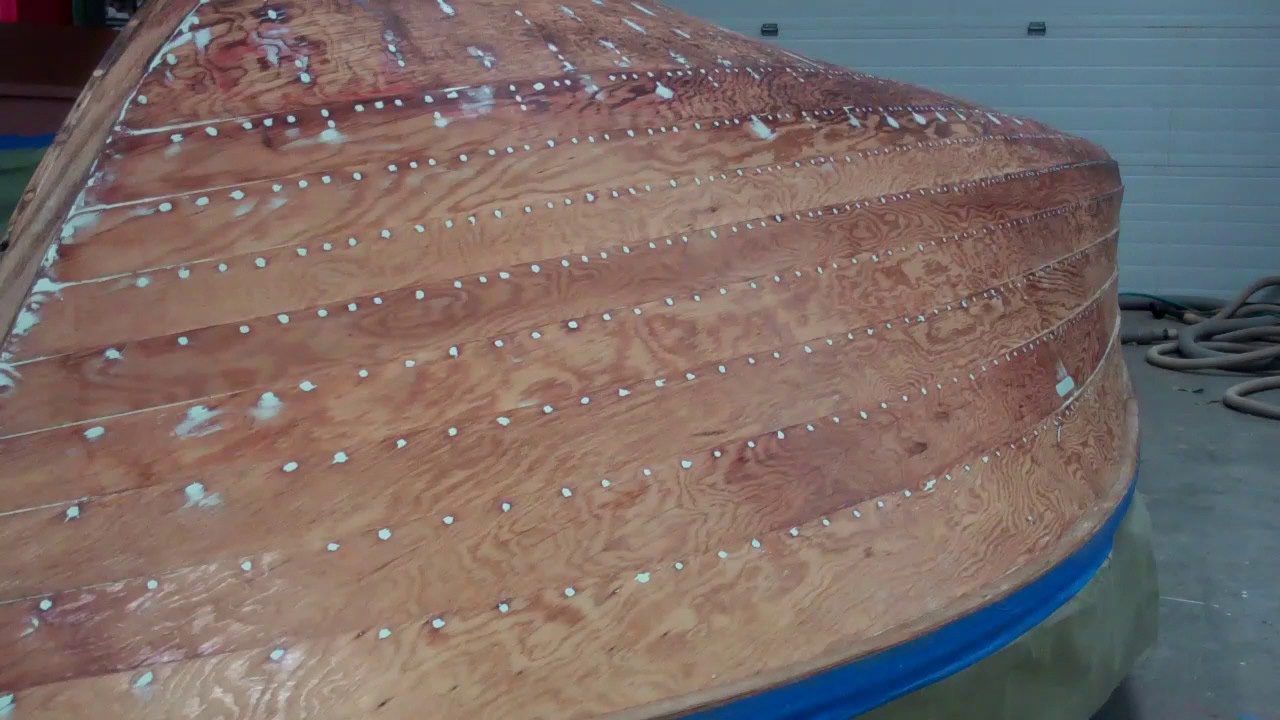
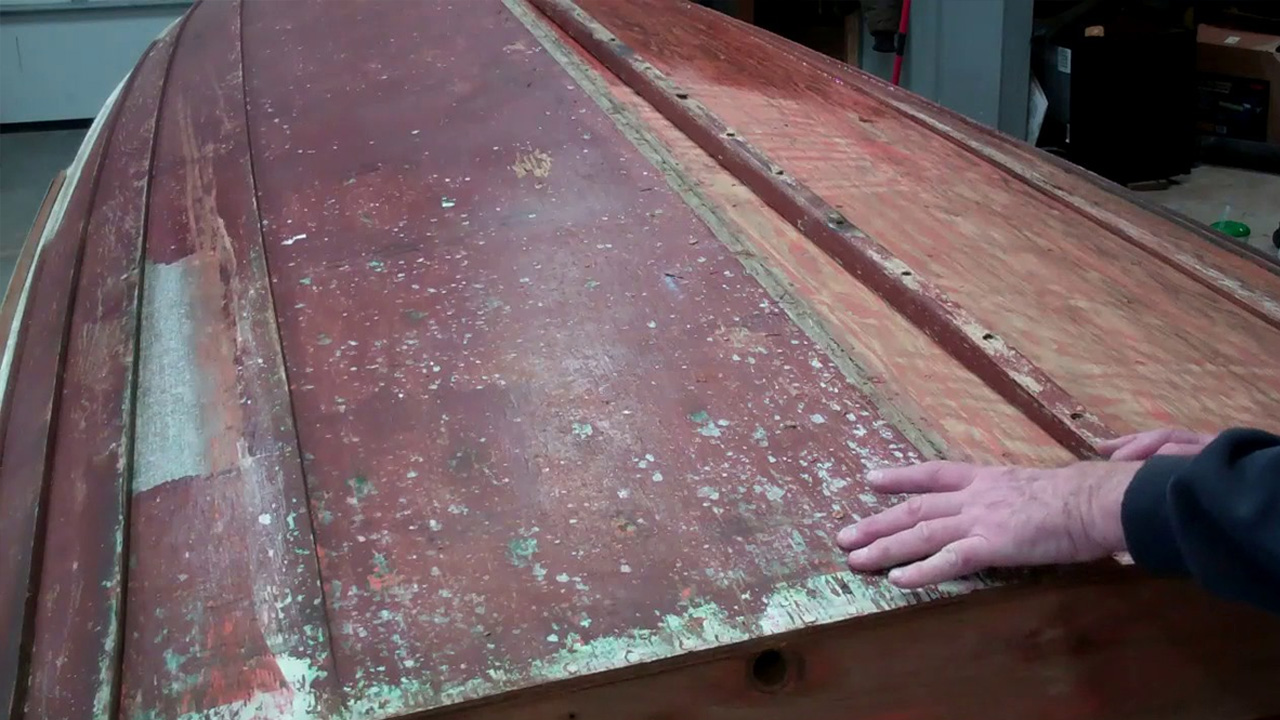
  • Her strakes were sanded fair and sealed with three coats of CPES.
  • Three coats of Interlux Pre-Kote Primer were applied, with hand sanding between coats – 120, 220 and 320 grit in succession, followed by a thorough cleaning with Interlux Special Liquid 333.
  • Three coats of semi-gloss white Interlux Premium Yacht Enamel were rolled and tipped. Hand sanding with 320 grit between coats assured us of a flat, slightly glossy surface.

We will give the paint a few days to cure before masking off and applying her fire red Interlux Brightside boot stripe.

With the stem and transom stripped, sanded fair, stained and sealed, we will shortly be applying the first of at least ten coats of Pettit Easypoxy Hi-Build Varnish, again hand sanding after coats 4 and 8, and possibly 10, before we apply the final coat.

With her trailer having been converted from rollers to bunks, as is correct for wood hulls, fitting the trailer to her will conclude our work.

Then she will return to Lake Placid, NY, where her eminently capable owners will enjoy completing a cosmetic freshening of the decks, gunwales and interior.

1960 Cruisers Inc Seafarer Milestone: She’s Ready For Paint!

1960 cruisers seafarer ready for paint

What a major milestone we see fading into our wake! The 1960 Cruisers Inc. Seafarer is ready for paint on the topsides and bottom, and CPES and varnish on the transom.

After applying 3M Premium Filler three times, and sanding it fair between each application and after the last one, finally, all the countersinks and declivities are filled and sanded fair.

We began sanding with 40 grit, graduated to 60 grit and finally to 80 grit using our inline longboard sanders until the surface – strakes, plywood garboards and filler – was silky smooth.

Following Danenberg, we applied the first two coats of CPES one right after the other, waited 24 hours and then applied the final coat. We will allow the CPES to cure for four days, until next Monday, before we tape off what will be an Interlux Brightside fire red boot stripe and begin priming below and above the bottom line.

Below the waterline will receive three coats of Pettier Tie Coat Primer, followed by three coats of Pettit Hard Racing Bronze Enamel.

The topsides will receive three coats of Interlux Pre-Kote followed by multiple coats of semi-gloss white Interlux Premium Yacht Enamel.

We will block sand both surfaces by hand between coats using 100 grit followed by 120 grit.

We also sanded the transom fair and stained it with brown mahogany Interlux Interstain Filler Stain, which we will allow to cure for several days until we apply three coats of CPES to it.

1960 16′ Cruisers Seafarer Topside Stripped Fasteners Being Tightened

1960 cruisers seafarer topside-stripped fasteners tightened

The 1960 Cruisers Inc. Seafarer’s topsides are stripped. That everything but loose fasteners throughout is in excellent shape is good news indeed. No structural work will be needed from this point forward.

The caulked countersinks and the fasteners therein are another story, however. Testing with my awl told me that the caulk has failed throughout the topsides. A tiny pick with the probe ejects almost all of the caulk out of each countersink as a perfectly round cylinder. Additionally, and especially below and in the first two strakes above the waterline, many of the fastener heads had turned green, which indicates water infiltration. The adhesion between the wood and the caulk has failed throughout.

The good news here is that, with a blast from the air chuck, most of the fastener heads are exposed and clean enough to screw back in place using a handheld Phillips screwdriver. Why not a mechanical screw gun? Controlling the force will be difficult and risk spinning the wood screws sunk into the ribs and force me to engage a time consuming toothpicking exercise. I have complete control with the handheld tool.

The intermediate fasteners secure the strake edges to one another with a combination of machine threads backed by flat washers and hex nuts. I am able to tighten a full turn, and even up to three turns so far. The few intermediate fasteners that spin will be secured by RJ turning a deep well socket on the inside while I secure the screw from the outside.

Next comes the 3M Premium Filler, sanding and fairing and sealing with multiple coats of CPES on the bottom and topsides.

The bottom will be primed with three coats of Pettit Tie Coat Primer, followed by two coats of Pettit hard Racing Bronze bottom paint.

The boot stripe will be done in fire red Interlux Brightside Polyurethane.

The topsides will receive three coats of Interlux PreKote, followed by at least three, and more likely four coats of semi-gloss white Interlux Premium Yacht enamel.

The transom and stem will be stained with brown mahogany Interlux Interstain, sealed and finished bright.

1960 Cruisers Seafarer Bottom Refastened & Countersinks Filled

1960 cruisers seafarer bottom-refastened countersinks filled

Bottom fastened! Well, almost. RJ and I still must team as we tighten the tiny hex nuts on every machine thread screw that secures the strakes to one another between the ribs.

But at least refastening the plywood skin and below-waterline strakes is behind us!

RJ and I have also filled the fasteners countersinks with three applications of 3M Premium Marine Filler, and begun sanding them fair.

We have also stripped and bleached the transom, and will be staining it with brown mahogany (042) Interlux Interstain Wood Filler Stain, and then sealing it with CPES.

Stripping the topsides and stem will follow, after which I already know from inspecting them that we will face another round of refastening strakes and filling and fairing the countersinks with 3M Premium Marine Filler.

1960 Cruisers Seafarer How to Fill Fasteners Holes With Toothpicks

1960 cruisers seafarer how to fill fastener holes with toothpicks

Refastening the 1960 Cruisers Seafarer bottom has launched in earnest.

Here I share the how and why of filling fastener holes with hardwood (maple) toothpicks and glue. Doing so gives us fresh wood into which we will drill pilot holes and new countersinks. Not doing so risks having screws spin out, or worse, never bite into the wood.

Tomorrow I will use a Japanese cabinet maker’s saw and trim off the protruding material flush to the surface.

We will also replace the original #8 x 3/4” silicon bronze screws with #8 x 1”. Given that the sheathing is half-inch thick, the longer screw will be driven about 5/8” into the ribs thereby assuring stronger fastening.

1960 16′ Cruisers Seafarer M 202 Releasing Bottom Fasteners

1960 cruisers seafarer 202 releasing bottom fasteners

With the keel and the bottom stripped to bare wood, we are very pleased that the half-inch marine plywood bottom is in excellent shape. Nowhere can we find evidence of delamination, gouges, or other signs of degradation or damage.

The fasteners are a different matter, however. Cruisers Inc. used two-inch smooth-shank nails driven through the plywood along the stem, keel and transom during the initial hull assembly. Drilling pilot hole and sinking #10 x 2” Frearson-head, silicon bronze wood screws through the plywood and into the transom followed. #8 x ¾” screws were sunk into through the plywood and into the ribs elsewhere.

I began releasing these fasteners this morning, using an awl to pop the caulking out of the countersinks and for cleaning the drive slots in the screw heads. At the first one and every one that followed so far, and whether it was the long screws drive into the transom or the short screws driven into the ribs, I can spin them out with the tip of the awl. Yes, they are that loose!
And the nails just pop free when levered ever so slightly using the tip of the awl, something I do not recommend and will not continue doing, lest I snap the awl’s tip.

We must toothpick these holes. In the typical situation we are toothpicking holes in unsheathed ribs, frames or transoms. Here the sheathing is and will remain in place, so we must take care that the Gorilla glue does not spread between the sheathing and the ribs or transom, which will render achieving a watertight seam all but impossible.

To that end, we will execute a stepwise process that involves sinking a #8 x 1” screw in one hole of every course and toothpicking the others. Yes, it will be tedious, but doing so guarantees a tight seam.
Finally, we will actually release the sheathing along the transom’s edge so that we can clean the surfaces, seal them with CPES and pay in 3M5200 before we drive the new silicon bronze fasteners in place.

1960 Cruisers Inc 16′ Seafarer Model 202 Preservation Launches

1960 cruisers inc seafarer model 202

Her owners hail from Lake Placid, NY and scored quite a find when they purchased this 16’ 1960 Cruisers Inc. Seafarer Model 202 last year. RJ and I inspected every inch of her and can find no evidence that she’s ever been hurt, rotted anywhere or been worked on, including having been painted since she left the factory in 1960. Even the varnish appears to be “factory.”

My sense is that she’s seen scant use over the last 57 years. But time does take its toll on fasteners and finishes. We have released the keel, splash and rub rails bow eye and transom eyes. As of late yesterday, RJ and I have stripped her to bare wood below the waterline.

What we found there is a literal sea of failed fasteners, both silicon bronze screws and smooth shank nails. Very few are broken. However, most are standing proud of the surface as they are just no longer biting, or are completely loose.

What surprised us is that Cruisers specified 6 x ¾” wood screws, even though the plywood sheathing is a full half-inch thick. Since none of the countersinks is more than a sixteenth inch” deep, at best the last quarter inch of each screw was sunk into the ribs. It’s little wonder that they have lost their bite and backed out over the decades.

We will release and replace every screw and nail with 8 x 1” or 8 x 1-1/4” wood screw, which also means driving toothpicks and Gorilla glue into every screw and nail hole.

(Yes, for those who have so requested, we will shoot and upload a video of the toothpicking process.)

For now the project involves reaching for gallons of Circa 1850 Heavy Bodied Paint and Varnish Remover, our Sandvik scrapers and our stainless pot scrubbers.

Way too much fun for one and all to be sure!