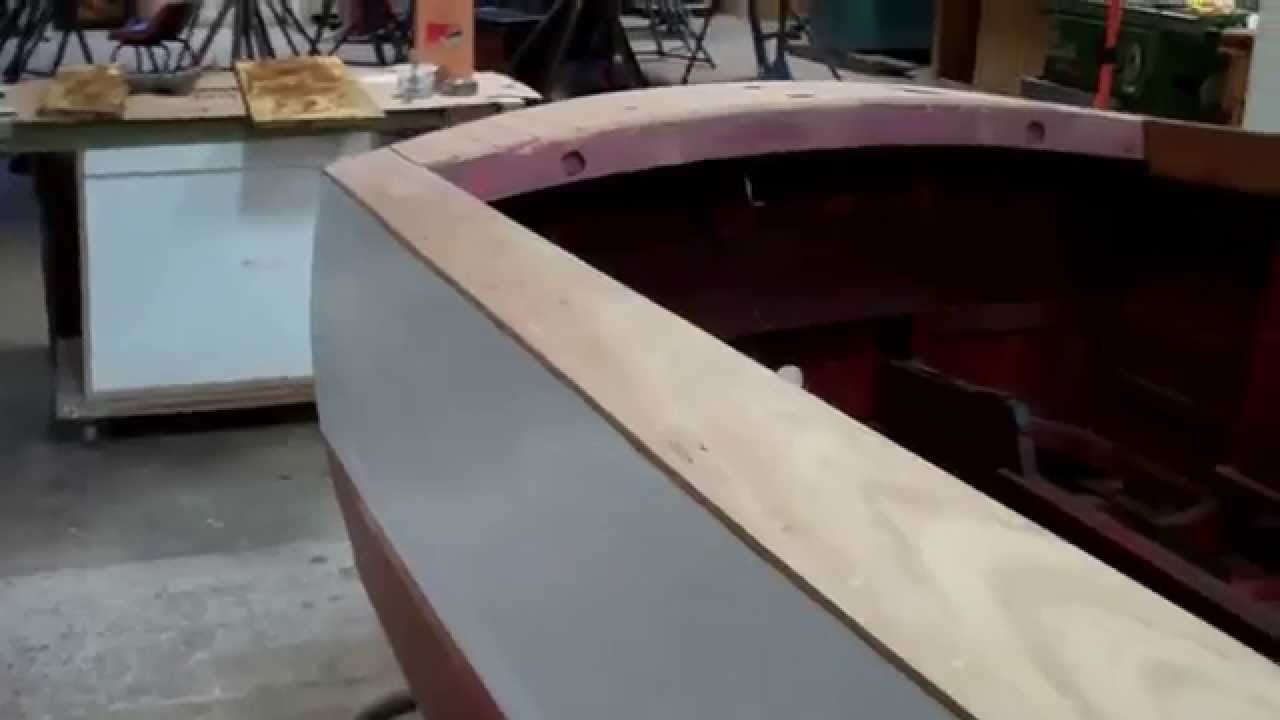
Her hull number is TFK 873, and her owners bought her as a 1957 Penn Yan Captivator, but she is virtually an exact duplicate of the 1954 Captivator from which her owner graciously allowed me to release the seating and floorboards so we could pattern new and correct seating and floorboards for our project boat.
I am not sure how we could have made any headway using photos alone. Armed with the under-seat framing and all seat and floorboard components, we have solved a challenging, three-dimensional positioning and fabrication challenge.
No, the two hulls were not exactly identical. TFK 873 is just a bit wider at the chines, possibly from use over the last 60 years. But having the components allowed us to first fabricate cardboard patterns, from which we could transfer lengths, angles and bevels.
As of this afternoon, John has masterfully finished and temporarily installed all of the components, save for the aft outer seat brackets.
Only the outer seat bench braces remain. These were originally steam twisted into quasi-corkscrew shapes that fit into the hulls ever-changing radius curves. Duplicating these complex shapes, each of which was just slightly different from the other three, would have sent us on a maddening, probably fruitless fool’s errand. Rather, John applied his ingenuity to the problem and came up with sanding the backsides of each brace into shape using our 4-foot, stationary belt sander. Of course, his challenge involved shaping the outer face while maintaining the top face, where the bench fastens at the correct angle.
You see the front braces already installed in the video, and John is attacking the aft braces as I type.
Once we are satisfied that everything is perfect, all of the new components will be released for finishing, and so we can apply bilge paint up to the chines and topside paint to the inner surfaces of the topside planks, the ribs, and the back face of the aft seatback.
While RJ and I are painting, John will focus on installing her new transom and refastening her bottom planking starboard of the keel.
1952 Chris Craft Riviera Bright Work Milestone
RJ has reached the finish line on “his” Chris-Craft Riviera Runabout. The weeks of hard work delivering varnish to die for is behind him.
He has pivoted to cleaning decades of gunk from the bilge, and he and I will shortly be applying two coats of Sandusky Chris Craft Red Bilge paint to all surfaces, including the undersides of the decks and covering boards.
I will also be scrubbing all of the original upholstery, so it can be installed as the reconstruction process moves forward.
All of the hardware is back from chrome and ready to be installed with all fasteners bedded in Dolfinite.
It is 42 degrees today and the snow back is retreating, but getting into the water before May is unlikely.
I am like a child on Christmas Eve, hoping “Santa” is bringing me a new red bike … waiting is hell.
1946 Gar Wood Ensign Staining Complete
Staining day for the 1946 Gar Wood Ensign is complete.
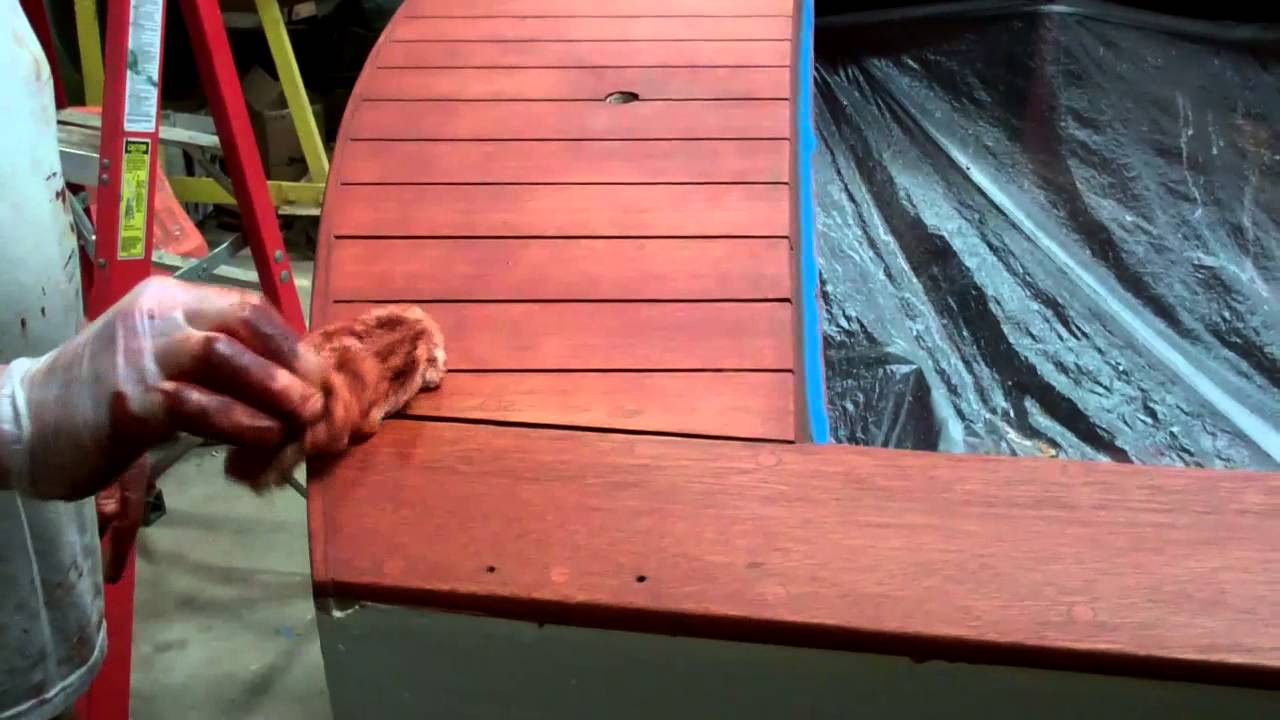
Our aggressive bleaching, which involved keeping the wood well-soaked with bleach for 19 hours, created the perfect palette for the Interlux Interstain we scrubbed into the wood today.
That the process has worked as planned is clear from the homogeneity of the color across all surfaces, from the decks to the covering and then to the combing boards.
Notice the absence of any telltale dark rings around any of the bungs, and that the bungs, all of which are new, match the hues of the wood surrounding them perfectly.
Sealing is next, and here I will correct a misstatement I made in the previous Gar Wood staining day clip. While not always, and likely due to a chemical incompatibility between them, our occasional experience is that applying Smith’s CPES over Interlux Interstain seems to lift the stain here and there, but the result is absolutely unacceptable.
For that reason we use only two-part Interlux Clear Wood Sealer Interlux, a fast drying urethane used for priming wood prior to application of single part varnishes or two component urethane finishes, over Interlux Interstain.
The first coat of Pettit High-Build Varnish will be rolled and tipped on Friday!
1946 Gar Wood Ensign Staining Day
It is staining day for the 1946 Gar Wood Ensign.
Once we confirmed using our moisture meter that the wood is back to about 15% or less moisture content, we lightly hand sanded the entire surface with 80 grit dry paper, vacuumed it and then washed it down with Interlux 202 thinner.
As Ensigns were originally much browner than we are used to in the case of Chris-Craft boats, we mixed a 1:1 ration of two Interlux Interstain filler stain, Chris-Craft Mahogany (573) and brown mahogany (42). (Our customary Chris ratio is 2 red to 1 brown.)
We masked both covering boards at their intersection with the foredeck so we’d have more control over the process.
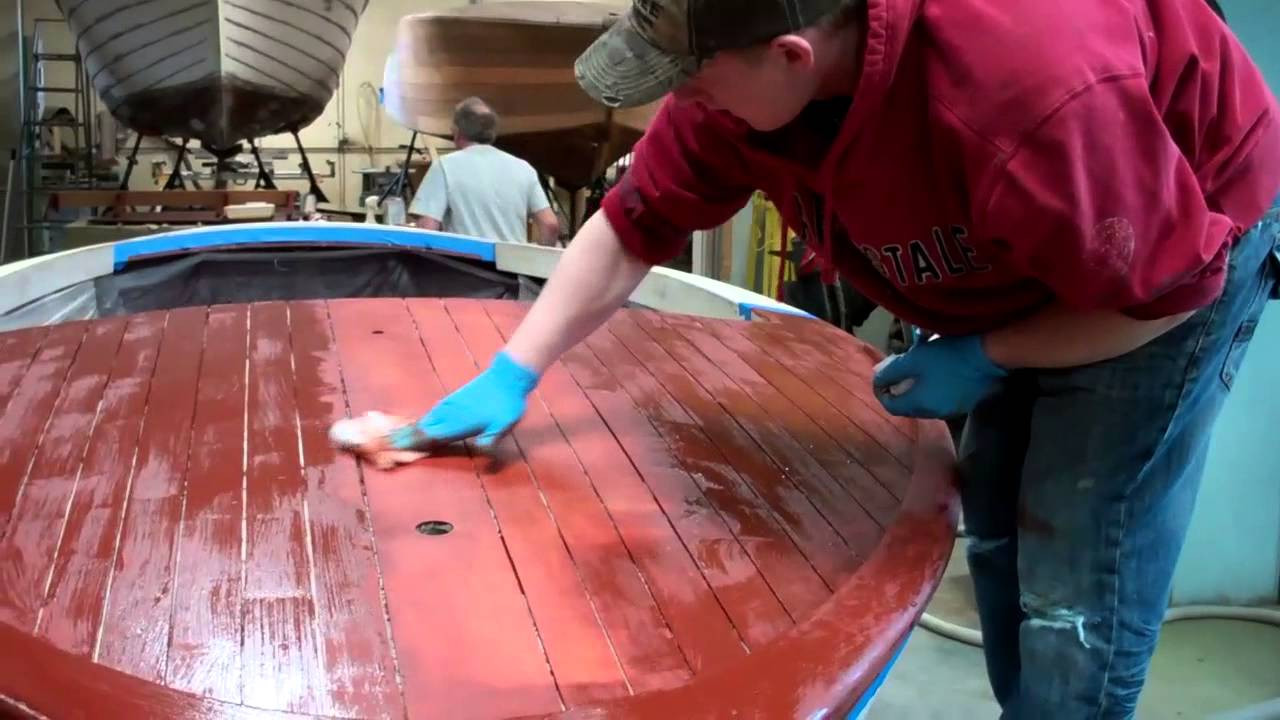
As with other projects, a full coat of stain is applied using a chip brush after which it is allowed to flash – become almost dull in appearance. Then cheesed cloth is used to scrub, and I mean really, really scrub, across the grain until we can discern a sheen across the surface.
We will complete the staining process by day’s end. The first of three coats of CPES will be applied tomorrow morning.
Varnish is not far away!
1952 Chris Craft Riviera: Buffing Varnish Triumph
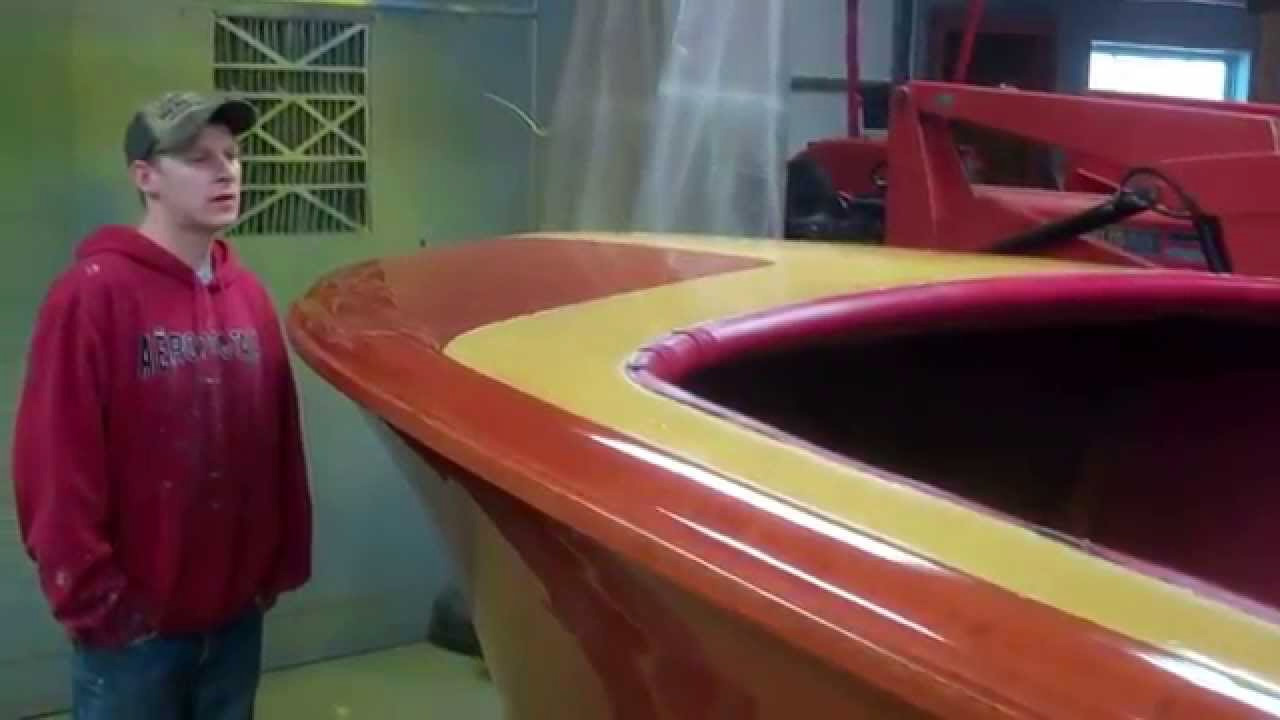
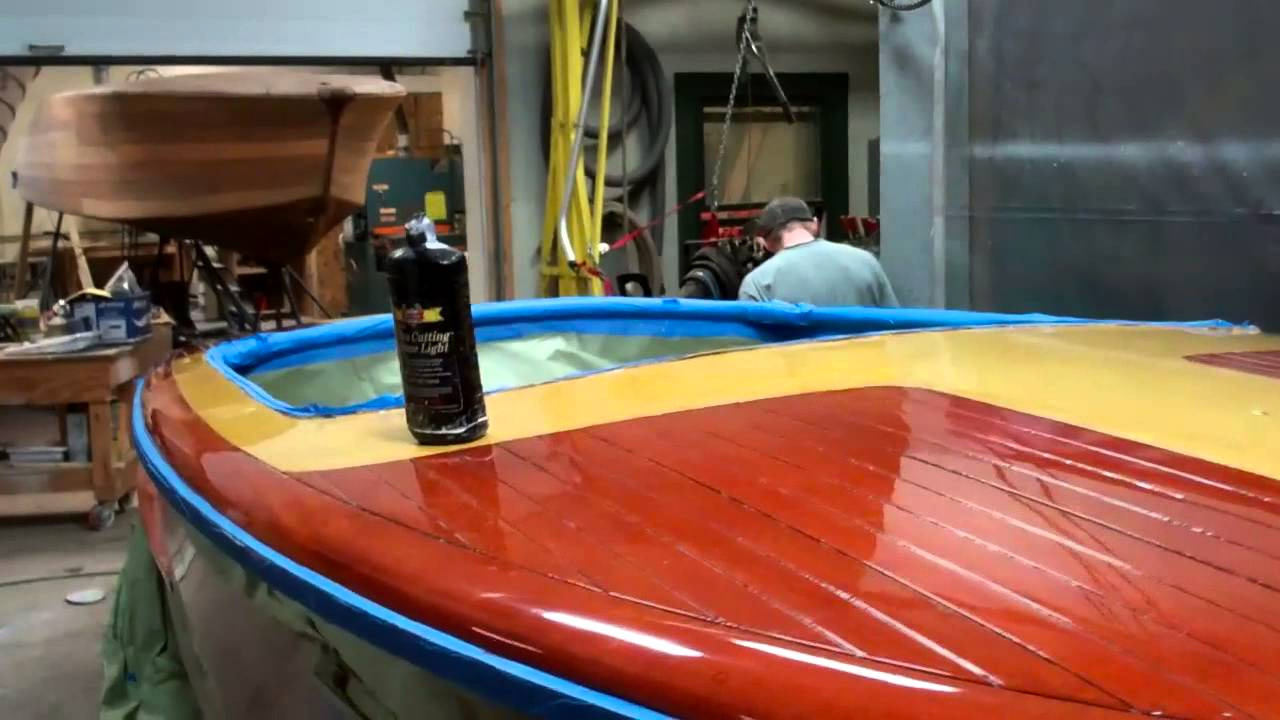
RJ and John rolled and tipped coat number 14 of Pettit High-Build onto the decks and gunwales of the 18’, 1952 Riviera Runabout, and the results seemed to check all the boxes, but not for RJ, “Allow me to see what I can do with my sanding/buffing system, and you will know why what is good now will be great on the other side.”
And he did. I will just let RJ and his body of work tell the story, save for adding some materials details.
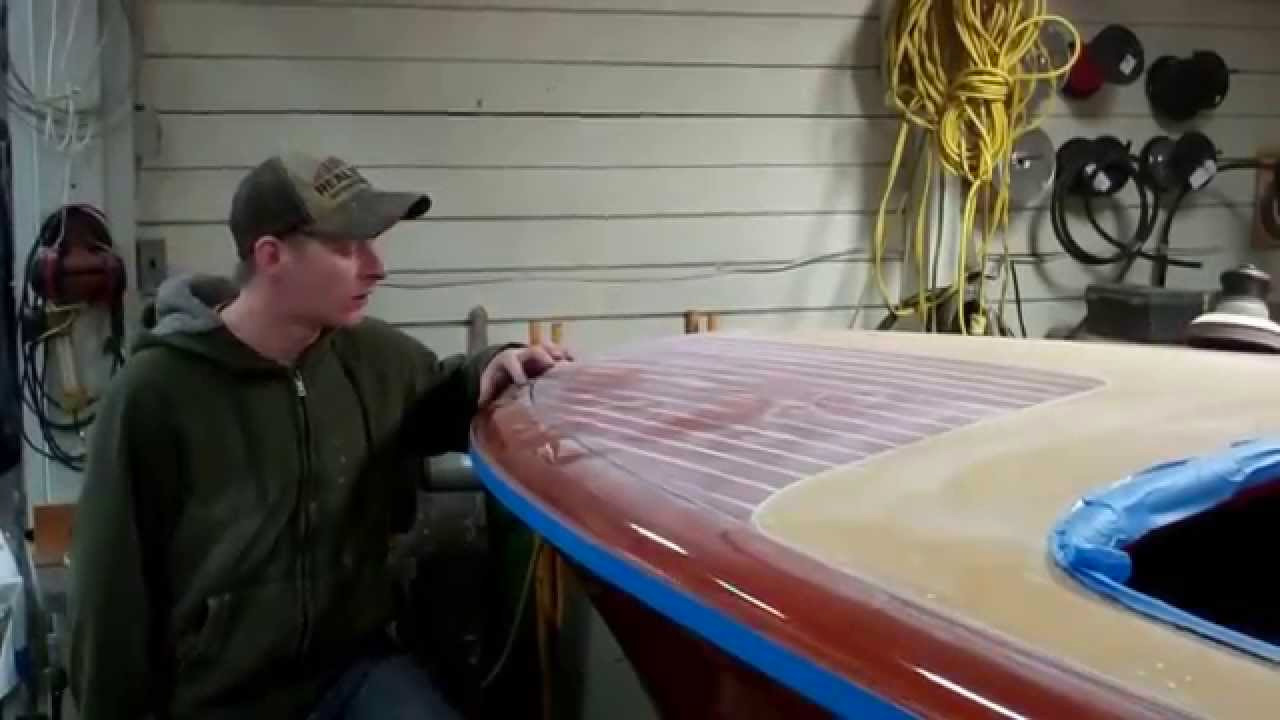
Dry sanding with 1500 grit came first. Yes, yet another snow field, but this one was different as a definite luster showed through the haze. Wet sanding with ever-finer grits followed. Having other customer-related things that required my attention, I left. That was Thursday afternoon.
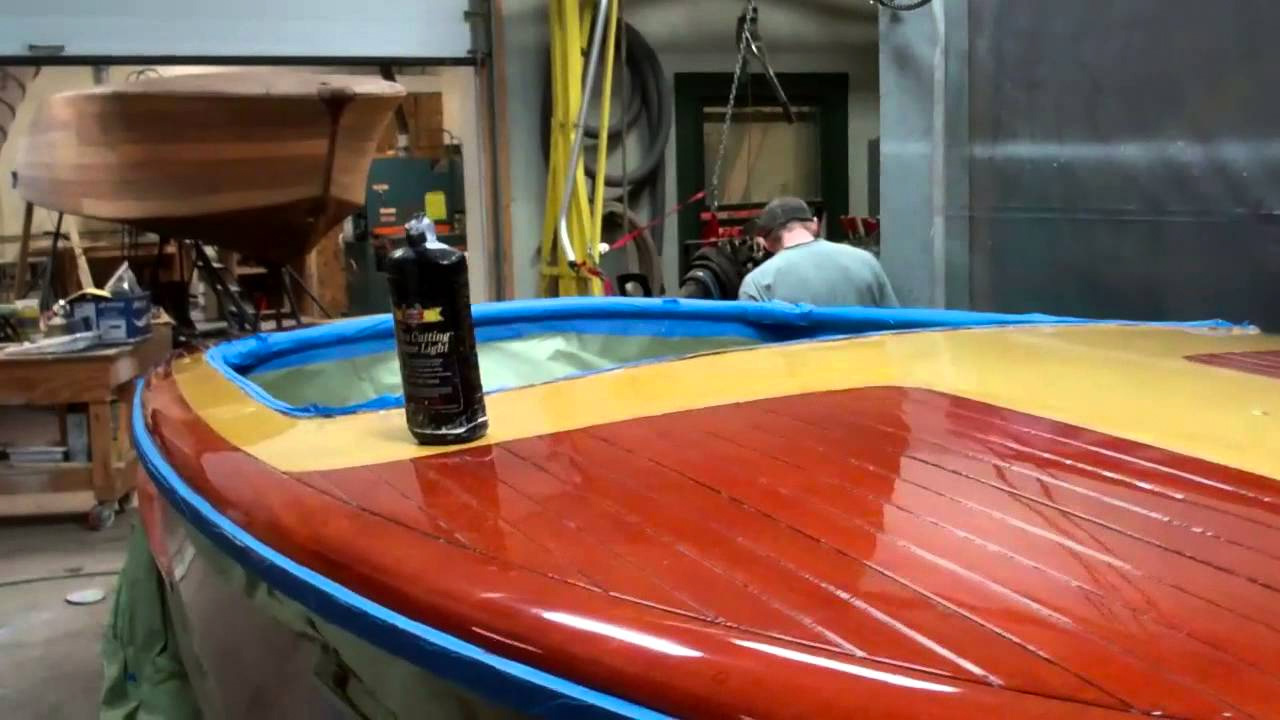
When I arrived this morning, the hatch cover immediately commanded my attention, “BUFFED” said the paper tag taped to its leading edge. What I beheld literally stopped me in my tracks. The gloss is truly 10 miles deep and completely without blemishes. Walking into the shop where the Riviera sits immediately told me the “rest of the story.”
RJ had to have worked into the night. By this afternoon he had “finished the initial stages.” He’d dry and wet-sanded the entire surface, and had begun applying our Ultra Buffing System from Presta to the project. “All that remains are the next two steps, buffing with Ultra Crème Light and then Ultra Polishing Crème, followed by washing, and then she will be just like the hatch cover.” I cannot wait ……
1952 Chris Craft Riviera 18′ Buffing Varnish RJ’s Triumph
RJ and John rolled and tipped coat number 14 of Pettit High-Build onto the decks and gunwales of the 18’, 1952 Riviera Runabout, and the results seemed to check all the boxes, but not for RJ, “Allow me to see what I can do with my sanding/buffing system, and you will know why what is good now will be great on the other side.”
And he did. I will just let RJ and his body of work tell the story, save for adding some materials details.
Dry sanding with 1500 grit came first. Yes, yet another snow field, but this one was different as a definite luster showed through the haze. Wet sanding with ever-finer grits followed. Having other customer-related things that required my attention, I left. That was Thursday afternoon.
When I arrived this morning, the hatch cover immediately commanded my attention, “BUFFED” said the paper tag taped to its leading edge. What I beheld literally stopped me in my tracks. The gloss is truly 10 miles deep and completely without blemishes. Walking into the shop where the Riviera sits immediately told me the “rest of the story.”
RJ had to have worked into the night. By this afternoon he had “finished the initial stages.” He’d dry and wet-sanded the entire surface, and had begun applying our Ultra Buffing System from Presta to the project. “All that remains are the next two steps, buffing with Ultra Crème Light and then Ultra Polishing Crème, followed by washing, and then she will be just like the hatch cover.”
I cannot wait ……
’46 Gar Wood Ensign Bleached Blonde 02 25 2015
Why take the time and spend the money bleaching the planking? Compare this clip to the one posted earlier this week for an excellent before and after comparison of the 1946 Gar Wood Ensign.
Bleaching makes the coloration infinitely more uniform, while it also raises the grain, thereby delivering the perfect environment for the filler stain that follows bleaching.
First we lightly, and I mean lightly, scuff off the “feathers’ left by bleaching by hand and using 200-220 grit paper. Do not get aggressive here as the bleached layer is only 1/32” to 1/16” deep. Sand through it and you will either end up with disfiguring blotches when you stain, or you must bleach anew.
Having tried the other usual and customary options, and being disappointed with the results, or lack of same, our go-to bleach is Klean-Strip GWB19 Wood Bleach, which we source from Amason.com.
Rather than applying once and allow the surface to dry, and then coming back with a second application that must be neutralized, we keep the planking wet with repeated applications of the equal-part A and B solution over at least 12 hours before allowing the wood to dry.
Our results speak for themselves.
Drying will continue for the rest of today, and will be followed by staining using Interlux InterStain Wood Filler Stain in brown mahogany tomorrow. Then comes three coats of CPES, and into the paint booth she will go, where varnishing can begin.
1952 Chris Craft Riviera Runabout Varnish Update
No, the 1952 Chris-Craft Riviera Runabout has not evaporated. She’s received a couple more coats of Pettit High-Build varnish, and been lightly sanded once between coats 12 and 13.
After initially setting 20 as a goal, RJ now says, “Enough already. One more sanding, this time with 800 grit, and one more coat, which will be number 14, and we will have reached our goal of a varnish result that is to die for.”
So once again a glossy finish is reduced to a snow field, just like the one we have outdoors. Then it will be time for the 14th coat, and depending on the result in terms of dust in the finish, we will either have reached our goal, or RJ will begin buffing, starting out with 1,000 and working up to 2500 grit, and then finishing off with a wool cutting pad and 3000 grit buffing crème.
It will be RJ’s call. We will be back to you with his assessment.
1946 Gar Wood Ensign Newly Planked & Ready for Bleach 02 23 2015
We could not be more pleased to have reached this milestone. We knew we had no choice but to plank the decks anew, but she was holding another secret beneath her tired, split and just plain worn out original decking.
Not only were both decks dripped and broken away from their respective connections to the gunwales, the balance of the framing had become distorted and disconnected over time. When we positioned several trial planks across the foredeck, a pronounced and ill-positioned hump was evident on port, while the starboard side was essentially flat. The aft deck had similar issues.
Our strategy for addressing bringing the decks back to their proper shapes and strength involved releasing and re-fastening the individual elements under pressure. Once everything seemed to be in place, we fastened the newly-fabricated planks, holding our breath all the while.
That we succeeded is evident in this clip. The foredeck has regained its correct “domed” shape. The bulkhead is firmly attached at both ends. And RJ can stand on the deck without deflecting it.
Addressing the aft deck required releasing and replacing much of the framing as the end of most of the members had suffered serious degradation over the years.
Bleaching is next, followed by staining. Only then can we begin rolling and tipping coats of varnish.
1946 Gar Wood Ensign Newly Planked & Ready for Bleach
We could not be more pleased to have reached this milestone. We knew we had no choice but to plank the decks anew, but she was holding another secret beneath her tired, split and just plain worn out original decking.
Not only were both decks dripped and broken away from their respective connections to the gunwales, the balance of the framing had become distorted and disconnected over time. When we positioned several trial planks across the foredeck, a pronounced and ill-positioned hump was evident on port, while the starboard side was essentially flat. The aft deck had similar issues.
Our strategy for addressing bringing the decks back to their proper shapes and strength involved releasing and re-fastening the individual elements under pressure. Once everything seemed to be in place, we fastened the newly-fabricated planks, holding our breath all the while.
That we succeeded is evident in this clip. The foredeck has regained its correct “domed” shape. The bulkhead is firmly attached at both ends. And RJ can stand on the deck without deflecting it.
Addressing the aft deck required releasing and replacing much of the framing as the end of most of the members had suffered serious degradation over the years.
Bleaching is next, followed by staining. Only then can we begin rolling and tipping coats of varnish.

