1952 Chris Craft Riviera Runabout 8 Coats & Counting

1952 chris craft riviera 8 coats varnish

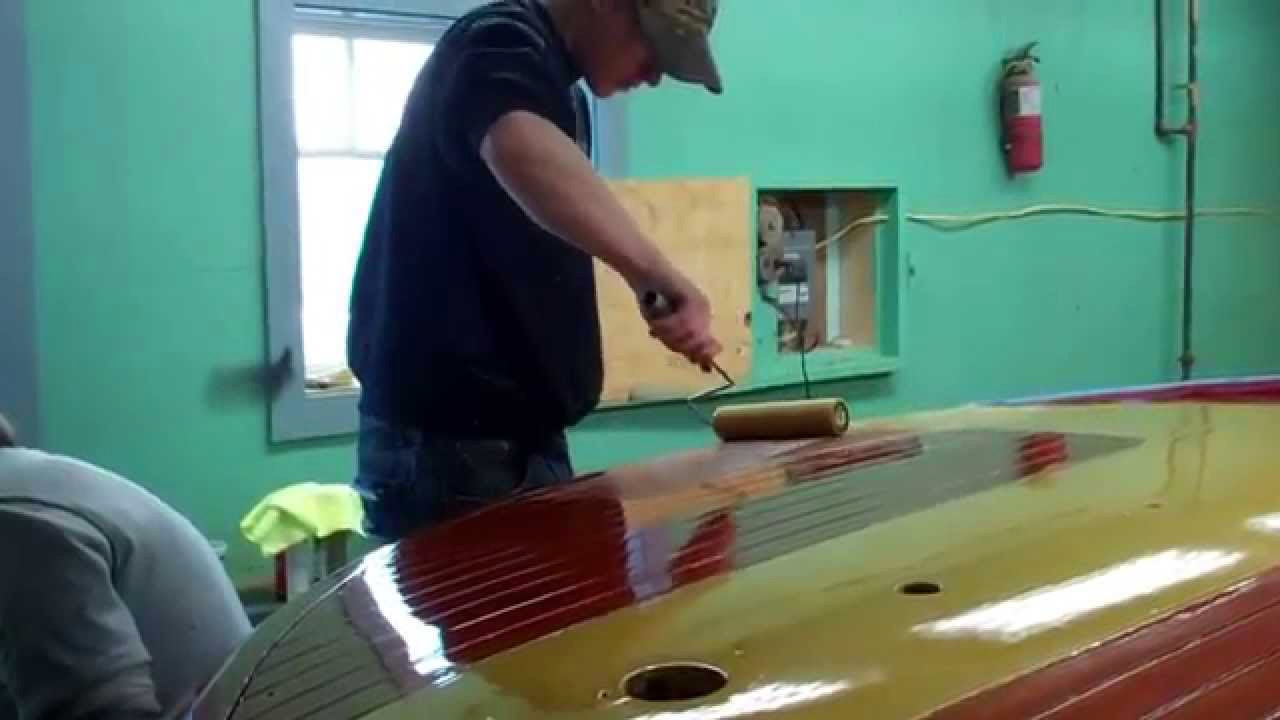
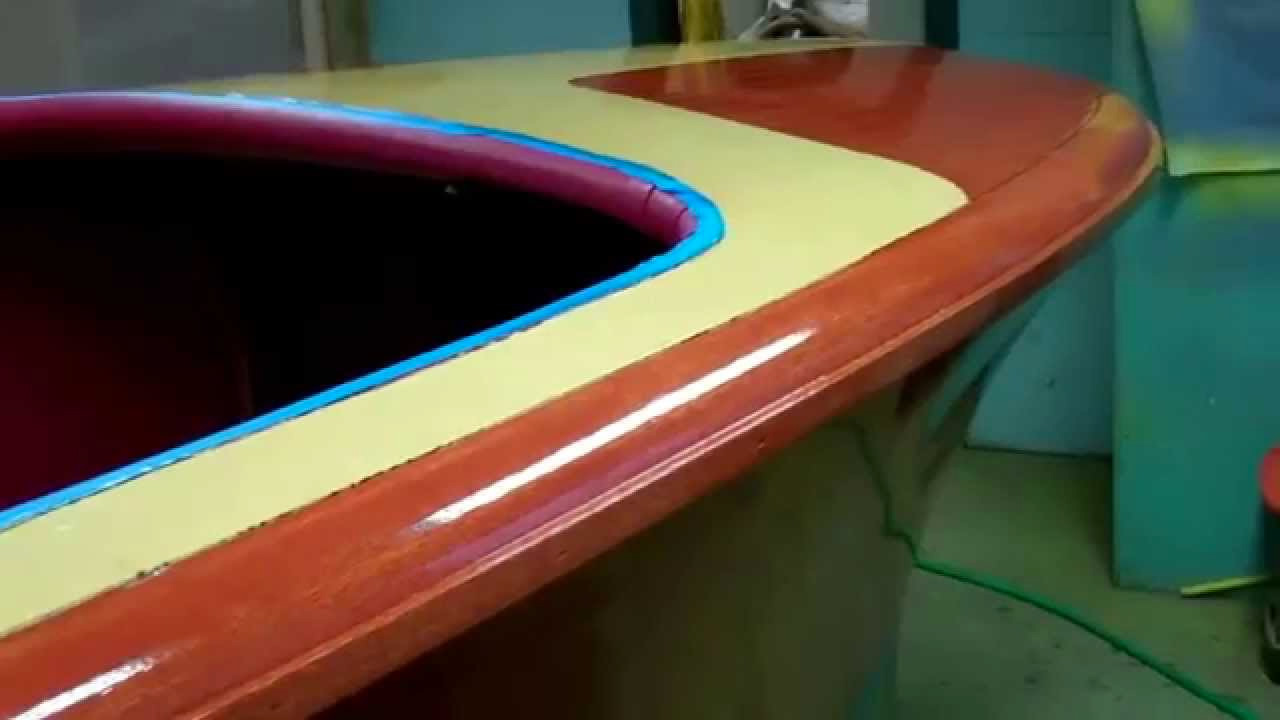
We are one coat closer, and “only” seven more coats and three comprehensive sanding sessions away from our interim goal of 15 coats of Pettit Hi-Build varnish rolled and tipped onto the 1952 Chris-Craft Riviera Runabout. RJ keeps teasing about shooting for twenty,

RJ’s last pass with 400 grit dry paper made the surface noticeably flatter, and therefore the eighth coat much glossier, but, as I believe this clip illustrates. However, diminishing returns will almost certainly begin setting in once the ninth coat is applied and Rj sands again, this time with 600 grit.
Several of you have wondered about the tension between building coats and then sanding them away with overly vigorous attempts to sand the surface really flat. You are correct, but our experience is that, at least for the first six to eight coats, we are still filling declivities.

Unless we are dealing with a particularly open surface, the sanding we do following the eighth coat is aimed at knocking any dirt or dust that settled during curing out of the varnish. Our goal now is building film thickness, which deepens the gloss and provides additional UV protection.

So Happy New Year to our entire community. Thank you for following us during 2014. We will be back to you with more updates on the other side of our New Year’s celebration.

’52 Chris Craft Riviera Runabout 8 Coats & Counting

1952 chris craft riviera 8 coats varnish

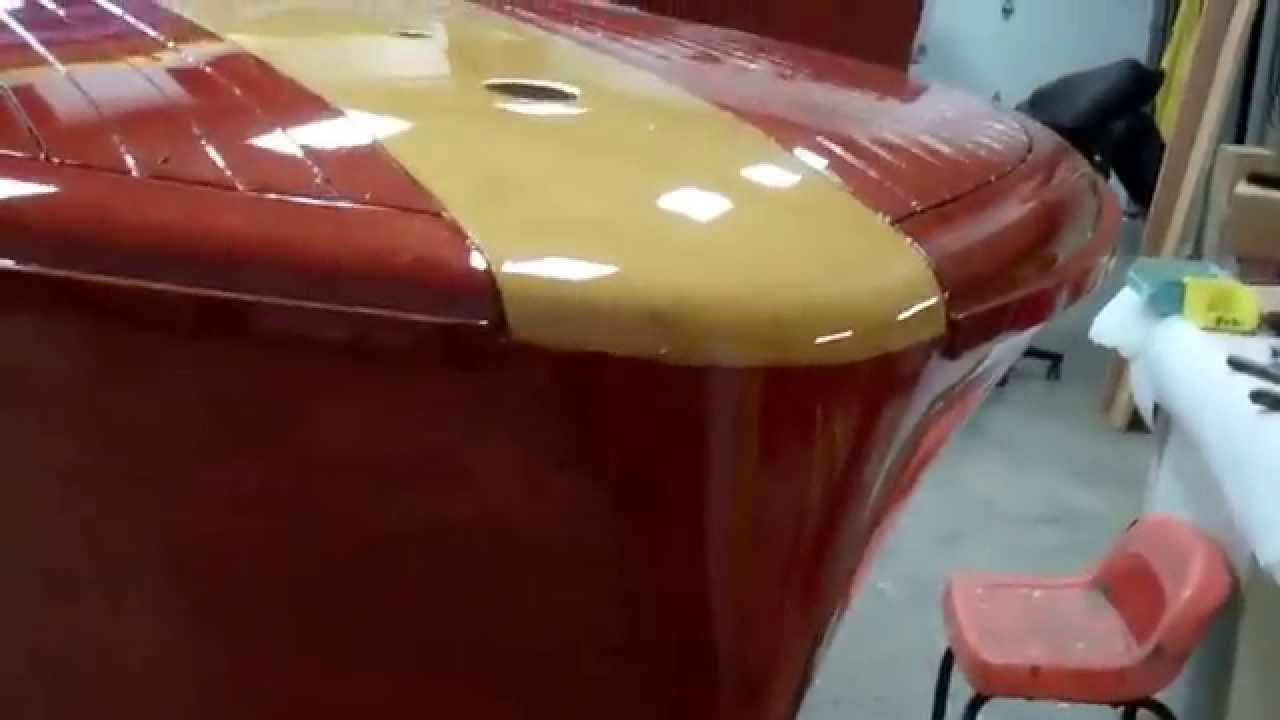
We are one coat closer, and “only” seven more coats and three comprehensive sanding sessions away from our interim goal of 15 coats of Pettit Hi-Build varnish rolled and tipped onto the 1952 Chris-Craft Riviera Runabout. RJ keeps teasing about shooting for twenty,
RJ’s last pass with 400 grit dry paper made the surface noticeably flatter, and therefore the eighth coat much glossier, but, as I believe this clip illustrates. However, diminishing returns will almost certainly begin setting in once the ninth coat is applied and Rj sands again, this time with 600 grit.
Several of you have wondered about the tension between building coats and then sanding them away with overly vigorous attempts to sand the surface really flat. You are correct, but our experience is that, at least for the first six to eight coats, we are still filling declivities.
Unless we are dealing with a particularly open surface, the sanding we do following the eighth coat is aimed at knocking any dirt or dust that settled during curing out of the varnish. Our goal now is building film thickness, which deepens the gloss and provides additional UV protection.
So Happy New Year to our entire community. Thank you for following us during 2014. We will be back to you with more updates on the other side of our New Year’s celebration.
How We Strip Varnish at Snake Mountain Boatworks

how to strip varnish vintage boat

There’s nothing fun about stripping varnish from wood chemically, except being finished.

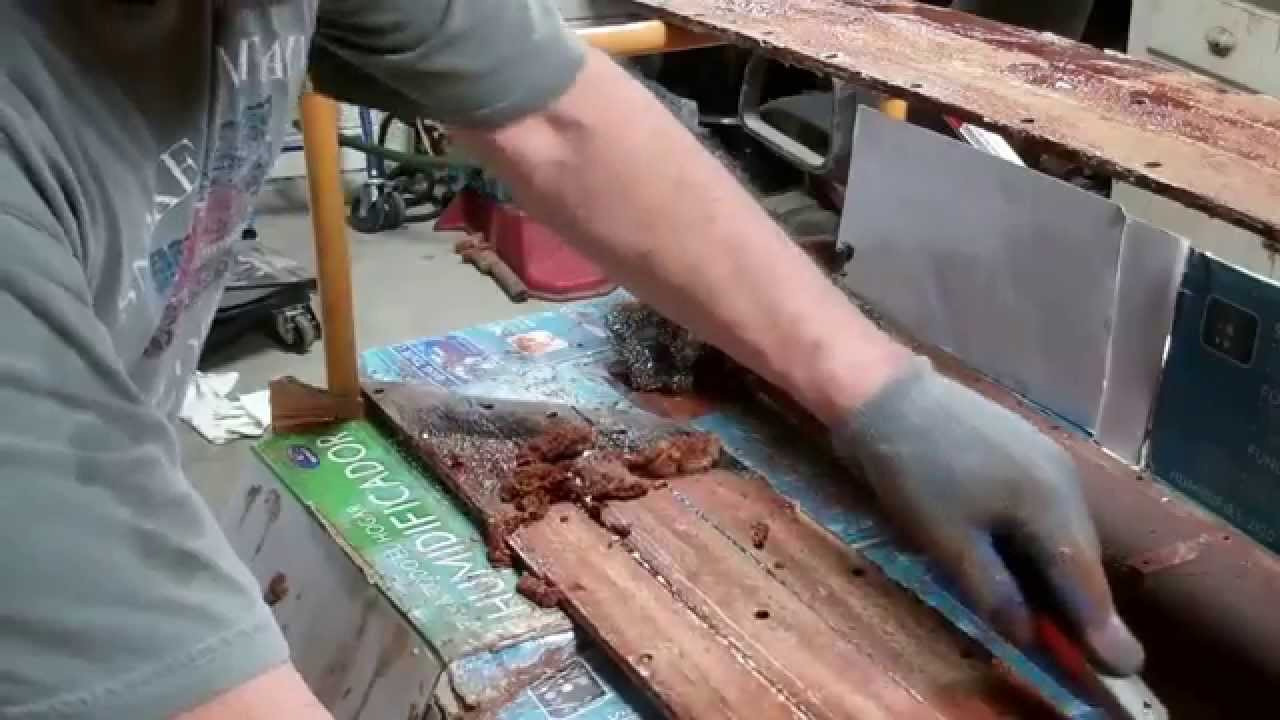
Here I respond to the several messages and calls I have had in recent days asking how we strip varnish at Snake Mountain Boatworks.

Well, here is a short how-we-do-it clip that I hope answers these questions.
The first key is to puddle the stripper on as thickly as possible. Yes, vertical surfaces present particular challenges, but even here, slather it on like it is shaving cream, not a carefully applied coat of varnish.

Patience is the second must. Let the chemical reaction work. Wait half an hour or so, maybe even 45 minutes and sometimes an hour, and then slather it on again, paying special attention to any dry or dull areas. Wait again, much longer than I do in the clip. (Stripping paint typically involves three and even four applications before we begin scraping. I have sometimes applied stripper throughout the day, leaving it to work while attending to other tasks, and then attacking it with my scrapers late in the afternoon.)

After suffering lots of frustration with the cheap Stanley and hardware store brands that are poorly designed and do not stay sharp, we have standardized on Sandvik scrapers and BAHCO blades. Yes, they are much more expensive at the front end, but work unlike any other scraping tool we have tried.

Now you want to take long, purposeful strokes, keeping steady pressure on the surface. Draw the gooey material towards you. As illustrated in the clip, when I am working with released planking, I take advantage of rolling staging so the work is at about waist level. A waster barrel and trash bag are placed beneath the work area so that I can continually slide leavings into it.

More work awaits you once the varnish is released, as the wood is still streaked with residual stain that must be extracted from the wood’s fibers. I apply a thin coat of stripper and immediately begin scrubbing the surface being mindful not to go cross-grain, using one of those stainless steel pot scouring pads you can purchase online or at your local super market or hardware store.

The scrubbing continues until the residual stain is gone, the wood takes on a luster and it is dry, absolutely dry.

Then it’s on to the next plank…

Rolling Tipping Coat #7 on the ’52 Chris Craft Riviera Runabout

rolling tipping coat 7 1952 chris craft riviera

Here is the promised segment illustrating how we roll and tip, in this case coat #7, on the 1952 Chris-Craft Riviera Runabout.
RJ is rolling varnish on, being sure to achieve uniform coverage across the surface. John follows behind using a 3” Wooster tipping brush. John’s challenge is to smooth out the surface with the lightest possible touch. As is evident in the clip, he is barely touching the surface with the absolute ends of the bristles.
We always keep the tipping brushes half submerged in the thinner used with the varnish. We learned the hard way that, even if seemingly cleaned and cleaned again, allowing the brush to dry translates into a myriad of dry particles and dust among its bristles.
We will allow the brush to dry between boats, but then clean and soak, and keep it wet when the next varnishing process begins anew.

’52 Chris Craft Riviera Varnish Update 12 24 2014

RJ sanded into the night last night, and he and John cleaned every square inch of this 1952 Chris-Craft Riviera’s hull early this morning before they rolled and tipped the next coat of Pettit Hi-Build gloss varnish.
I hope you can see how RJ’s dedication to achieving flat is paying dividends. The sheen is more uniform and becoming brighter as well.
Another coat will be applied Friday, after which it is snow field time again on Monday, albeit with 400 grit dry paper.
We will update you again next week.

’52 C C Riviera Make it Snow and Get Varnish to Die For! 12 23 2014

What do I mean when I say, “Making it snow is the key to delivering varnish that is to die for?”
Here is the answer. Although it may seem counterintuitive, the gloss and ability to reflect light varies directly with the degree to which the surface is flat. The difference between an inexpensive mirror and an expensive one can be seen by your reflection when you look into it. The silver plating on the expensive mirror is absolutely flat, so it accurately reflects light rays hitting it. The cheap mirror’s wavy reflection tells you that its surface is less than absolutely flat.
Here RJ appears to be destroying the glossy surface evident in the last Riviera project clip. It looks like snow, yes? And that is your goal at this stage of the varnishing process.
RJ sanded the surface lightly after three coats of Pettit Hi-Build gloss varnish had been applied. Now, following allowing the fifth coat to cure at 65 degr4ees and 60% humidity for 24 hours, it is time to go for flat. He is able to use the random orbit sander and 220 grit on the flat areas, of which there are precious few on the Riviera’s hull.
The rest, and especially on the corners and edges, and on the rolling gunwales and covering boards, he must sand by hand. using 2-1/2” wide strips of Sikit Gold Roll P220. That sea of discarded strips on the floor around the boat speaks volumes about how quickly the paper fills and thereby becomes useless.
Your goal, one that must be achieved without cutting through the varnish to wood, is a uniformly dull snow field, as RJ explains in detail here.
Coat number six will be rolled and tipped tomorrow morning, and we will share the results with the community in a follow-on video.

1952 Chris Craft Riviera Runabout Varnish Update

1952 chris craft riviera varnish

Varnishing the Chris-Craft 18’ Riviera Runabout began last Monday. Today, after RJ lightly hand-sanded the entire hull with 400 grit, he and John rolled and tipped the fourth coat of Pettit Hi-Build Gloss Varnish onto her.

As you can see in the reflection of the lights, the surface is not completely flat yet, and the gloss we are after will not begin emerging unless and until it is perfectly flat.

Two more coats will be applied tomorrow and Saturday, and then she will be moved out into the shop and sanded with a pneumatic random orbit using 400 grit dry paper until RJ has achieved as uniformly white a “snow field” on all surfaces as he can without cutting completely through the cured varnish.

Sanding will be followed by a wipe down with acetone, and then she goes back into the paint room, where the next two coats will be applied followed by the same relocation, sanding and wipe-down process again.

We will continue the back and forth until we hit 14 coats, at which time we will evaluate the situation. One issue we must deal with is that all of the seam grooves are also filling with varnish, and might require careful cleaning to remain deep enough to hold the white Sikaflex.

We will be back to you with updates next week.

Thanks again for viewing our videos and please weigh in with comments, ideas and, yes, criticisms. That’s how we learn. 

’52 Penn Yan Captivator Bottom Plank Removal 12 16 2014

Thanks to the several of you who asked to see how we excise a bottom plank once all of the nails have been removed.
Here is a clip showing John and me, but mainly John using one of our Fein Multi-Masters and a smooth semi-circular blade to literally vibrate through the wood filler that the previous worker, now dubbed Bondo Man, insisted on paying into every seam.
This stuff is now akin to concrete. Our challenge is to cut through it without damaging the edges of the neighboring planks.
Description

’57 Penn Yan Captivator Bottom Transom Deconstruction Update 12 16 2014

Well, our hopes for repairing rather than replacing bottom planking was dashed as soon as we did a bit more exploration. Test extraction of several fasteners produced once-copper, now rusted ring-shank nails. And applying pressure externally while John observed from beneath the boat unearthed another problem. Much of the planking is no longer well-fastened to the ribs and/or framing.
Bottom line, we have begun releasing the most severely split planks, and will replace them. And we must refasten the bottom planking to the frame.
At the same time John began exploring the bottom transom board in hopes of determining where the Dutchmen patches must go. Well, there will be no Dutchmen patches as the wood filler also held moisture, and 90% of that transom plank is gone. Gone as well are large sections of a thin sheet of marine plywood that spanned the transom inboard of this plank.
It is not pretty, but hammer and chisel are the go-to tolls and technique for this job. John will continue excavating until he has removed this entire plank. The final result, fabricating and installing an entirely new plank will produce the correct result, but doing so is hugely time-consuming.
Description

1957 Penn Yan Captivator Bottom Stripped 12 15 2014

DeWe flipped the Captivator, fully intending to extract all of the residual black walnut stain from the topsides using Circa 1850 paint and varnish remover. But I decided to test removing the bottom paint, first with a heat gun and scraper, and when that failed, grabbed our infrared Silent Stripper.
The entire bottom had been glazed with the same wood filler we have already encountered elsewhere. In some places the “glaze” was as much as 3/16” deep. The heat gun softened the paint, but scraping it off the filler proved impossible.
Even though its operating range is 300-500 degree Fahrenheit, the filler began vaporizing and smoking, and quickly even a full-face respirator failed to protect me against the noxious odors and gases, so away it went.
While I do not enjoy using a chemical removed in the presence of what I am virtually certain is lead paint, a test with the Circa 1850 not only bubbled the paint, it also softened the filler to the point that, with lots of effort, I was able to scrape 95%+ of it down to bare wood.
My attention turned to stripping the bottom below the waterline, so the topsides are still waiting to be de-stained.
Sanding the entire bottom with 100 grit followed the stripping, and then I began inspecting the bottom for issues and defects, of which you will see were many indeed.
At this juncture our hope, not our expectation, is that we can repair the damage and issues you will see in this clip. Time will tell whether repair morphs into required replacement as we begin working on the red cedar bottom planking.