1940 Lyman 16′ Yacht Tender Preservation!

1940 lyman yacht tender preservation completed

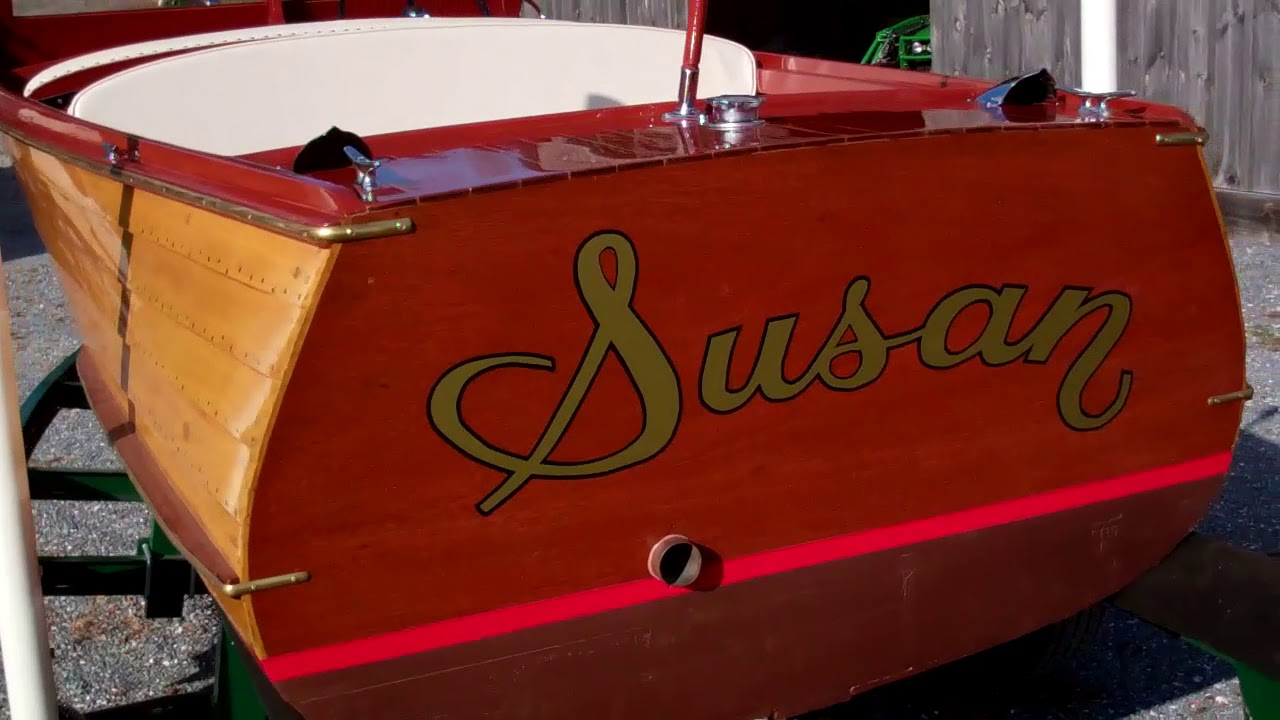
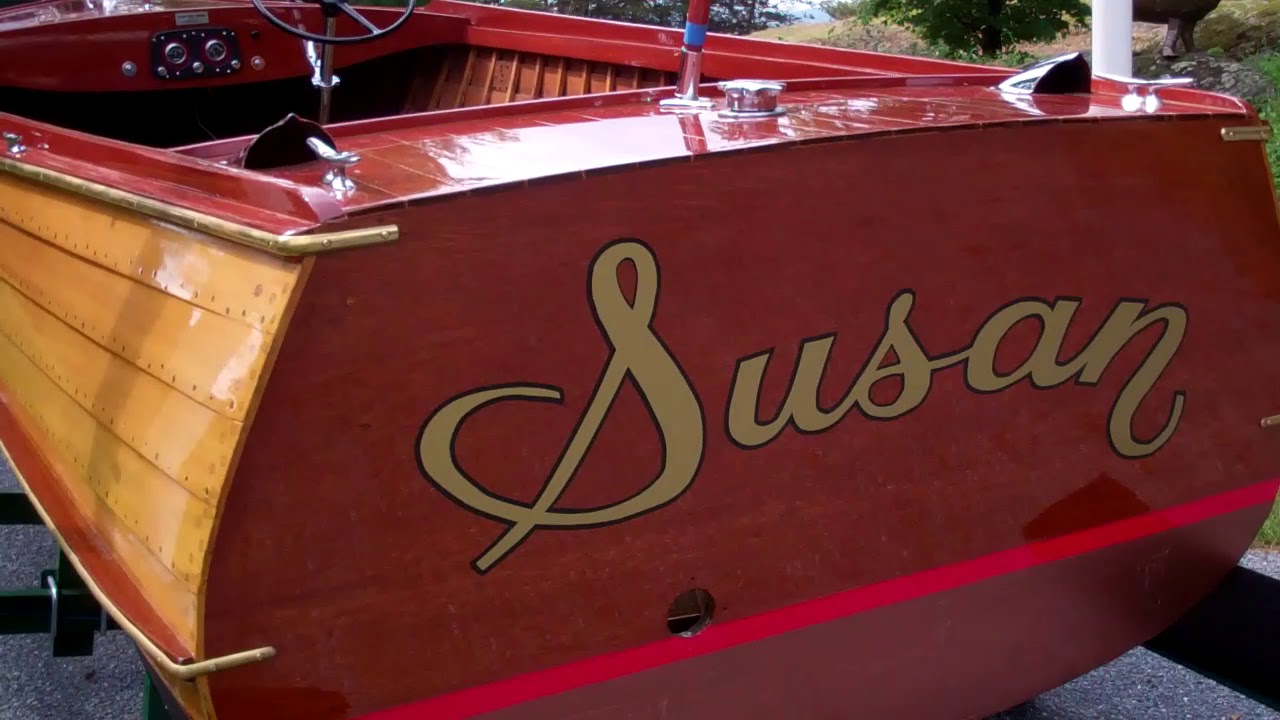
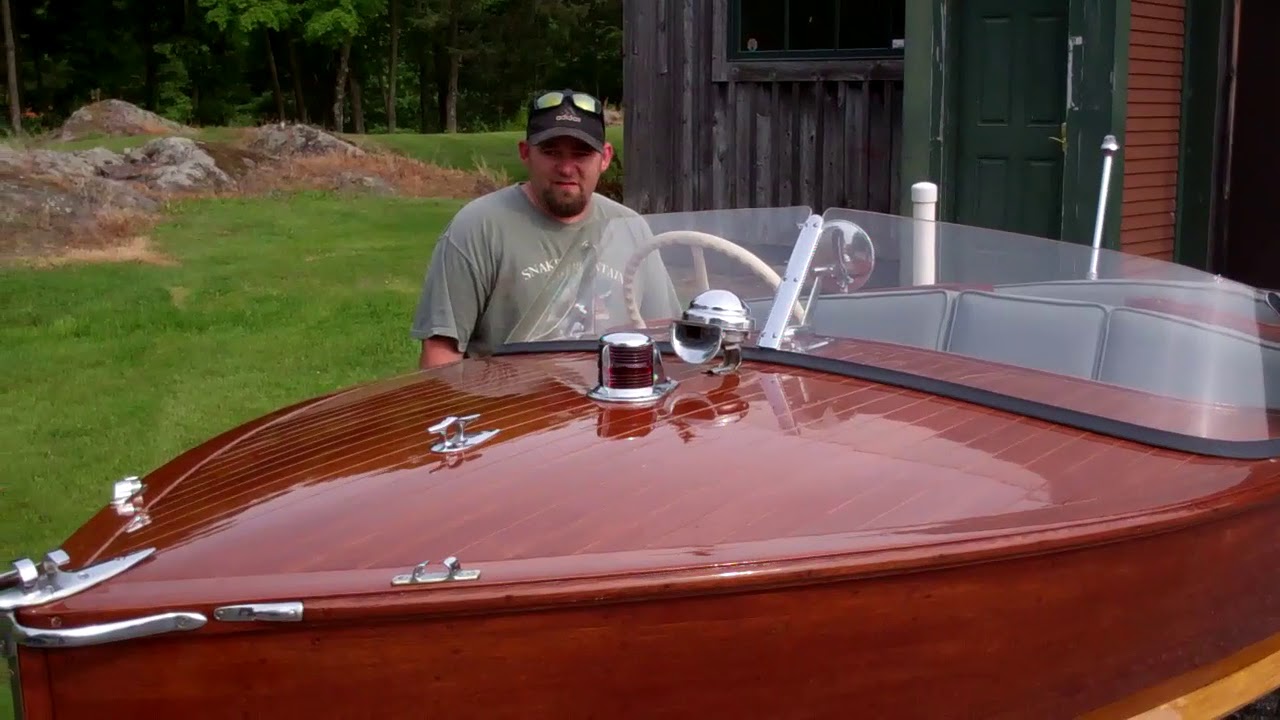
Susan is a Pre-WWII 16’ Lyman yacht tender with solid Cypress narrow strakes and coaming, mahogany transom and decks, aft-facing aft seating compartment, a fixed windshield and a wonderful tumblehome.

She is powered by a Nordberg Gasoline Marine Engine 4-cylinder flathead, 60 horse power, engine, which is mated to a Paragon transmission.
Robert Henkel, Peter Henkel Inc. in Michigan, who executed a comprehensive engine and transmission rebuild, reports that Nordberg “dressed” Hercules engines, in this case a Model B. The Nordberg engine plate includes its own serial number, 130R – 4951.

The person from whom I purchased Susan has owned her twice, the first time for decades ending in 1989, and a second time in spring 2015. She was banished to barn queen status for 25 years by the in- between owners. I bought her from her original owner in June 2015.

Thankfully, my biggest fear, that years in a barn would grow a nice crop of dry rot proved to be completely unfounded. My plastic hammer returned solid, crisp reports everywhere on the boat.

How about the ribs? There simply is no wear, rot or fractures to be found. Indeed, the in-between owner left her outdoors during our recent deluge. The hull is so tight that it held water that had to be vacuumed out.

She has a five-digit hull number, 10151, which renowned Lyman expert, Tom Koroknay, (Lyman Boats – Legends of the Lake), suggests that she may be one of the few 16’, narrow-strake, yacht tenders Lyman introduced in 1931. He places Susan as built in 1940, just before WWII.

Mickey Dupuis and his crew at D&S Custom Metal Restoration in Holyoke, MA, once again transformed tired, pitted hardware into beyond-show-ready jewelry.

Shauna Whiting, Kocian Instruments in Stacy, MN, after much research, preserved Susan’s original gauge panel cosmetically and mechanically with spectacular, historically-correct results.

Megan Meisler, her dad, brother and crew at Loadmaster Ltd. In Port Clinton, OH, once again worked with me remotely and delivered another perfectly-fitting, super-elegant Vermont green trailer.

If only winter was not nigh! We’d have her out on Lake Champlain today!

1951 Penn Yan President Bleaching Milestone

1951 penn yan president bleaching

My 1951 Penn Yan President blasted through several major milestones this week.

• With the application of the final two coats of Penn Yan Chinese Red gloss enamel, the is fully preserved below the waterline. (We sourced the Chinese Red from T.J. Amato, Penn Yan Parts and Accessories. The paint supplied by T.J. is formulated precisely as Penn Yan did, and it is an excellent paint in terms of application and drying.)

• Her transom and topsides have been stained, sealed with three coats of Smith’s Clear Penetrating Epoxy Sealer, and received their first 15 coats of pettit hi build varnish. (We sanded after coats 5, 8 and 12, and will sand them again with 400 grit before applying the final 5 – 10 coats.)

• Every square inch of her interior was stripped, sanded and sealed with CPES, before we applied 4 coats of Sikkens Cetol Marine (satin) to her hullsides and interior transom surfaces, and three coats of SANPACO gray bilge paint to her bilge. • After flipping her upright yesterday, we sanded her decks and covering boards fair.

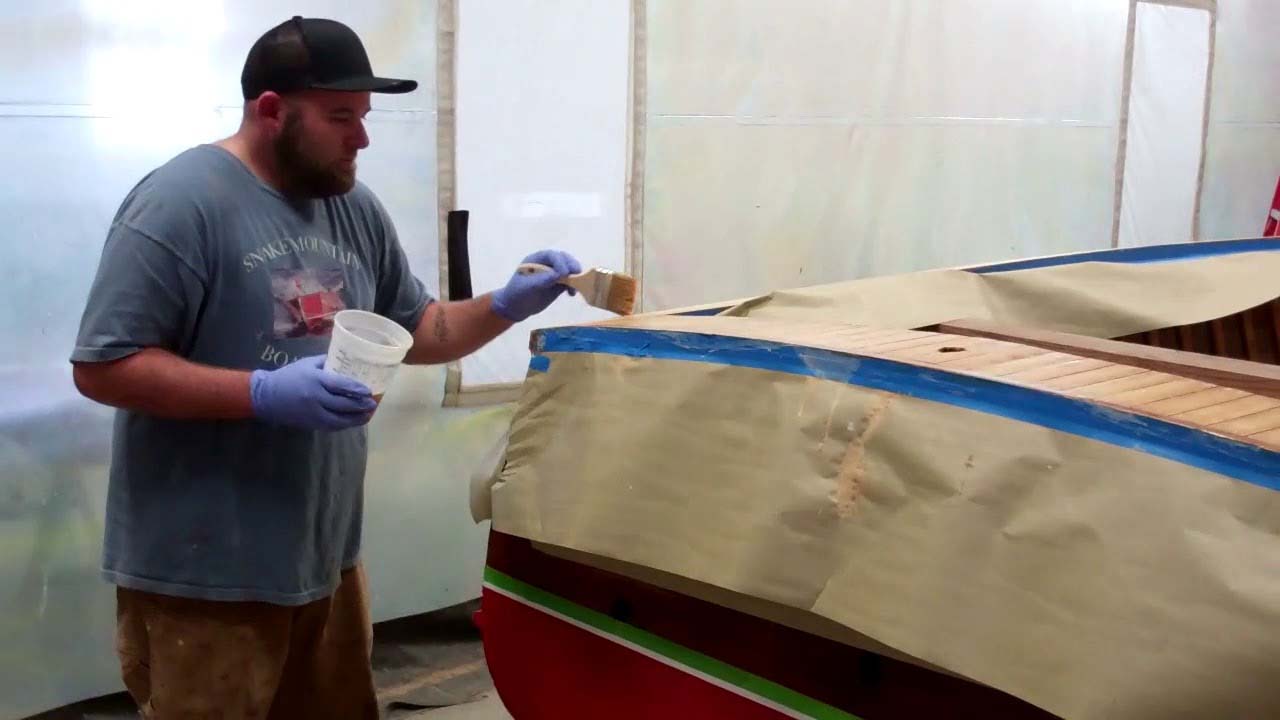
• Today is bleaching day. As we shot the video, Joe and RJ had been applying bleach repeatedly and keeping her wet for almost three hours. As is our practice, we will continue applying Dalys’ stronger mixture – 3 parts B to 1 part A for the next three hours, and then we will leave her overnight.

Joe and I erred by referencing white Sikaflex seams. In fact, the seams will be filled with mahogany Sikaflex 291 LOT.

The seams will be only half filled, which enhances the seams’ contribution to the decks’ overall visual impact.

Her decks will be stained to match her topsides and transom, while her covering boards will remain blonde, as she was when she left the factory.

If all goes according to plan, We will stain her decks using Mike Mayer’s Lake Oswego Boat Company Custom Jel’d stain, which is now our standard.

We will stain the covering boards using Mike’s Chris-Craft Blonde Jel’d stain. Varnishing will commence once the stain is dry and three coats of Smith’s CPES have been applies.

Assembly cannot be that far away, but probably is… and winter will be here before then, so she will not splash until next spring. Darn!

1958 Penn Yan Sealiner Stripping & More

1958 penn yan sealiner stripping

We continue with the most unpleasant elements of wood boat preservation, stripping, sanding sealing and varnishing the hull’s interior – so many ribs! And doing the same with the myriad of parts released during deconstruction.

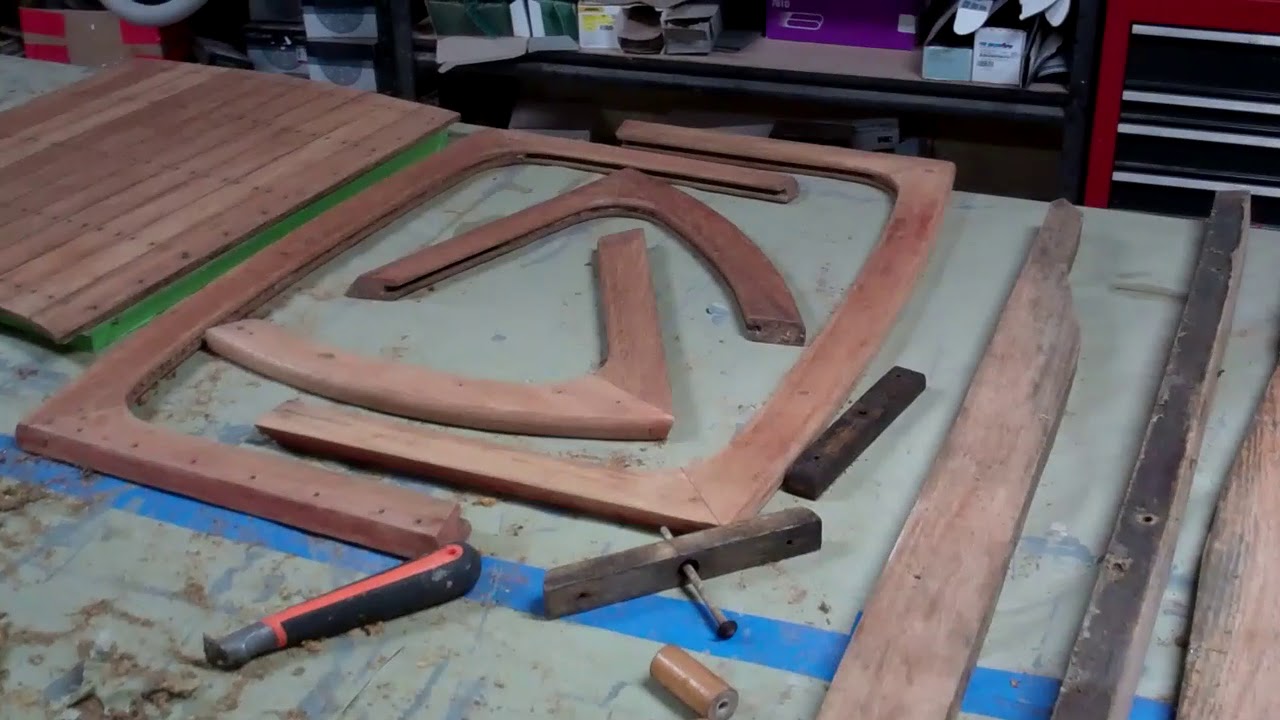
Joe has fabricated and steam-bent the new transom’s mounting strip. He has fabricated the new transom blank along with framing elements we could not save. All of it has now been stripped (saved elements), sanded, bleached, stained, sealed and received all but it final coat of varnish. Anthony, helped by RJ, spent a tortuous week stripping the hull’s entire interior. By today he and RJ have sanded all surfaces of every rib and interior hull planking. The entire area has received two coats of Smith’s Clear Penetrating Epoxy Sealer and its initial coat of Sikkens Cetol Marine. By early next week, it will be all hands on deck as we install the mounting strip and the fully assembled transom. The latter will be bedded in 3M 5200.

Soon, we can flip her upright and get on with the most enjoyable part, bleaching, staining, sealing, varnishing and painting.

Cannot wait ….

1953 Penn Yan CZT Swift Arrives for Full Preservation

1953 penn yan swift czt preservation

First and foremost, thank you to our Seattle-WA-based owner for entrusting his 1953, 12-foot CZT Penn Yan Swift, HIN CZT 2351, to a comprehensive preservation we at Snake Mountain Boatworks will execute.

While a final decision has yet to be made, in all probability we will also restore her Tee Nee trailer. She is powered by a period-correct mid-50s 18 HP Johnson Sea Horse that is now in the hands of Fran Secor, Otego, NY, outboard guru par excellence, who many of you may have met at his display during the Clayton, NY ACBS boat show each year.

The boat was last in Alabama, and advertised as original and little used. That such is the case was confirmed yesterday while I did some initial deconstruction so I could remove the outboard and its controls.

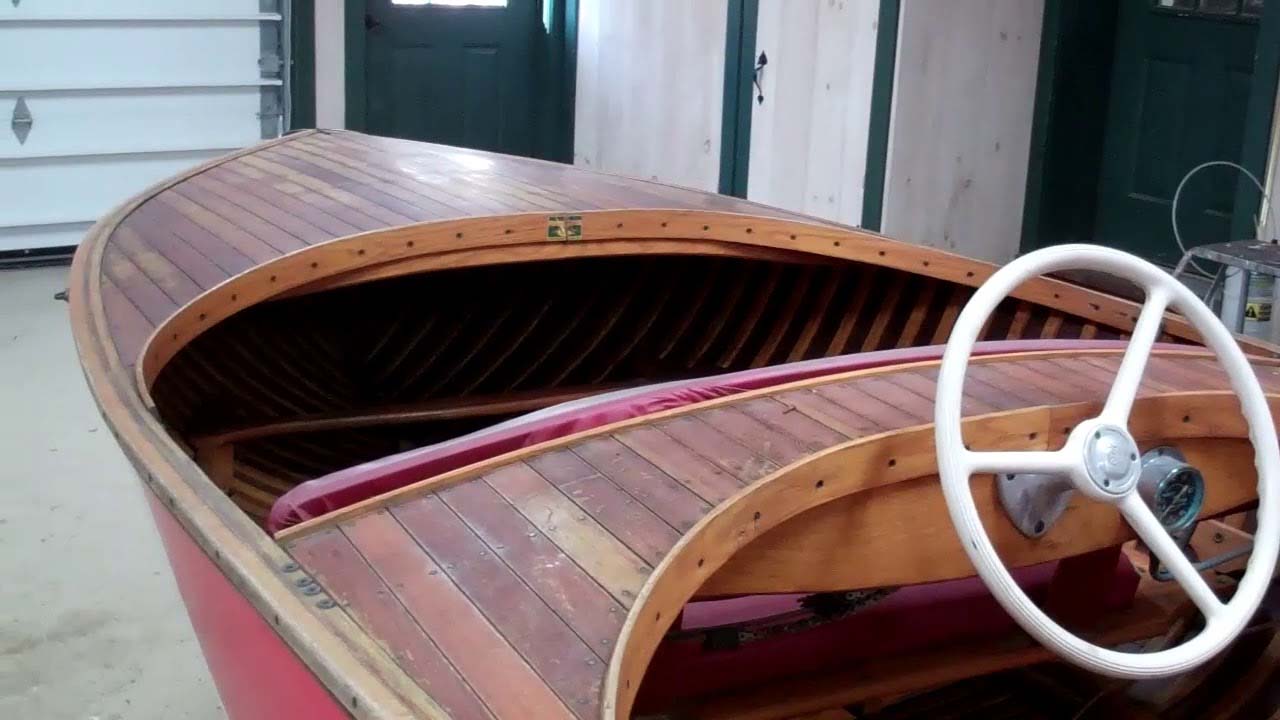
Simply put, nary a “hurt” is to be found, even on the closest examination. I was only able to find eight non-original fasteners, and those secured the four aftermarket cover batten holders. There is not a single damaged, rotted or broken rib in the entire hull. The worst “damage” where some scuff marks beneath the helm station, probably from when someone ran her wearing the wrong footwear.

Her canvas is original, but badly painted. Stripping it with a remover risks also releasing the filler/fairing material that is applied and scrubbed into the fabric as the final step in installing the canvas.

Rather, we will hand (block) sand the canvas on her transom and hullsides, wipe it down with acetone and then prime and paint it.

The bilge, seating components, transom interior and interior hullside surfaces appear to have been last varnished ages ago, which has contributed to what can only be recognized as elegant coloration and patina. We will not strip this bilge. Rather, we will first scrub it with soapy water and Scotch Brite pads or something like 220 grit paper, and wipe everything down with Acetone. We will then apply two to three coats of Sikkens Cetol Marine (not the high gloss variety).

Her decks, gunwales, rub rails and spray rails (post being released) will be stripped to bare wood, faired the little bit that will be needed, stained, sealed with CPES and varnished with 12-15 coats of Pettit Hi-Build varnish.

For now, however, as she’s back in the queue of boats awaiting preservation, I will scatter dryer sheets throughout her interior and then move her back into storage until late winter, 2020.

1940 16′ Lyman Yacht Tender Preservation – Nearing The Finish Line

1940 lyman yacht tender preservation

Susan, our 1940, sixteen-foot LOA Lyman Yacht Tender, HIN 10151, with aft facing aft cockpit is oh, oh so close to the finish line.

Yes, she was Susan when new, so our vinyl master duplicated that freehand font and Susan she will be until a future steward can express her/his preference for some other name. That said, I chose 7-year vinyl and will not varnish over it, which facilitates simply peeling it off if a future owner wishes to without doing any damage to the varnish.

A REQUEST: Her original 12” x 18” ensign was in tatters and worse when I bought her, so I am searching for a period, or at least period-correct, but not-brand-new ensign. Anybody have one I can buy that will become Susan’s? Thanks.

Other boat obligations forced us to banish her to storage for a bit, before we install her windshield and seating – the latter will return from upholstery soon. We are also waiting on an exhaust elbow, as the one bolted on when she arrived was, well, junk.

She is fitted with Cypress hullside strakes down to the waterline and mahogany from there down to the keel. She is rather stunning mahogany everywhere else. Viewing the clip surely puts a spotlight on her mahogany.

Save for one small, rectangular Dutchman repair just below her starboard rub rail and just about at the helm station, 99.99% of her wood is original. Every rib and every frame member are original and one-hundred percent rot-free. The one .0001% is the below-deck bow light backing block. We replaced it.

We stripped her to bare wood inside and out, stem to stern and started back, beginning with RJ and I sanding and finishing her interior hullsides and bilge while she was upside down. RJ has yet to forgive me, but gives credit to me for having suffered through at least half of this torture.

The interior hullsides received multiple coats of Sikkens Cetol Marine, and we applied three plus coats of SANPACO Lyman Sand Tan Bilge Paint to the entire bilge and all of its components.

Her bottom seams were sealed with TotalBoat Thixo Flex from Jamestown Distributors before we applied three coats of CPES and three of Pettit Tie Coat Primer 6627 and four coats of Sandusky Lyman Copper Bronze Antifouling Bottom Paint.

Deck seams were filled with Sikaflex 290 LOT – Mahogany based on a former owner’s memory.

After sanding everything fair, we bleached decks and hullsides as well as every “loose” component.

We stained using mahogany components with Lake Oswego Boat Company “Lyman” Gel Stain. The Cyprus hull sides received natural Gel Stain, and then the varnish marathon began. Pettit Hi-Build followed by the last two coats of Pettit Captains Varnish Ultra Clear 2067

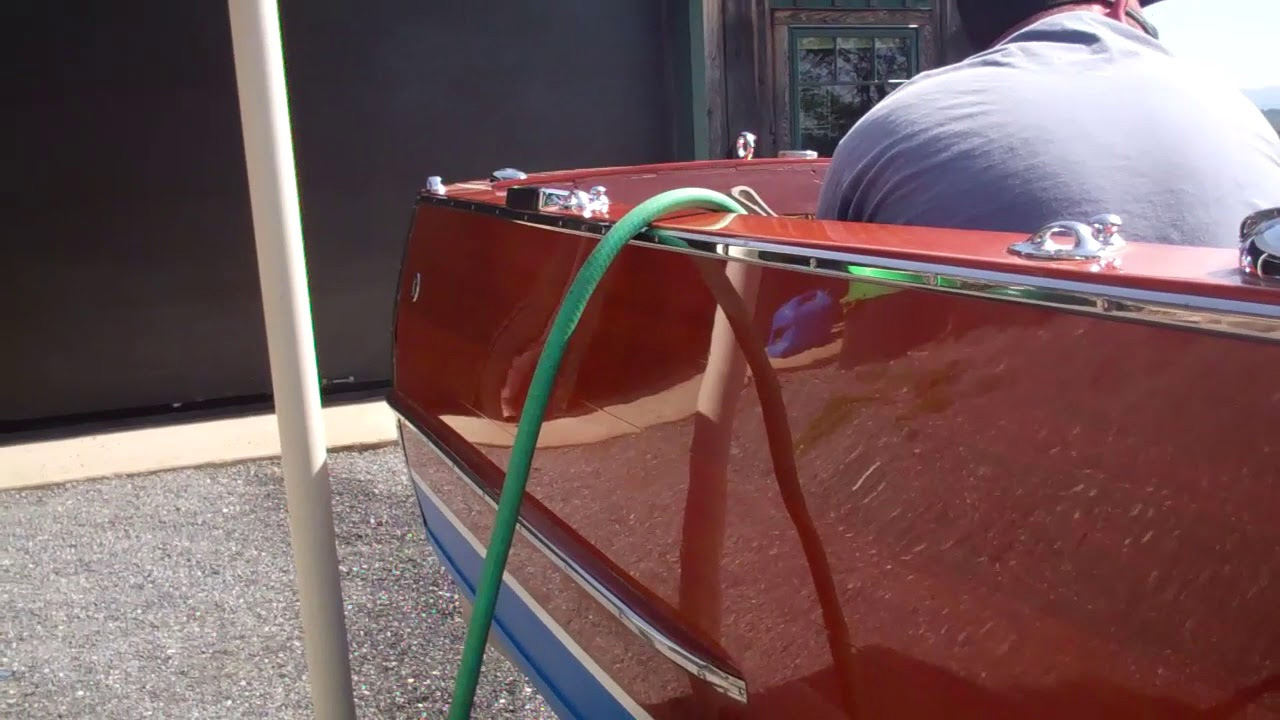
OMG! Thirty-two coats later, my crew decreed, “That’s spectacular. Enough already!” Indeed, the gloss is a mile deep.

Preservation team:

Gauge Restoration: Shauna Whiting, Kocian Instruments, Forest Lake, MN
Metal Restoration: Mickey Dupuis, Custom Metal Restoration, Holyoke, MA
Engine Rebuild: Robert Henkel, Peter Henkel INC., Marine City, MI
Woodwork and finishing: Snake Mountain Boatworks LLC’s crew

Maybe, maybe, maybe we can pull everything together by Labor Day. Might even celebrate a bit as she romps across Lake Champlain!

1954 Penn Yan Captivator Aristocrat Preserved!

1954 penn yan captivator aristocrat preserved

Captivator is a 1954 Penn Yan Striptite Captivator Aristocrat who is fitted out with virtually every option Penn Yan offered on this model in 1954.

We faced some major issues upon her initial inspection. Her transom and transom framing were rotted beyond saving, so were replaced.

Someone had tried to caulk her inter-plank seams with a 3M5200-like material, most of which had long since lost its adhesion. Removing all this material using reefing hooks cost many hours, but in the end, her seams were clean.

After removing her keel and keelson, which provided access to area internal to the keel, and inspecting the entire hull below the waterline, the only rot discovered lurked behind her improperly-installed spray rails.

Whatever was used to “seal” the spray-rail-hullside seams had long since failed, which allowed water to work down behind the rails and stay there. Rot was evident, and Joe’s foray into Dutchman repairs followed.

Save for saving the upright braces, Joe and RJ fabricated all new transom framing and then a two-plank transom blank, all of which matched the pattern pieces exactly. Many hours of fitting and sanding later, Captivator’s new transom was in place and the original brass protective strip had been reinstalled.

Once it was properly caulked-sealed using TotalBoat Thixo Flex, we flooded her hull below the waterline with three full coats of Clear Penetrating Epoxy Sealer (CPES) and allowed it to cure for 48 hours before applying three coats of Pettit Tie Coat Primer 6627. We finished the bottom by applying four coats of JD Select Ablative Bottom Paint in shark white.

We stripped her hullsides, decks and gunwales to bare wood using our trusty Circa 1850 Heavy Bodied Paint and Varnish Remover.

All that wood was sanded fair, stained using Mike Mayer’s, Lake Oswego Boat Co, post-war CC gel stain. (Mike can be reached at [email protected], or www.loaboat.com).

Her deck seams were payed with mahogany Sikaflex 290 LOT mahogany The standard sequence followed: CPES, scuffing and then varnishing. Her decks, hullsides and transom received 18 coats of Pettit Hi-Build followed by 3 coats of Pettit Captain’s Ultra Clear 2607. Hand (block) sanding with increasingly fine grit until the final sanding was executed every 5 coats or so until she received her final coat.

Interior surfaces received 18 coats of Hi-Build.

Reassembly followed, and now she’s ready to go home.

1946 Chris Craft Brightside U22 Engine Test

1946 chris craft brightside u22 engine test

She’s been in storage over the late winter, through spring and until now. Finally, Lake Champlain is below flood stage and heavy winds over recent weeks have driven floating logs and debris to shore. But, with rising north winds in the forecast and beginning now, we will likely choose another day this week to float her.

She fired and barked a few times, but now is running beautifully … love that Hercules grumble and growl!

We found a couple of leaky stopcocks, which we are switching out, and the thermostat is being a pain, but we will continue fighting with the engine.

As I hope is evident in the clip, we could not be happier with the final result.

  • Mickey Dupuis and his crew at D&S Custom Metal Restoration in Holyoke, MA, once again transformed pitted and pocked plating into jewelry.
  • Shauna Whiting, Kocian Instruments in Forest Lake, MN, once again masterfully preserved her gauges.
  • Robert Henkel, Peter Henkel, Inc. in Marine City, MI, tore the engine down and rebuilt it, the transmission, and everything bolted onto it.
  • Joanie Alden, Vital Signs hand painted her registration lettering.

1951 Penn Yan 18′ Stern Drive Transport – Steam Bending a New Stem

1951 penn yan stern drive transport steam bending new stem

Once again, Don Danenberg’s bible of wood boat restoration more than pays for itself.

Unlike most “trade” book, which tend to be all true, but absolutely NOT actionable, Don’s The Complete Wooden Runabout Restoration Guide, has but one mission, teaching the rest of us the art of wooden boat preservation.

Page 73, for example, presents a step-by-step how-to guide for fabricating a simple, but highly powerful steam generator. We built ours from his plans and materials roster. It has served us well for ten years. (The heating coils do burn out from time to time, especially if we get distracted and the sight tube goes dry.)

Why not just fire up the big band saw and cut the new stem out of a wide, and in this case very wide, white oak plank? Hmmm … doing so means having end grain, which will fray and split over time, along the outer face of the stem.

Well, just read Danenberg for the details.

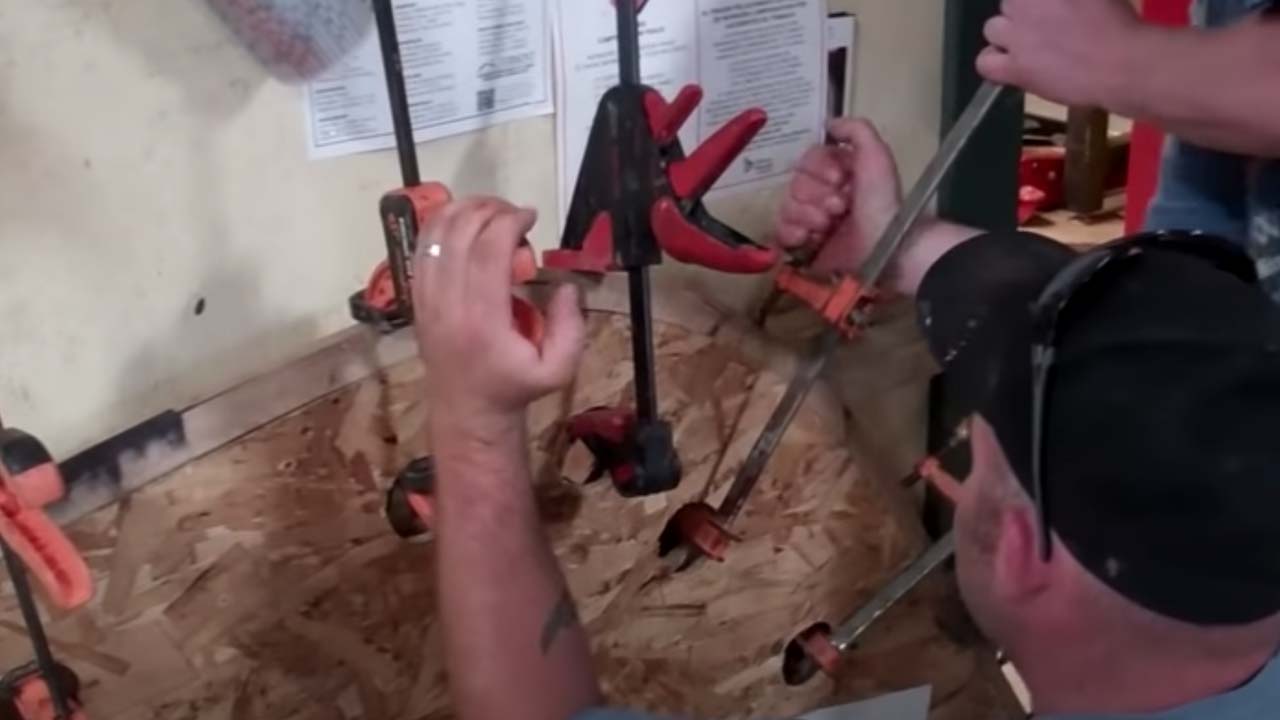
Sadly, the video camera had a brain freeze and I lost the footage I shot covering pulling the blank out of the steam box and racing with it to the form. The trick is starting from the “short” end, the one closest to the stem’s sharpest curve. Joe clamped the end in place and then added clamps as RJ slowly bent the blank around the form.

Finally, they reached the other end, and then worked back and forth tightening the clamps.

We will leave things be for a week while the wood dries in the desired shape.

Then we will stain and seal it with multiple coats of Clear Penetrating Epoxy Sealer (CPES). Milestone!

1954 Penn Yan Captivator Aristocrat Bleaching Milestone

1954 penn yan captivator bleaching

With her bottom repaired and having received two coats of Clear Penetrating Epoxy Sealer, we sealed her below-waterline seams using TotalBoat Thixo Flex, sanded the entire surface fair and applied four additional coats of Clear Penetrating Epoxy Sealer.

Why so many coats of CPES? Once stripped bare, her bottom planking was, to invoke the cliché, dry as a cork. The CPES simply all but disappeared as it was applied, which does not contribute to adhesion.

Once the splash rails were installed imbedded in 3M 5200 and their bottom sides sealed with CPES, we applied three coats of Pettit Tie Coat Primer, followed by four more of JD Select shark white antifouling paint.

While some folks varnish splash rail undersides, we always prime and bottom paint them, thereby better-protecting wood that so often comes into the shop rotted into the rail and sometimes well into the hullside planking.

We then stripped and sanded her hullsides fair with 80 grit, and now have flipped her upright so we can focus on bleaching, staining, sealing and varnishing the hullsides, decks and gunwales.

Almost immediately we encountered a major issue. The coaming strips that encircle both cockpits had been released and then installed bedded in gobs and ribbons of 3M 5200. Since finishing the decks would be all but impossible with their grain running into the coamings. (The latter stand almost 3.8” proud of the decks.)

Not a problem. We will simply release the screws and off they will come. NOT! We had to literally slice them off using our FEIN MultiMaster, and eventually off they came. We will clean the residue 5200 using Circa 1850 Heavy Body Paint and Varnish Remover, scrapers and, yes, likely the FEIN tool.

Joe and RJ stripped the decks and most everything attached to them and then reached for reefing hooks, which are available from Jamestown Distributors.

We have half a dozen or more of them, each one of which has been ground to a different thickness, which we use to remove the “white stuff” from deck seams. (This video we shot in 2016 shows RJ cleaning seams with a reefing hook). Be sure to read the write-up that accompanies the clip for more guidance and information.

Bleaching begins now, and we should be leaving this milestone on our wake by tomorrow morning. Then her elegance begins reemerging once we’ve scuffed the bleached surfaces to remove the hairs that the bleach stands up, and stain her.

Yes, we will keep on keeping you in the loop!

1951 Penn Yan 18′ Traveler Inboard Stern Drive Flipped

1951 penn yan traveler inboard stern drive flipped

Given how light it is, and is somewhat wide beam compared to the hull’s depth, tipping the 1951 18’ Penn Yan Traveler borders on being trivial. But over she is.

The very heavy copper or bronze keel that runs most of her length is unique in our experience, especially among Penn Yan boats we have preserved.

Happily, save for a 10-inch section at its aft end, the wooden keel lying beneath is in nearly as new condition.

We will remove the entire wood keel and keelson, and the stem as well. All components are solid and rot-free, but the fasteners have loosened and, since they are original, have most likely lost much of their tensile strength by now.

It is now a day later and we have released the stainless splash rail trim and the splash rails themselves. For the first time in our experience, nary the tiniest bit of rot is evident on the rails’ hull-mating-face or the hull planking beneath.

Stripping – always fun – with Jamestown Distributors’ Circa Heavy Body Paint and Varnish Remover ( ) has now commenced. Once again we’ve uncovered zero rot, damage or failed fasteners … but time will tell here.