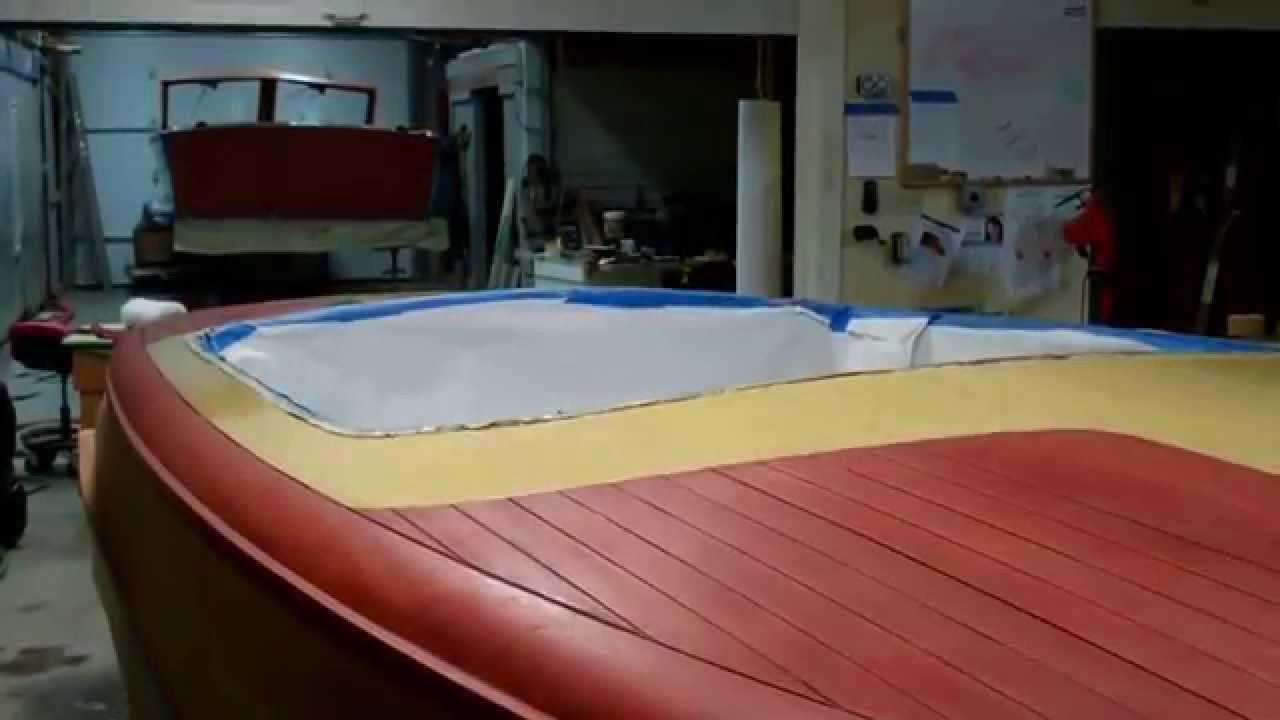
Eighteen feet long, with 6 foot 3 inch beam, Hull Number R-18-865, 131 HP Hercules KBL six-cylinder engine with three 1-bbl down-draft carburetors. Chris-Craft built 1,210 18-foot Rivieras from 1950 through 1954. Purchased from her original owner. Other than two tiny “Dutchman” repairs and a new gas tank, every bit of her wood inside and out, including her bottom is original. Her gauges, upholstery, ceilings, hardware, windshield and engine are original. Snake Mountain Boatworks LLC executed her comprehensive mechanical and cosmetic preservation beginning in early 2014, and finishing in early August, 2015. Her new owners are enjoying her in Ohio and North Carolina.
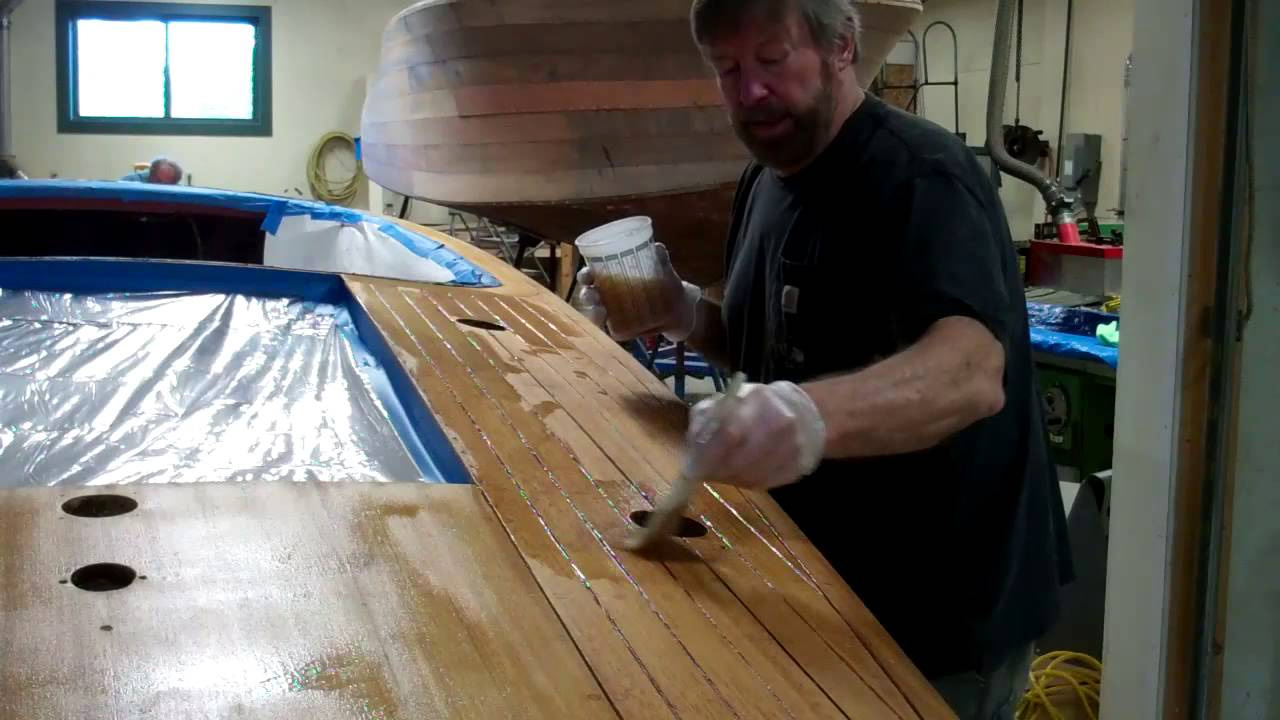
We passed a significant milestone on the 1952 Chris-Craft Riviera runabout 18’ with completing staining the entire hull. The blonde sections had been stained, sealed and received an initial two coats of Pettit Hi-Build gloss varnish before we began staining the remainder of the decks, covering boards, transom and topsides this afternoon. We applied Interlux Intersatin, 2 parts #573 to 1 part #42, Don Danengerg’s favorite combination. After allowing the stain to flash, a process by which the initially shinny and greasy surface morphs into a dull matte finish. Then the fun begins as the thinner continues gassing off and scrubbing cross-grain with cheese cloth and terrycloth towels becomes ever-more difficult with each passing minute. For this reason, we always stain large boats such as the 18’ Riviera in sections. You will arrive at a moment where you feel, “Finally, we are done.” Probably not. Grab several sheets of cheese cloth folded into a polishing pad and do a final buffing over the entire surface. The cloth stays pretty clean while the surface becomes lustrous. Now you are done. Applying three coats of CPES tomorrow morning is next. It will be followed by a very light scuff sanding with 120 grit, and then the boat moves to the paint room where we will begin building what will eventually be at least 15 coats of Pettit Hi-Build varnish.
We tested early this morning and the hull’s moisture content has dropped to a pretty uniform 15%, so staining can commence.
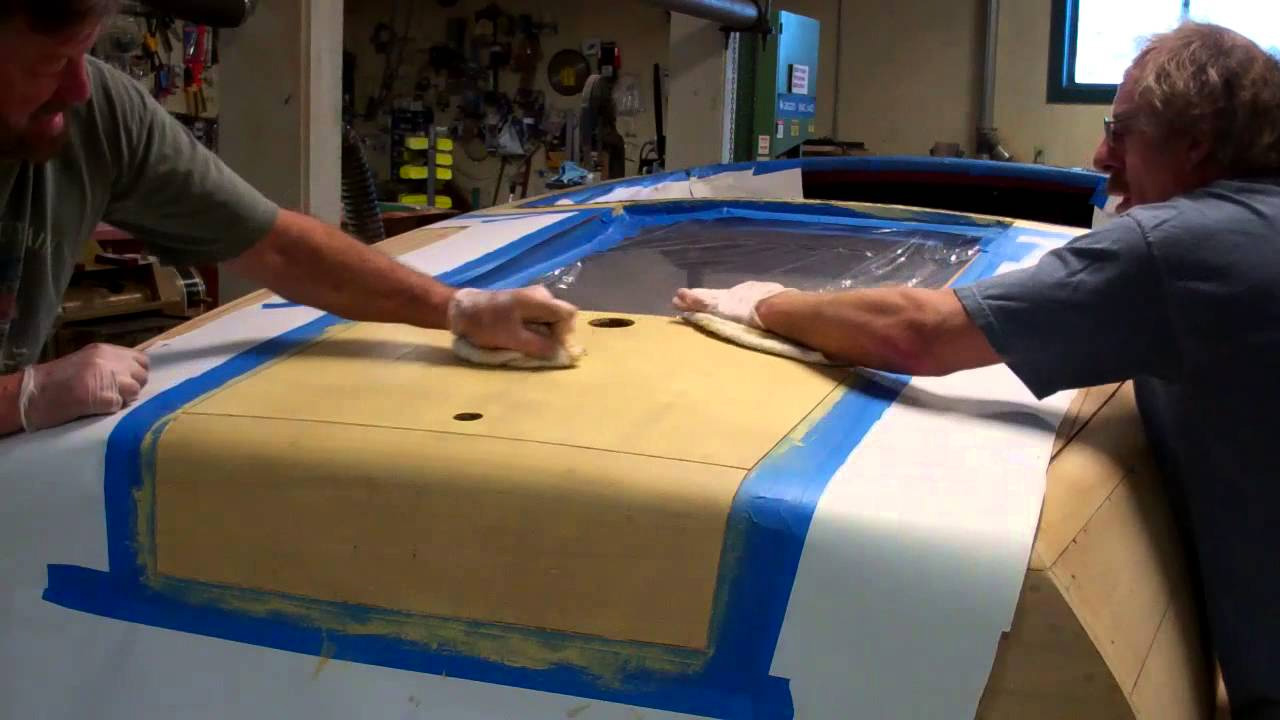
With the blonde aft deck, king plank and covering boards fully masked off against spatter, we apply Sandusky Paint Co. Chris-Craft Corina Blonde Filler Stain diluted about 10% with mineral spirits, which produces a consistency of house paint.
It took about 15 minutes for the stain to begin flashing, at which time we begin sharing the fun of working exclusively cross-grain, scrubbing excess stain off and filling the valleys in the process.
We will now allow the stain to cure for 24 hours before sealing it with three coats of CPES, after which we will apply a first coat of Pettit Hi-Build gloss varnish as insurance against adulteration of the blonde wood with the Danenberg Interlux Interstain mixture that will be applied to the balance of the hull.
It has been 18 hours since the last application of Kleen Strip wood bleach (50:50 mixture of parts A and B) to the hull of our 1952 Chris-Craft Riviera Runabout 18’.
The lowest reading I just read with the moisture meter is 25 percent. It pegs the meter well above 30 percent on most of the hull. We now turn all the humidifiers off in that section of the shop as we have an 18’ hull pumping humidity into the atmosphere as it dries.
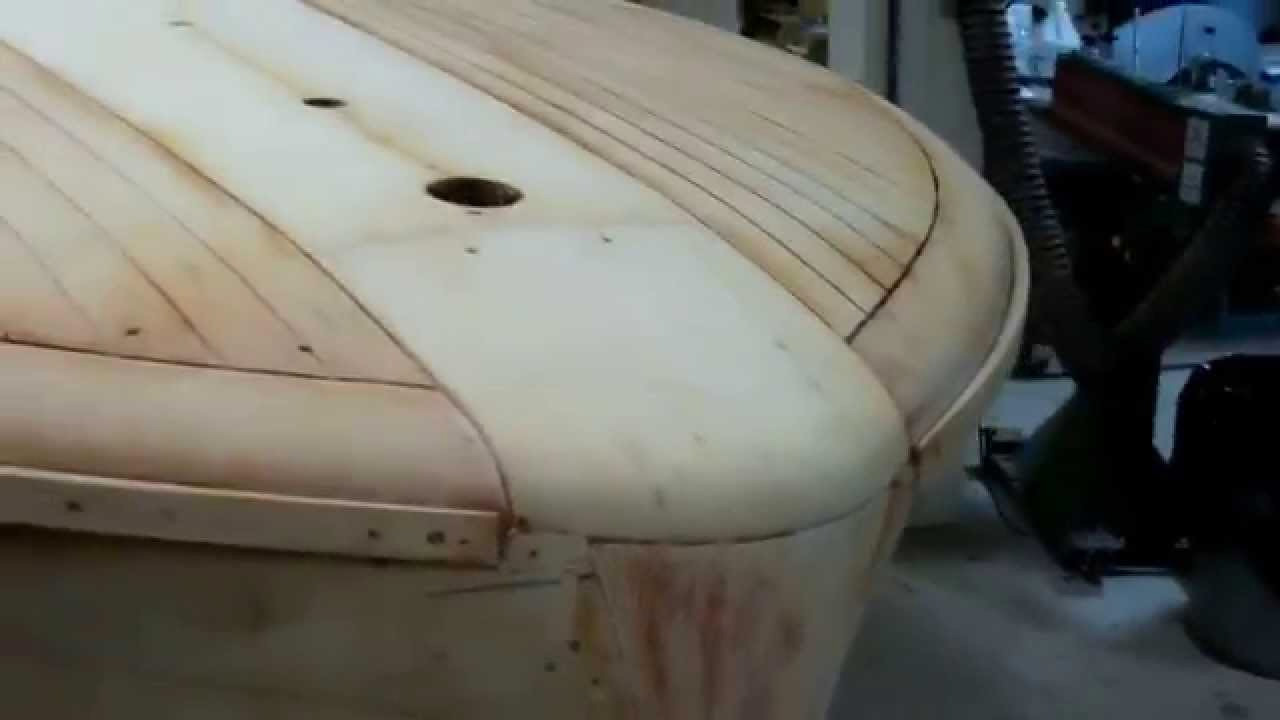
Once the hull returns readings in the 12-15 percent moisture range, we will hand sand it lightly with 120 grit paper, just enough to remove the fuzz that bleaching produces. We must be super vigilant, however, as sanding to aggressively risks going through the approximately 1/16 – 1/8 inch layer that the bleach penetrates.
Sanding will be followed by staining the blonde deck panels with Sandusky Paint Chris Craft Corina Blonde Filler Satin 9802 and then sealing it with three coats of Smith’s Clear Penetrating Epoxy Sealer.
The balance of the hull will be stained using Don Danenberg’s personal favorite: 2 parts #573 to 1 part #42, Interlux Interstain Wood Filler Stain. We agree with Danenberg that “it creates a deep, rich, warm color that is neither too dark nor too red. (The Complete Wooden Boat Restoration Guide, p. 217).
We will continue updating the project as each stage of the finishing process unfolds.
Ok, I am calendar challenged, still. Yes, the 25th, today, is Tuesday, not Wednesday. Sharing my apology trumps re-shooting the entire clip.
Since uploading the video on bleaching Avodire deck panels on our 1956 Century “Cowhide” Palomino, viewers have requested more details around exactly how and why we bleach every boat ahead of staining and varnishing her.
The why is easy. Bleaching erases unwanted color variation in the wood, whether it be residual stain, bungs that conflict with planking and Dutchman patches that present differing colors.
The how is probably quite similar to answers crafts people offer to any such question. Ask 10 of them and you will get 13 often-conflicting responses. Well, here is our answer to the how of bleaching.
Wood moisture content. Our shop is in northern Vermont, where a combination of pellet stoves and radiant heating can transform a healthy environment into a veritable desert. We maintain 70% humidity with a fleet of humidifiers and my dedication to wetting down concrete floors every night when we leave the shop.
We have learned that, even at 70%, wood planking and decking still tends to dry out. Therefore, every boat that has been stripped is maintained at 15% moisture measured twice daily with a moisture meter, by literally being wetted down once or twice daily.
The planking and decking in this 1952 Chris-Craft Riviera 18’ runabout in this clip was at 15% – 18% moisture content this morning before we began bleaching her. Not only will maintaining this moisture content allow the bleach to work, rather than being sucked into the wood’s surface, maintaining 15% moisture content keeps the seams between topside and deck planking closed.
We are standardized on Klean Strip Wood Bleach. No, that is not a typo. It is available in two-gallon kits from Amazon. In addition to working consistently and extremely well, we appreciate the virtually complete absence of any discernible VOCs. Latex gloves are a must, however.
Keep it wet for at least four hours. Through trial and error, and way too many errors, we have discarded the usual and customary, apply-once-and-let-dry approach that is followed by follow-on doses of either the 50:50 solution or one of the two parts.
Keeping the wood wet, the longer the better, works for us. Yes, there are diminishing returns, and wasted bleach solution results as doses go beyond what we are now standardized on.
Initially, we begin by applying liberal quantities of bleach solution one plank at a time, starting at the bottom-most plank. Why? We have learned that the alternative, applying bleach to a block and then moving to the next block tends to produce overlap areas, which can produce uneven results.
And, starting at the topmost plank produces runs and drips down vertical surfaces that can leave streaks.
The initial application is really sort of a mini-marathon, often lasting an hour or more, depending on the boat’s size. We make an initial lap around the boat, flooding vertical and horizontal surfaces from bottom up and from gunwales to deck centers. Then one of us “gets” to shepherd a process of continually working around the boat, keeping all surfaces wet. I made at least 8 laps around the Riviera, for example.
Then we wait 30-45 minutes , which allows the bleach to begin working, before we come back and make 1 or 2 more laps around the boat, flooding all surfaces with more bleach.
The Riviera will be left until tomorrow morning, when her wood should be dry enough – about 12-15% moisture content – for one light hand sanding with 120 grit before we begin staining the hull.
Yes, I will shoot a short video in the morning, when it truly is Wednesday!