1946 Chris Craft Brightside: How to Stain

1946 chris craft brightside u22 how to stain

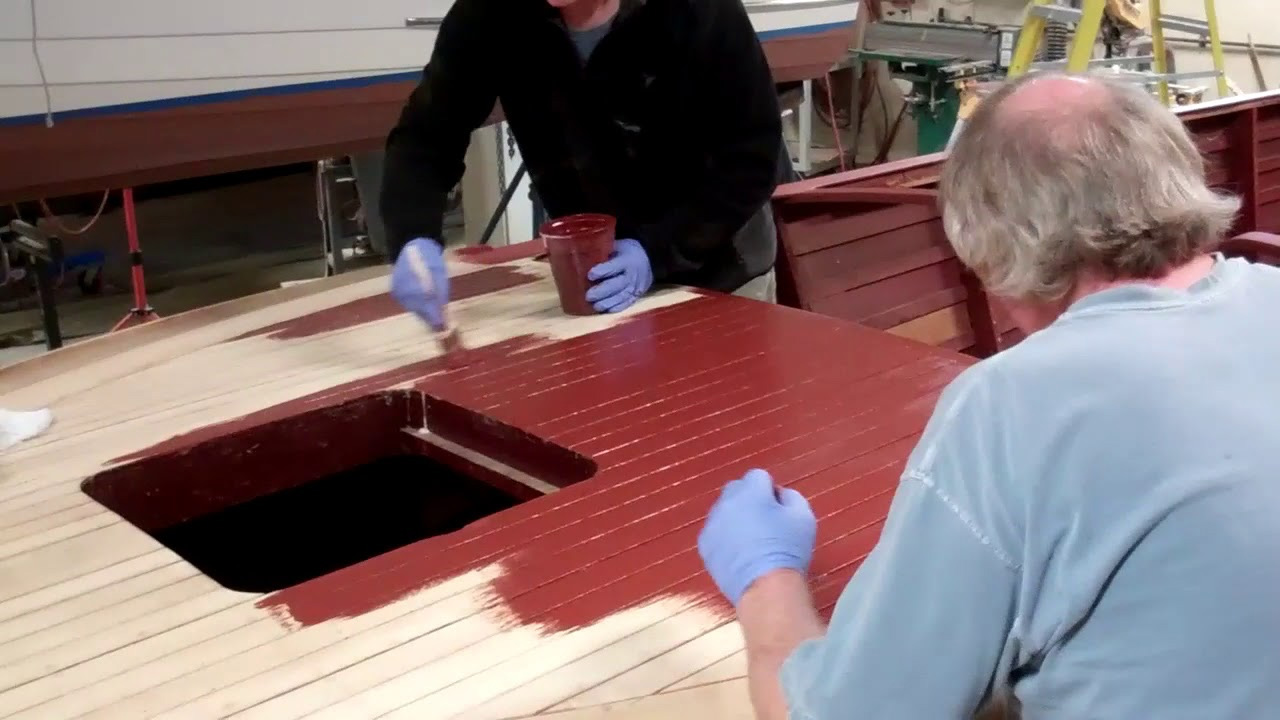
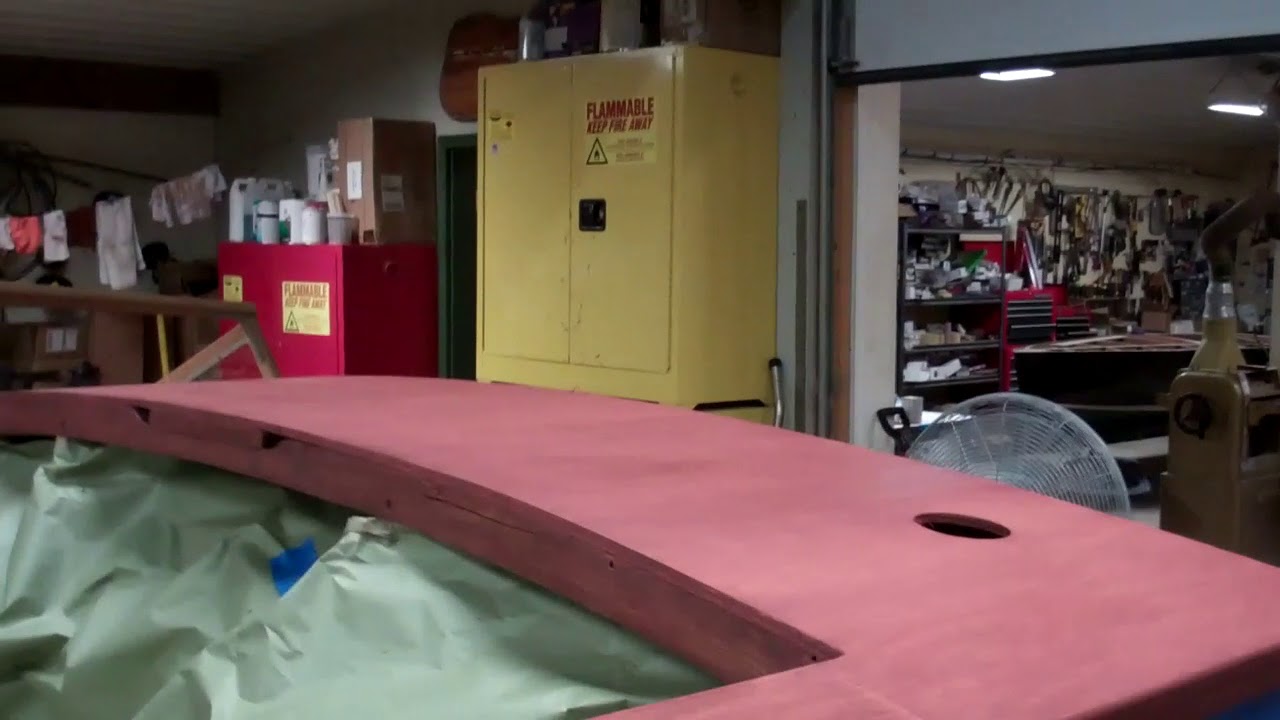
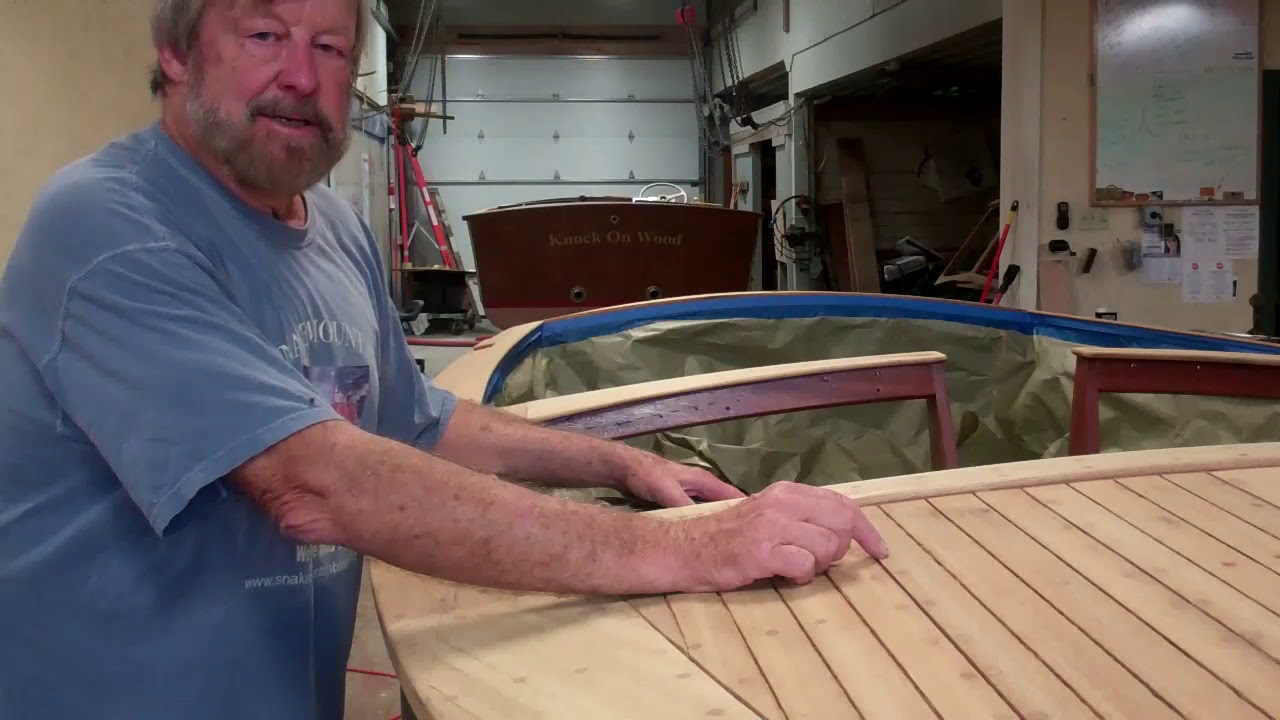
Staining the 1946 Chris-Craft Brightside U22 is a daunting task, one that we divided into two parts. The morning was devoted to staining the decks, covering boards and helm seating framing. The topsides and transom were attacked after lunch.

We used our standard Chris-Craft formula, equal parts of 0042 brown mahogany and 0573 Chris-Craft red mahogany Interlux Interstain Wood Filler Stain. The entire task consumed three pints of each stain, or six total.

RJ applied the stain, with John and I following behind. Interlux’s and the literature’s guidance notwithstanding, we no longer wait until the stain has flashed – turned a uniform dull color. In our experience, and especially with such a large surface area being stained, allowing all or most of the thinner to flash off, creates an unwinnable race against the stain becoming so dry that removing all residue and achieving a uniform color throughout the boat is nearly impossible.

Rather, RJ applies, followed almost immediately by John and me. The first scrubber works the wet stain into the wood, doing very little actual cleaning in the process. The second scrubber follows, repeatedly changing the cheesecloth pads and making a first pass at cleaning. Then the first guy follows the second with a goal of releasing all of the residue without actually scrubbing the filler stain out of the wood grain’s valleys.

We use only circular and cross-grain strokes while executing this process.

You be the judge, but we feel that we get a much more uniform final product using our method, and we need not go through the misery of scrubbing drying varnish, which can leave dark, almost burnished patches of stain in its wake.

Check out the next clip to see why the three of us were beat by day’s end.

1946 Chris Craft Brightside U22 Stained!

1946 chris craft brightside u22 stained

Finally! The 1946 Chris-Craft Brightside U22 is all but completely stained.

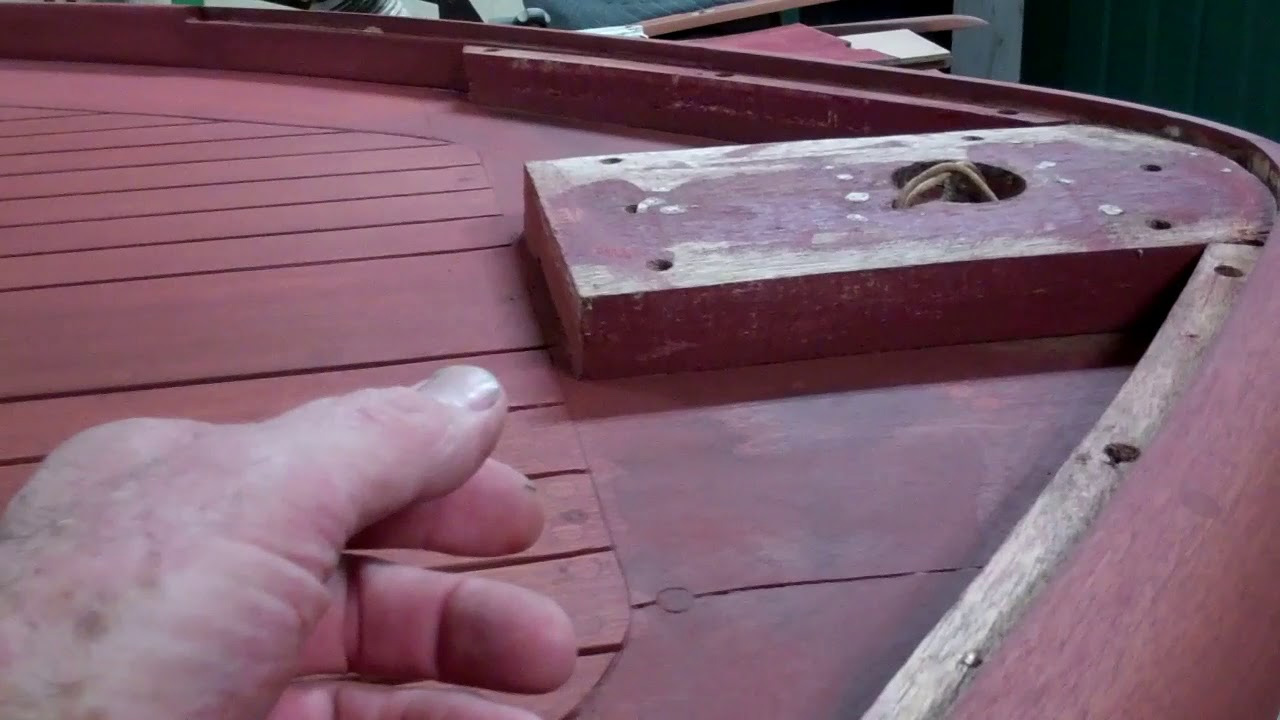
Our SMB staining methodology has delivered an absolutely uniform result. What a sight for sore eyes, and especially sore shoulders! Several staining details remain. The dash was modified at some point. The original horizontal chrome strips that were inset into it at Algonac were replaced by marquetry-like blonde wood stripes. These must remain blonde, so John masked them off and stained them with Sandusky Paint Company’s Chris-Craft Corina Blonde stain, let it dry in, and then taped it off along with the rest of the dash. (Since would not be staining the mahogany portion of the dash today, protecting against flying flicks of stain was a must.

Additionally the U22’s bow terminates in a very pleasing pair of triangular planks and a vertical support plank into which the hull number was stamped at the factory. These will be stained and installed after we have applied CPES to and Sikaflexed the foredeck’s (and aft deck’s) seams. For now she will sit for several days, while her newly applied stain is curing. Then we will seal the entire hull with multiple applications of CPES.

The varnish has been ordered.

Yes!

1957 Lyman Runabout Paint Varnish Stripping Update

1957 lyman runabout paint varnish stripping

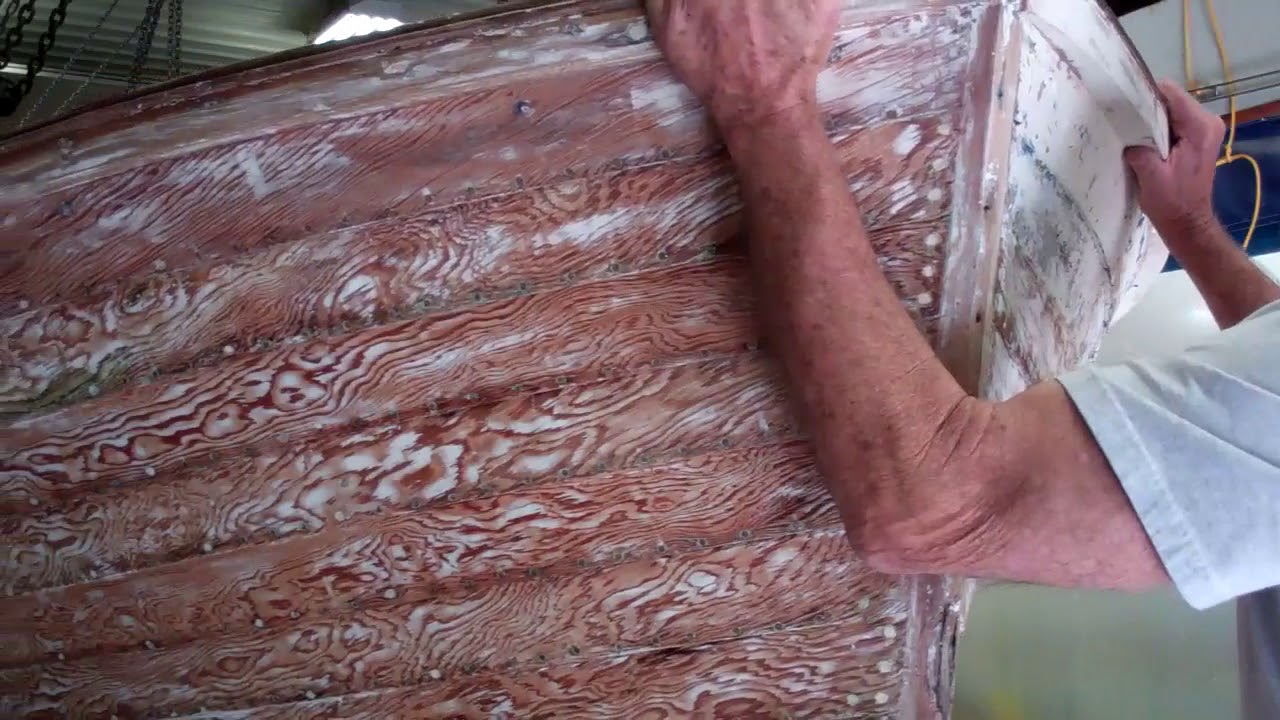
We are so close to being able to shout, “There! The topside paint and transom varnish are gone!”

Yes, so close, but also just not quite there. We’ve completely stripped the starboard topsides and the transom, but the port topsides have dug in and are battling against our Circa 1850 Heavy Body Paint and Varnish Remover and our Sandvik scrapers.

RJ and I leave each day with ever-stronger, but always tired shoulders and lower backs. But we are about halfway through to watching the exterior stripping challenge fade into our wake … at least the one above the waterline.

Some years back we preserved a 1955 20’ Lyman runabout, for which I kept “score” as I stripped the topsides. When I hit 93 lbs., all I could say was, “This is silly!”

Well, since I’d collected all of the scrapings from starboard into two big garbage bags, why not? They weighed close to 50 pounds in total. Stripping the 8 or so layers of paint has not been our biggest challenge here. Somewhere around layer 4 or 5, someone decided to apply some sort of battleship gray fairing compound to almost the entire topsides.

Yes, on both port and starboard. This stuff is like concrete and takes four applications of the stripper to begin softening.

On the happy news front, what a fantastic hull! She’s 60 years old and there is nary the tiniest spot of rot anywhere, strakes and transom planks included. Moreover we have yet to come upon a clench nail that is other than as tight as the day it was pounded home in Sandusky, OH.

It’s a real honor to be trusted with preserving such an original boat that is in such good shape. I know we will find issues as we keep working, but at least the hull’s major components are straight, true and strong.

1946 Chris Craft Brightside U22 Stripping Milestone

1946 chris craft brightside u22 stripped

Another milestone, well, almost fading in our wake. John has a bit of Sikaflex to release from foredeck seams before he can insert a few Dutchman repairs on the decks and covering boards and then sand all of these surfaces one last time.

Then it’s bleaching time with staining and sealing with CPES to follow.

It won’t be long before we are filling seams with Sikaflex and varnishing.

1946 Chris Craft U22 Dutchman Repair

1946 chris craft dutchman repair

Thank you for the many requests for a video-taped Dutchman “clinic” that follows John through the process of fabricating and executing Dutchman topside repairs.

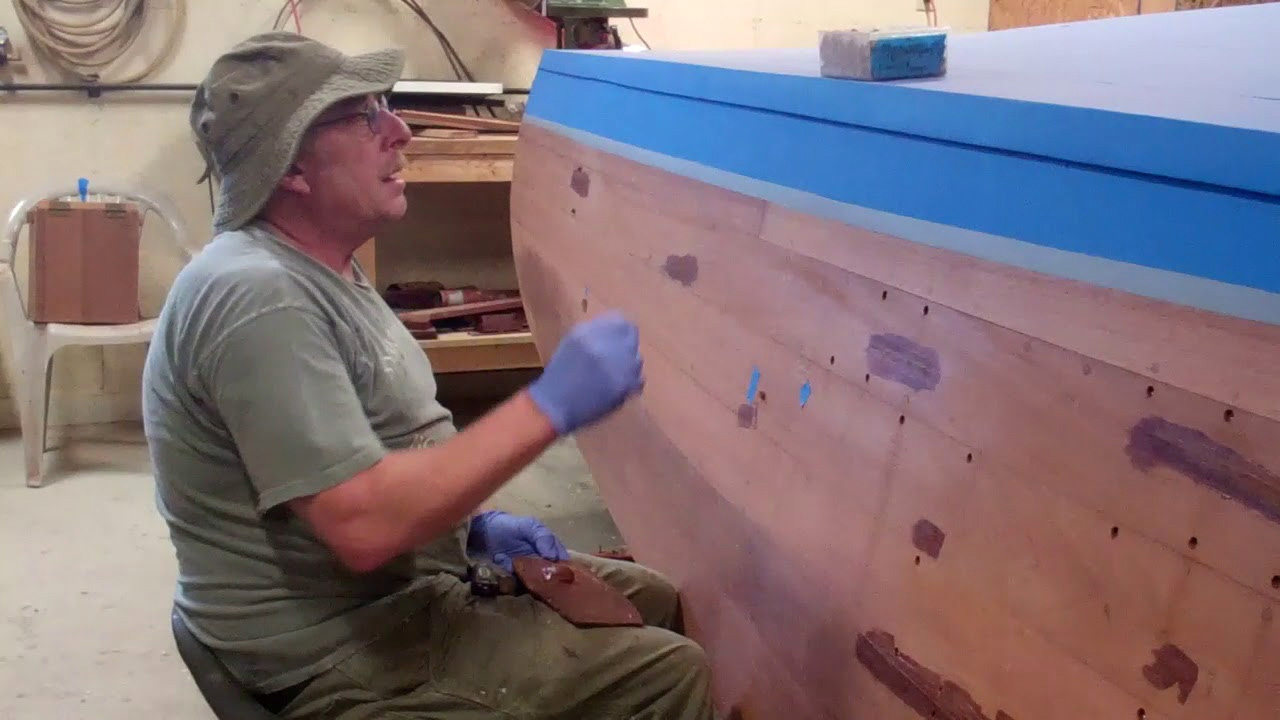
As several earlier ’46 Brightside U22 videos have illuminated, John begins by inspecting every square inch of the topsides, marking any spot or area requiring cosmetic attention/repairs with blue painter’s tape.

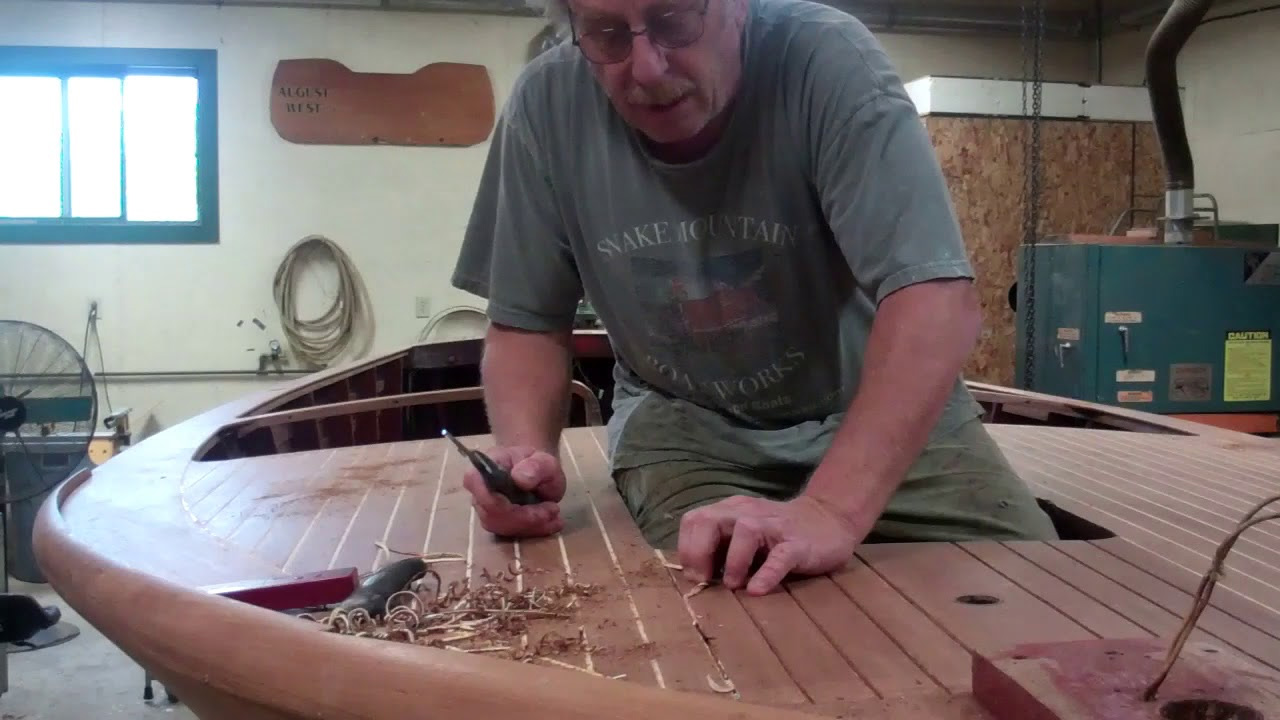
The Dutchman begins with cutting the channel or slot in a plank using a plunge router, or what is the female component of the Dutchman. A key to achieving an invisible Dutchman is that the slot run with the grain to the maximum extent possible.

After cleaning and carefully defining the slot’s edges and shape using hand chisels and selecting a piece of old mahogany having color and grain properties similar to the plank being repaired, John fabricates the plug, sanding on it until it fits perfectly.

It is subsequently glued in place using Jamestown Distributors’ TotalBoat Thixo Wood 2.0 to which a bit of the stain we will use on the hull has been added.

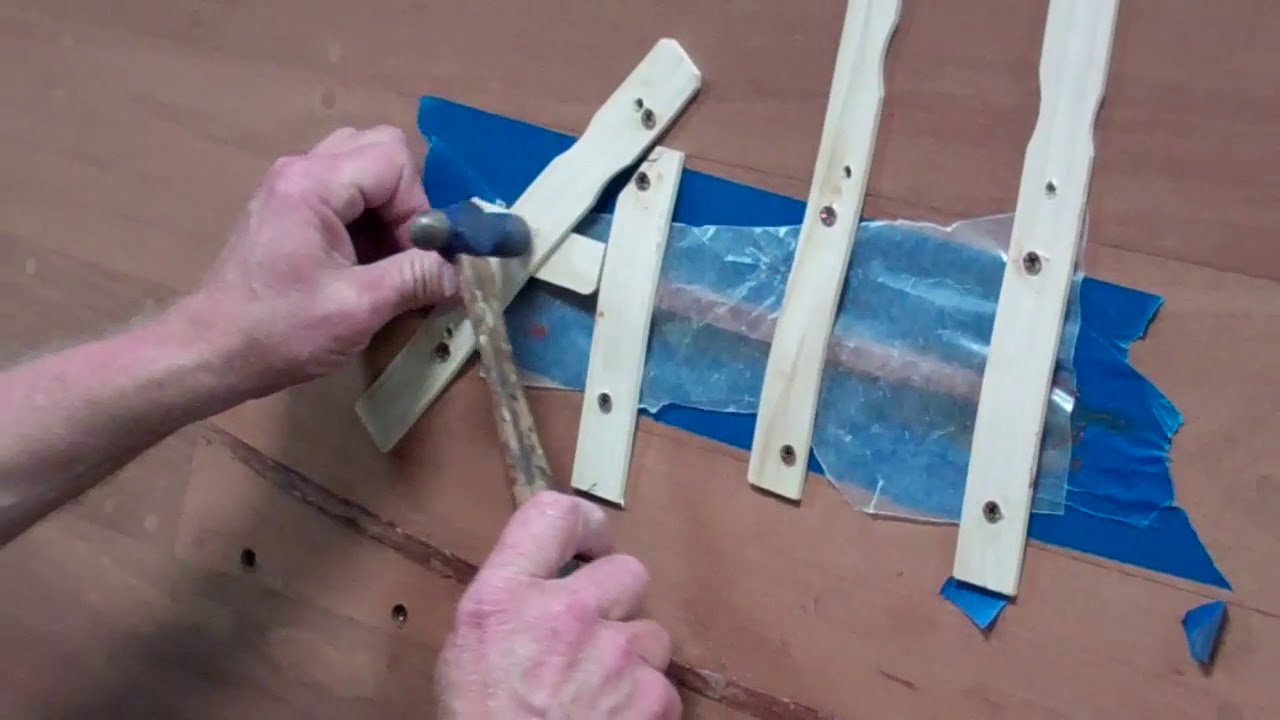
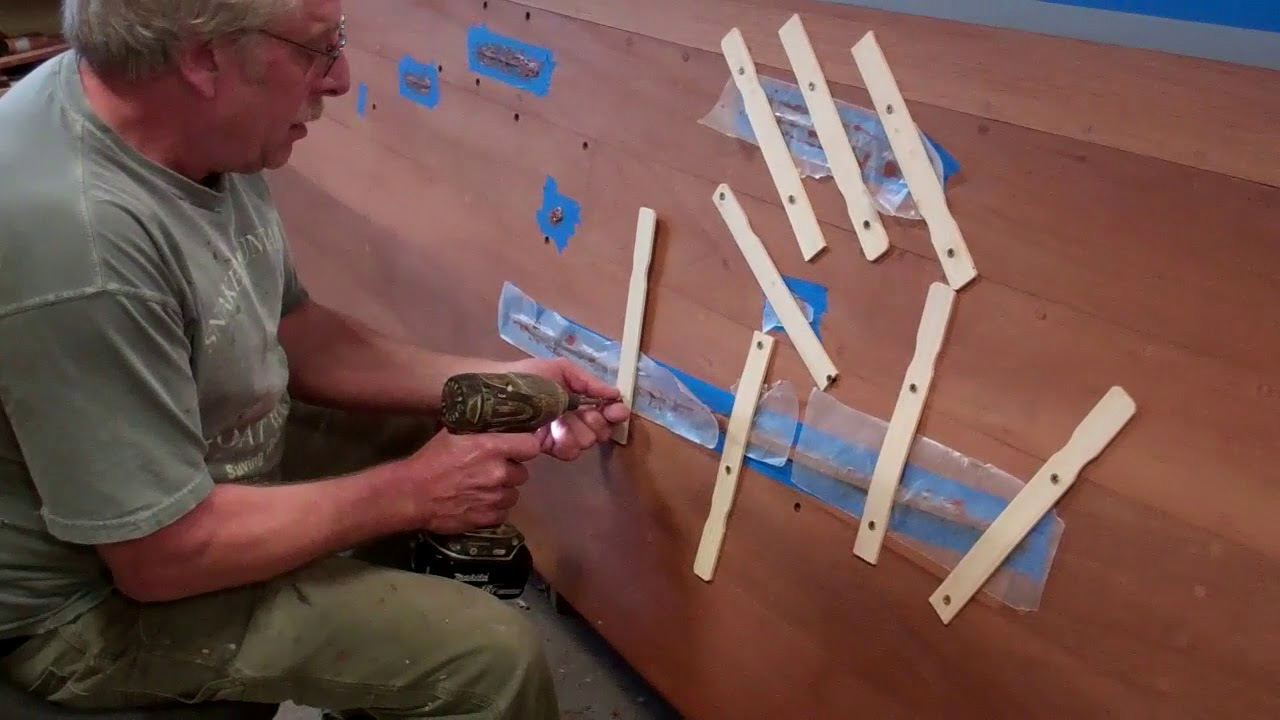
As we detailed in the last video, stirring stick “stitches” that will hole the plug in place, are secured by wood screws passing into countersinks from which those securing the plank have been removed.

Twenty-four or so hours later, the Thixo Wood 2.0 has cured, the “stitches” are removed and John fairs the plug to the plank with a wood chisel. He leaves the blue painter’s tape in place as a depth guide for his chisel.

Finally the tape is removed, screws are driven home into the countersinks, bungs are inserted and glued in place using Thixo Wood 2.0, and the area is ready for sanding.

We hope to have the topsides and transom sanded, and the hull flipped upright sometime next week.

1946 Chris Craft U22 Dutchman Next Steps

1946 chris craft u22 dutchman repair

Following this morning’s video update on the Dutchman repairs John is executing on the port topsides of the 1946 Chris-Craft Brightside U22, he reached for a heavy, 1-inch chisel and began shaving each repair and its associated TotalBoat Thixo Wood 2.0 two-part squeeze-out until it was fair with the topside planking.

He then ensured there will be zero voids in the seam around each Dutchman.

John release the bungs using a Rota Broach, which increased the diameter of several countersinks, so, rather than using Gorilla Glue, which is cures blonde, he used the same tinted Thixo Wood 2.0 as the adhesive.

He will shave the bungs fair using a Japanese cabinet makers saw, at which time the port topsides will be ready for final longboard sanding.

Once he has completed Dutchman repairs on starboard and sanded it fair, we will flip her over and strip the decks, covering boards et al, sand these surfaces fair and be ready for bleach.

Progress is a beautiful thing for sure!

1946 Chris Craft U22 Removing Stitches from a Dutchman

1946 chris craft dutchman stitch removal

So … you have the slots dadoed and the Dutchmen shaped and trimmed to a perfect fit, all 14 of them on the port topsides in our 1946 Chris-Craft Brightside U22.

Using Jamestown Distributors’ Total Boat Thixo Wood 2.0 two-part epoxy, it is now time for gluing them in place. (We rely on Thixo Wood for all such applications. It contains wood fibers, mixes easily, and issues from the 10 oz. caulking tube in a hue that mimics unstained mahogany incredibly well. (We do add a bit of Interlux Interstain Filler Stain while mixing, which ensures that it disappears when we stain the hull.)

That Thixo Wood 2.0 delivers incredibly strong bonds seals the deal for us.

But how are all those Dutchmen secured in place while the epoxy cures? Standing before you is the broad, smooth expanse of the U22’s port topsides. The bottom paint has been applied and cured. These Dutchmen must be clamped tightly into their slots for a permanent repair.

I will ask again, “But how? Ever resourceful, John released selective bungs and fasteners around each Dutchman and then reached for paint stirring sticks and longer #8 wood screws.

As you see in the clip, after he carefully masks the topsides around each slot, John applies the Thixo Wood 2.0 to the Dutchman and drives it home with a rubber mallet. He then secures each Dutchman with a series of “stitches,” having first placed a sheet of wax paper between the Dutchman-epoxy surface and the wood paint sticks.

The repairs are allowed to cure for at least eight hours, at which time all the stitches are removed.

New silicon bronze screws are driven home and bungs are glued into the countersinks that were released for stitching purposes.

With the wax paper released, John will next carefully chisel each Dutchman, which are fabricated to be proud of the topside surface, until it is fair with that surface.

Now final sanding can begin, followed by flipping her upright.

Once we have stripped the decks and covering boards, bleaching, staining, sealing and, yes, varnishing (!) will follow.

For now John still faces executing five or so Dutchman repairs on the starboard topsides. In the end, though time-intensive, insisting on using a Dutchman strategy, allows us to save every plank on her topsides, transom, decks and covering boards. Every plank that someone replaces is a bit of originality and history lost forever. We save old wood boats rather than transforming them into new “old” boats.

1968 20-foot Lyman Runabout Time For Stain

What a difference stain makes in her appearance!

One caution when using the Sandusky Lyman Mahogany Filler Stain. It flashes to a near hard surface very quickly. We dealt with this reality by staining the decks and covering boards one at a time.

But now she is stained, and on Monday we will seal her and then begin applying varnish. What a nice way to end the week!

1959 Chris Craft Sportsman Time to Stain

1959 Chris Craft Sportsman Time to Stain

Today’s bleaching update follows yesterday’s by a bit over 24 hours. We kept the ’59 Chris-Craft 17-foot Sportsman bathed in bleach from a bit after noon through midnight yesterday.

Even though the surface feels dry to the touch, our moisture meter pegged well above 30 percent everywhere on the decks and covering boards. The wood must gas off much more moisture before we can stain it. As it does, the color becomes more and more uniform.

The bleaching process raises grain while it bleeds the tannin out of the fibers, leaving thousands of little feathers, which must be removed to achieve a uniform color when stain is applied.

The challenge is removing the feathers without cutting through the very, very thin layer of bleached mahogany. Sandpaper, even a very fine grit, is just too aggressive, so we reach for coarse Circa 1850 scuff (Scotch Brite) pads from Jamestown Distributors.

A light scuffing, being sure to only do so with the grain, quickly releases the feathers, and subsequently vacuuming using a bristle tool removes them sufficiently. (You might use a tack cloth, but only if you purchase those that are devoid of wax or oil. Depositing either on the surface guarantees seeing a blotch form because the stain cannot penetrate the deposit. But for now we will wait until our moisture meter reads no higher than 15%.

Then the blonde elements will be stained with Sandusky Paint Company Chris Craft Corina Blonde Filler Stain, followed by a mixture of brown and red mahogany Interlux Interstain.

Be sure to allow several days for the stain to cure, lest your application of CPES pulls the stain and kills color uniformity in the process.

1946 Chris Craft Brightside U22 Bottom Paint!

1946 chris craft brightside u22 bottom painting

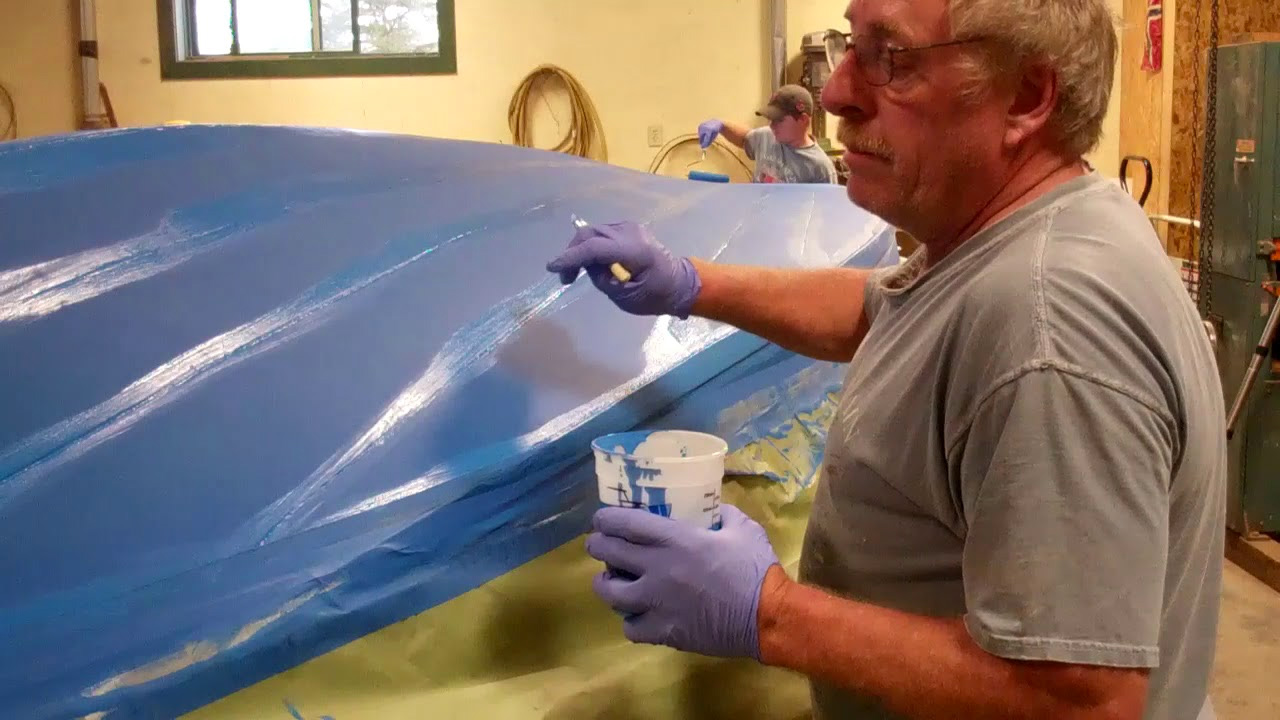
Since the last update video, we have applied five coats of Interlux 2000E two-part primer, followed by the requisite blue bottom paint, ePaint’s Ecominder Antifouling Bottom Paint in this case.

One more coat of ePaint Ecominder, a water-based one-part antifouling paint and this 1946 brightside U22’s True 5200 bottom is complete.

What is ePaint Ecominder antifouling paint? Here is what Jamestown Distributors answers:

New ePaint Ecominder is the greenest and most effective copper-free antifouling paint available.

Ecominder uses a copper-free, water-based, zero VOC paint formula that is safe and easy to apply. It keeps boat hulls clean using hydrogen peroxide generated from sunlight and the environmentally preferred booster biocide Zinc Omadine.

Designed for use on all rigid type surfaces including fiberglass, aluminum, and wood, it is compatible over other bottom paint systems, and can even be applied in cool ambient temperatures. It is very popular in the pontoon market due to its compatibility with aluminum substrates. Ecominder is available in a variety of colors including White, Gray, Green, Blue, and Black.

ePaints contain no tin or copper. Instead of following the age-old method of leaching toxicants that persist in the environment, ePaints employ a novel mechanism to control the attachment of fouling organisms. When immersed in oxygenated water, all ePaints photochemically generate minute levels of peroxides. The minute levels of peroxides make the surface inhospitable to the settling larvae of fouling organisms. Hydrogen peroxide is a potent, but short-lived chemical that has traditionally been used as an antiseptic. Peroxides have been demonstrated to be effective antifouling agents. The peroxides do not persist in the environment because they quickly decompose back into oxygen and water by natural ions dissolved in the water.

Because ePaints contains no copper, they are available in white as well as a variety of bright colors. The lack of copper also ensures that ePaints are compatible with aluminum and other metals in the marine environment. This is not the case with copper-based paints that promote galvanic corrosion with metal boats. ePaints are safer for you, your boat, and our environment.

With a home port of Ahmic Harbour in Magnatawan, Ontario, this U22 lives and plays on one myriad of lakes in Canada’s Muskoka lake region where the water remains clear and pristine. By using Ecominder on her bottom, we ensure that, at least she, will introduce no additional copper to Ahmic Lake. That the paint is water-based, has zero VOCs is a plus for us while applying it in the shop. One more coat, then the paper comes off. One the remaining topside Dutchman repairs are executed and the entire surface, including the transom’s, is sanded fair, she will be flipped upright for the first time in over seven months.

We are just beginning to see a glimmer of the finish line peeking over the horizon!