1946 Chris Craft Brightside U22 Varnish Stain Removal Update

1946 chris craft u22 mahogany planking stain removal

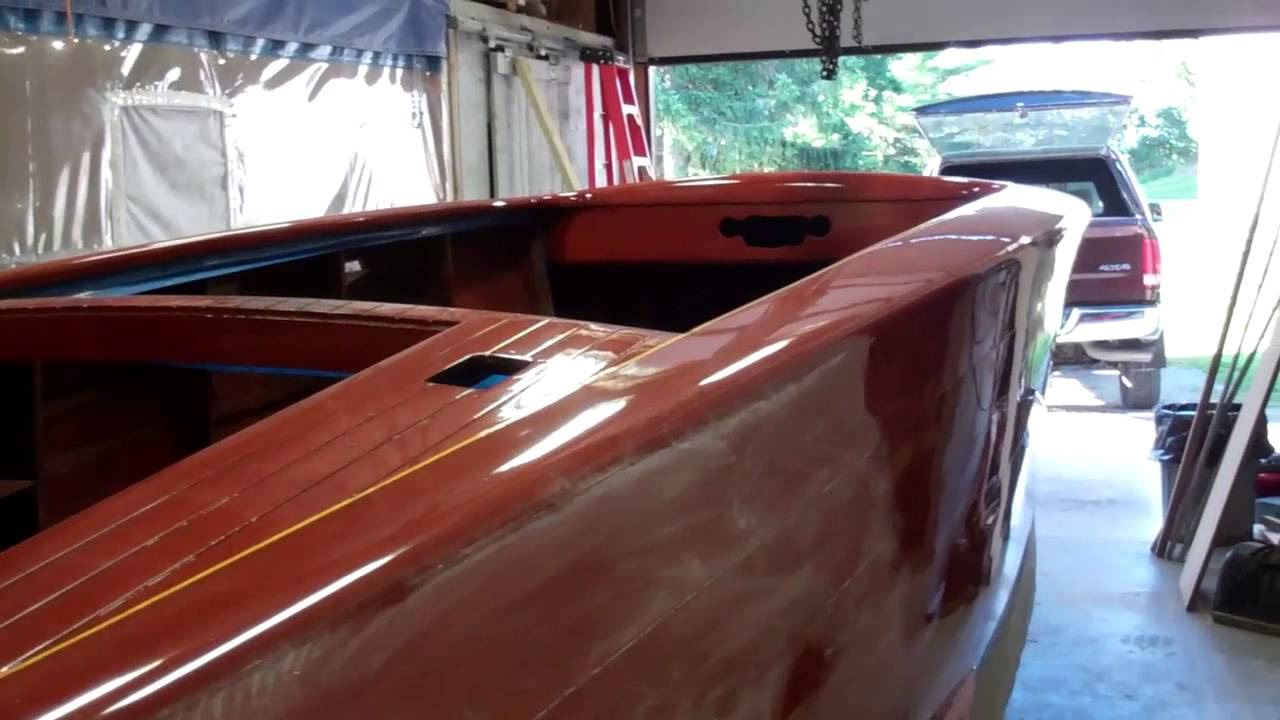
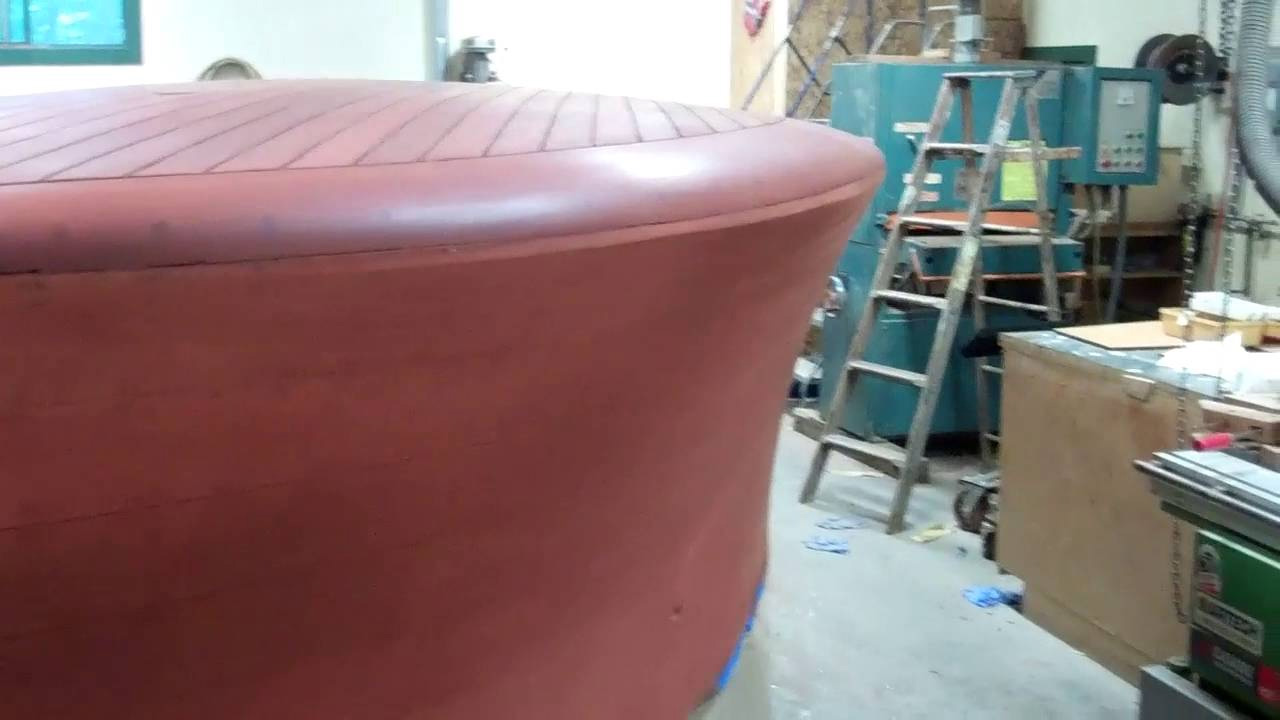
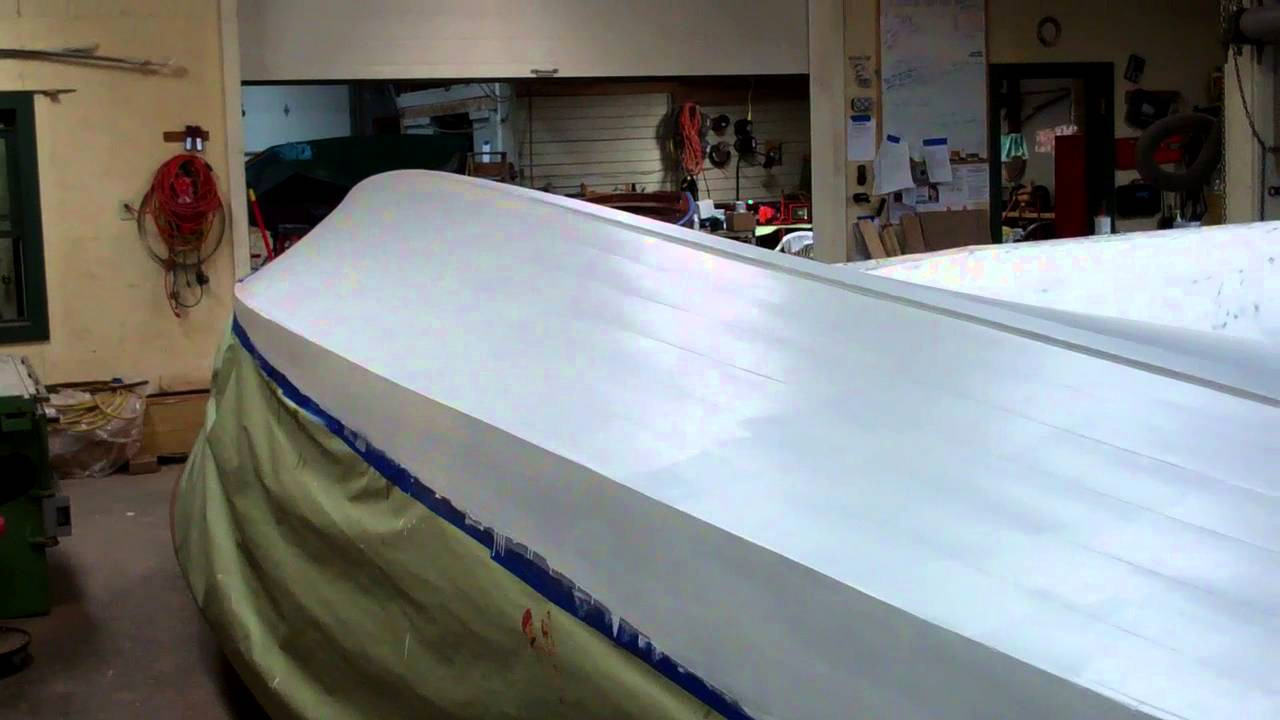
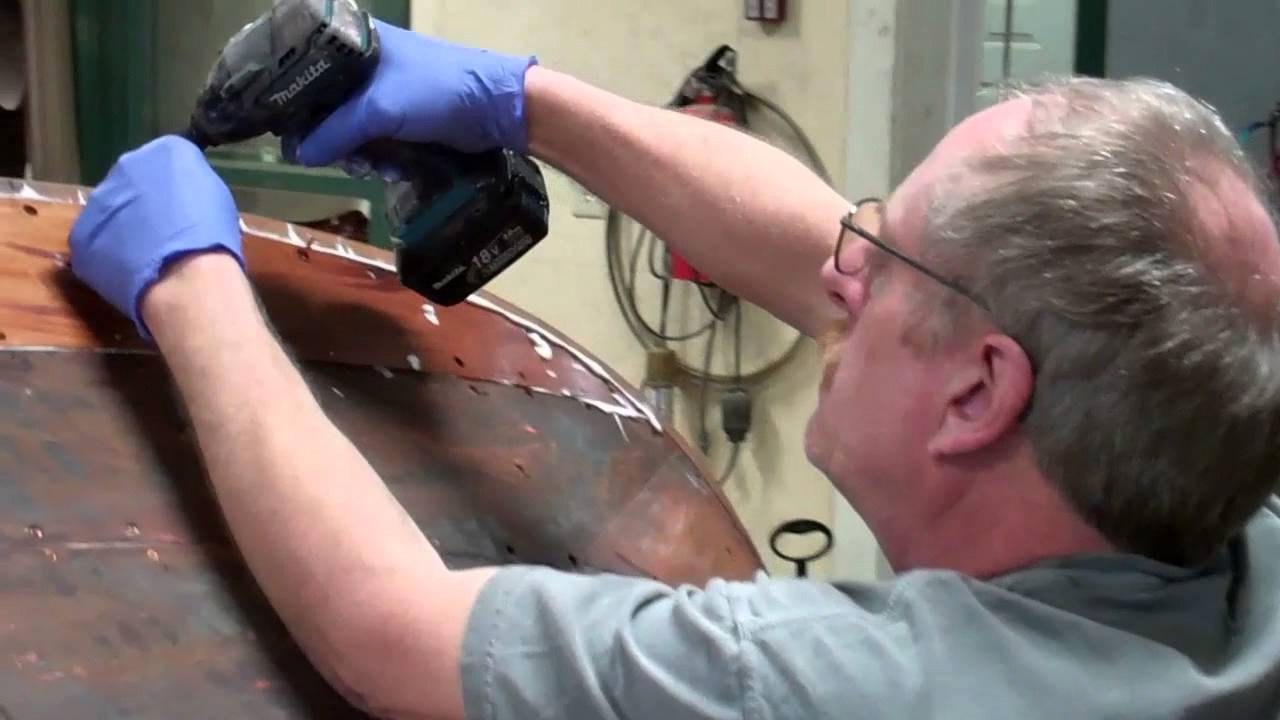
The 1046 bright U22 is finally looking, well, a bit bright. Her port topsides are now bereft of varnish and stain. I have taken a first pass at marking all of the dings and related physical graffiti with blue painter’s tape. (I erred on the clip by referencing what we are looking at as the starboard topsides.

Just when I have the sides sorted out while she is flipped, we will return her to right-side-up!)

Once John and RJ finish their inspections, it will be time for John to correct each and every ding, scratch and split, most of which he will accomplish with what I characterize as “feathery” Dutchman because they are. The smaller issues will be addressed using a mahogany-stained filler we make up with mahogany sanding dust and mahogany Sikaflex.

Serendipity visited us today. Just as I finished slathering Circa 1850 onto a section of planks, the cell rang and I was away from the work for several minutes. Upon returning to scrubbing, I noticed that allowing the stain to work, even if unintended, improved the scrubbing effect materially. If you watch the clip again, notice how much cleaner relative to the aft section the hull is amidships forward.

Lesson: Be patient. Give the stripper a few minutes to draw the stain out of the wood, and your efforts will return larger dividends in less time.

Why not wait longer? I did some informal testing as I continued. Since a very thin film of stripper is applied at this stage, I discovered that it began drying after three minutes or so, and that those dry areas resisted my efforts quite well. Two or three minutes seems to be the point at which diminishing returns to waiting set in.

We purchased several cases of 12 stainless steel sponge scrubbers from Amason.com Prime – today’s price is $13.45. Here is the link: https://www.amazon.com/gp/product/B00…

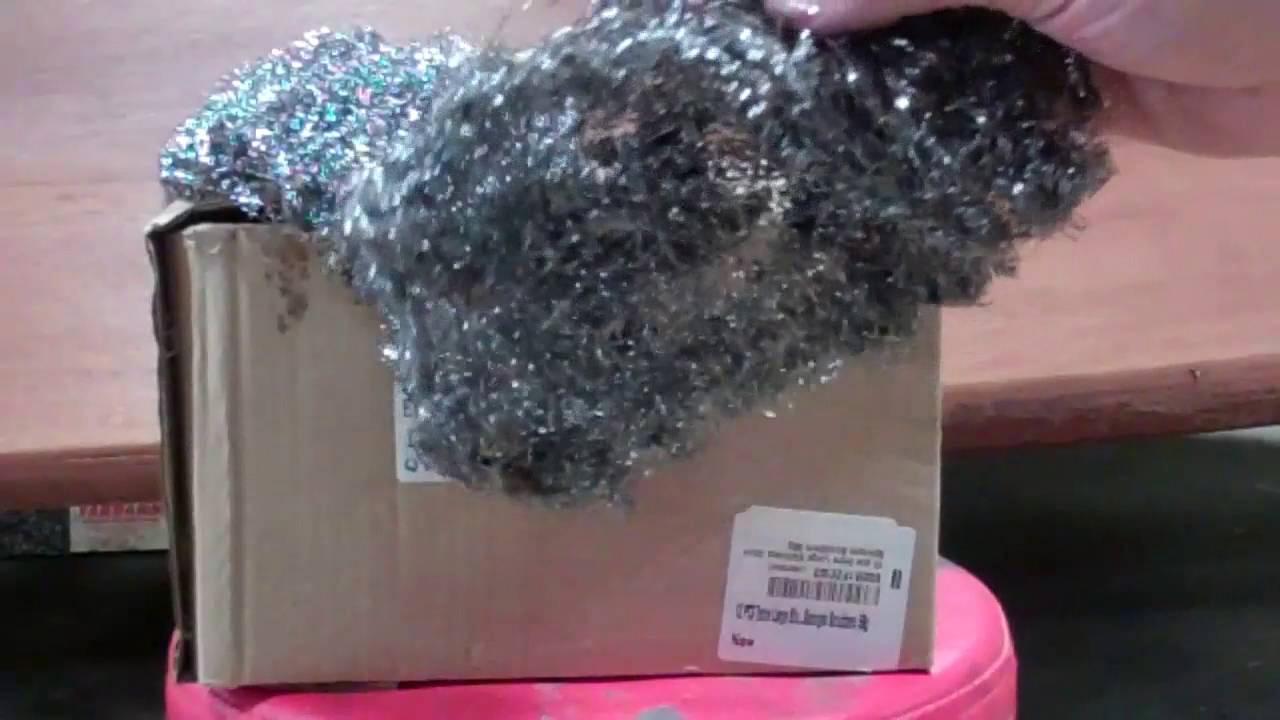
Next comes cleaning the starboard planks.

1953 Shepherd Model 110S Update

1953 shepherd model 110s update

Honest, the Shepherd has not been neglected. There is just so many time a video of her as the coats of Pettit Hi-Build varnish are applied.

However, with the 16th coat cured, we will sand her flat, apply three more coats, sand her again and then apply the 20th and final coat.

Finally she will have enough varnish on her that we can do a final sanding/buffing process, after which we can begin installing her components.

She WILL be in the water before snow flies! (I do not believe we had any snow until after the Holidays last year.)

1946 Chris Craft U22 – How To Release the Keel

1946 chris craft u22 how to release the keel

Fifteen bilge frames with one ¼” x 6” brass carriage bolt securing the keel to each frame, plus four buried ¼” x4” brass carriage bolts securing the overlap joint between the gripe to the stem!

Every one we removed is original. Nary a stainless bolt was to be found.

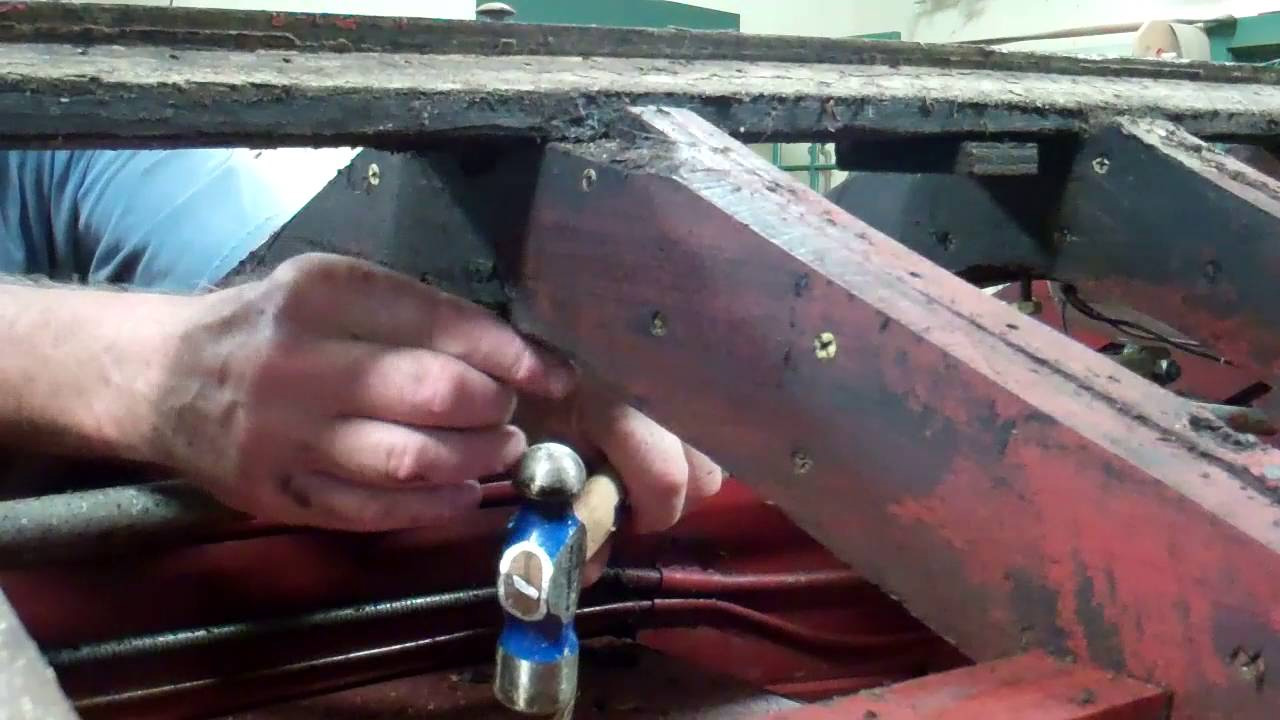
And you know just how easily those bolts “jumped” out of those ancient holes! Well, somehow the two I selected for this video did jump right out. There is nothing like a heavy ballpeen hammer and a drift to persuade the others to leave positions they have held since 1946.

Unlike the degraded stainless fasteners, which are from the early 1980s, all of the brass bolts appeared perfect. However, when placed in a vise and tapped slightly, they simply flopped over like wet noodles. Into the recycling bins they go.

But we have the keel out where we can clean it properly and begin working replacing the hogged final 12 inches or so.

However, in the process of separating the gripe from the keel, which forced us to take a hard look at the gripe, we concluded that it cannot be saved, as is waiting for you in the clip that follows this one.

1946 Chris Craft U22 – How to Release the Gripe

1946 chris craft u22 replacing gripe

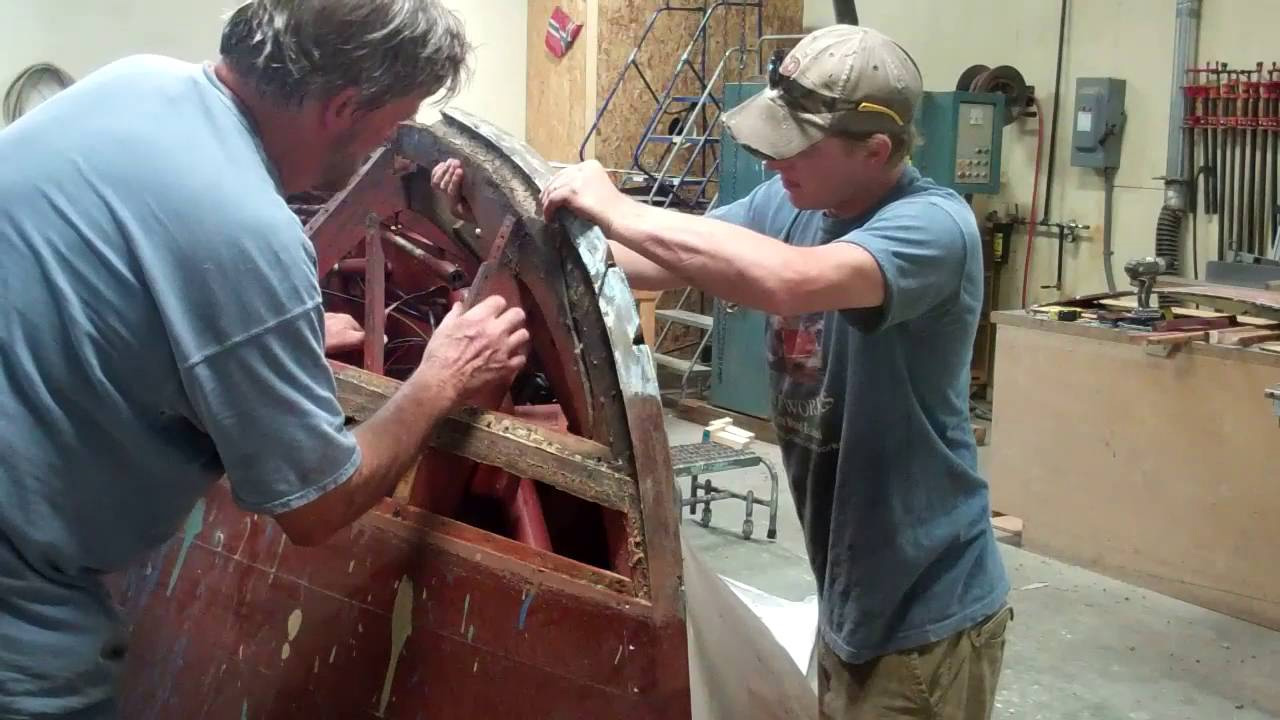
And now to the gripe. As we released the keel from the gripe, we could not help notice that the gripe appeared to be severely fractured on its starboard side. Additionally, evidence of dry rot jumped out at us, in addition to its severely rotted outer radius.

Here I just let the camera run so it could record the process involved, and what we discovered once the gripe was free.

(Yes, early in the clip I slipped again, by saying “knee” when I meant “gripe.” There is no knee in this model.

1946 Chris Craft Mahogany U22 Bottom Stripping

1946-chris craft brightside u22 bottom stripping

Now that the 1946 Chris-Craft mahogany U22 is flipped, we are launching into the True 5200 Bottom fabrication process.

Actually, deconstruction of the outer and inner bottom planking begins the process. Given all the evidence found in the bilge that she has endured major oil leaks from the engine and transmission, step one involves breaking out the Silent Remover infrared stripping tool.

We use it sparingly, largely because its bulk makes using on a vertical surface exhausting, but primarily because it delivers even more than the hype you will find on the Web site. Aggressive hardly describes is capability to virtually pull paint or varnish from the wood. That aggressiveness, combined with gauging when it is time to lift and scrape, also makes it a dangerous stripping methodology for plywood strakes and surfaces that will be finished bright. Leave it on a few seconds too long and that smoke you see is wood burning, which leaves a charcoal-like surface behind it.

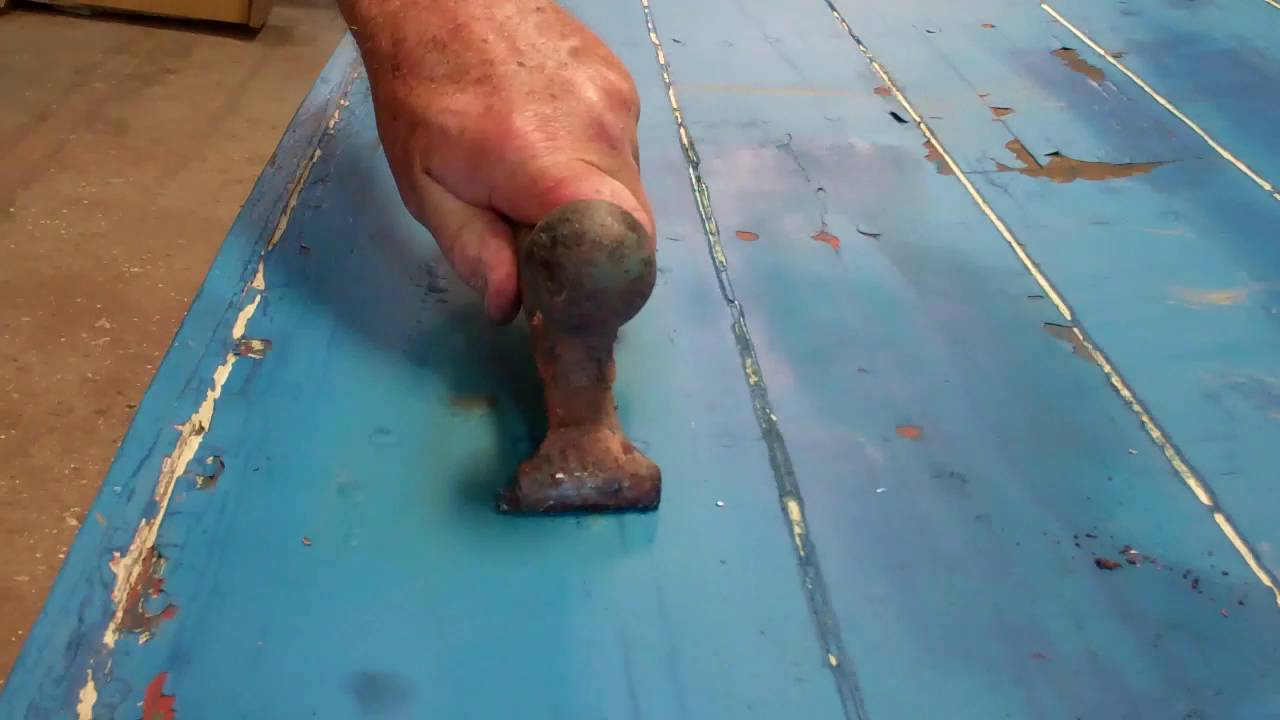
In this application, however, and especially when testing bottom planking for its paint adhesion retention, the Silent Remover’s aggressiveness is your friend. As you see in the clip, it literally sucks the oil out of the wood, leaving bubbling pools. The paint, and there were at least four layers here, just rolls off the surface, glistening with oil.

The other lesson of this clip is, “Take shortcuts at your peril.” Sure, fill the space left at a bottom planking butt joint with a thin sliver of mahogany rip. Why not? No one will see it behind all the paint. Hmmm…. except if and when the bottom is stripped the next time. Agreed. FAS grade, quarter-sawn mahogany is expensive, but that plank he/she cut too short could find a home elsewhere on the bottom. Why comprise the bottom’s integrity by taking shortcuts, especially almost directly beneath the engine.

We are preservationists who try to save every bit of old wood we can, but the integrity of oil-sodden wood is compromised, and it will not hold paint. We will be replacing virtually all of the planks, including the garboards from a bit ahead of the engine to the transom.

1953 Shepherd Model 110 S Time for Sikaflex and Varnish

1953-Shepherd Model 110S Sikaflex Varnish

With the entire hull sealed with three coats of clear penetrating epoxy sealer (CPES), one more milestone is fading in her wake.

No matter how many times we go through this bleach, stain, seal process, I still find myself unimpressed by the lusterless presentation that staining the hull delivers. But what will be a full-bodied, robust presentation, with a hint of luster that grows with each application and curing of CPES always produces smiles and exclamations, “Wow!”

The 1953 Shepherd is no different, as I suspect you will agree by comparing last week’s post-staining milestone video with this one.

Next we begin filling the deck seams. At least in 1953, Shepherd Model 110-S runabouts had a yellow filled circumferential seam that runs along the covering boards and across the engine bay bridge. The deck seams, by contrast, were open, with waterproofing achieved by filling the very bottom of each seam with a mahogany caulk. We will use mahogany Sikaflex for this purpose.

Here is a case of cure times dictating the pace of the project. We cannot wait to begin varnishing, but doing so before the Sikaflex has cured means going on a fool’s errand. We will wait a solid three days, and maybe four.

So it is seam-filling on Monday, which means we might roll and tip the first coat of varnish on Friday of the coming week.

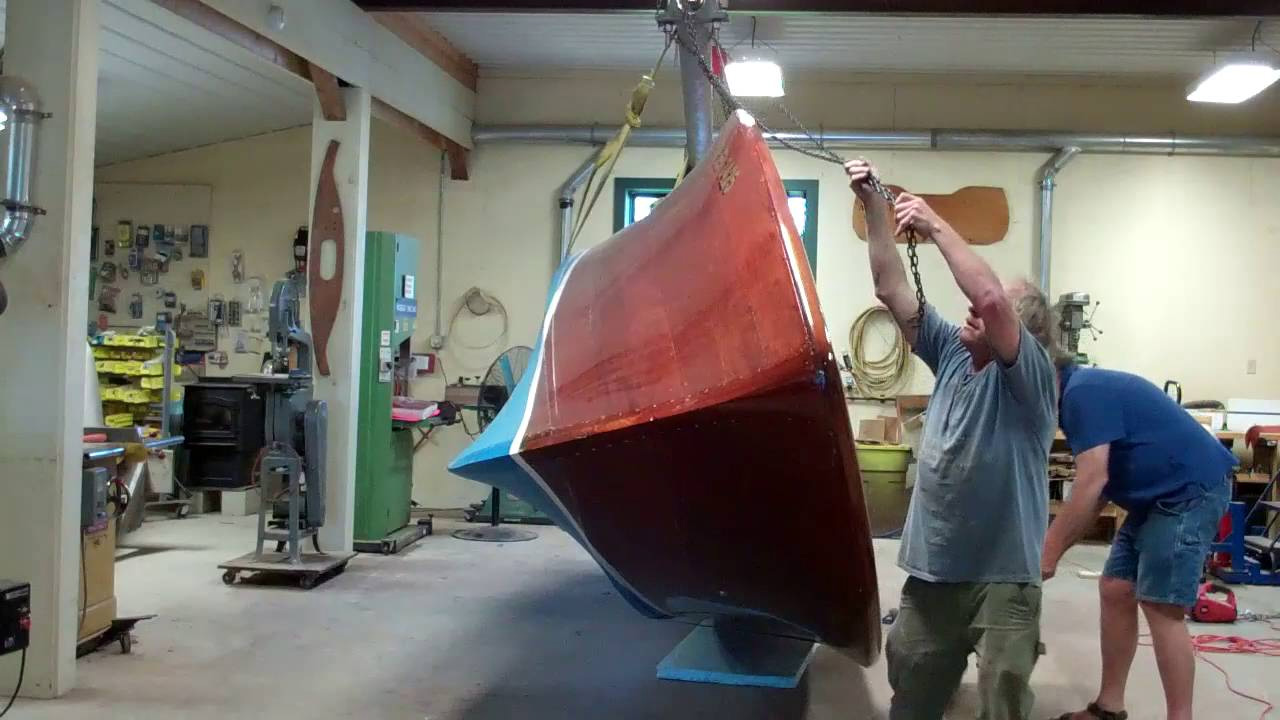
How to Flip a 1946 Chris Craft Mahogany U22

how to flip 1946 chris craft u22

If you remember the challenges we faced flipping my 22’ Shepherd runabout, you will understand why a bit of tension was in the air as we approached flipping the 1946 Chris-Craft mahogany U22.

But this time we used our good friend Phil Jones’ “line and winch approach. The line is secured to one of the bilge stringers – port in this case, from which point it is passed over the port gunwale, wrapped around the hull, across the cockpit and past the port gunwale.

The bitter end is then attached to a small hand-held winch, which we secured to the base of our 27” drum sander.
Rolling her 90 degrees is accomplished by hand with relatively little effort. It is getting the starboard gunwale beyond 12 O’clock that is the challenge. The winch and line take over at this point and slowly roll the hull past vertical, while maintaining total control.

As you can watch in the clip, she slowly, almost deliberately rolls clockwise and settles 180 degrees from upright. Roll the dollies beneath her, lower onto them,, release the straps and she is ready for what comes next.
You will notice that we inadvertently placed the aft strap, well, a bit too far aft, so that it jumps off the roller just as we complete the flip. Note to self: position the straps at least a foot in from the ends in the future!
We use tall dollies when flipping large boats, which decreases the distance we must recover in lowering them. (The boat has a tendency to roll when strapped to the roller.)

However, working on the bottom with the keel 7 feet off the floor is very difficult. Tomorrow morning we will use four chain falls and the two straps to raise her slightly and then settle her on super short dollies.
Next …. Michael “gets” to strip all that blue paint off the bottom planks prior to releasing and attempting to save them.

1953 Shepherd Model 110 S Staining the Hull is in Her Wake

1953 shepherd sportsman 110s sportsman hull staining

Bleaching is in our wake. Now the real fun begins. Bleaching is easy. Apply it over and over, keeping the surface wet. Let it dry. Lightly sand it with 320 grit. Call it good.

Staining? Get ready for exhausted shoulders, arms and especially hands and fingers! We used Interlux Interstain Wood Filler Stain, 2 parts of Chris Craft Red Mahogany (0573) to 1 part of Brown Mahogany (042), thinned to the consistency of thick house paint using Interlux Brushing Liquid 333

The 22-foot Shepherd’s seemingly endless expanses of mahogany presents two challenges when staining. The thinner tends to gas off, causing the working stain to become ever more viscous. We found ourselves thinning the “soup” anew multiple times as we applied stain.

The real challenge, however, is controlling the degree to which the stain is flashing in front of us as we worked, always cross-grain, rubbing the stain into the valleys while removing it. (We use cheese cloth here.) Getting anxious and scrubbing away too soon produces a very weak, almost totally transparent outcome.

Waiting too long and the stain flashes to being nearly dry to the touch, which renders that stain virtually impossible to scrub into the grain and off the surface.

Even though we had masked off all but three boards along ta seam on the topsides, we found ourselves racing against flashing …. and losing. (It was uncomfortably hot in the shop and we had a fan running, which only compounded the rate at which we were losing the race against excessive flashing,

No amount of swearing, scrubbing or sweating made any difference. What to do? In desperation I wet a new shop towel with 333 and went at if. Voila! The stain liquefied just enough so I could scrub it into and off the surface. (My shop towel was wetted to the point of being damp, not dripping with the 333. While I have not experimented doing so yet, my gut tells me that applying too much 333 risks washing the stain away prematurely and excessively.)

In any case, after a long, long day that ran well into the evening, she is stained.

What a great way to celebrate my birthday!

1953 Shepherd Model 110 S Sportsman True 5200 Bottom Update

1953 shepherd sportsman 110s 5200 true bottom update

The July 9 ACBS show in Gravenhurst, Ontario is racing at us. We are committed to bring Orca, my 1953 22’ Shepherd Model 110-S Sportsman. As this video portends, many a late night are in our future!

But her 331 cubic inch, dual-quad-four, V-drive Hemi is on track. Robert Henkel, Robert Henkel Inc. (chris-craft-parts.com) has engaged a comprehensive tear-down and re-build that will include porting, polishing and balancing among a long list of particulars. The purple monster is on schedule and will be back and install-ready by the first week of May.

And the hull? Well Mickey Dupuis, Custom Restoration, Holyoke, MA, has finished working his magic on the hardware.

Shauna, Kocian Instruments, Forest Lake, MN (kocianinstruments.com), reports that the instrument cluster’s preservation will also be back by early May.

Her original wheel needed a complete preservation. Once again the pros at PearlCraft, Rowville, Victoria, AU (pearlcraft.au) transformed a totally shabby wheel into jewelry.

The Marmoleum is in hand, and the upholstery is in process.

ALL that is left is finishing the hull… all..

By the end of the week we will have applied all five coats of Interlux Interprotect 2000E two-part epoxy barrier coat will have been applied. Installing the True 5200 bottom will be complete. Three coats of hard racing bronze bottom paint will follow.

Then off comes the paper and out come the longboard sanders for the final topside and transom planking, followed by staining and sealing.

After flipping her over, I “get” to strip the decks and covering boards…

Seems so straightforward… guess we will just let her romp on Lake Champlain in June… yes?

1953 Shepherd Sportsman: How much 3M 5200 is enough when doing a True 5200 bottom?

1953 shepherd sportsman how much 3M True 5200 bottom

One more milestone is disappearing in the rear view mirror. My ’53 22’ Shepherd’s port-side bottom is fully planked. Beginning this afternoon, I will be filling its countersinks with 3M Premium Marine filler.

Removing the hog in the keel, combined with natural shrinking of the planks translated into the original keel planks being slightly – about 5/8” – too narrow on both port and starboard, so the original planks could not be saved. Two new planks were fabricated for the port side once the first five courses had been installed. (The starboard side will require new keel planks as well.)

Here you watch RJ apply two full tubes of 3M 5200 on 40% of the final plank. He ended up using five, with another one used to seal the seam between these two planks and the keel. The beads will be spread into what looks all the world like frosting using a putty knife.

Notice just how much 5200 squeezes out along the edges and through the pre-drilled screw holes.

Not seeing ample squeeze out tells you that yours is a shortcut, not a true 5200 bottom. By my count we exhausted 48 tubes, with the 49th tube ending up about half empty.

Cleaning, especially the countersink holes, is the critical final step here. Remove enough 5200 from the seams so that the surface is concave and not proud of the planks. Otherwise you will play hell trying to sand the bottom prior to applying five coats of Interlux InterProtect 2000E Epoxy Primer. The starboard planks are next… Please stand by.