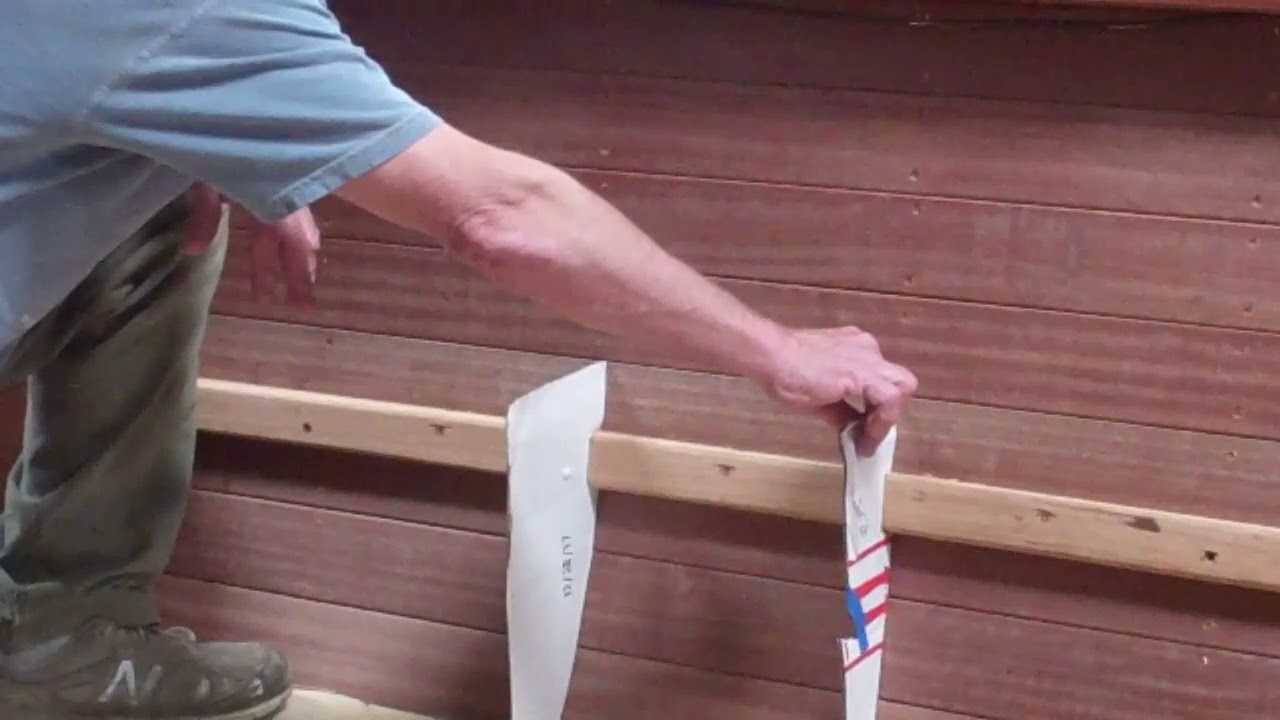
1940 Lyman 16′ Yacht Tender Staining Update

1940 lyman yacht tender staining

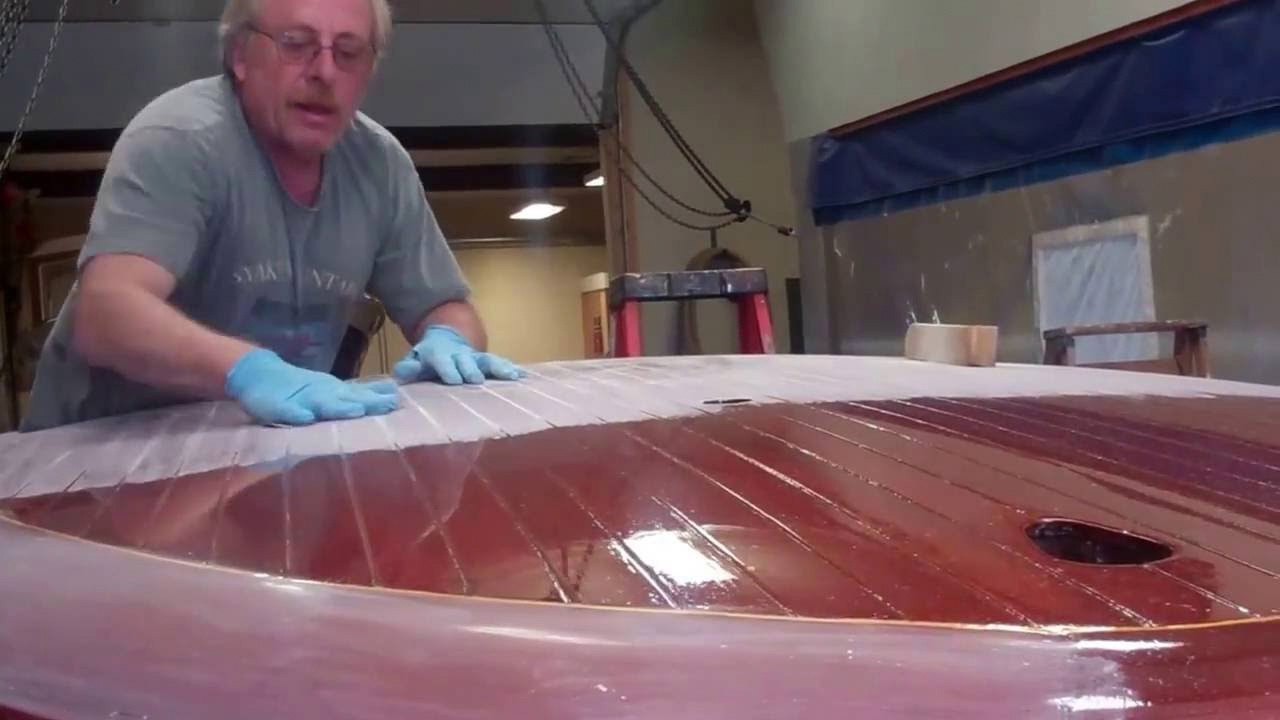
With nineteen coats of Pettit Easypoxy Hi-Build varnish applied to her topsides, transom; and engine box, seating and windshield components; it is time to turn our focus to the decks, coamings and rub rails of our 1940 16’ Lyman Custom Yacht Tender with aft-facing aft cockpit.

Lyman offered this basic hull configuration as a yacht tender like mine, but also as a runabout. Whether the aft cockpit faced forward or aft was the buyer’s choice. He or she could also order a windshield that folded down or one that was fixed. Mine is fixed.

My research also suggest that the fore and aft deck seams were sealed with a mahogany caulking material that only filled the seam channels about two-thirds, with the rest left open so she presents herself with strong lines, lines that help offset the reality that she is quite beamy for her length. (We wull use Sikaflex 291 LOT in mahogany.)

Today we are applying Sandusky Chris-Craft red mahogany filler stain? Why not the somewhat browner Lyman mahogany stain? Again what few period photos I can find and the several of these vessels built between 1938 and 1940 tended to have a somewhat red cast, which in this case will complement the blonde Cypress topsides rather nicely.

Additionally, in our experience, the red morphs toward red-brown as we apply the three coats of CPES and the Pettit Hi-Build that will follow.

CPES is next, and will be applied on Monday, the first two coats with the second following the first immediately per Danenberg, with a third coat applied Tuesday morning.

Filling the seams will be next, followed by the initial coats of varnish, a process that will continue until we reach twenty-two or so coats.

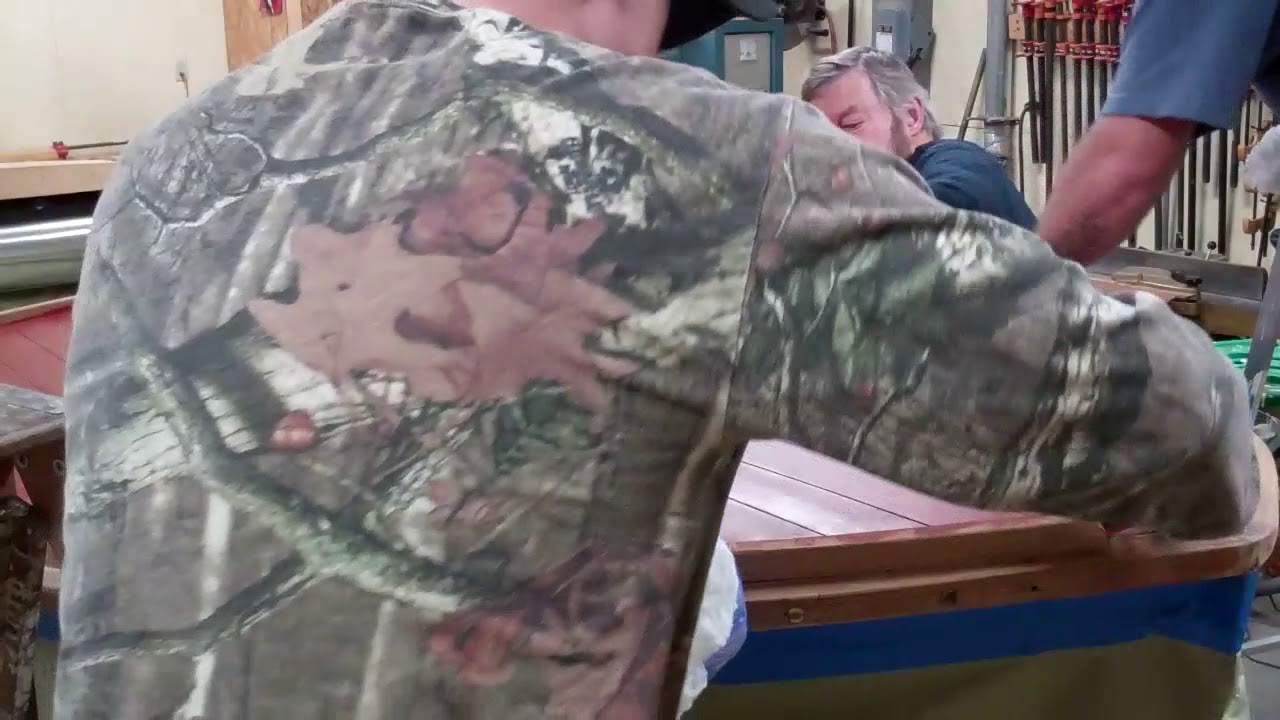
1957 Lyman Runabout Decking Time

1957 lyman runabout decking

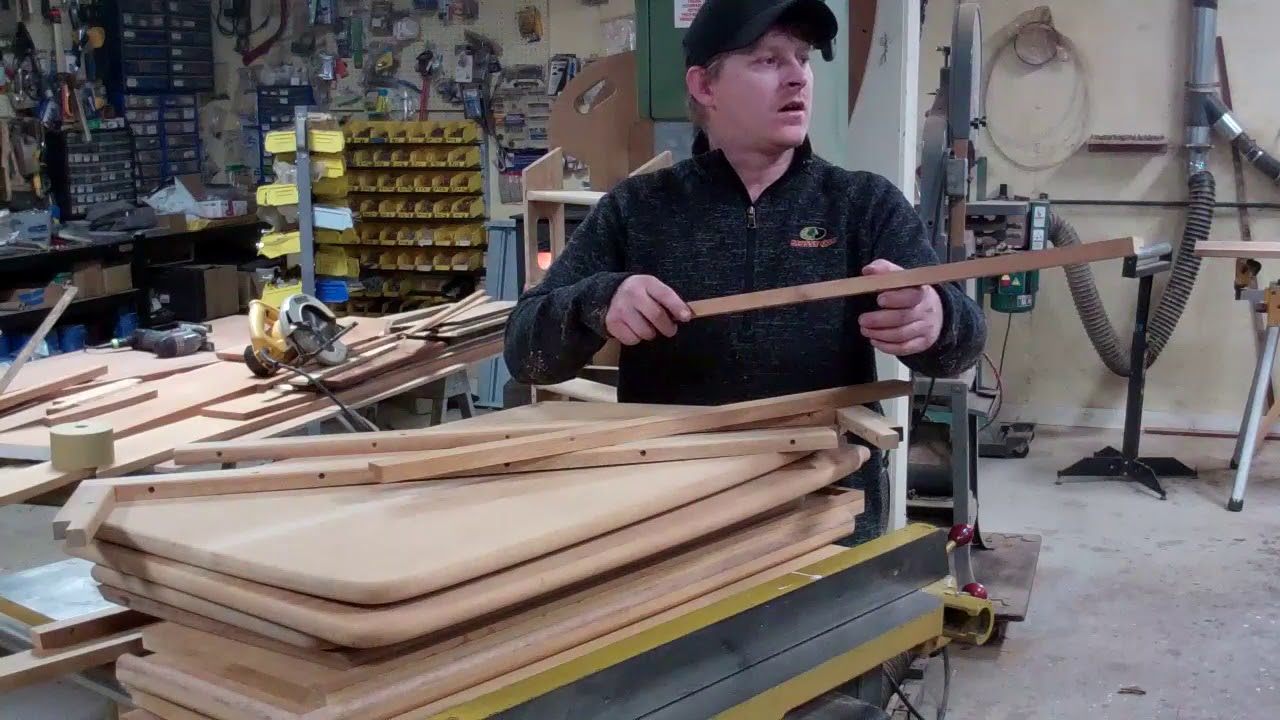
We’ve just begun, but even laying the ribbon-cut mahogany foredeck panels in place foreshadows just how elegant this old style, narrow strake 23’ 1957 Lyman Runabout will be at the end of her conservation.

RJ jokingly predicts that we will have the fore and aft deck panels anchored down by tomorrow afternoon. What he means is temporarily anchored while we complete the final fitting and sanding in around the perimeters of both decks.

We have stabilized the foredeck’s crown with temporary bracing placed vertically in the V-berth. Once both panels are fastened down along all three sides, the curvature of each panel is secure. Bowing them over the framing also shrinks their width. Once there are secured on both sides, there is no way to force either one flat since the edges cannot spread out. Yes, there will be a very slight bit of settling, maybe an eighth of an inch, which is why the crown is currently exaggerated to that same degree.

The perimeters of the foredeck panels will be bedded in 3M 5200 that we spread on the framing and then secured with #6 Frearson head silicon bronze wood screws along both edges and ring shank nails across the dash. We will not sink any fasteners through the body of either panel, which frees us from filing the surface with puttied fastener countersinks.

Doing so is superfluous as bowing the panels over the framing creates ample down pressure, which forces the panels and frames together. (RJ wins the prize: climbing into the V-berth and cleaning all of the 5200 squeeze-out around the frame members.)

I am getting ahead of my skis, however. Once all four panels have been fitted and secured temporally, they will be released. The edges and undersides will be sealed with three coats of Clear Penetrating Epoxy Sealer (CPES), and their undersides will receive multiple coats of Sandusky Paint Company Lyman Sand Tan bilge paint.

The toe rails will follow. After being sanding in to perfect inside and outside contours and their bottom sides are sealed with CPES, they will be installed with ring shank nails.

The aft deck panels and aft end of the king plank will be treated similarly.

Sealing and installing the covering boards, also bedded in 3M5200 will follow.

Once she is fully decked, all of her horizontal surfaces will be bleached, stained and sealed.

Varnishing is next … can’t wait!

1957 Lyman Runabout Endless Staining Begins

1957 lyman runabout staining

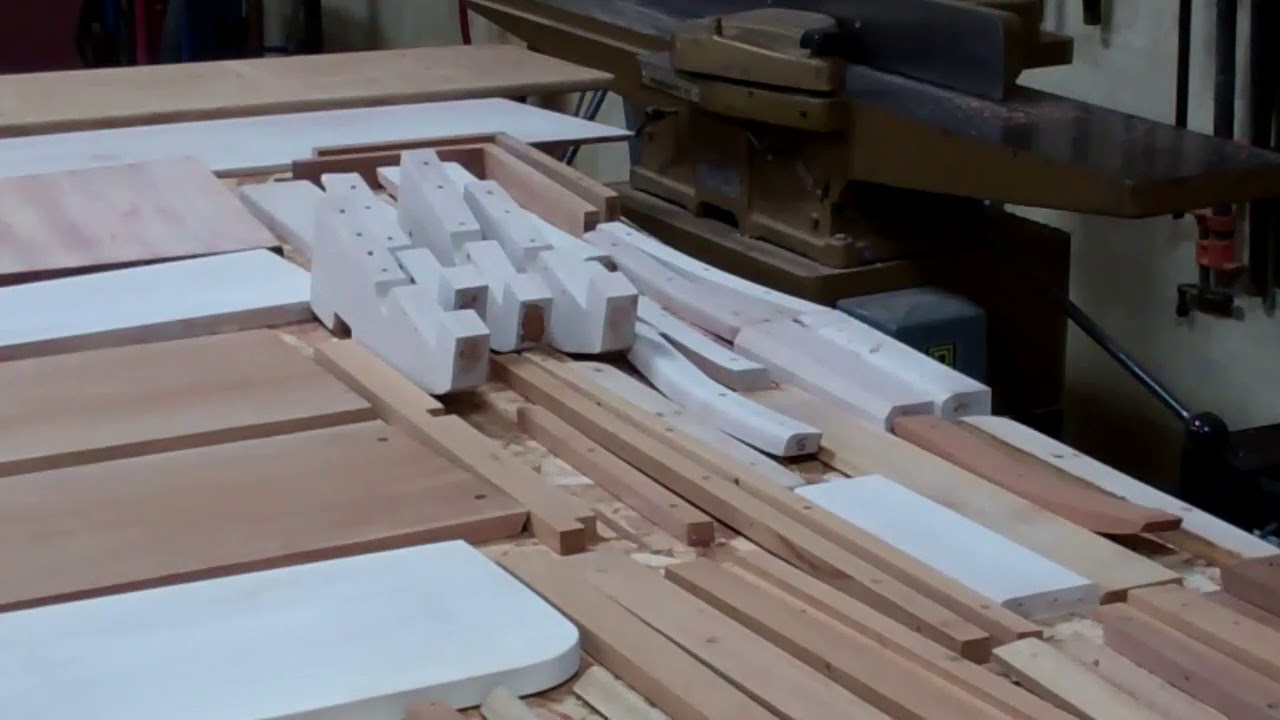
We’ve just blasted through a major milestone in our 1957 23’ Lyman Runabout preservation! ALL parts destined for her cockpit have been stripped, fabricated where needed, test-installed, sanded and bleached.

If you watch one of her recent videos again, you might conclude, as others have, that there were very few parts involved.

And I’ve received multiple emails suggesting we were just exaggerating what was involved in creating and fabricating a pair of jump seats and entirely reconceived helm station seating and lockers.

Well, all I can tell you is that RJ, Joe and I were shocked this morning after we had laid all these parts out in preparation for launching into staining them on Monday. Who would have thought!? Staining is next and, as is detailed in the clip, we will use Wood Kote Jel’d stain for this task. (Available from Super F Paint and elsewhere).

From Wood Kote:

Basic Use
Jel’d Stain is formulated for interior wood surfaces such as casework, doors, trim, paneling and cabinets. It matches the corresponding colors of Jel’d Stain 550 & 250 and Liquid Stain 550 & 250. Jel’d Stain may be applied to bare or bleached wood. It is compatible with a variety of other Wood Kote products. Please refer to the Wood Kote Schedule of Product Compatibility and Recommended Dry Times. Jel’d Stain DOES NOT comply with the US Environmental Protection Agency (EPA) Volatile Organic Compound (VOC) emission requirements for Architectural and Industrial Maintenance coatings (effective 13Sep99).

Advantages

  • Matches Jel’d Stain 550 & 250 and Liquid Stain 550 & 250
  • Easy to apply
  • Fast-drying
  • 2-3 times more coverage than liquid stains
  • No stirring required

Coverage
One application of Jel’d Stain will cover approximately 1250-1500 sq. ft./gal (30,6-36,8 m2/L).

Composition & Properties
Jel’d Stain is a fast-drying semitransparent pigment wood stain. It is intended for application without thinning. If thinning is desired, PolySolvent (mineral spirits) should be used or, if regulations require a VOC-exempt thinner, use AceThin (acetone).

Depending upon the boat you own or are preserving, contacting Mike Mayer, Lake Oswego Boat Company ([email protected]) will likely satisfy all of your staining needs. Working with Wood Kote, Mike offers roster of Jel’d stains that match original stains for Pre- and Post-WWII Chris-Crafts, Gar Wood, and many more.

If you are after superior quality and consistent stain, and preserving your vessel as correctly as is possible, Mike is your go-to source. Yes, you can mix stain colors yourself and maybe even save a dollar or ten, but you will also suffer the consequences.

How To Remove Bottom Fasteners in a True 5200 Bottom – 1938 19′ Chris Craft Custom Runabout

1938 chris craft runabout bottom fasteners

That Flyin’ By’s bottom was original to the boat is absolutely certain. How do we know for sure? After stripping her bottom’s port face bare, and finding nothing but an original inner layer of 3/16” mahogany laid on the bias, we inspected each frame searching for any evidence of extra screw holes or holes that had been filled during a bottom replacement. No such evidence exists.

Additionally, save for the aft garboard planks, the screw pattern, their sizes and lengths are precisely consistent throughout both bottom faces. The substitution of bronze Reed and Prince fasteners for the original brass slot-headed fasteners tells us that both aft garboards were removed and then reattached at some point.

Nowhere is there any evidence that the inner layer has deteriorated or been replaced. What remains of the original canvas interlayer is somewhere between some and none. Additionally, the original brass screws have been replaced along the keel edge of both forward garboards.

The aft garboards – the #1 planks – and the next ones outboard – the #2 aft planks – lie immediately beneath the engine and transmission, and are sufficiently oil-soaked that their ability to hold 5200 and paint is at best suspect. They must be replaced.

The balance of the original bottom planking is as hard and as sound as the day it left Algonac, MI in 1938. Releasing the screws fastening the bottom is a four-part sequence

  • Using a 3/8” Rotabroach cutter and electric drill set at high speed, drill each countersink until you hear the telltale sound of the steel cutter grinding the head of the brass or bronze (or stainless) screw. Take care here. The Rotabroach is designed for grinding off excess spot weld. The cutters are super hard and super sharp. Applying too much down force or grinding for too long risks rounding off the screw’s head and erasing its driving slots.
  • Reach for a sharpened awl and clean each countersink, paying particular attention to the screw’s slot or R&P driver. Grind through these and you will “enjoy” extracting the screw using one of the damaged screw extractors available today.
  • Blast all residue out of the countersink with an air chuck and compressor delivering at least 110 PSI. (That’s why wearing safety glasses are absolutely required. The particles erupt from the countersink with surprising force.)
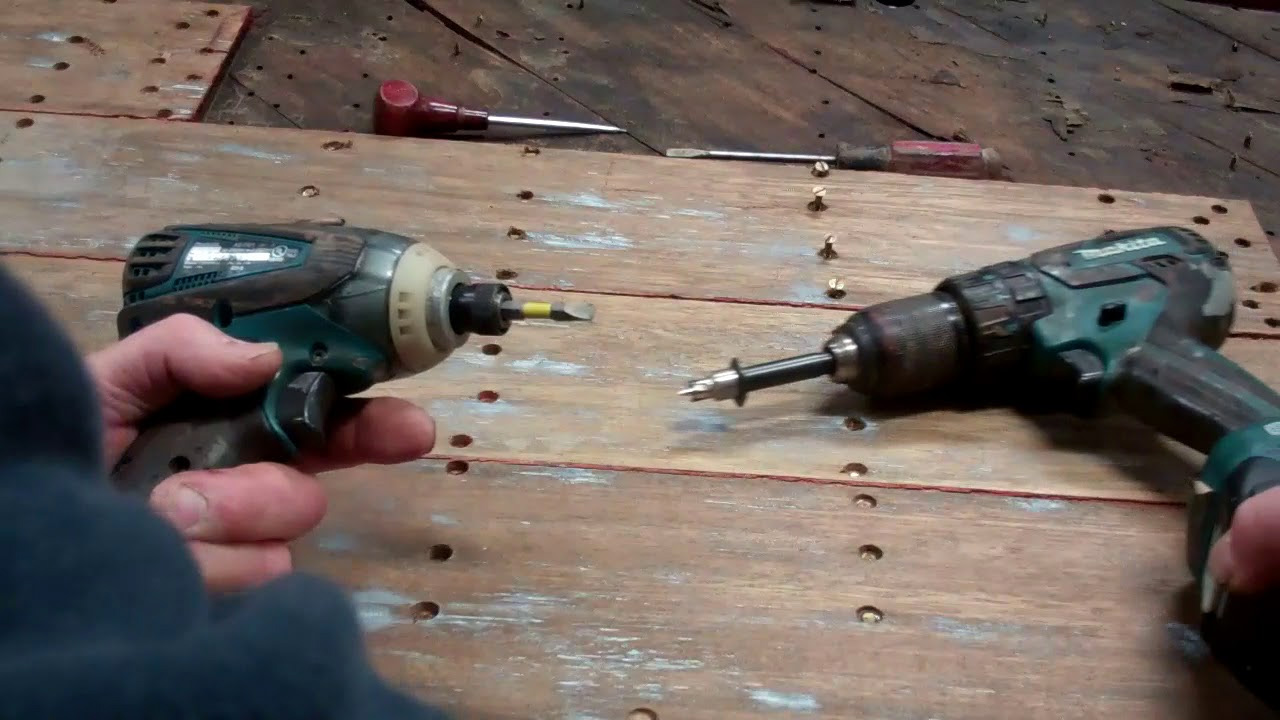
  • Using either a slot or R&P driver inserted in a variable-speed impact gun, carefully and slowly tease the screw as it begins backing out of the wood. Trigger control is critical lest you want to destroy the screw’s head and be reaching for the damaged screw extractor.

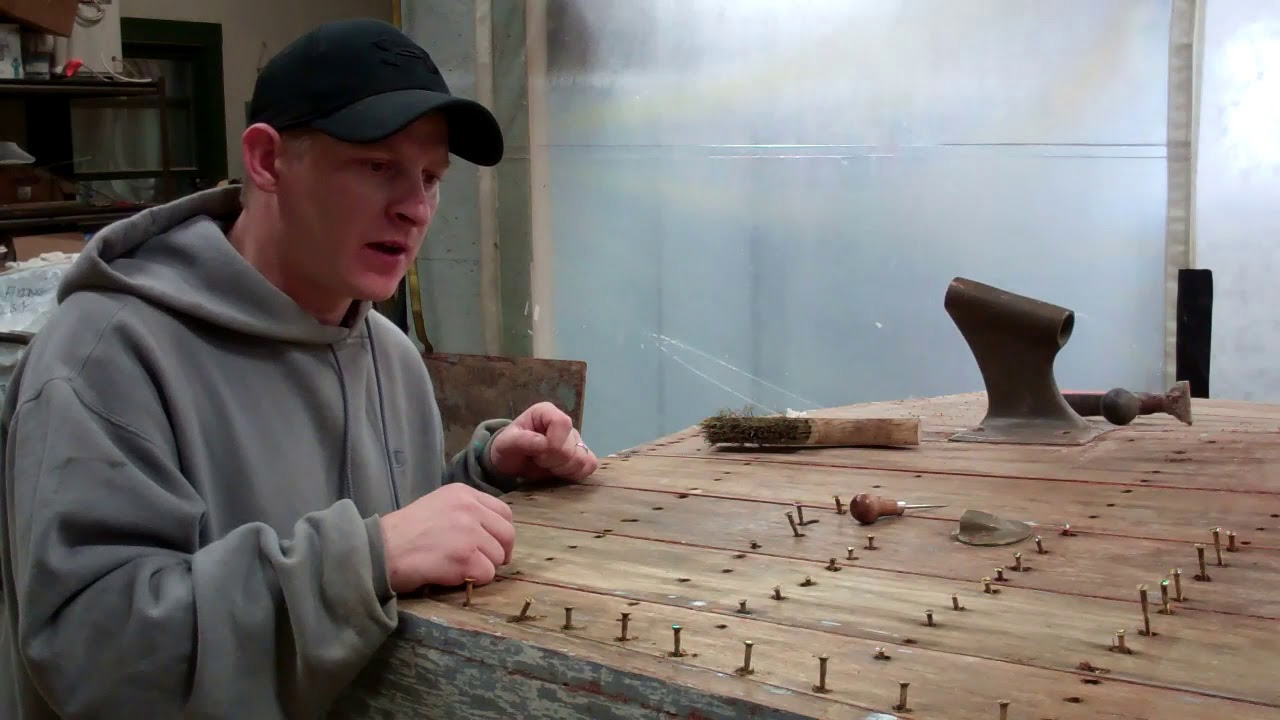
Voila’! One screw is released. You have only hundreds and hundreds and hundreds to go!

Every screw I’ve released to this point was dropped into a plastic paint pail that now weighs over 20 pounds!

Only a hundred or so to go…

How to Open Countersinks and Remove Fasteners from the bottom of a 1938 19’ Chris-Craft Custom Runabout

1938 chris craft runabout countersinks fasteners

We clean fastener countersinks using a Blair Equipment 11090N Rotabroach Cutter Kit, which is available from Amazon.com (https://www.amazon.com/Blair-Equipmen…)

Yes, even if a plank will be reused and is filled with either a wood or putty, we remove its wood bungs, but in this application always choose a cutter that is smaller than the diameter of the bungs being removed. The cutter bores through the bung without touching the countersink’s edges and is then cleaned using one of the awls we have on hand.

We are much less careful when releasing failed planking, and often use a cutter one size larger than the diameter of the countersink. The goal here is removing the plank without breaking it so it remains available to patterning.

The air chuck is key here, as RJ demonstrates in the clip. With our compressor set at 110 PSI, the chuck delivers a concentrated blast of air that (almost always) leaves the countersink bereft of waste material.

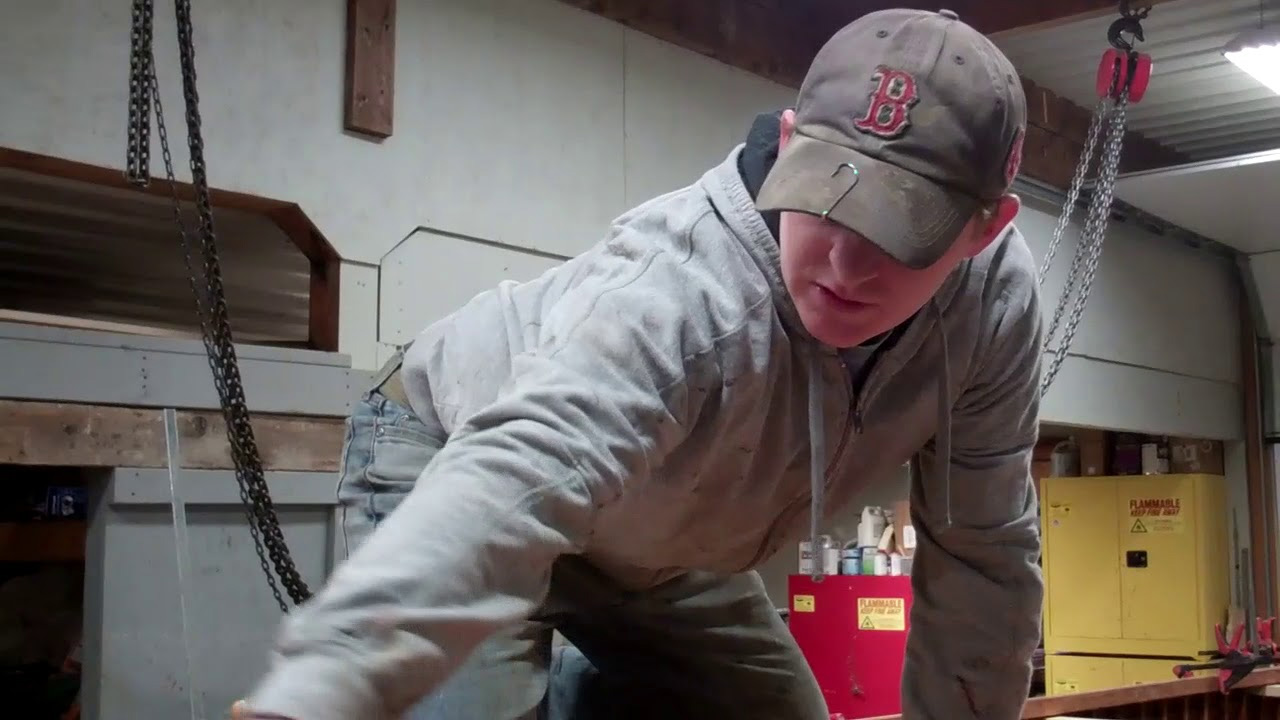
Finally, if you have a super steady hand, as RJ does, you too can back the screws out with an impact gun, not a hand screwdriver.

When stripping a bottom, be sure to remember RJ’s admonishment. Climb beneath the hull, or down into if she’s not flipped yet, and number the intermediate frames, sometimes referred to as battens.

While we will bed them in 3M5200 during final assembly, they are originally installed by driving screws from outside the hull, through the external planking and inner skin, and into the batten without any adhesive applied to the batten or inner skin.

Numbering these battens before they’ve dropped to the floor and skittered about will save endless time and frustration during reassembly.

1957 Lyman Runabout Helm Station Fabrication update

1957 lyman runabout helm station fabrication

When we lost him to a heart attack, John had just finished his initial pass at fabricating and installing the new starboard helm station seating and locker.

Save for the copious notes he kept, using the starboard components as templates, and all of the time he spent teaching his methods and skills to his step-son, RJ had precious little to go by. “I’m not nearly as good as John, but I am comfortable doing this.”

The last thing he needed was having me stand looking over his shoulder, so I just worked elsewhere and doing other things like winterizing engines – not my favorite task for sure!

He may not be John’s equal yet, but RJ combined his native talent with all he learned from John to fabricate port helm station seating and locker components that are indistinguishable from John’s on starboard.

Soon we will have a complete set, at which time the fun truly begins. Every bit of her interior must be released, sanded a final time, stained and sealed with three coats of Clear Penetration Epoxy Sealer and scuffed with Scotch Brite pads, before we can begin applying 16-20 coats of Pettit Easypoxy Hi-Build Varnish.

As her owner shared with me, “The grieving process is neither linear nor predictable.” At least RJ and I feel as though we can begin thinking of and remembering John and smile, not grimace!

1953 Shepherd Runabout: How to Apply Final Coat of Varnish

1953 shepherd runabout final varnish

Yes, she is Voodoo Child, and if all goes well this fall and winter, you can see her in Tavares, FL, at the Sunnyland ACBS show, March 24-26, next spring.

John and RJ are making one final pass hand sanding to a snow field using 400 grit paper. The goal is an absolutely dirt-free, super flat surface, in preparation for applying the 20th and final coat of varnish.

We had her name applied following the 16th coat, to which four more coats have been applied. I am well aware that this issue is similar to asking five economists’ forecast for the economy and receiving at least seven conflicting replies. However, my goal is to provide some UV protection to the vinyl, while also delivering an identically glossy presentation across the transom.

We will allow the varnish to cure until early next week, at which time we will install the dual quad four, 331 cubic inch, V-drive Chrysler Marine Hemi and its drive line. The gauge cluster and the steering, throttle and shifting systems will be installed as well. Add a couple of fender cleats and we should be good to go.

Go where? To splash in Lake Champlain, since, before I can make a final commitment to Sunnyland, I must know she’s ready to romp.

After she triumphs over her sea trial, Voodoo Child will sit for 30 days during which time the varnish will finish curing, or at least have cured sufficiently to support the polishing process that completes her preservation.

Finally, we will put her back together and banish her to storage until March, 2017, when we will tow her south, away from a still-frozen Lake Champlain and equally frozen Vermont.

…Just cannot wait ….

1957 Lyman Runabout Helm Seating Fabrication Update 2

1957 lyman runabout helm seating fabrication

John has continued living with his “furniture-to-be.” That he’s made great progress is evident from what you will see in the clip.

The helm and passenger seats, and their accompanying lockers will be identical to one another and also as close to being identical to Lyman’s “pass-through” seating configuration as he can get.

He’s matched the radii along the edges, carved an exact copy of the Lyman anchor in the door that are found in original pass-through seating arrangements. We’ve managed to source sufficient OEM Lyman hinges for all moving components, all of which were transformed into jewelry by Mickey Dupuis and his team at D & S Custom Metal Restoration in Holyoke, MA.

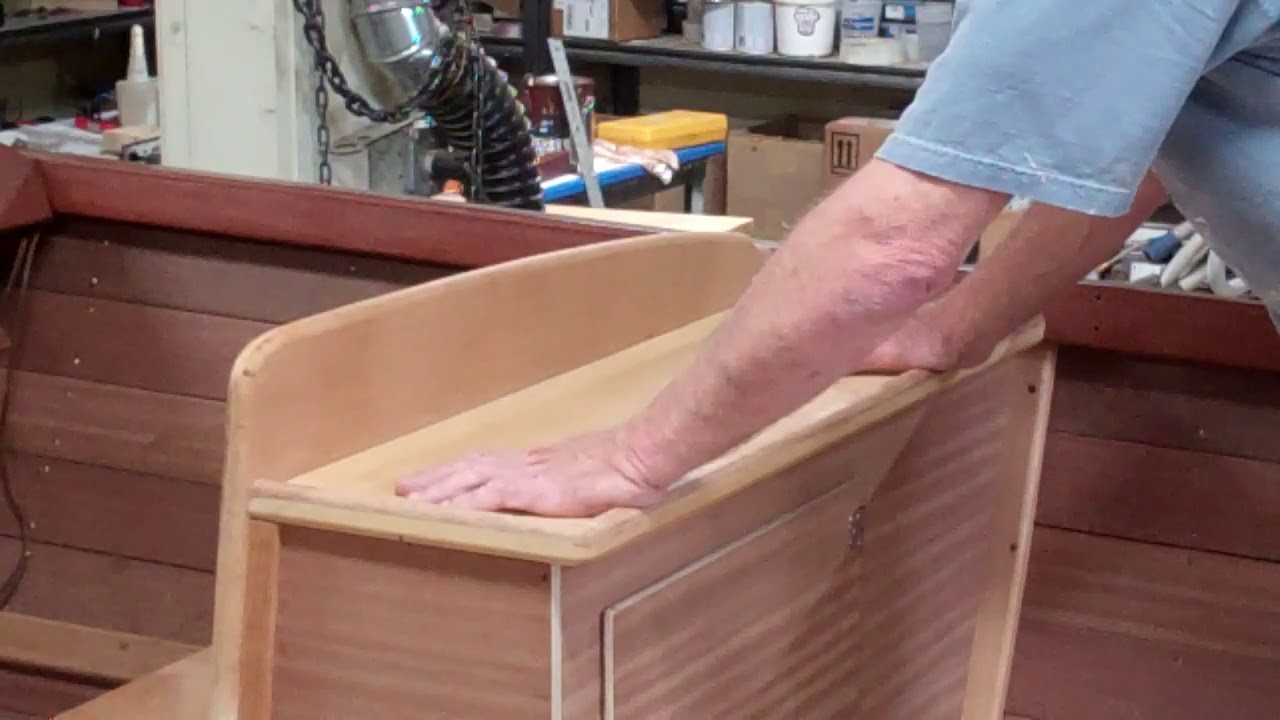
But then there are the additional “John” touches, two weep channels in each locker top, additional framing and cleats that are both invisible and add sturdiness to each unit.

Her owners requested that John supply a lip, sort of a toe rail, running along the two outer edges of the locker tops, but only if he could envision and then create profiles that melded with other cockpit components. John did it and the result is both functional and elegant.

And we are working with Pattern Grade genuine mahogany planks that were sawed out of logs that had been graded veneer quality, save for the sides and back, which are ribbon-cut mahogany.

The starboard set should be fabricated and ready for disassembly and finishing by late today or midday tomorrow.

The port unit is next, but John has the starboard unit as his guide, so his “only” challenge is to match what he created there, which he will.

1957 Lyman Runabout -Boarding Step & Jump Seat Fabrication

1957 lyman runabout boarding step jump seat fabrication

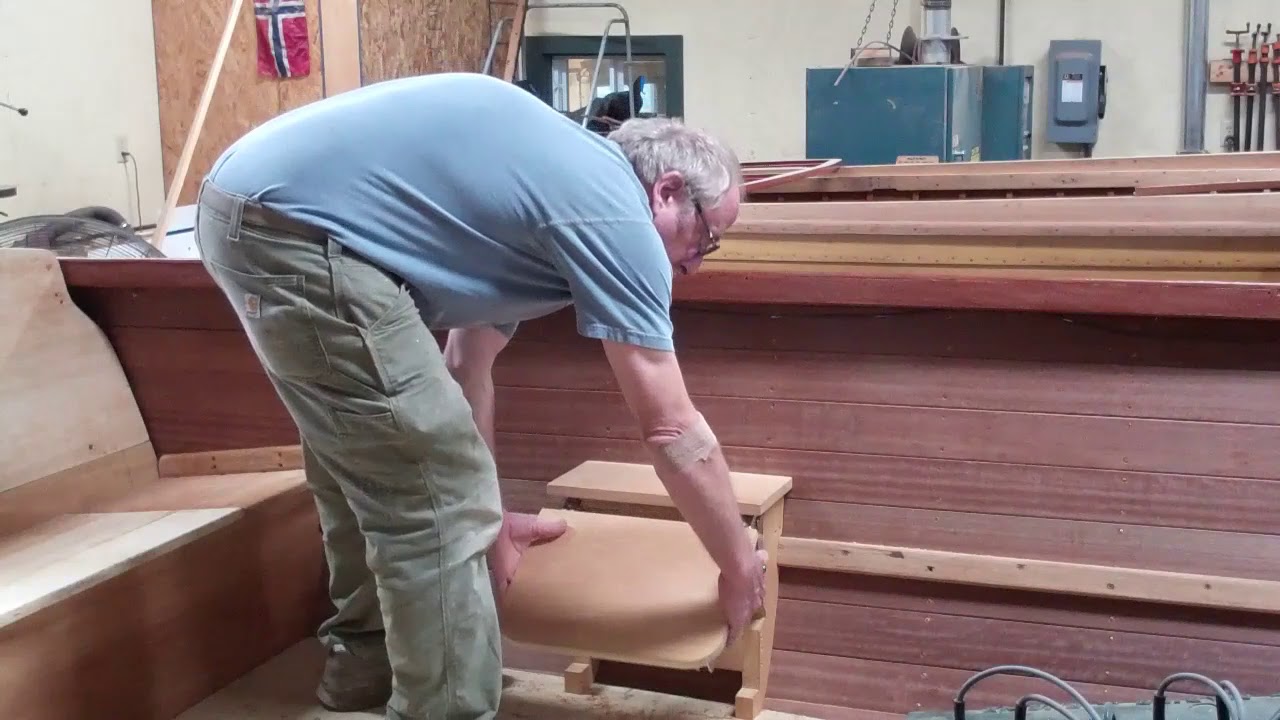
Her owners challenged John to design, fabricate and install a pair of boarding steps that are also comfortable jump seat – units for our 1957 23’ Lyman Runabout preservation project.

Sourcing stainless brackets that were strong and worked simply proved to challenging, but Google sent us to www.boatoutfitters.com, who stock stainless steel folding seat brackets that are perfect for this purpose.

We caught up with John about halfway through this challenge. Today’s video celebrates another milestone facing into our wake.

I will allow John to fill in the details and demonstrate his units’ utility and versatility. Now it’s on to the helm station.

1957 Lyman Runabout Jump Seat & Boarding Step

1957 lyman runabout fabricate jump seat boarding step

John is in the process of doing his magic with wood once again.

Her owners challenged him to design and fabricate a pair of folding boarding steps that doubles as jump seats mounted to the 1957 23’ Lyman Runabout’s port and starboard hullsides just aft of the engine box.

As with mocking up the new pass-through helm seating and locker configuration, John reached for cardboard. We left him alone.

That the hullsides are somewhat concave both vertically and horizontally, meant that he could not simply fabricate a matched pair of mahogany wall mounts. The aft mount is thinner; its shape is different, as is the required bevel needed so the mount lands flush against the hullsides. John attacked the port mount early this morning, and by late this afternoon had roughed out a structure that works.

But, rather than steal his fire, I will hand it off to John ….