How to Strip Bottom Paint Off a 1955 Penn Yan Commander

1955 penn yan commander aristocrat strip bottom paint

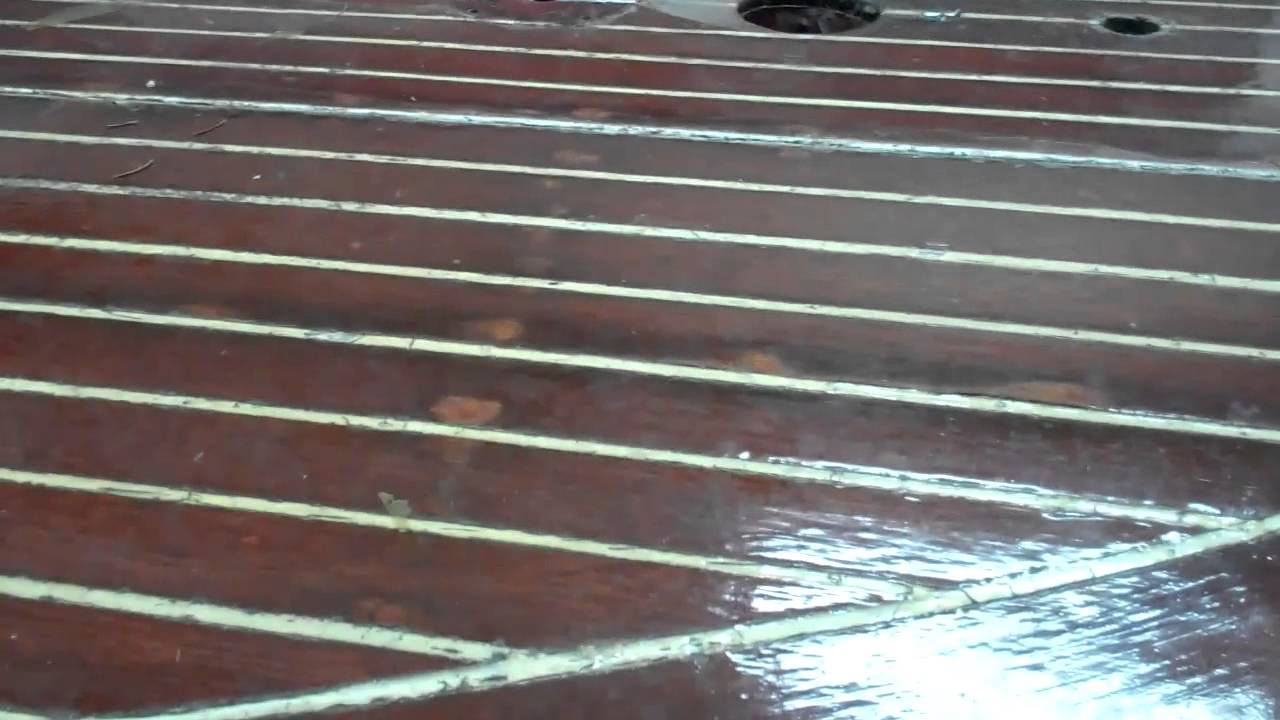
The 1955 Penn Yan Commander Aristocrat left the factory with her transom, topsides, decks and interior finished bright. She was painted ivory below the spray rails.

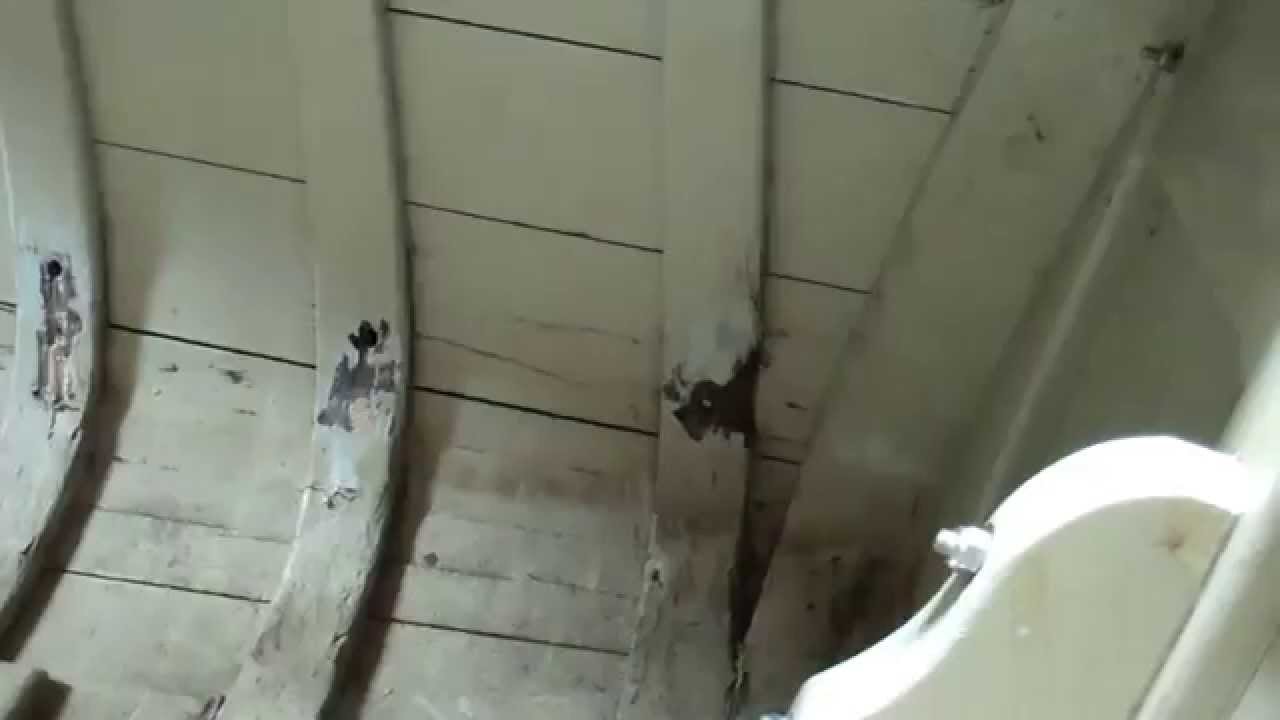
By noon today RJ and I released my Commander’s hardware, as well as the seating, bracing in the bilge, steering, coaming boards, rub rails and spray rails.

The good news is that we found neither soft wood nor rot anywhere. Even the undersides of the spray rails are solid. The finish, however, its beautiful patina notwithstanding, will be difficult to save, but we will try to save it before we strip it away.

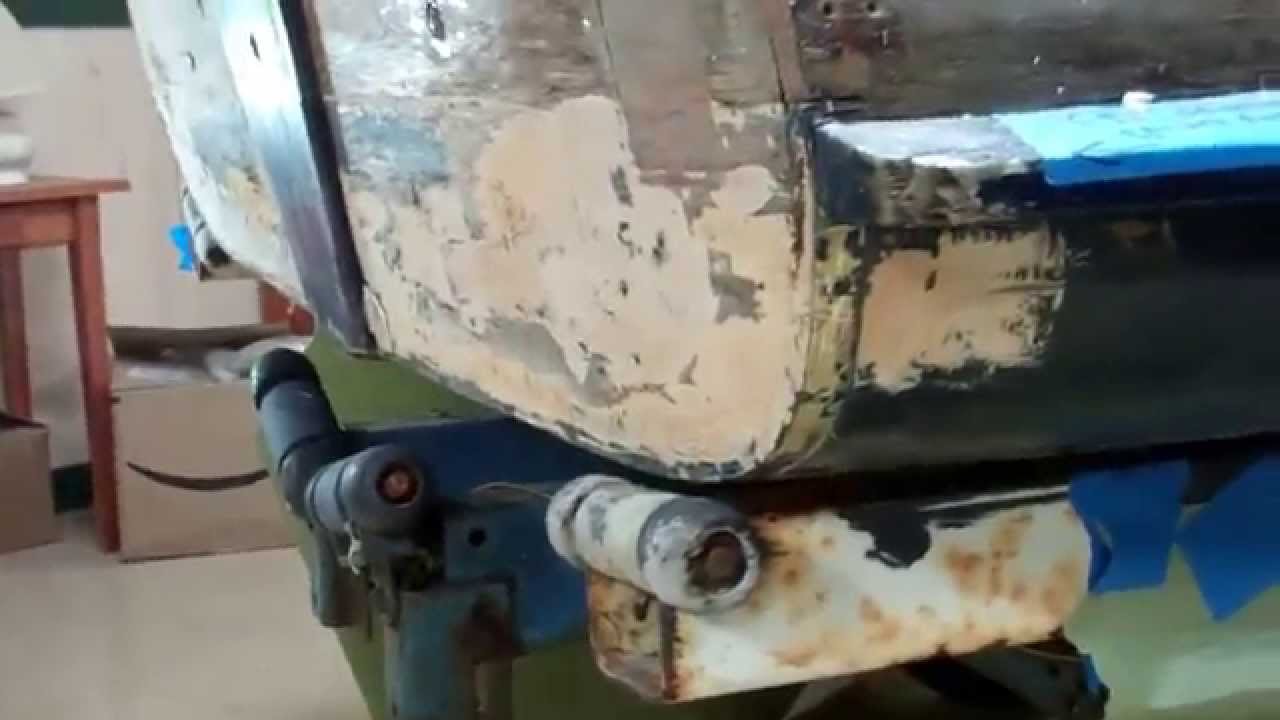
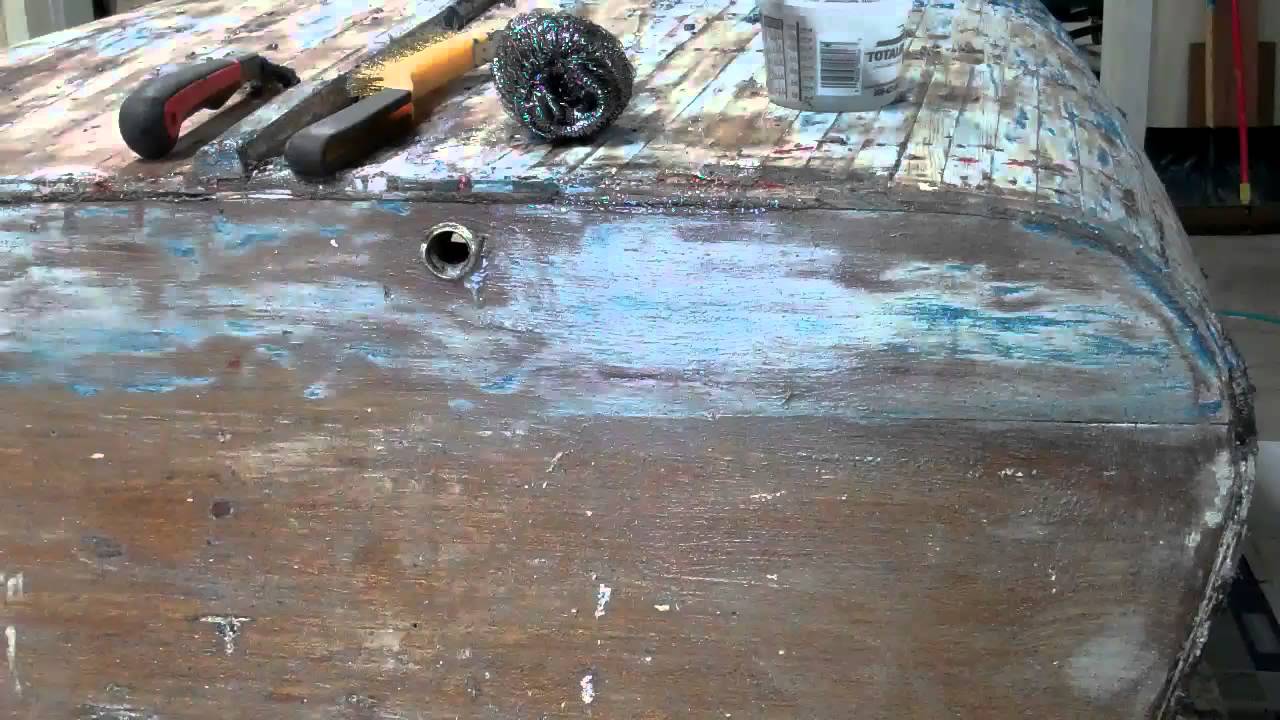
The painted topsides, transom and bottom are very much another matter. The paint, especially that hideous purplish blue bottom, must go. As always, I was suspicious that varnish had been replaced by paint as part of an effort to hide condition issues in the planking.

Happily, as RJ noted once I had it about 95% clean, “Looks like we can work with that transom.” Yes we can. The planking, which is clearly original, is in excellent shape. The same holds true for the bottom now that we have it about three-quarters stripped.

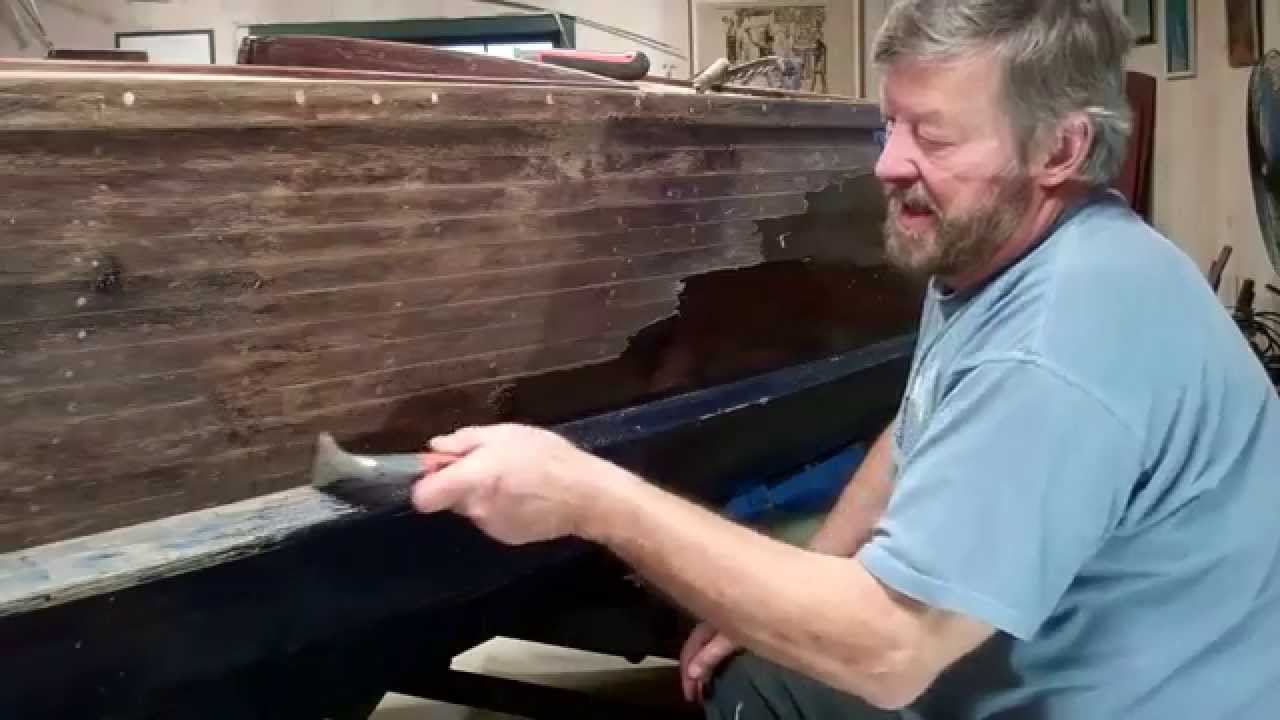
Patience, combined with not brushing stripper out like it is paint are the keys to efficient paint stripping. Trying to stretch the stripper is pure folly in my world.

Patience means, “Let the stripper work.” I apply it liberally, almost as though I am frosting a cake. Indeed, I pour it from the can and spread it with as few brush stroked as I can. Then I leave it alone for at least half an hour, but even as long as an hour.

Now it’s time to scrape? No. Apply more stripper on top of what is already there, and go away again.

Our go-to stripper, Jamestown Distributor’s Circa 1850 Heavy-Bodied Paint and Varnish Remover, has softened the paint down to the wood by now. It’s time to begin scraping, in our case, with a BAHCO scraper, rolling the material off the surface.

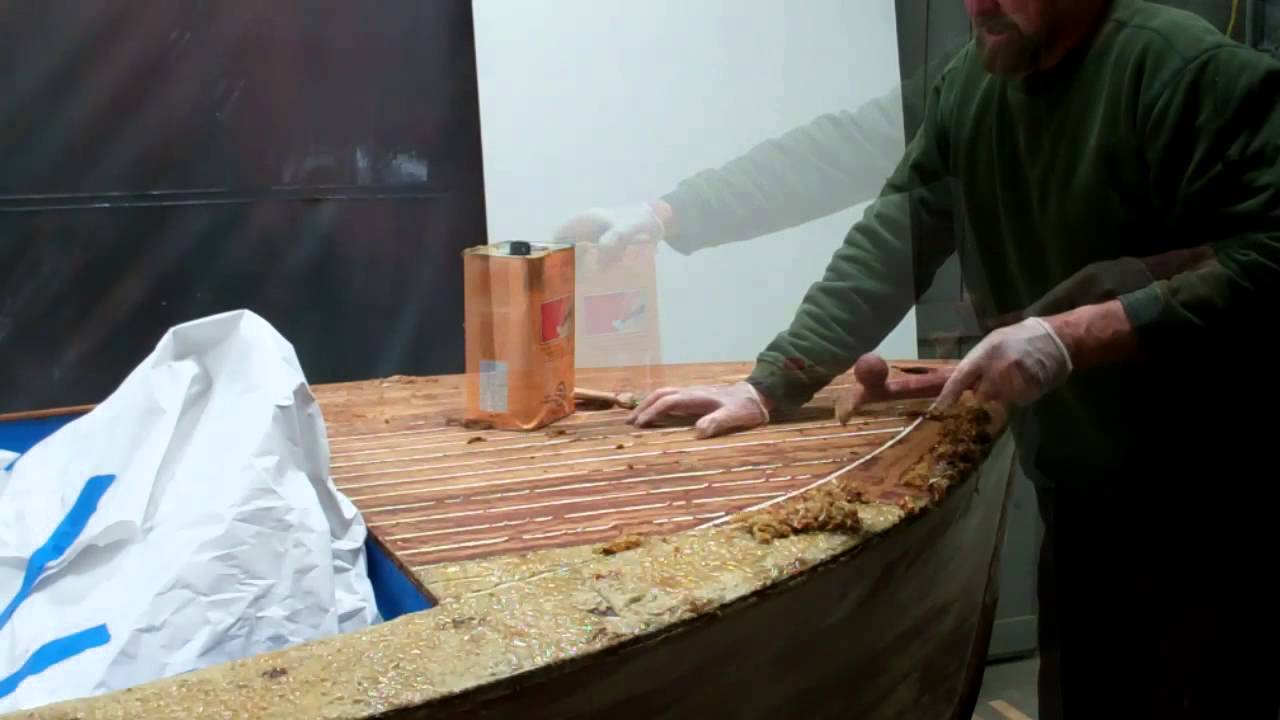
We complete the task using ordinary stainless steel kitchen pot scrubbers purchased from a local super market. Apply a thin layer of remover, begin scrubbing with the grain immediately, and watch the residue disappear.

To be sure, nothing about stripping paint or varnish is glamorous, except being done.

1957 Penn Yan Captivator Stripping Milestone

1957 penn yan captivator stain stripping

It was a long, long day. With heat gun in hand, RJ completed stripping the coamings and the dash, but the starboard topsides were all mine. Several of you questioned why I am not using a chemical stripper like Circa 1850 on the painted splash rails and eventually the bottom. We cannot be sure that we are not dealing with lead paint. Since lead will not vaporize below 1,000 F, so we set our guns at 900 F, which keeps the lead encapsulated with the scrapings, which remain dry and safe to handle. RJ carefully released the stem-to-stern long spray rails, despite the forest of sheetrock screws from the outside-in, and an even denser forest of stainless square drive screws driven from inside and through the topsides every 8-010 inches. Happily with a bit of repair using Total Boat Thixio thickened epoxy, the starboard spray rail can be saved. And the best news of all is that there is no rot in the topside planks behind the spray rails. We did unearth some rot in the three aft-most starboard ribs. The ribs will be sistered using steam-bent white oak. The aft section of the port rail must be fabricated anew. We will match the factory scarf joint found on the starboard side, thereby producing a result that, other than the new white oak, matches the original design. I misspoke in the video when I said she is ready to move into the main shop and flip. Before that can happen we must extract all of the residual black walnut stain out of the mahogany topsides, decks, coamings, etc. using Circa 1850 Heavy Body remover, scrapers, brass brushes and repurposed stainless kitchen scouring pads.

1957 Penn Yan Captivator Stripping Continues

1957 penn yan captivator how-to strip stain

This video contains a plea, “If you do not know how to repair rotted members, please do not try. You only make matters worse.”

And whoever had his/her hands on this boat clearly lacked the knowledge, but did not allow that fact to stand in the way of what must be the most abysmal work we have seen, and now must undo to date.

The aft half of the part spray rail must have begun rotting. In fact , as is clear in the clip, the rot had progressed well beyond “just starting.” The below-waterline transom plank was in even more severe dire straits. Band aids do not a proper repair make.

Indeed, what was done to the spray rail only succeeded in trapping water and propelling the rot, as you can see by viewing the aft-most foot or so. A proper repair, releasing the rail and replacing the rotted aft section using a scarf joint, must have been well beyond this person. Better to glop the goo into place and hope for the best.

We must carefully release the rail, if only to see what trapped water has done to the planking behind it, and then fabricate a new section that will be scarfed to the forward portion.

But the transom work is truly special. All the filler that is visible along the entire lower edge of the bottom plank made me wonder is any of it had survived. When my scraper blade unearthed a brass strip nailed across the entire bottom of the transom and riding on the bottom planking, I knew. No wood had survived so the wood putty was inserted into the void across the entire bottom edge of the transom.

Then there is the rest of this plank, a good 70% of it being completely gone and replaced with more putty.

What is our plan forward? I just do not know until we have flipped the boat to reveal the bottom planking. As you can see at one point in the clip, I have already revealed more wood putty just ahead of the transom where the first bottom plank and it meet.

I fear that my adventures with wood putty have just begun.

1957 Penn Yan Captivator Stripping Update

1957 penn yan captivator stripping

It is Saturday and the Captivator project continues. The decks and most of the gunwales are stripped, complete with bleed black walnut stain out of the mahogany planking. Now comes the topsides.

I began as I typically do, applying Circa 1850 Heavy Body Paint and Varnish Remover to the surface. As expected, puddles and curtains began forming, which quickly soaked the cardboard sheets on the floor.

Not expected, however, was the discovery that, once liquefied anew, what appears to have been some sort of dark walnut stain varnish began bleeding black into the mahogany. No, I did not smile. An Old School, heat gun and scraper strategy appears to have saved the day. Operating the De Walt heat gun at between 900 and 1,000 degrees F releases the adhesion between the mahogany and the stain-varnish. While I must go back and bleed black stain out of the wood fibers, at least I am not adding to that challenge while I strip the varnish off the surface.

Once the varnish is released I will go back with the Circa 1850 and BAHCO scrapers so that the mahogany ends up free of adulteration, at least as best we can attain before we begins anding with our pneumatic long boards.

Releasing finishes offer s a critical opportunity for discovering fastener and framing issues. Applied to the Captivator, I have learned that the foredeck planks are floating free at the bow, and that there is a serious structural design/failure to be dealt with where the aft deck inserts into the gunwale framing.

We will continue stripping in the manner, hoping to have the hull and transom clean above the spray rails by Monday morning, when we plan to move the Captivator so we can flip her and begin working below her waterline.

Stripping Green Mountain Buoy’s Foredeck

green mountain buoy stripping foredeck

Let’s agree, stripping varnish or paint is just plain WORK! But it is the first step in saving an old wooden boat’s decks, gunwales and topsides, so here we are, almost finished stripping Green Mountain Buoy’s foredeck, while RJ, who is out of the shot, toils with the starboard topsides. Next comes releasing the white material in the seams before we can begin sanding the decks. Happily, we have discovered that previous work on GMB included digging out and replacing the original material with restorer-friendly silicon caulk.

The seams are next, but that’s also the subject matter of the next video report. Yes, she is ugly now. Just wait. Soon she will jump out at you. I promise.