1946 Chris Craft Brightside U22 Bottom Framing Update

1946 chris craft brightside u22 bottom framing

By this time next week we should be fabricating and installing the inner layer of 1/8” Aquatek marine plywood to the bottom.

John will first fabricate an entire set of paper pattern sheets for each of the two surfaces and transfer them to the plywood. Once each component is cut and installed to test for fit, it will be removed and all sides will be sealed with Clear Penetrating Epoxy Sealer, followed by two coats of Sandusky Chris-Craft Red Mahogany bilge paint.

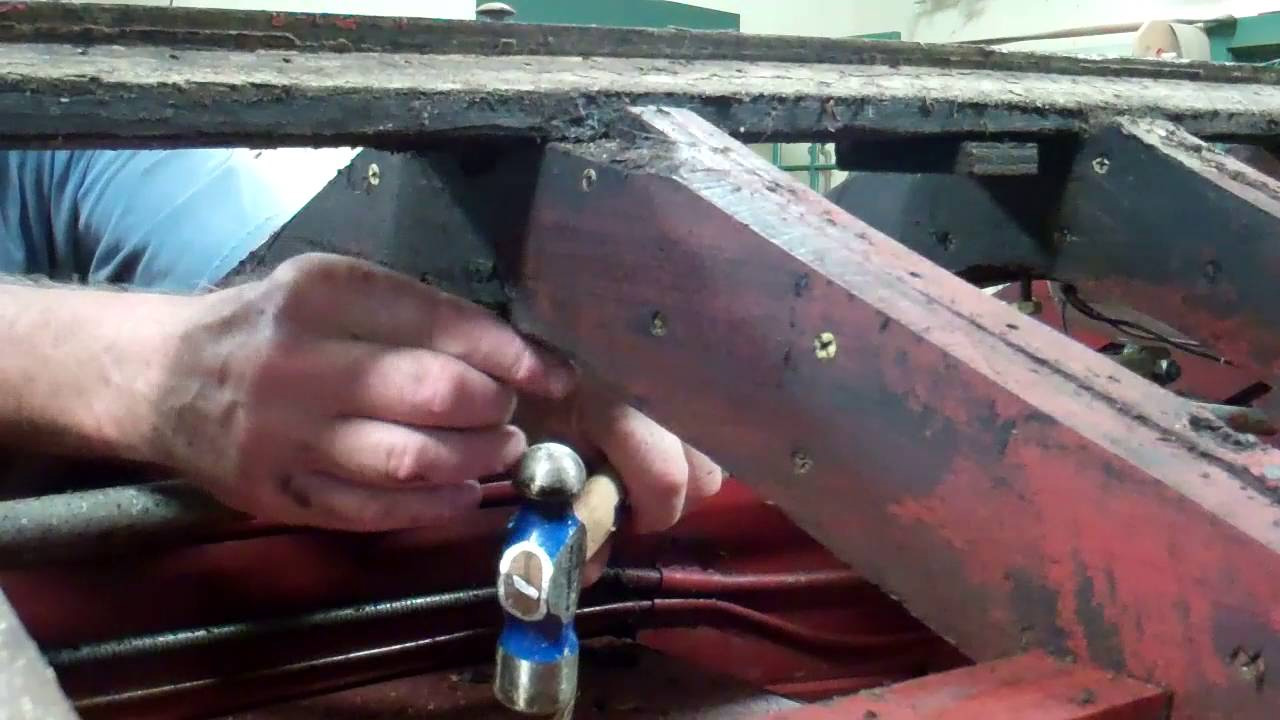
Then all three of us will work together applying mahogany 3M5200 to all ribs and other landings, followed by sinking thousands of silicon bronze screws.

The fun begins once the plywood is screwed down – cleaning the squeeze out, and there should be copious amounts of squeeze out, or you have not applied sufficient 3M5200.

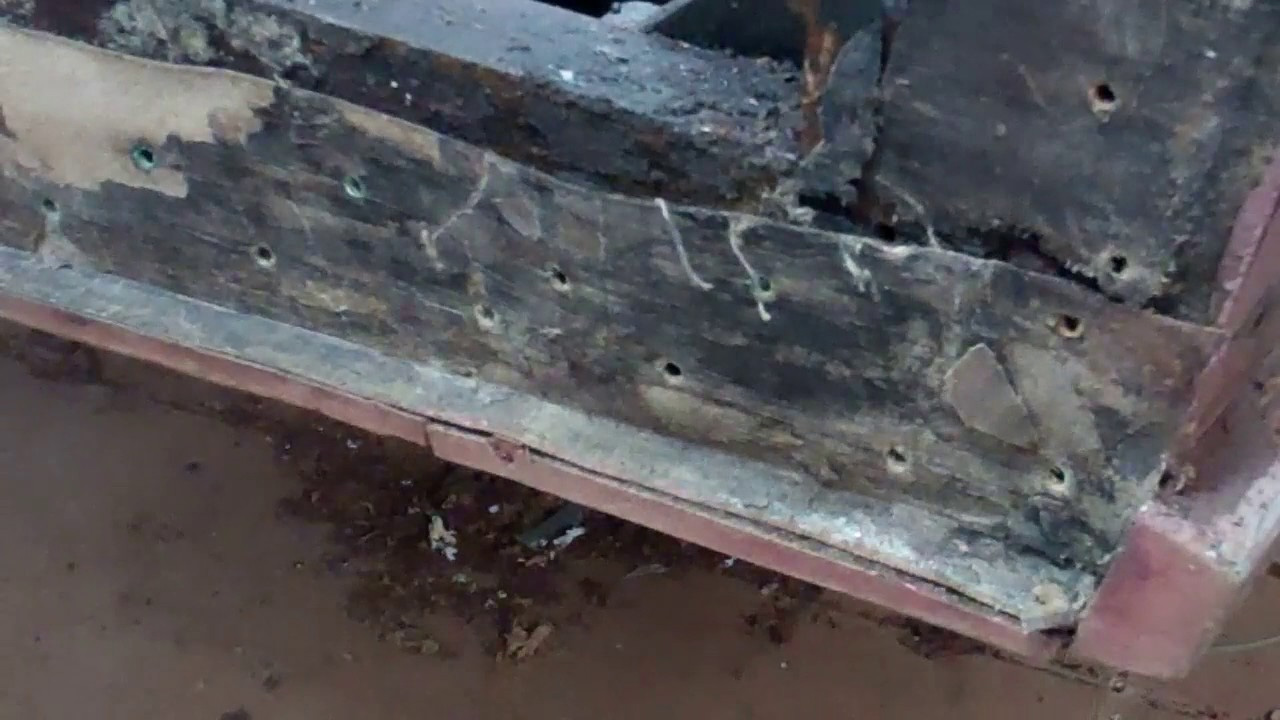
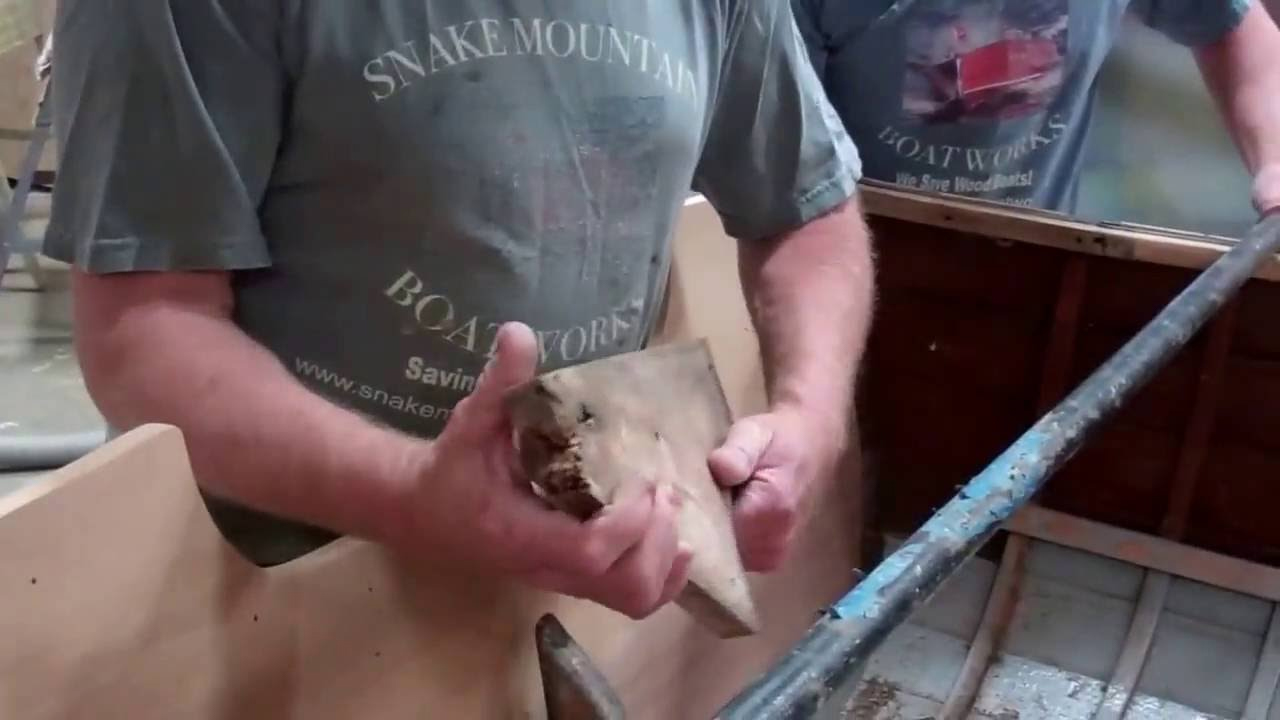
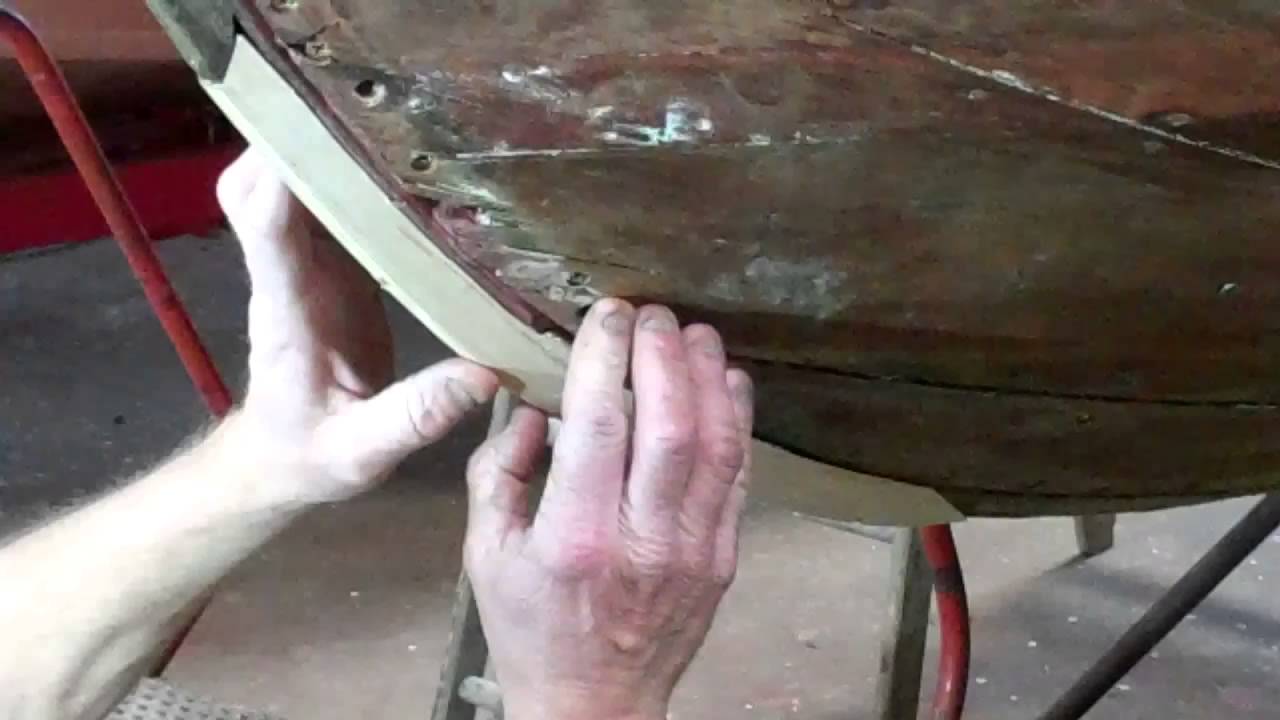
The mahogany planks are next, and, while we will do our best to save the original planking, it is in pretty poor shape, which will force us to fabricate new planking using the originals as patterns.

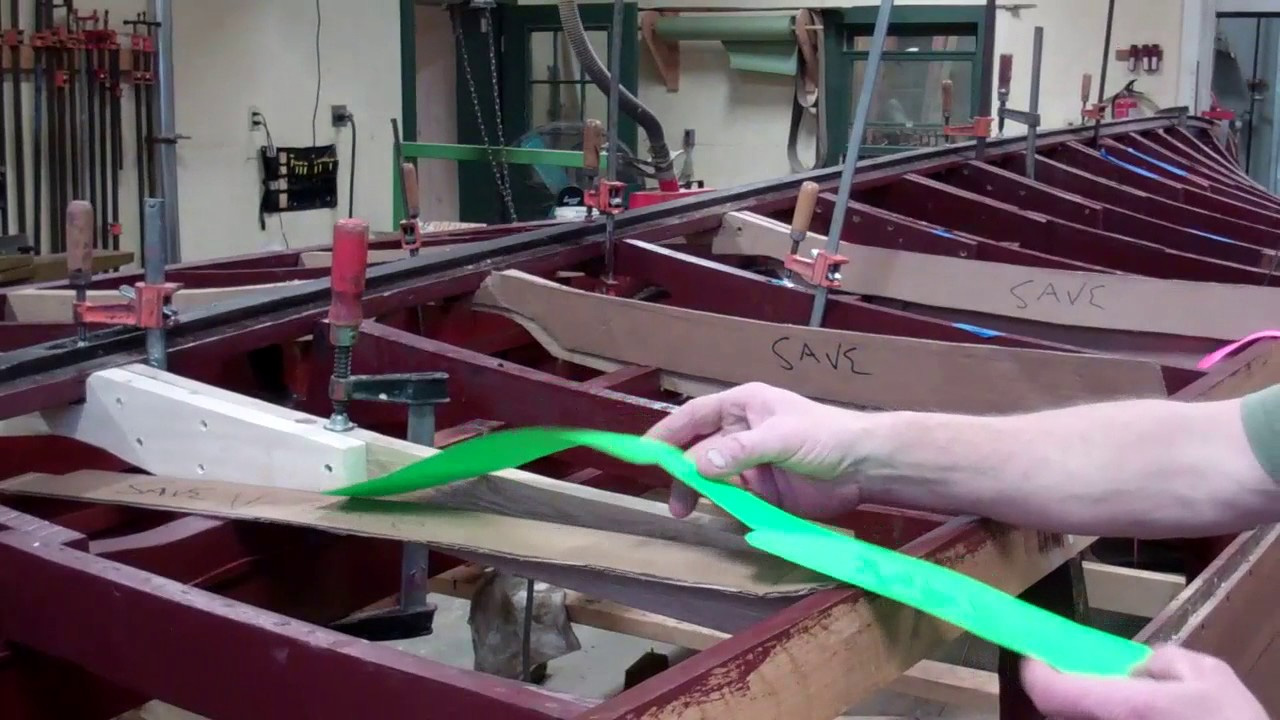
But such considerations push us way ahead of where we are now, which is all about passing the bottom framing complete milestone!

1959 Chris Craft 17′ Sportsman Transom Planking & Framing Update

1959 chris craft sportsman transom framing planking

Given the evidence that it has shrunk – a very wide seam between it and the next transom plank above, I fully expected to release the bottom transom plank.

However, the prospect of first stripping bottom paint lying on my back and then releasing all the fasteners driven through the tails of the bottom planks and into the bottom transom plank was foreboding at best.

Then, when I was having difficulty with the last few fasteners, I called in, RJ, who has what he terms his “special touch” releasing buried wood screws. As the last one backed out, RJ exclaimed, “I think your plank is free already!”
And it was and is. We now know that Chris-Craft moved the final course of fasteners forward from the tails, just enough that they are driven into the transom frame’s bottom bow.

The attempt to waterproof the seam along the bottom edge of the bottom plank was attempted using the oil-permeated canvas we have all seen when releasing bottom planking. Suffice it to say that, like the stuff under bottom planking, this course of canvas had long since lost whatever waterproofing qualities it had in 1959.

When the time comes we will install the bottom plank bedded in copious amounts of mahogany 3M5200.

A combination of finding green, and therefore moisture adulterated, fasteners behind the test bungs I popped, and a ubiquitous design issue that translates into a chronic, although slow leak, we also released the next transom plank.
The issue occurs at both ends of that plank, from its bottom edge up about 2 inches. Chris-Craft originally sealed the seam between this plank and the transom frame member it lands on using the same sealer-impregnated canvas technique.

However, each of the first 3 1954-1959 17’ Sportsman models we have preserved to date tended to seep water through that joint until we bedded them in 3M5200.

Proving that even old boat guys can learn, we routinely release this plank, remove what is left of the canvas and install it anew bedded in mahogany 3M5200.

With Christmas weekend peaking over the horizon, cleaning out the bilge and then pressure washing it will not begin until next Monday.

How To Replace a pre-1950 Lyman Plank Transom – Correctly

how-to replace lyman plank transom

Ninnyfish, a 1949 13.5-foot Lyman Leader, came to us for a complete preservation. In the process of stripping many, many pounds of paint, we discovered extensive rot in her transom, transom gussets and interior transom framing.

Replacing all of it was our only choice.

A major source of the problem is that Ninnyfish was painted with other than proper bottom paint from the waterline down. That paint has failed severely over the years, and the worst of it was the transom’s bottom plank and the seam between the two transom planks.

Someone had attempted to address the issues by excavating that seam and filling it with some sort of 5200-esque goop. While the intensions were good, the result was a huge water trap that spanned the entire seam.

Happily the aft ends of the strakes are fine. No rot has been exposed there, or anywhere else on the entire hull, save for the one small outer gunwale failure on port where a bolt passed through the gunwale and secured the forward leg of the transom gusset on that side.

We will finish the interior surface of the transom planks and all of the transom framing ahead of putting everything back together. (While the exterior surfaces will be stained with the Sandusky Paint Company’s Lyman Mahogany filler stain, we will add some walnut to these interior surfaces so they more closely match the stain we found there.

1946 Chris Craft U22 – How To Release the Keel

1946 chris craft u22 how to release the keel

Fifteen bilge frames with one ¼” x 6” brass carriage bolt securing the keel to each frame, plus four buried ¼” x4” brass carriage bolts securing the overlap joint between the gripe to the stem!

Every one we removed is original. Nary a stainless bolt was to be found.

And you know just how easily those bolts “jumped” out of those ancient holes! Well, somehow the two I selected for this video did jump right out. There is nothing like a heavy ballpeen hammer and a drift to persuade the others to leave positions they have held since 1946.

Unlike the degraded stainless fasteners, which are from the early 1980s, all of the brass bolts appeared perfect. However, when placed in a vise and tapped slightly, they simply flopped over like wet noodles. Into the recycling bins they go.

But we have the keel out where we can clean it properly and begin working replacing the hogged final 12 inches or so.

However, in the process of separating the gripe from the keel, which forced us to take a hard look at the gripe, we concluded that it cannot be saved, as is waiting for you in the clip that follows this one.

1946 Chris Craft U22 – How to Release the Gripe

1946 chris craft u22 replacing gripe

And now to the gripe. As we released the keel from the gripe, we could not help notice that the gripe appeared to be severely fractured on its starboard side. Additionally, evidence of dry rot jumped out at us, in addition to its severely rotted outer radius.

Here I just let the camera run so it could record the process involved, and what we discovered once the gripe was free.

(Yes, early in the clip I slipped again, by saying “knee” when I meant “gripe.” There is no knee in this model.

How to Flip a 1946 Chris Craft Mahogany U22

how to flip 1946 chris craft u22

If you remember the challenges we faced flipping my 22’ Shepherd runabout, you will understand why a bit of tension was in the air as we approached flipping the 1946 Chris-Craft mahogany U22.

But this time we used our good friend Phil Jones’ “line and winch approach. The line is secured to one of the bilge stringers – port in this case, from which point it is passed over the port gunwale, wrapped around the hull, across the cockpit and past the port gunwale.

The bitter end is then attached to a small hand-held winch, which we secured to the base of our 27” drum sander.
Rolling her 90 degrees is accomplished by hand with relatively little effort. It is getting the starboard gunwale beyond 12 O’clock that is the challenge. The winch and line take over at this point and slowly roll the hull past vertical, while maintaining total control.

As you can watch in the clip, she slowly, almost deliberately rolls clockwise and settles 180 degrees from upright. Roll the dollies beneath her, lower onto them,, release the straps and she is ready for what comes next.
You will notice that we inadvertently placed the aft strap, well, a bit too far aft, so that it jumps off the roller just as we complete the flip. Note to self: position the straps at least a foot in from the ends in the future!
We use tall dollies when flipping large boats, which decreases the distance we must recover in lowering them. (The boat has a tendency to roll when strapped to the roller.)

However, working on the bottom with the keel 7 feet off the floor is very difficult. Tomorrow morning we will use four chain falls and the two straps to raise her slightly and then settle her on super short dollies.
Next …. Michael “gets” to strip all that blue paint off the bottom planks prior to releasing and attempting to save them.

1953 Shepherd Sportsman 110 S Fabricating a Stem Dutchman

1953 shepherd sportsman 110s fabricating a stem dutchman

The survey completed immediately after she was flipped made clear that the 1953 Shepherd Sportsman 110-S’s knee and forward keel had seen much better days.

Could it be repaired using TotalBoat Thixo two-part epoxy? Possibly, but then I put a wrench on one of the carriage bolts – all of which were beyond suspect and must be replaced. The nut moved, but so did the entire bolt. And as it turned, the head, the sides of which were ground flat, split what was left.

In this clip, John takes you through the process. Using one of our Fein Multimasters, John carefully excised the damaged material in preparation for executing another of his remarkable Dutchman repairs.

Why not just tear all the planking away and replace all of it with new wood? We strive towards preservation over “restoration,” a major component of which is replacing only that which cannot be repaired. As is clear in the clip, repair is readily available and a sound choice for addressing this issue. We would replace only that wood which we cannot save.

John shaped the replacement sections, refining the profile and sanding the adjoining faces in using a combination of hand-held and horizontal belt sanders.

Here is the result … so much better than trying to “save” these parts using epoxy forced into the splits.

Reinstalling the framework is next, so fabricating and installing the first layer of the new True 5200 Bottom is not far away..

1953 Shepherd: How to Repair a Stem with a Dutchman (update)

1953 shepherd dutchman repair stem

What a nice way to end the week! John has continued working on the Dutchman repair to the 1953 Shepherd’s stem. I hope you will agree as you view this clip that he’s made some solid progress. We filled the cavities around the original carriage bolts with Jamestown Distributors Thixo Thickened Epoxy, which we will allow to cure over the weekend.

Then John will use the same adhesive to bond the stem and knee components of this Dutchman repair to the native surfaces, securing them temporarily in place with wood screws. 3M 5200 will be applied on the two elements’ joining faces.

Once the adhesive has cured and the screws have been removed, John will complete his final sanding-in process and drill new carriage bolt holes from the inside out.

Yes, surfaces will be sealed with CPES prior to being glued in place.

We are doing a Dutchman repair workshop this Saturday, and hope to have some interesting content uploaded next week.

1953 Shepherd: How to use a Dutchman to Repair a Stem

1953 shepherd dutchman repair stem

Our January 24, 2015 workshop included a clinic led by John La Fountain on using a Dutchman for repairing the stem of 1953 Shepherd 22’ utility we are preserving.

Following is the handout he prepared and distributed to workshop participants.

  1. Inspect stem and knee to determine if a Dutchman can solve the rotting and grain separation issues where the stem and knee meet.
  2. Remove the bad part by cutting away any rot or split-out wood. a. Always cut the top at an upward angle relative to the leading edge of the stem so that water runs off the Dutchman, not down inside it.
  3. Make a template using cardboard.
  4. Locate a straight-grained, clear piece of white oak – usually 8/4, as it was here. (Be sure to wear heavy gloves!) a. Using a band saw, rough-out the mating surfaces between the Dutchman and stem or knee, after transferring the templates to the blocks of wood. b. Rough out the abutting faces of the two Dutchmen.
  5. Sand the Dutchmen to shape
  6. Re-fasten the leading ends of the planking – or strakes in a lapstrake hull – bedded in 3M 5200.
  7. Repair any rot, cracks or over-sized holes with TotalBoat Thixo Thickened Epoxy adhesive now. (The above-waterline seams will be affixed with TotalBoat Wood Epoxy System.)
  8. Once epoxy has cured, do a final sanding and shaping of both Dutchmen and the surfaces they will mate to on the stem and knee.
  9. After a final check for fit, some final sanding, fit the Dutchmen in place and one fastener pilot hole into each.
  10. Glaze both surfaces with TotalBoat Thixo, and the abutting surfaces with 3M 5200, and fasten them in place with fasteners passing through the pilot holes.
  11. Wait 24-48 hours.
  12. Drill the carriage bolt holes from the inside of the stem and knew out, and insert silicon bronze carriage bolts – 4 in the case of the Shepherd.
  13. Do a final sanding and fairing.
  14. You are ready for paint!