Our 1957 15-Ft Lyman Runabout is progressing nicely. Joe and Rick have stripped the hull and transom from the gunwales down. Her clench nails have been, well, clenched anew. The one bit of rot discovered in the transom has received one of Joe’s trademark Dutchman repairs. The transom is in the process of being bleached ahead of staining, sealing and varnishing.
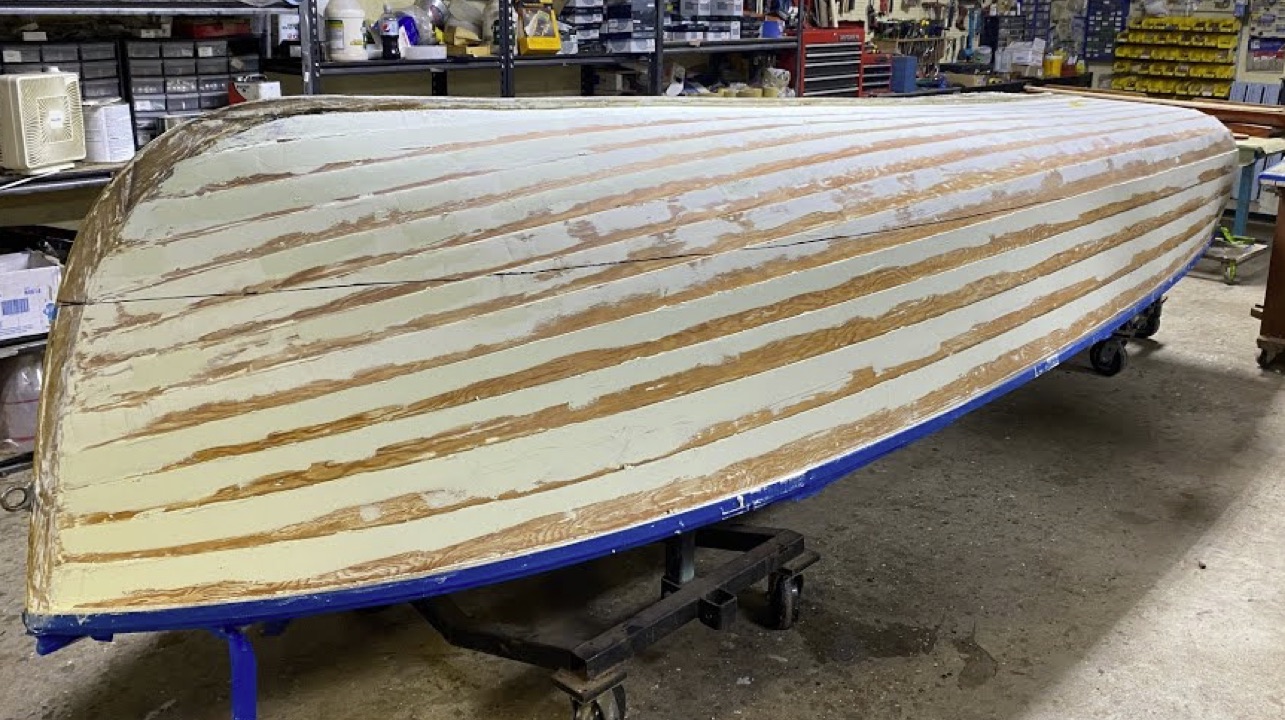
With the strakes sanded initially fair and having received two initial coats of Smith’s CPES, Joe and Rick are now paying every strake with multiple applications of 3M Marine Premium Filler and sanding between coats.
Once the final coat has cured, Joe will sand the entire bottom truly fair, ensuring sharp edges along each and every strake.
We will then apply three more coats of CPES, allowing it to cure for several days ahead of applying multiple coats of Pettit Tie Coat Primer, followed by three coats of Lyman copper bronze antifouling bottom paint.
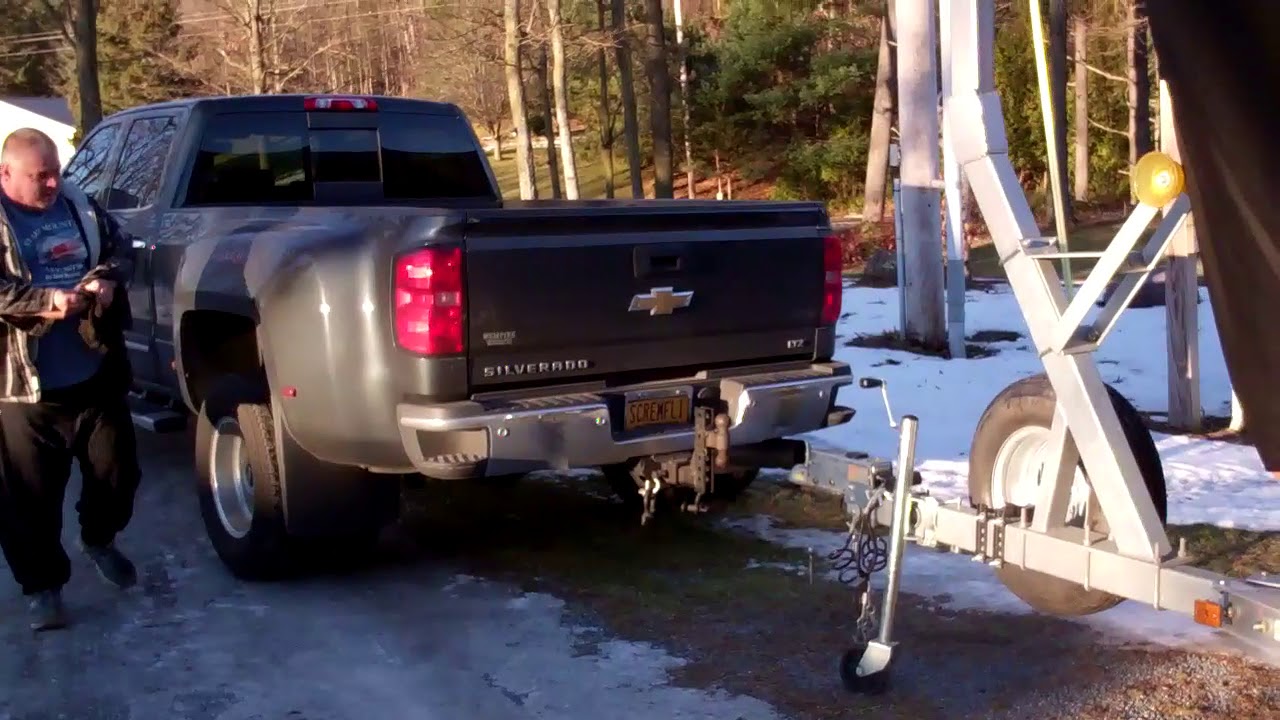
Today dawned bright, brisk and windy. The roads are dry for Blind Date as she begins her trek home to Texas under the care, control and custody of Frank Mole’, Franke Mole’ Transport Service.
We have been working with Frank for three years now, as he prices fairly, is absolutely professional and cares for each boat as if it is his own. He is worthy of your consideration the next time you need a vessel transported. Her transport cover was designed and fabricated by Chris Hanson, Marine Canvas, Shelburne, VT.
Chris chose a varnish-friendly fabric comprised of a Sunbrella outer layer and an inner, soft layer that will not mar varnished services as she makes her way to Texas.
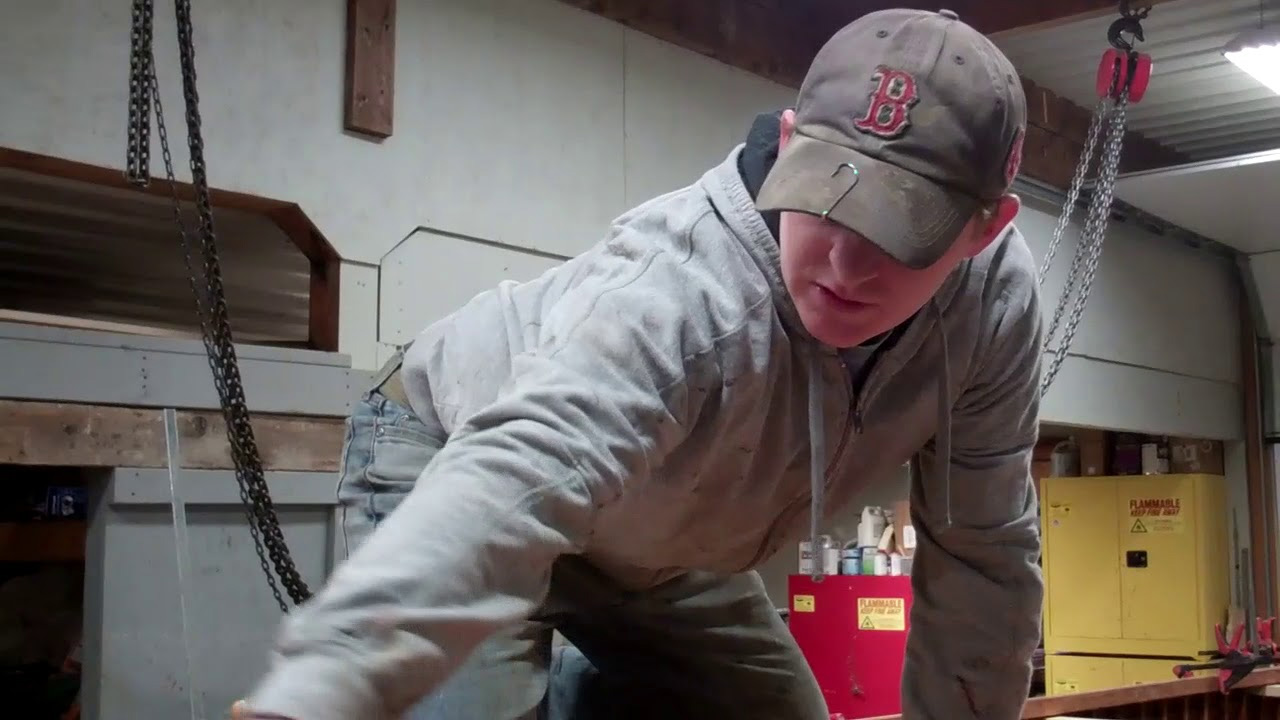
Shauna Whiting, Kocian Instruments, Stacy, MN performed what were little short of miracles with Blind Date’s rusty gauge panel.
Robert Henkel, Peter Henkel, Inc., Marine City, MI, executed a complete tear-down and rebuild of her Chrysler M47 engine.
Mickey Dupuis, D&S Custom Metal Restoration, Holyoke, MA, took on the challenge of preserving all her hardware, bow light, etc.
We did the rest during her almost three years with us, in what has turned out to be both a highly challenging and super rewarding preservation project.
Today we blast through another milestone, well two, actually.
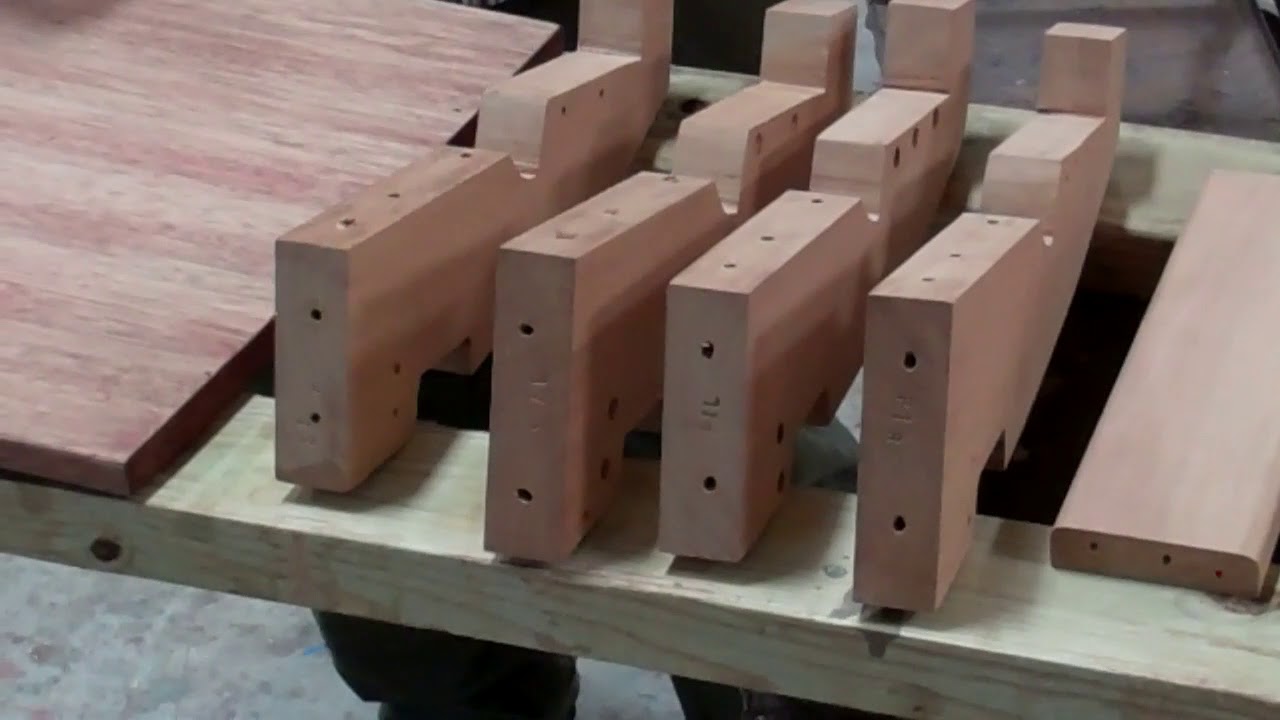
Our 1957 23’ Lyman Runabout helm seat reconfiguration challenge is behind us, and we are ready to disassemble her interior, ceilings, seating and lockers for final sanding followed by staining, sealing and varnishing.
That’s all well and very good, but what is far more worth celebrating is that RJ stepped into his Dad’s shoes and proved himself equal to the challenge of fabricating the port side of our new pair of helm seats and lockers. Knowing him as I do, I was absolutely confident he’d cross this personal milestone and prove to himself in the process that he’s ready to tackle our fabrication challenges. And all on the day before Thanksgiving! He and we have much to be thankful for, especially when it involves personal growth,, as this challenge has for RJ.
Congratulations RJ! We could not be prouder of your personal accomplishment. You’ve always been a can-do guy around here, but now you know you can contribute mightily to Snake Mountain Boatwork’s quest to deliver only the highest standards of craftsmanship.
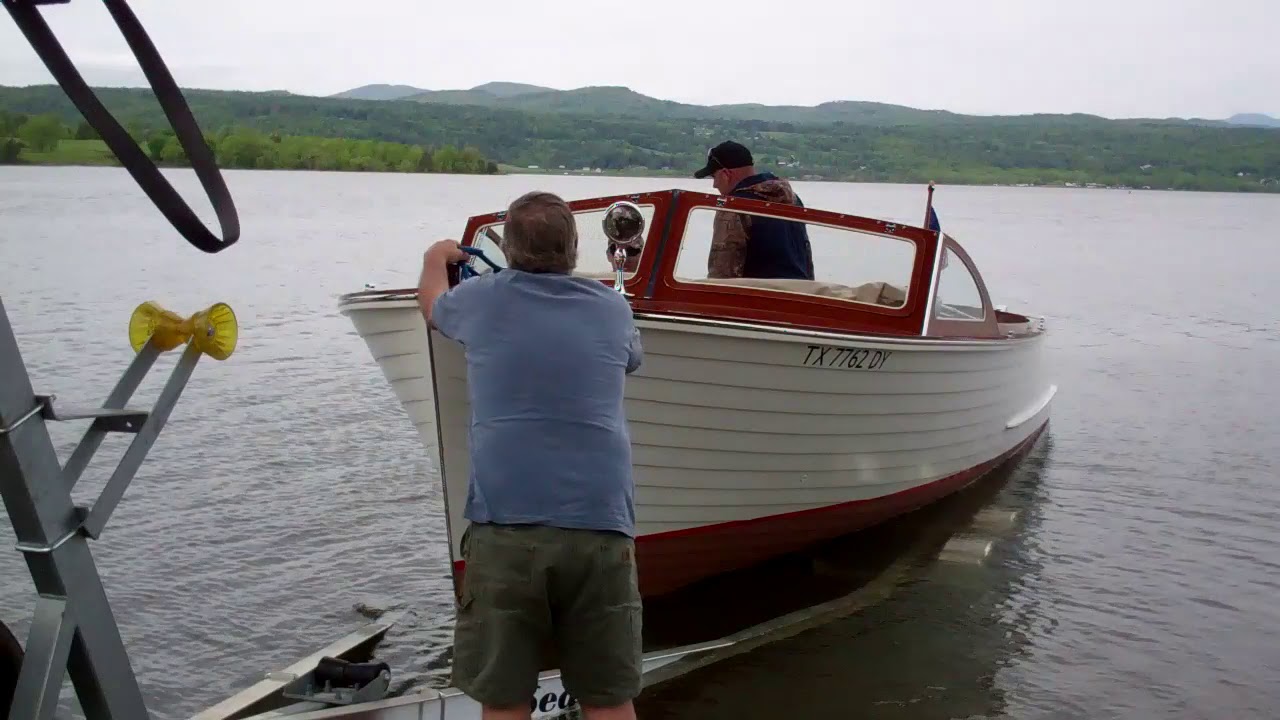
There’s nothing quite as rewarding is seeing over a year of blood, sweat and, yes, sometimes tears than watching our 1957 23-FT Lyman Runabout splash and cavort across the water. We spend many hours late yesterday afternoon sorting that #$%@+ carb out, but Blind Date shows everyone today that we finally did so. She’s so beautiful roaring across the water, growling all the way. Guess there’s not much else to say!
It “only” took us a bit over a year to reach today’s milestone, but it is here, and the engine run test went, well, pretty well, given that the engine sat for so long post-rebuild.
As you see in the clip, it ran beautifully and strongly, albeit with some stumbling, for about half an hour.
Then it began behaving like it was starving for gas, and finally was clearly in some distress. The carb was out prime suspect, so we pulled and disassembled it, only to find that, over the last year plus sitting in the shop, where temps and humidity rise and fall daily. The combination of the condensation and the carb sitting gunked it up, simply put. The jets were clogged and the float was sticking. (I guess I needn’t share our faux pas with the community, but am doing so to share the education we experienced today.)
Joe and RJ broke it down completely, cleaned it thoroughly to the point that it and all its components are now squeezy clean.
We bolted it back on, hooked all the linkages and choke up, and hit the key. That’s all and a bit of tuning was what she wanted.
She now roars to life, idles smoothly and accelerates without stumbling. Now she is running like a Swiss watch for sure!
We’ll have her on the water tomorrow, which will be her first time in well over 20 years.
But with 90 percent of the varnishing behind us, we have focused on assembly.
A word of caution when you attack saving one of these wonderful Lymans. Consistent with Lyman practice, we installed Nautolex Marine Vinyl Flooring in Natural to all of the floor panels. The results are simply spectacular, as this rich mixture of hues compliments that the mahogany ceilings, engine box and seating in a manner that delivers coherence.
However, Nautolex sheets are almost one-sixteenth inch thick. Once you apply it to the face and wrap it around the edges, you have added almost one-eighth inch to each panel’s thickness. And, since these panels run beneath the helm seating, if John had, not accounted for that extra thickness, none of the components would have fit. John did and they do fit. Phew!
Even the varnish’s film thickness makes a difference when reassembly begins.
Bottom line, all of us must think and plan for how various coatings will alter dimensions.
Altering the floor levels at the helm so that they are level with the rest of the floor did give us a surprise. This alteration also changed the position of the shift lever pivot relative to the floor such that the lever could not be installed on the original mounting block.
RJ and Joe once again demonstrated their resourcefulness by simply installing the floor panel beneath the mounting block after they wrapped the latter in Nautolex, which renders the block almost invisible. Here is a great example of less is more.
The coaming is secured with screws passing vertically and countersinks plugged with mahogany bungs. I suspect it is more personal choice than anything else, but we applied the first ten coats of varnish to the covering boards first, and now have installed, stained and sealed the coamings. (Yes, they are bedded in 5200.)
We will complete the final varnishing of the decks, covering boards, coaming, transom and firewall, and continue assembling her over the next week or so, at which time her hardware will be installed. Then she will be off to upholstery, canvas and lettering.
With 59 degrees Fahrenheit today – and back to the twenties next week, it’s sure difficult not to at least dream about seeing her floating. But with Lake Champlain frozen solid from shore to shore, I fear we’d be insulting her terribly by dragging her down there now!
One more coat of varnish tomorrow and installing our 1957 23’ Lyman Runabout’s ceilings can begin on Monday! Yahoo!
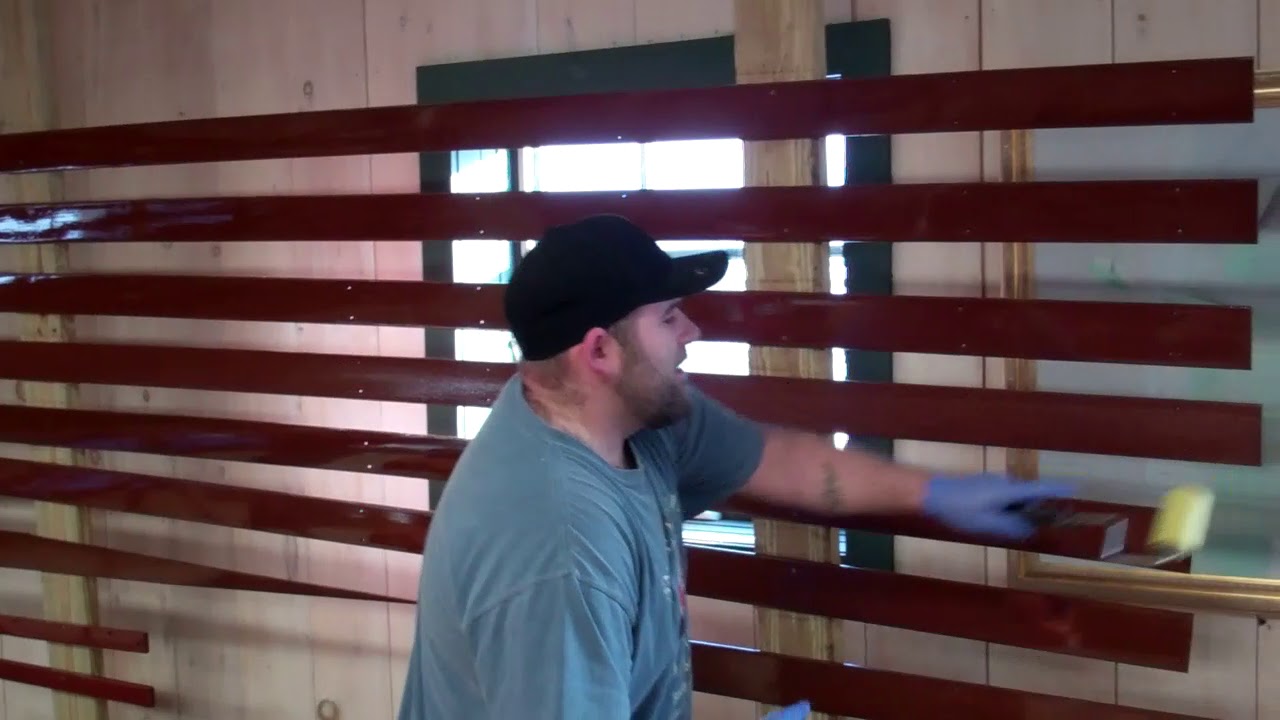
Joe and RJ have commandeered what used to be our showroom already, but yesterday they assaulted the walls as well. While they are ugly as sin, these rough racks make it possible to varnish pieces in a vertical attitude, which guarantees against any sort of dust contamination.
(They also increased the “parts-varnishing carrying capacity” by almost fifty percent!) We will hang seating, engine box and related panels on the racks for final varnishing once the ceilings are in place.
Her owners have been super patient, bit I know they are READY to begin seeing parts going into place and her “innards” coming together.
They are not alone! We are soooo ready to beginning the assembly and transformation from huge cavity to an accommodating, inviting and super functional cockpit.
Happy New Year from RJ, Joe and Michael at Snake Mountain Boatworks LLC!
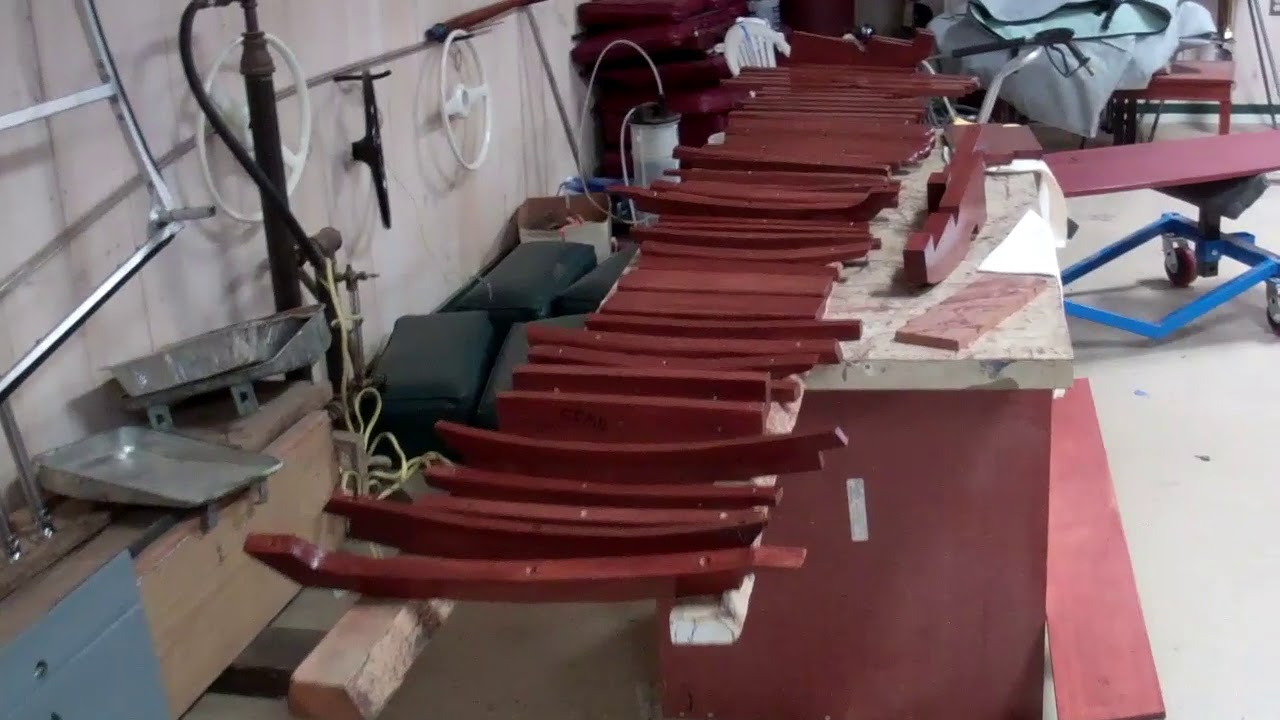
We spent the first day of 2019 the same way we spent the last day of 2018, making progress bleaching, staining and sealing the 1957 23’ Lyman’s seating components, ceilings, windshield frames, engine box and on and on.
By the end of today we put another milestone in our wake. Her decks, covering boards and dash received their first two coats, on the way to at least 15, of Pettit Hi-Build Varnish. Almost better is having applied several more coats of varnish on most of the components.
The last of the bleaching with Daly’s A & B Wood Bleach is behind us. Tomorrow these components will be scuff-sanded and stained, which will be followed by applying three coats of Smith’s CPES. In answer to several questions, except on very small pieces, we achieve much more uniform CPES layers by using a 3” yellow foam roller in place of a chip brush – which sheds hairs – or a foamy, which can come apart quickly as the foam reacts to the CPES.
We have released the 1957 23’ Lyman Runabout’s aft seating, both of the jump seats that John designed and fabricated, and all but the three floor panels beneath the helm station.
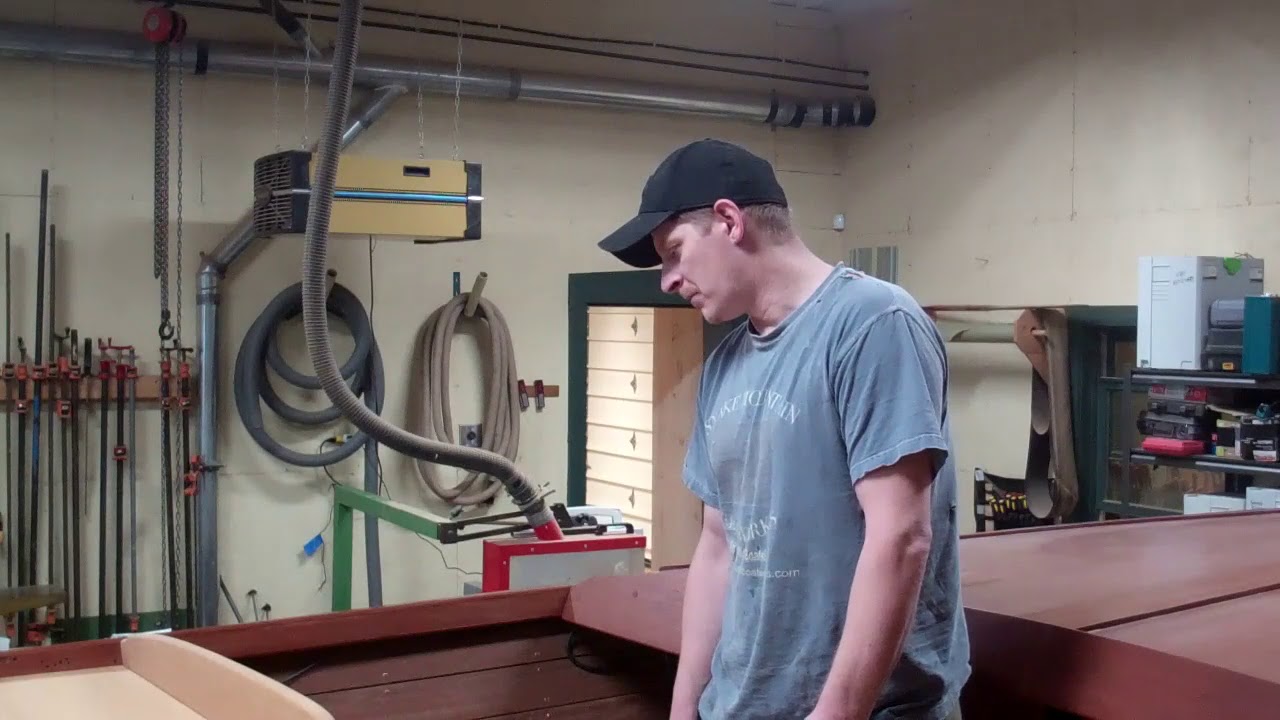
Joe D’Avignon, our latest crew member addition, who is also RJ’s brother-in-law, brings years of custom designing cabinets and architectural components, trim and moldings for a firm that executed all tasks using hand tools. Nary a C & C Machine was ever in the shop.
Asked why he wanted to work and grow preserving antique and classic wooden boats, Joe replied, “Unlike windows, doors moldings and the like, where it’s mostly a production process once I designed the piece, with these wooden boats, no two challenges are alike. There are no plans to be reached for, and damn few straight lines. Working at Snake Mountain Boatworks involves everything I love doing in wood without the drudgery of repetition day after day. I can grow here in ways that are just not possible in precision woodworking situations.”
Joe disassembled and sanded all surfaces with 80 grit in a straight line Festool Detail Linear Sander. Each piece in each of the jump seats is unique. Nothing is interchangeable, so Joe’s first question was, “How can do you keep everything straight through the sanding, bleaching, staining and varnishing process?”
A combination of painter’s tape and Sharpies?
Joe, “There must be a better, more permanent but invisible way to do this.
Demonstrating how quickly Joe is becoming an asset for Snake Mountain Boatworks, he found a set of HimaPro wood/metal number and letter stamps on a shelf. Armed with these he proceeded to stamp each piece into the end grain after he sanded it. Voila! Amazon offers this boxed set of stamps. We, as well as folks working on this Lyman in the future will appreciate and benefit from this innovation.
Bleaching with Dalys Wood Finishes A&B Bleach begins this morning. Yes, Dalys is available from Amazon, but we source ours from the company, where you will also find a wealth of useful information.
Among the company’s most critically useful recommendations is, always start from the bottom up, lest you create a sea of white stalactites running down your hullsides and transom that are virtually impossible to erase.
RJ engaged some final helm station component fitting this morning. Next comes releasing the entirety of the new helm station seating and lockers, and then all of the ceilings for final sanding, bleaching, staining, sealing with CPES and varnishing. Welcome aboard Joe!
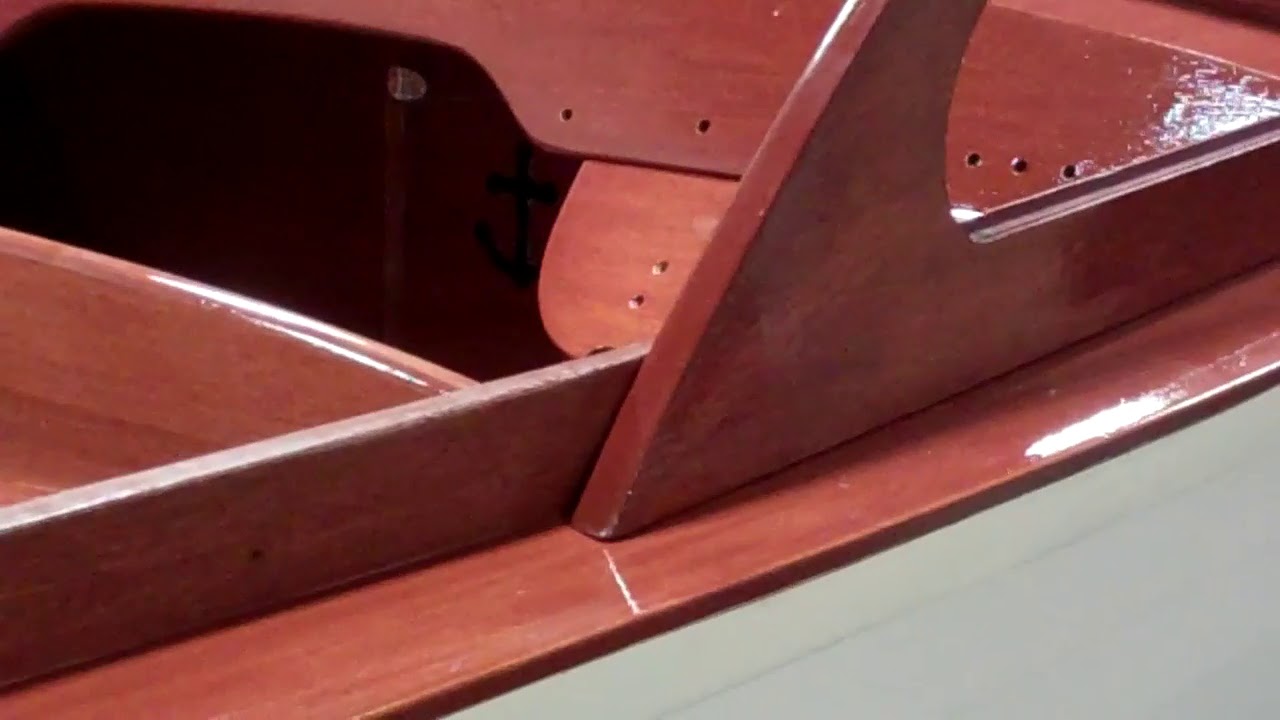
We’ve just begun, but even laying the ribbon-cut mahogany foredeck panels in place foreshadows just how elegant this old style, narrow strake 23’ 1957 Lyman Runabout will be at the end of her conservation.
RJ jokingly predicts that we will have the fore and aft deck panels anchored down by tomorrow afternoon. What he means is temporarily anchored while we complete the final fitting and sanding in around the perimeters of both decks.
We have stabilized the foredeck’s crown with temporary bracing placed vertically in the V-berth. Once both panels are fastened down along all three sides, the curvature of each panel is secure. Bowing them over the framing also shrinks their width. Once there are secured on both sides, there is no way to force either one flat since the edges cannot spread out. Yes, there will be a very slight bit of settling, maybe an eighth of an inch, which is why the crown is currently exaggerated to that same degree.
The perimeters of the foredeck panels will be bedded in 3M 5200 that we spread on the framing and then secured with #6 Frearson head silicon bronze wood screws along both edges and ring shank nails across the dash. We will not sink any fasteners through the body of either panel, which frees us from filing the surface with puttied fastener countersinks.
Doing so is superfluous as bowing the panels over the framing creates ample down pressure, which forces the panels and frames together. (RJ wins the prize: climbing into the V-berth and cleaning all of the 5200 squeeze-out around the frame members.)
I am getting ahead of my skis, however. Once all four panels have been fitted and secured temporally, they will be released. The edges and undersides will be sealed with three coats of Clear Penetrating Epoxy Sealer (CPES), and their undersides will receive multiple coats of Sandusky Paint Company Lyman Sand Tan bilge paint.
The toe rails will follow. After being sanding in to perfect inside and outside contours and their bottom sides are sealed with CPES, they will be installed with ring shank nails.
The aft deck panels and aft end of the king plank will be treated similarly.
Sealing and installing the covering boards, also bedded in 3M5200 will follow.
Once she is fully decked, all of her horizontal surfaces will be bleached, stained and sealed.