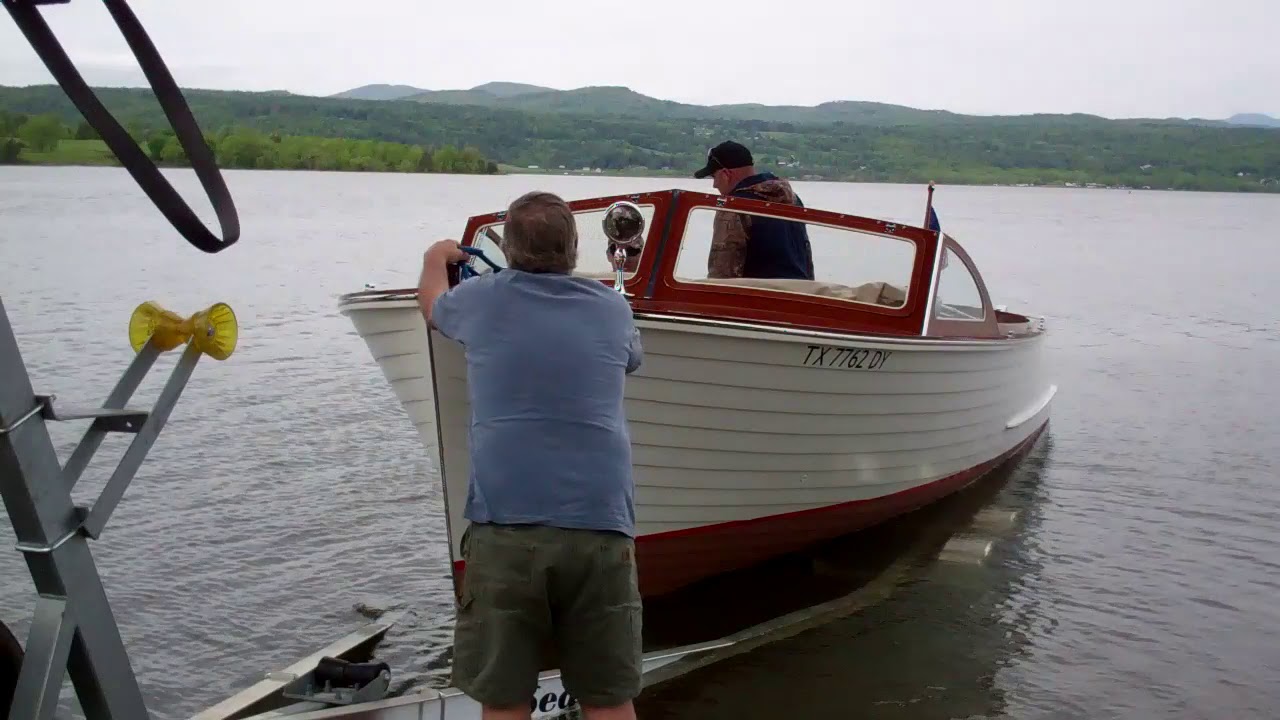
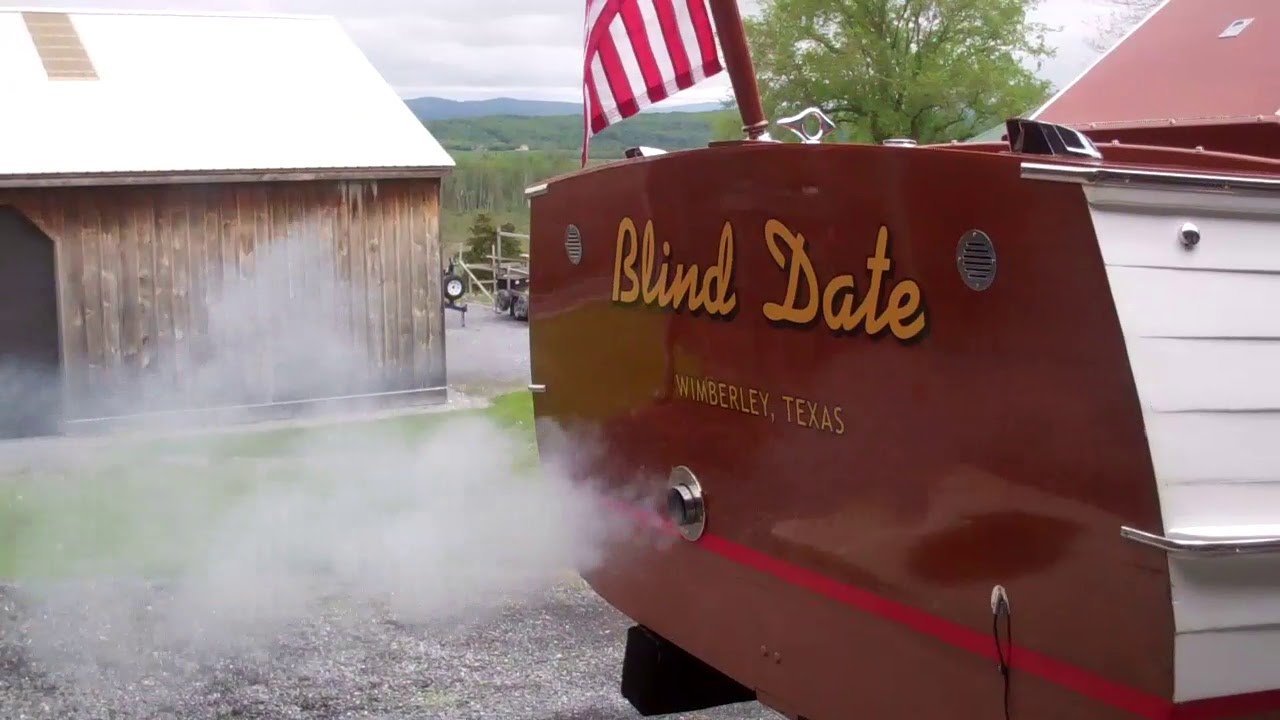
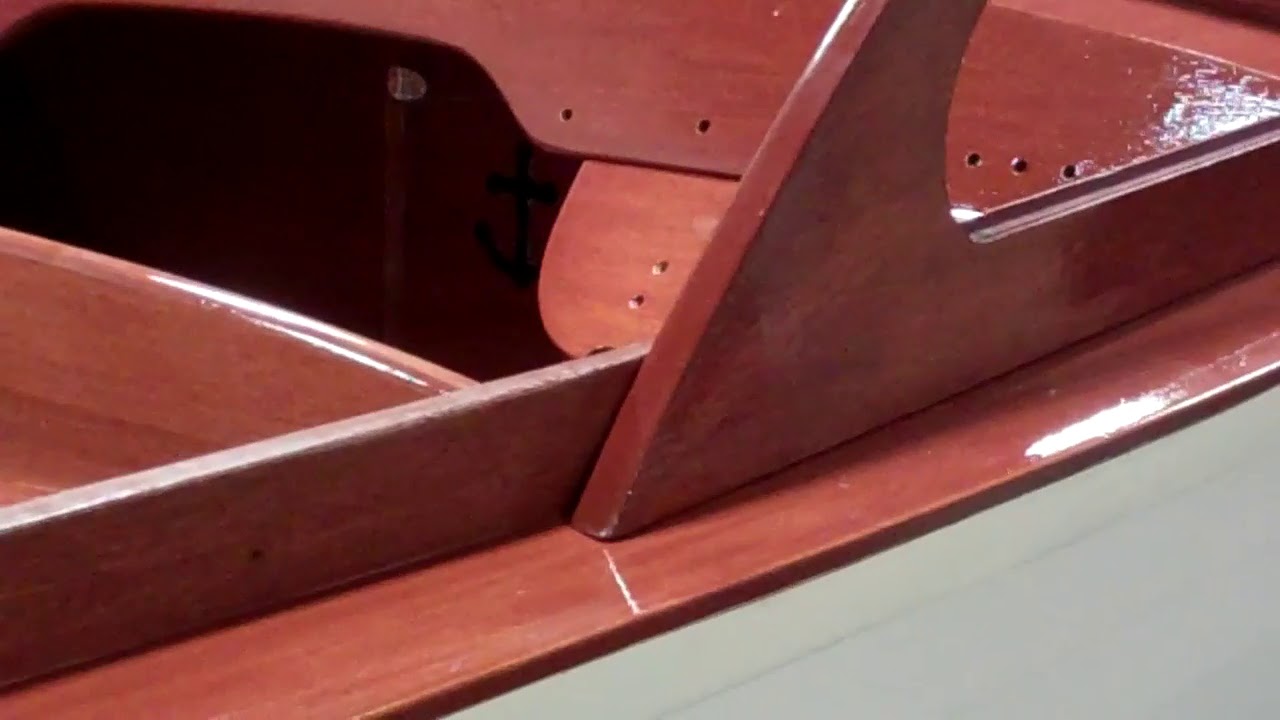
There’s nothing quite as rewarding is seeing over a year of blood, sweat and, yes, sometimes tears than watching our 1957 23-FT Lyman Runabout splash and cavort across the water. We spend many hours late yesterday afternoon sorting that #$%@+ carb out, but Blind Date shows everyone today that we finally did so. She’s so beautiful roaring across the water, growling all the way. Guess there’s not much else to say!
1957 Lyman Runabout Engine Run Test Milestone!
It “only” took us a bit over a year to reach today’s milestone, but it is here, and the engine run test went, well, pretty well, given that the engine sat for so long post-rebuild.
As you see in the clip, it ran beautifully and strongly, albeit with some stumbling, for about half an hour.
Then it began behaving like it was starving for gas, and finally was clearly in some distress. The carb was out prime suspect, so we pulled and disassembled it, only to find that, over the last year plus sitting in the shop, where temps and humidity rise and fall daily. The combination of the condensation and the carb sitting gunked it up, simply put. The jets were clogged and the float was sticking. (I guess I needn’t share our faux pas with the community, but am doing so to share the education we experienced today.)
Joe and RJ broke it down completely, cleaned it thoroughly to the point that it and all its components are now squeezy clean.
We bolted it back on, hooked all the linkages and choke up, and hit the key. That’s all and a bit of tuning was what she wanted.
She now roars to life, idles smoothly and accelerates without stumbling. Now she is running like a Swiss watch for sure!
We’ll have her on the water tomorrow, which will be her first time in well over 20 years.
Yes, we will be shooting video for her sea trial.
1954 Penn Yan Captivator Aristocrat Bottom Paint Preservation
Captivator’s bottom challenged us in so many ways. Save for fewer than a dozen, the bottom fasteners were both sound and tight. We found only one plank with a very small bit of rot on it. There was a small rotted area along her spine, right where the keel transitions into the stem, that appeared once we released her keel and keelson.
We caulked/sealed the Striptite below the waterline with Jamestown Distributors’ TotalBoat ThixoFlex, a product that was new to us, but came highly recommended by other shops that had extensive experience with it.
Bottom line. ThixoFlex is now our go-to product for any application that requires aggressive adhesion combined with maximum elasticity. I recommend it in place of Interlux Seam Compound, which, even when heated, is a vexing, frustrating, difficult-to-pay material.
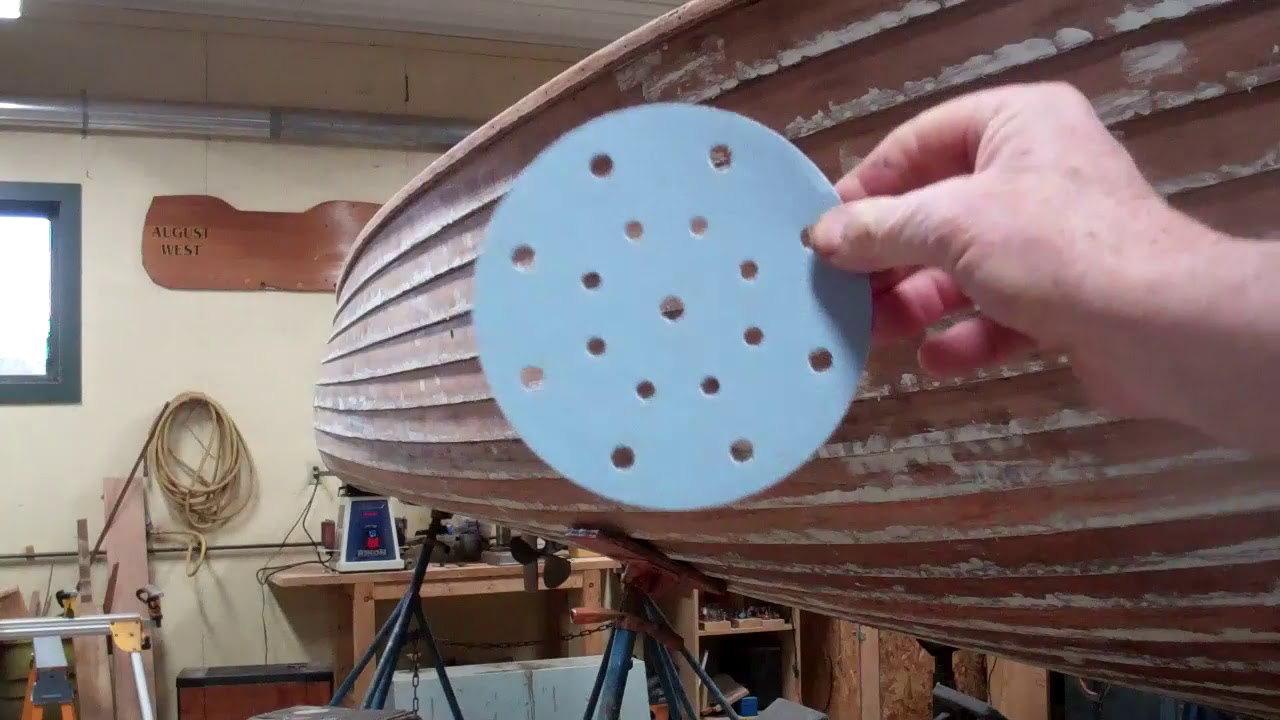
Once sealed with the ThixoFlex – first three passes, Joe sanded the entire bottom fair using 60 grit followed by 80 grit paper on a Festool inline sander.
We then sanded the new transom fair and stained it with Wood-Kote Brown Mahogany Jel’d Stain. Why would we stain the transom before we seal the bottom? A small section of the transom lies below the waterline, so it must be sealed with CPES ahead of priming and painting. We know from experience that, CPES migrates where it wants to go, even when masked using Frog Tape heated with a heat gun set at a low temperature.
Once it passes under the tape, it continues drizzling down the bare transom leaving a series of stalactites where the CPES has soaked into the mahogany. Now you have hell to pay and worse. Bleaching the transom will not pull the CPES out of the grain. Stripper does a little, but the lines will still be quite evident after staining.
Staining the transom first allowed us to seal the entire area all at once. No masking needed, and no risks of generating stalactites confront us.
Three full coats of Clear Penetrating Epoxy Sealer (CPES) followed.
We primed with two coats of Pettit Tie Coat Primer 6627.
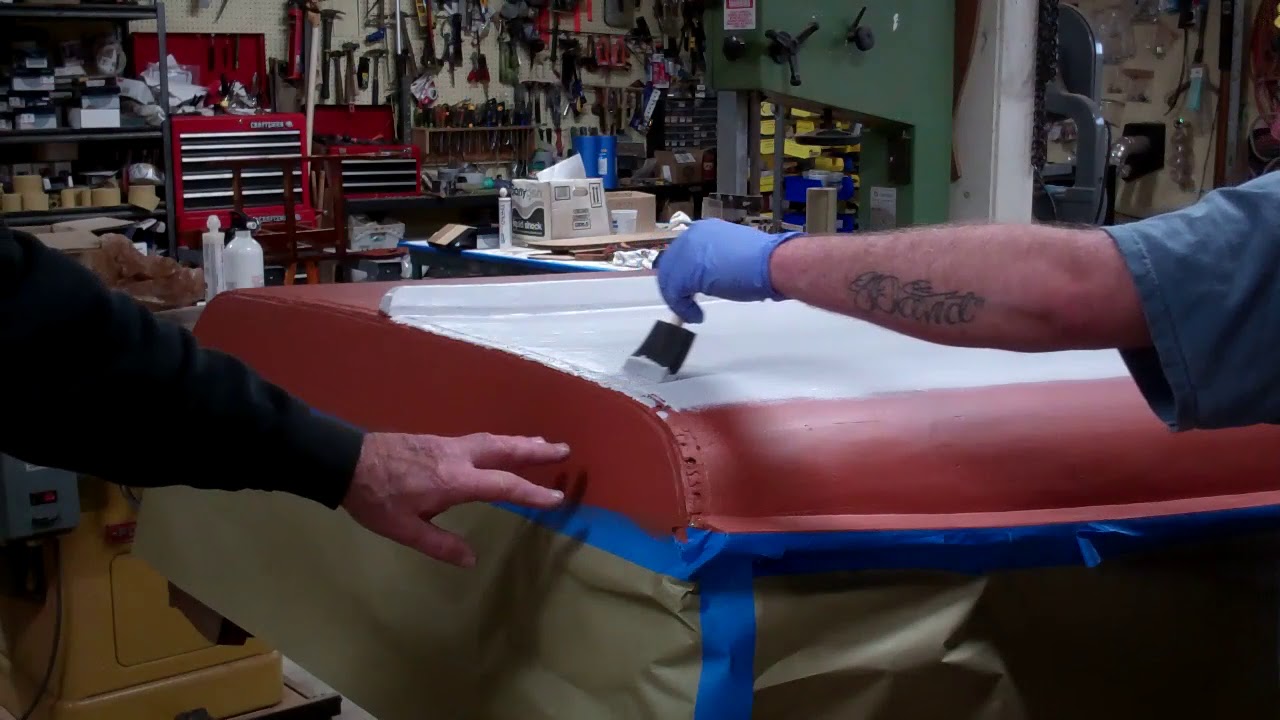
Joe began blowing through the bottom painting milestone this morning when he applied the first coat of TotalBoat Shark White JD Select Ablative Bottom Paint.
From Jamestown Distributors:
TotalBoat JD Select is a single-season, water-based ablative antifouling bottom paint that provides incredible results for a very low cost. It is low in VOCs, very easy to apply, and cleans up with just soap and water.
JD Select can be brushed, rolled, or sprayed then burnished for a smooth, fuel-efficient finish. With the exception of VC17, JD Select can be applied over aged antifouling coats without fear of lifting. Available in Black, Blue, Green, Red, Shark White & Teal. We will apply three coats now, and recommend that Captivator’s owner apply one coats per season in the future.
Flipping her aright cannot happen soon enough!
1951 Penn Yan 18′ Traveler Transport Steam Bath Time
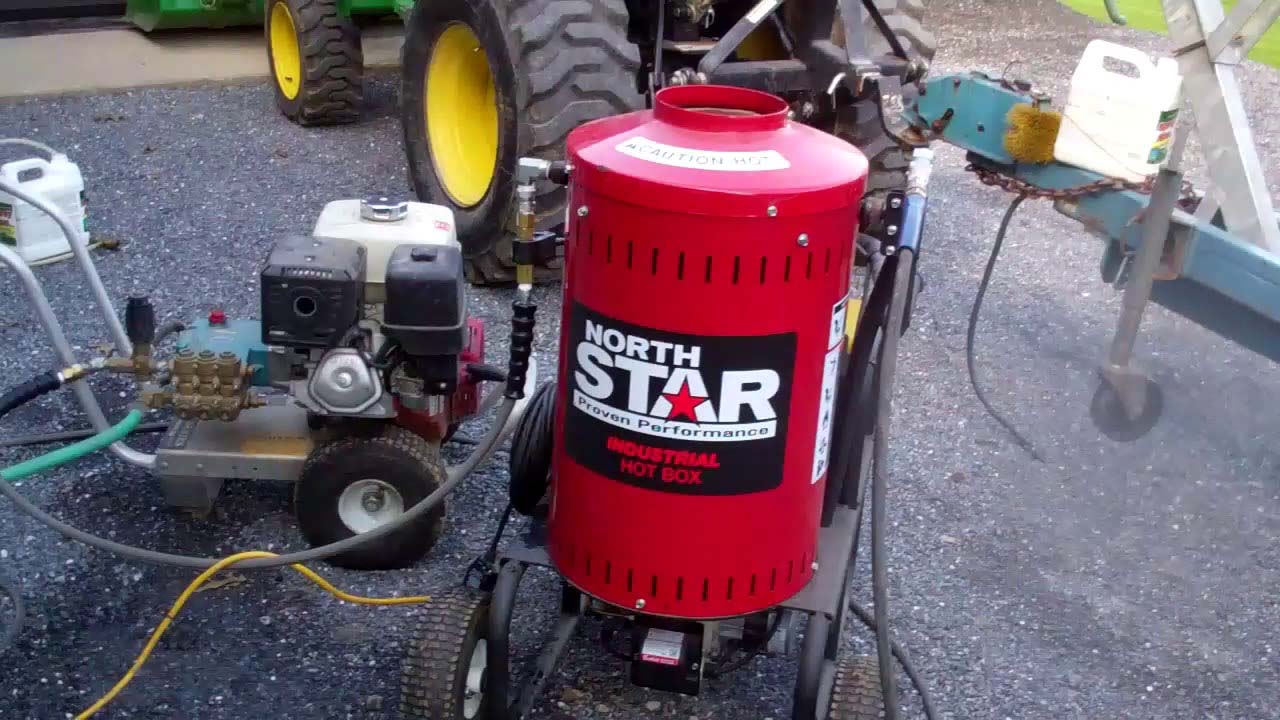
Finally, we have my 1951 18’ Penn Yan Traveler Transporter fully deconstructed. Pressure washing with highly heated water and Marine Spray Nine, a heavy-duty marine cleaner-degreaser is next.
The diesel-fired North Star Industrial Hot Box heats the water to 120 degrees Fahrenheit, and it is that heated water applied to the Spray-Nine-Soaked under high pressure that liquifies and sucks all oil, grease and other residue of the surface and out of the wood.
A word of caution. Notice that Joe and RJ are using a 25 degree fan nozzle. Anything narrower risks abrading wood and even cutting furrows into the soft inner planking.
Once we have her sparkling clean, and have given her at least a week inside to dry out. During that time we will address the two dropped corners where the aft deck meats the covering boards. We must raise the forward ends of the deck and then replace what appear to be missing blocking, but how we will achieve that goal remains to be seen …. Until RJ, lying on his back, can get up in there! With repairs behind us, we will next sand and then apply multiple coats of Sikkens Cetol Marine to the entire interior.
For now I am having way, way too much fun, first disassembling the seating components and engine box and then stripping what is surely a mountain of parts before I “get” to focus on stripping the ceilings.
Oh…. then comes the hull. (At least precious few coats of varnish have been applied to her over the years!
1951 Penn Yan 18′ Traveler Transport Deconstruction Update
According to Bob Speltz, The Real Runabouts, Vol. 6, pages 213, 214, “Four eighteen-foot models were offered in 1951, Traveler-Transport ($2,511), Traveler-Challenger ($2,578) Traveler-President ($2,892) and Traveler-Aristocraft ($2,927). All are stern-engined inboards.
“Penn Yan inboards with the front seat loaded to capacity and the stern seat empty, and ignition switched off at full speed to drag the propeller, will instantly lift its nose and settle into the water like a duck. A Penn Yan takes a wide-open throttle from a standing start. It lifts its nose instantly and “gets up and out of the wet” in a hurry. Penn Yans were also easy to steer; with the engine and rudder mounted so far aft, the constant fight of the rudder just disappeared.
“…The stern engine arrangement used by Penn Yan was used ever since 1932… Each Penn Yan inboard came equipped with a safety strut which was one-piece bronze casting attached to the transom carrying both the prop shaft and rudder stock … (The stern engine arrangement) has the effect of (adding) boat length behind the motor without hull buoyancy in that position, and that produced running characteristics that were hard to believe.
“… 1951 model Penn Yan inboard … (bottoms) were painted Chinese red to waterline… and upholstered in Chinese red Russaloid…Transports had cushions on driver’s seat only, with other cushions and backs offered as optional equipment.”
George Kirby Jr. Paint Co. Inc.’s Web site offers custom mixed “Penn Yan Chinese Red”, which I ordered. What!!!! Imagine my shock when it arrived. The paint was quite orange.
George was perplexed, “It must be I mixed the wrong color, or the card I received from some owner is wrong. Send me a piece of your color card and we will make it right.”
The surely dead-on Chinese Red paint arrived yesterday. Today I stripped the transom, hoping her owners simply applied new bottom paint over old, including the original coating. They did.
I reached for the Circa 1850 Heavy Body Paint and Varnish Remover and went to work. Yep the original bottom paint way down against the wood remained and rolled off.
ORANGE!!!!!!!!!!!!!!!!!!!!! What I found matches George’s “Penn Yan Chinese Red” exactly.
George graciously enjoyed a light moment. I will keep the PANTONE Chinese Red, such a beautiful color it is, and George’s Penn Yan Chinese Red will be applied to the bottom.
My challenge now is finding a source of Penn Yan Chinese Red Russialoid upholstery fabrics for the cushions and seat backs!
1937 Lyman Runabout Hull Stripping & Fairing Update
Our 1937 20-foot Lyman runabout is still planked in her original Philippine mahogany that has become as hard as any exotic tropical hardwood I have ever seen over her eighty plus years. Step aside Cocobolo and Bubinga!
Her hull has been stripped to bare wood from keel to gunwales and stem to stern. RJ and I then worked along each strake searching for loose rivet fasteners. We found two; yes, only two. However, she’s tangled with all manner of docks, trailers and possibly lake bottoms over those eighty years, so her strakes have been dinged and gouged, leaving a myriad of declivities and ragged strake edges that must be faired.
First, however, I reached for a pneumatic longboard sander and 80 grit paper, and got to work. OMG! Not only is most of this work well above my head, I might as well have been sanding our concrete floor! Well, not quite, but progress was all but nonexistent until I reached for the 60 grit. Once the surface was reasonably smooth and free of feathers and other waste, it was time to begin fairing with 3M Marine Premium Filler.
Our first pass, which focuses on all declivities, and is behind us, will be followed by sanding every strake as fair as is possible before we apply a second and final coat.
We will then sand again, first with 60 grit, followed by 80 grit, and, at least above the waterline, her hull will be ready for sealing with three coats of Clear Penetrating Epoxy Sealer (CPES).
Then we can focus on the below-waterline strakes that, while the wood is sound, will require substantial filling and fairing before we seal the strake-overlap seams with fillets of TotalBoat Thixo Flex.
She’s a tough old bird whose elegance is slowly reappearing. She will surely turn heads once she returns to Lake George in New York!
1954 Penn Yan Captivator Aristocrat Transom Bottom Preservation
Penn Yan Striptite hulls’ below-waterline plank seams are notoriously difficult to render watertight. We have used Interlux Seam Compound For Underwater Applications in the past. No longer. Once in place, the Seam Compound is pretty good at 3M 5200 is not. In fact, because it becomes increasingly hard and inelastic post-curing, 5200 tends to tear the wood fibers along the seams, or at least lose adhesion. This earlier video on the Captivator Aristocrat illustrates why 5200 is NOT the answer. Henceforth we will reach for TotalBoat Thixo Flex, which pays easily, adheres tenaciously and remains flexible when cured.
Here is the video I shot while paying the Thixo Flex.
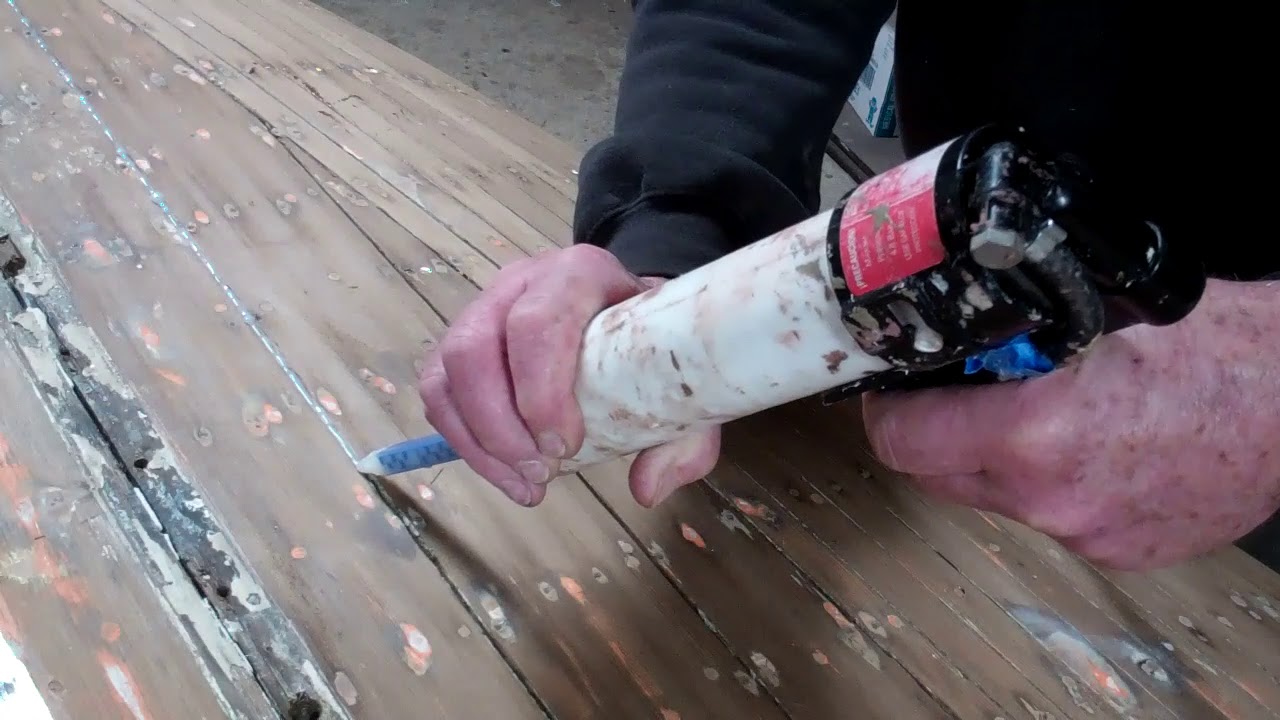
We use a piston-driven pneumatic caulking gun for this purpose, and not one that is air-driven.
Why? The Thixo Flex is packaged in two compartments in its tube to which a mixing tip supplied with the product has been attached. Since one component is much more viscous than the other, an air-driven gun tends to dispense the lighter component first, and therefore in proportions that keep it from curing.
A piston-driven gun, much like an hand-activated gun, dispenses the two components in precisely the correct proportions, such that the payed material is semi-cured in 24 hours or less, depending upon the ambient temperature.
Bottom line. If you will use a pneumatic caulking gun for dispensing Thixo Flex, be sure it is piston-driven.
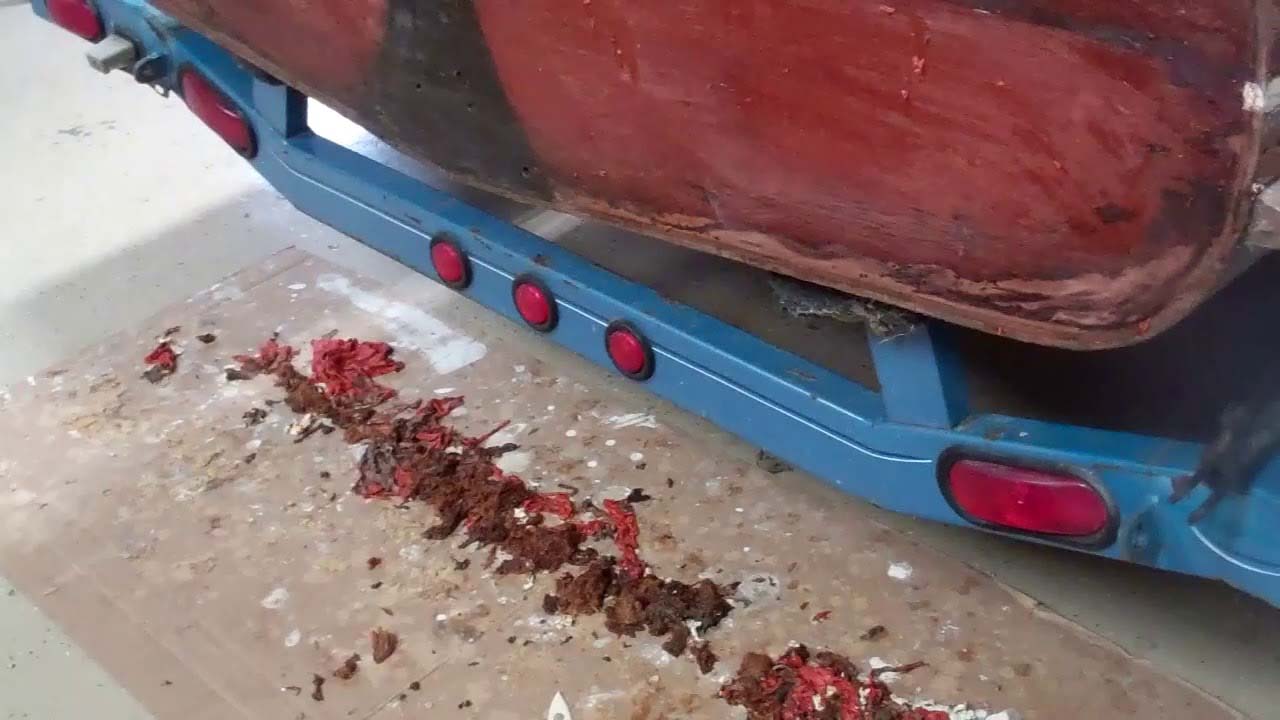
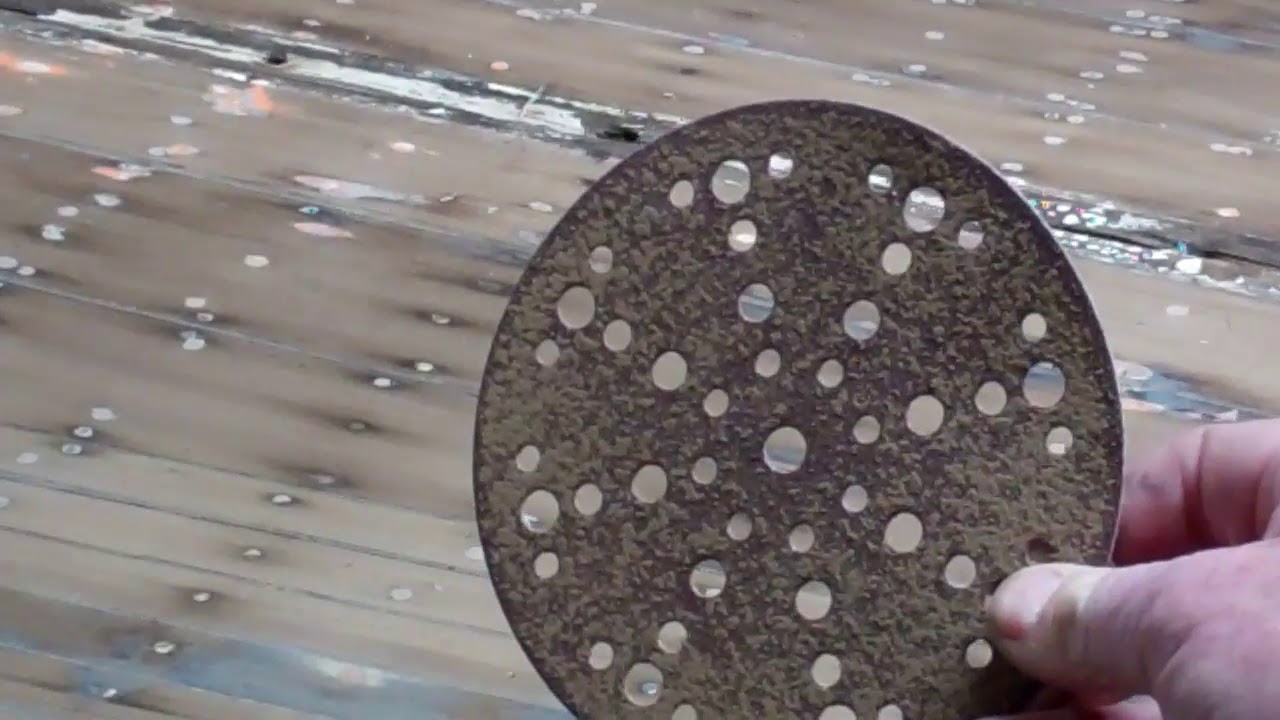
One additional caution. Because it remains flexible post-curing, Thixo Flex is hellish difficult to sand and tends to load sandpaper quite quickly. RJ and Joe spent the afternoon sanding the bottom with six-inch random-orbit sanders and 80 grit paper, and went through one-and-a-half boxes to reach a clean, fair surface.
Not surprisingly, we discovered multiple holidays – air bubbles, mostly – that we will fill in a final pass across the bottom.
Transplanting a new transom into the hull has also passed a major milestone. The new transom and its interior framing have been fabricated. Its interior surfaces have been sealed, stained and varnished, and it is ready for mounting on the hull.
First, however, we had to deal with the thin strip of mahogany that is attached to and runs along the interior surface of the planking tails. Much of it was rotted and came out with the failed transom. We had to excise the rest of it using a MultiMaster, followed by fabricating, steam bending and inserting a new strip in place.
Once the 3M 5200 has cured, probably several days from now, we will release the forest of clamps and mount the new transom.
With her topsides already stripped and ready for sanding, staining, sealing with Clear Penetrating Epoxy Sealer and varnishing, the pace should pick up over the coming weeks.SHOW LESS
1954 Penn Yan Captivator: How to Seal Bottom Seams using Thixo Flex
Sorry about the behemoth compressor firing up in the “background.” With five preservation projects fully engaged right now, I cannot simply shut the shop down when I shoot a video.
Finally, I am confident we have solved a chronic wood boat preservation conundrum, “My boat has an original bottom with open seams. I do not wish to, or in the case of a Striptite hull cannot, install a True 5200 Bottom. Nor do I typically drop her in the water where she lives all season. What are my options short of waiting for her to swell each time we launch and hope to use her?”
Hmmm …. Our stock answer has been, “Use Interlux Seam Compound for below water applications. It will remain elastic, compressible and able to withstand the swell-shrink cycle, even if the movement is miniscule, without overly compressing the wood on each side of the seam.” Save for two cases where a boat came back for new bottom paint and we found that some of the Seam Compound had become hard and brittle, I am still comfortable with it as a product that solves the problem. However….
OMG! Even when heated, it pays very, very poorly, and will fight you every inch of the way. What’s worse than all the time involved, Interlux recommends three applications.
There must be something better, especially in terms of ease and time cost of application.
I recently answered a query about the best material to use when sealing lapstrake topside strake seams with a small fillet. Our practice to date has been 3M5200, as long as the fillet is tiny, tiny in cross section, and any feathers beyond it are removed. One of you answered simply, “Use West G-Flex and you will be good.”
Hours and hours of subsequent research tells me that this person is correct. However, while two-part G-Flex is supplied in squeeze bottles and quart cans, Jamestown Distributors offers Thixo Flex, a TotalBoat brand version that is also two-part, satisfies G-Flex’s criteria for adhesion and lasting elasticity and is packaged in 10 oz. caulking tubes along with a mixing tip that delivers material in a fine stream that comes out having been mixed precisely.
Our tests, albeit only over several weeks rather than several years, and painfully small sampled, delivered a bond that is flexible and simply cannot be torn apart unless the wood fibers fail. After paying a seam’s worth, I use a super flexible putty knife to drive the material into the seam. (A plastic spreader may work as well, but I prefer the putty knife.)
The waste is scooped and spread into the next seam.
I should be able to finish the Captivator’s bottom spending about 2+ hours per side. Paying Seam Compound would take time measured in days, by contrast.
Once the Thixo Flex has cured, and after we’ve checked for any pin holes or holidays, we will sand the cured residue off the planks and seal the entire bottom with three full coats of Smith’s Clear Penetrating Epoxy Sealer.
Priming it with three coats of Pettit Tie Coat Primer 6627 will follow.
We must install the new transom bracing and transom before we can finish paying TotalBoat Thixo Flex into the bottom seams, however.
Step-by-step…
1957 Lyman Runabout Varnish & Assembly
So many parts. So much staining and varnishing!
But with 90 percent of the varnishing behind us, we have focused on assembly.
A word of caution when you attack saving one of these wonderful Lymans. Consistent with Lyman practice, we installed Nautolex Marine Vinyl Flooring in Natural to all of the floor panels. The results are simply spectacular, as this rich mixture of hues compliments that the mahogany ceilings, engine box and seating in a manner that delivers coherence.
However, Nautolex sheets are almost one-sixteenth inch thick. Once you apply it to the face and wrap it around the edges, you have added almost one-eighth inch to each panel’s thickness. And, since these panels run beneath the helm seating, if John had, not accounted for that extra thickness, none of the components would have fit. John did and they do fit. Phew!
Even the varnish’s film thickness makes a difference when reassembly begins.
Bottom line, all of us must think and plan for how various coatings will alter dimensions.
Altering the floor levels at the helm so that they are level with the rest of the floor did give us a surprise. This alteration also changed the position of the shift lever pivot relative to the floor such that the lever could not be installed on the original mounting block.
RJ and Joe once again demonstrated their resourcefulness by simply installing the floor panel beneath the mounting block after they wrapped the latter in Nautolex, which renders the block almost invisible. Here is a great example of less is more.
The coaming is secured with screws passing vertically and countersinks plugged with mahogany bungs. I suspect it is more personal choice than anything else, but we applied the first ten coats of varnish to the covering boards first, and now have installed, stained and sealed the coamings. (Yes, they are bedded in 5200.)
We will complete the final varnishing of the decks, covering boards, coaming, transom and firewall, and continue assembling her over the next week or so, at which time her hardware will be installed. Then she will be off to upholstery, canvas and lettering.
With 59 degrees Fahrenheit today – and back to the twenties next week, it’s sure difficult not to at least dream about seeing her floating. But with Lake Champlain frozen solid from shore to shore, I fear we’d be insulting her terribly by dragging her down there now!
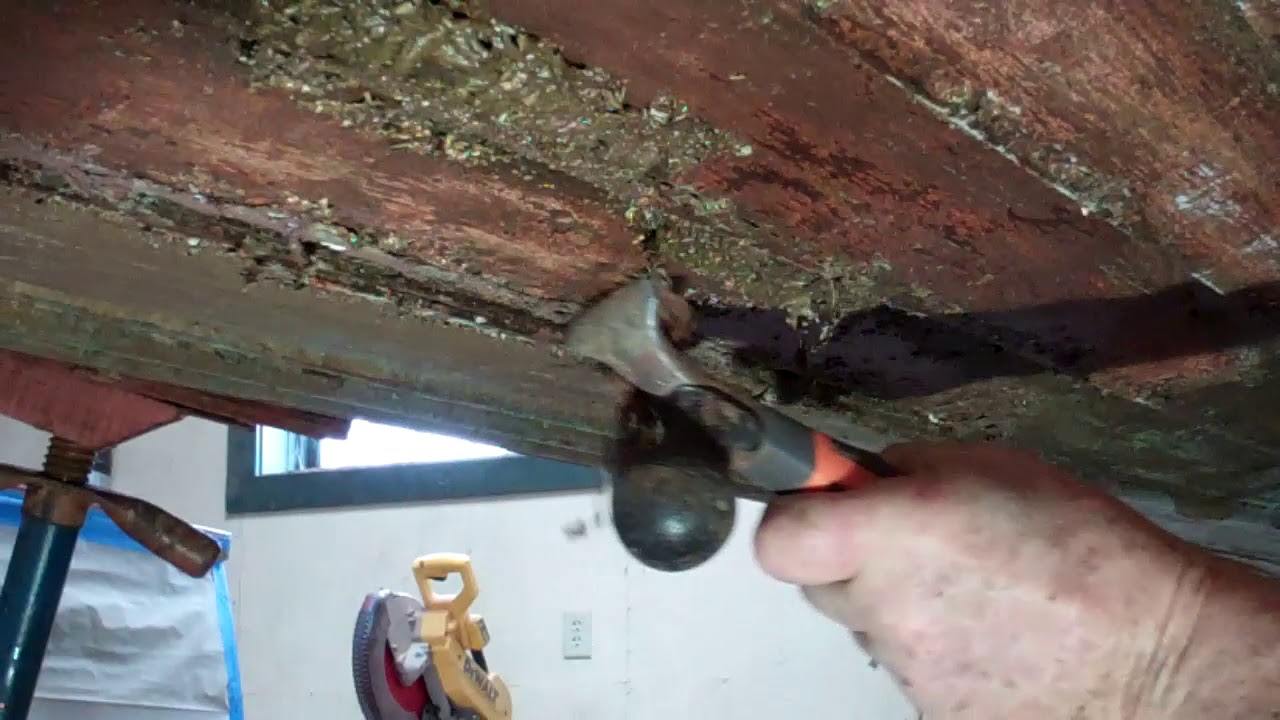
1937 Lyman Runabout – Stripping Eagle’s Bottom
After raising her five feet above the floor, RJ and I have been fully enjoying applying copious amounts of Circa 1850 Heavy Body Stripper – three coats in each area at a time before we begin removing what appears to be five to six coats of tired bottom paint between her boot strip and keel. The bottom planking is tight and the wood is in excellent shape, at least over the forward half of the bottom.
Our real disappointment erupted as soon as I began stripping the port garboard along the seam between it and the keel. The corner of my scraper blade caught the caulk payed into the seam and released about six feet of completely free material.
No, it was not 3M 5200. We found that imbedded all along the starboard garboard-keel seam. I’ve dealt with enough of this stuff bedding hardware on my sailboat. Boatlife Caulk it was. Adhered in any way to the wood anywhere it was not. A bit of tugging and long strings of this stuff literally just fell away.
That most of it exhibited a shiny, slick surface tells us that it most likely never adhered to the adjoining wood at all.
The seam is as much as a strong 7/16-inch wide in some places, and 3/8-inch wide along most of this distance. Properly addressing such seams is straightforward and involves first caulking them with cotton roving, which is then primed before paying the chosen caulking material begins.
All of that said, this experience, along with the arrival of this month’s issue of Practical Sailor and a heads up about a Wooden Boat Forum discussion on sealants got me to thinking.
While I am still researching, I believe there is value to you in sharing some of what I have learned to date.
Interlux Seam Compound v. Slick Seam Compound
Albeit twelve years ago, The Wooden Boat Forum hosted what can only be described as impassioned exchange.
One contribution reporting that heating, and then thinning the Interlux product with mineral spirits results in a consistency that “trowels out like butter.”
“…trick I used to use with any brand is to get a hot plate and put the can in a shallow pan of water and keep it hot, goes in the seams like butter, deeper, cleans up easy, and stiffens back as it cools…saves the fingers, hands, and wrists…and makes the bottom go quicker…..and another plus is in the cleaning process when you knife off the excess flush, and then wipe with your cleaner soaked rag, you get a concave seam, which allows for a smoother look after the boards have swelled…….”
And then there were several experienced-base observations that in cold climates where she must live on the hard for six months annually and dries out as a result, the Interlux Seam Sealer tends to become brittle and break away from the wood.
Bottom line: Slick Seam adheres tenaciously and handles the swell-shrink cycle well, but its waxy consistency presents offsetting issues that may outweigh its adherence advantage.
Interlux Seam Compound when heated and even thinned, applies easily, but may tend to lose adhesion during the annual swell-shrink cycles our woodies must endure.
Practical Sailor Magazine, March 2019 Issue – Sealant Testing Results
We tested a field of leading sealants including 3M 5200, 3M 4200 Fast Cure, 3M 4000 UV, Sika 291, Sika 295,Loctite PL S-40, Loctite PL Marine, Boat Life Caulk, Boat Life Seal, and Sudbury Elastomeric Sealant, for three years…. 3M 5200 Intended as a permanent bonding adhesive, not a sealant or bedding agent, 5200’s increased stiffness worked against it in the flexibility test. It took more than twice as much force to flex the samples, despite the fact that 5200 is thin and only about 50 percent as much material was present in the joint. To our surprise, 3M 5200 began losing bond strength by the third year. Bottom line: Recommended as an adhesive, but not as a flexible sealant.
SIKAFLEX 291
Sika 291 is Practical Sailor’s best buy of this group. “…(it) delivers more consistent bonding on a wider variety of materials. It came clean easier than most (of its competitors) and retained flexibility. Bottom line: A best choice for most applications. Missing in the results is any mention of Sika’s bonding to wood below the waterline.
BOATLIFE CAULK
This sealant failed to bond effectively in our shear testing, and it failed the flexibility testing completely, debonding completely the first time samples were bent. While you may like a sealant that is easy to remove, we think bond failure is never acceptable. Bottom line: Not acceptable.

