1957 Lyman Runabout Bottom Work Update

1957 lyman runabout bottom work

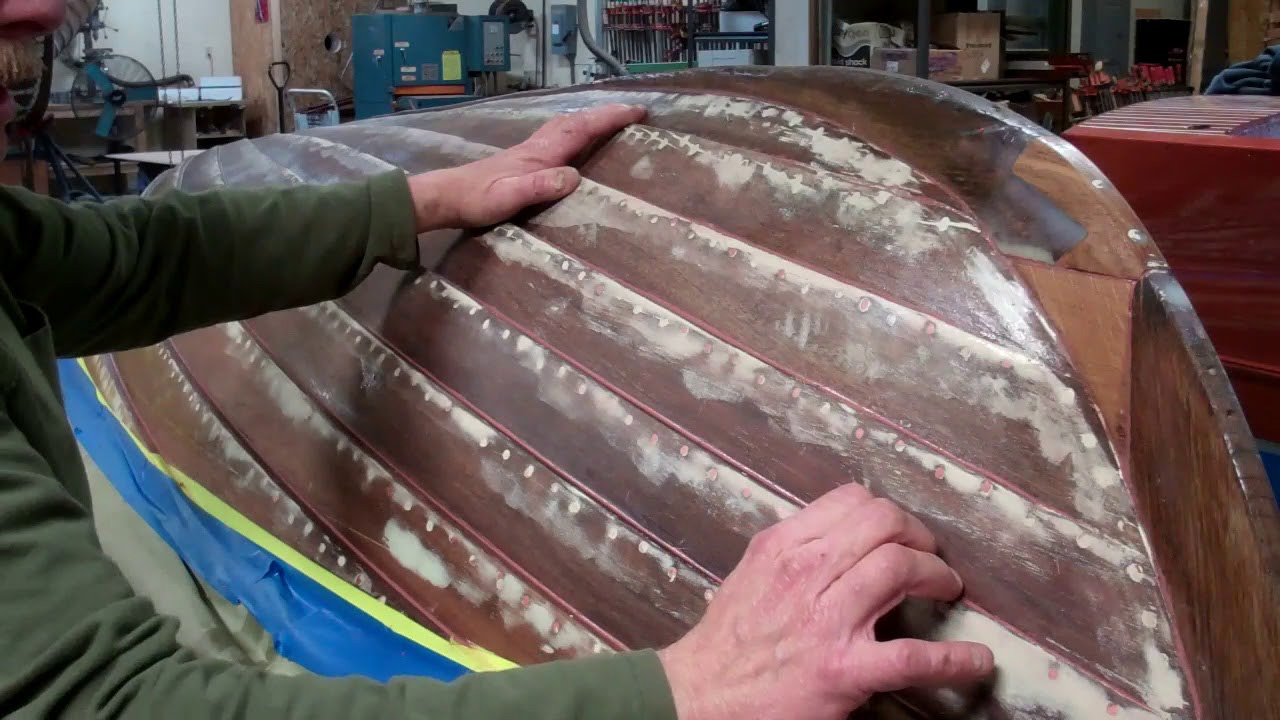
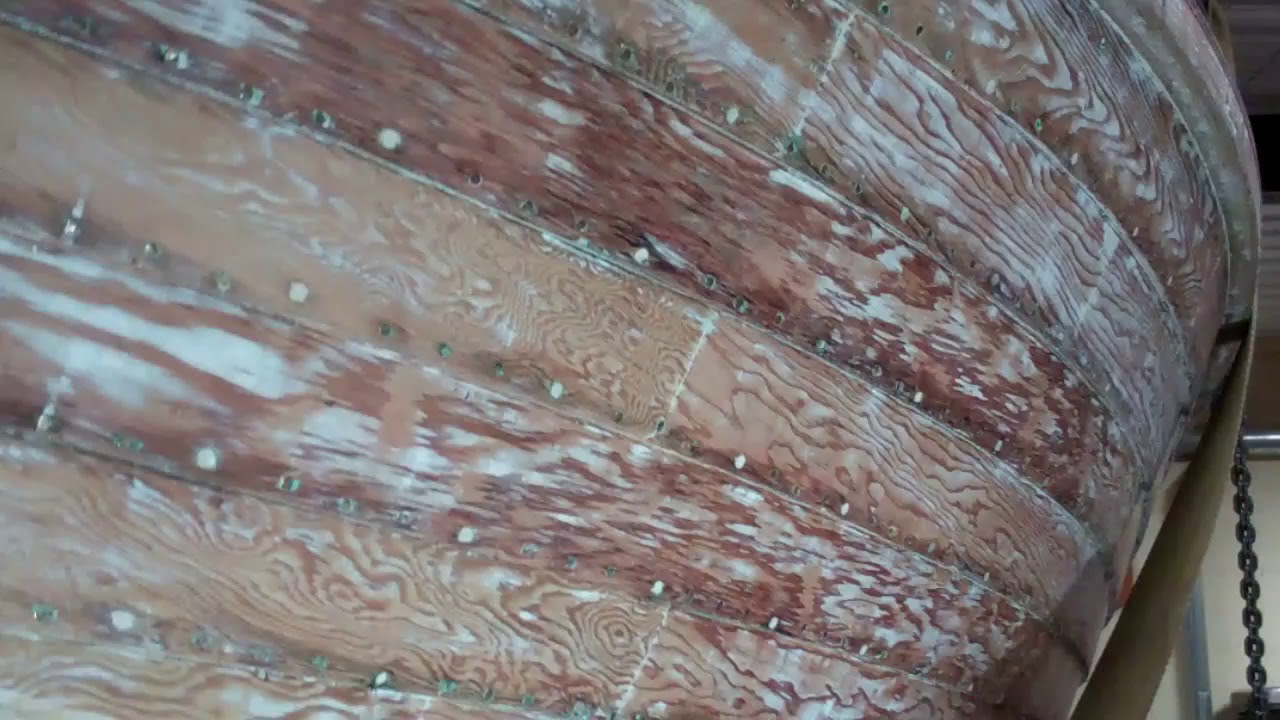
Our 1957 23’ Lyman Runabout’s hull continues to impress us with her originality and condition. Since our last update, RJ and I have focused to prepping the below-waterline strakes, garboards and keel for painting.

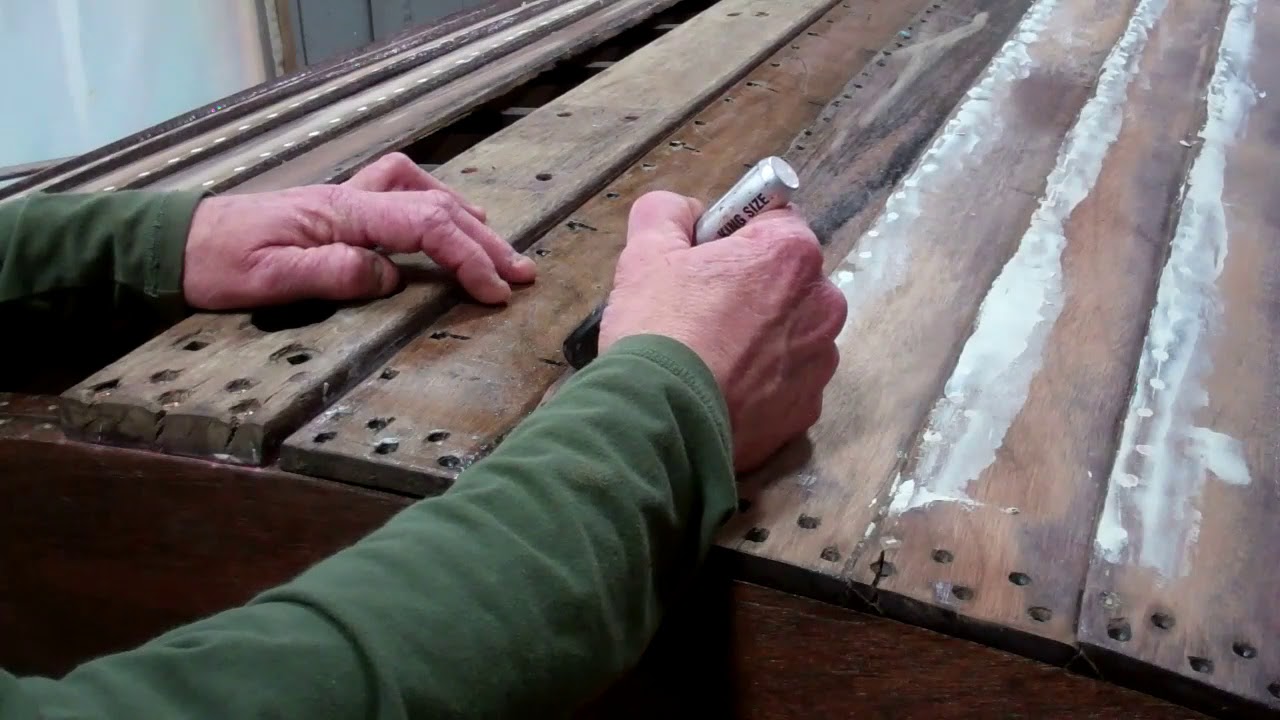
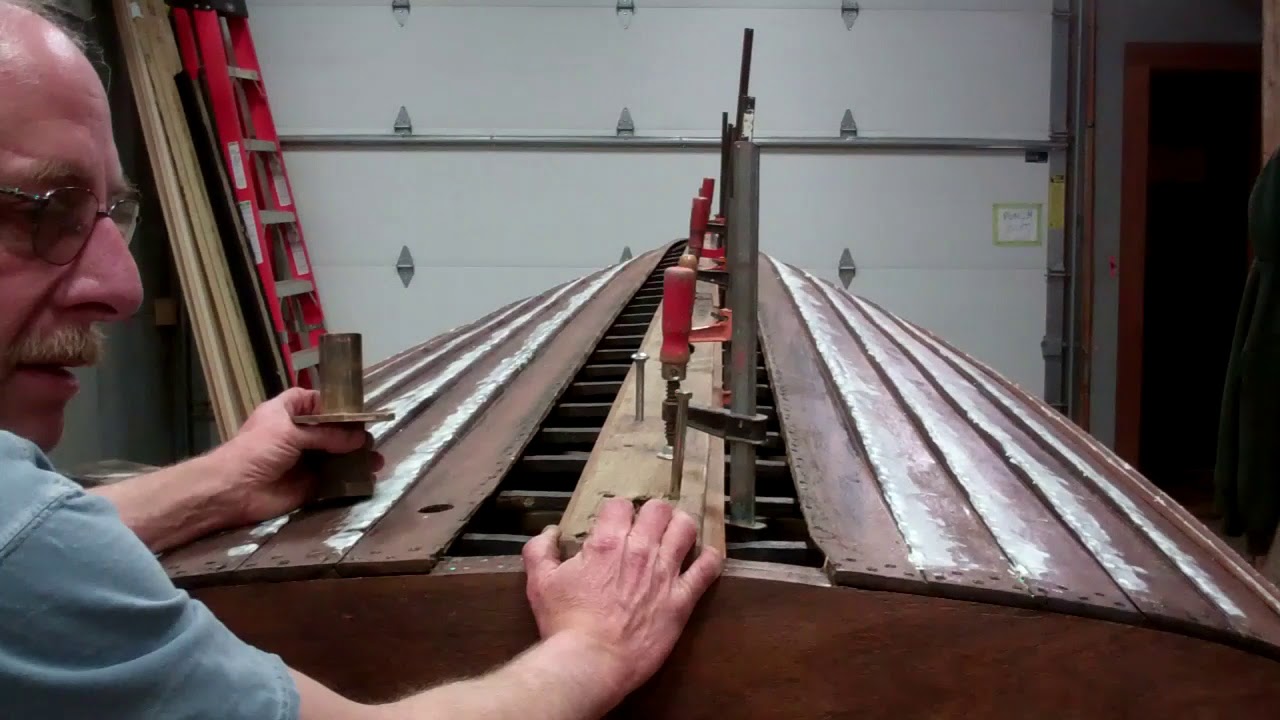
We have previously noted the Dutchman repair work awaiting John on the stem, knee and gripe. We have now added Dutchman repair needed on the keel about amidships. And we did find many loose strake fasteners that we tightened or replaced, but we have yet to discover any rot. Our fastener work followed stripping gobs of paint from and tightening the bottom strakes and garboards.

Fairing is next, a project we have nearly completed on port with the application of the third coats of 3M Marine Premium Filler. Starboard will be next.

Then comes sanding everything fair.

John took me to task for suggesting that we will sand with our random orbit, reminding me that, for runs as long as this hull presents, we will sand with our 18” Hutchins longboard sanders. Using the random orbit risks sanding undulations into the surface. (We will use the random orbit for short runs like the below-waterline area of the transom.)

It won’t be long before we are priming the bottom with Pettit Tie Coat Primer 6627 and then applying multiple layers of Sandusky Lyman Copper Bronze Antifouling paint.

Ding & Dent Repair Using TotalBoat Thixo Wood

dent repair totalboat thixo wood

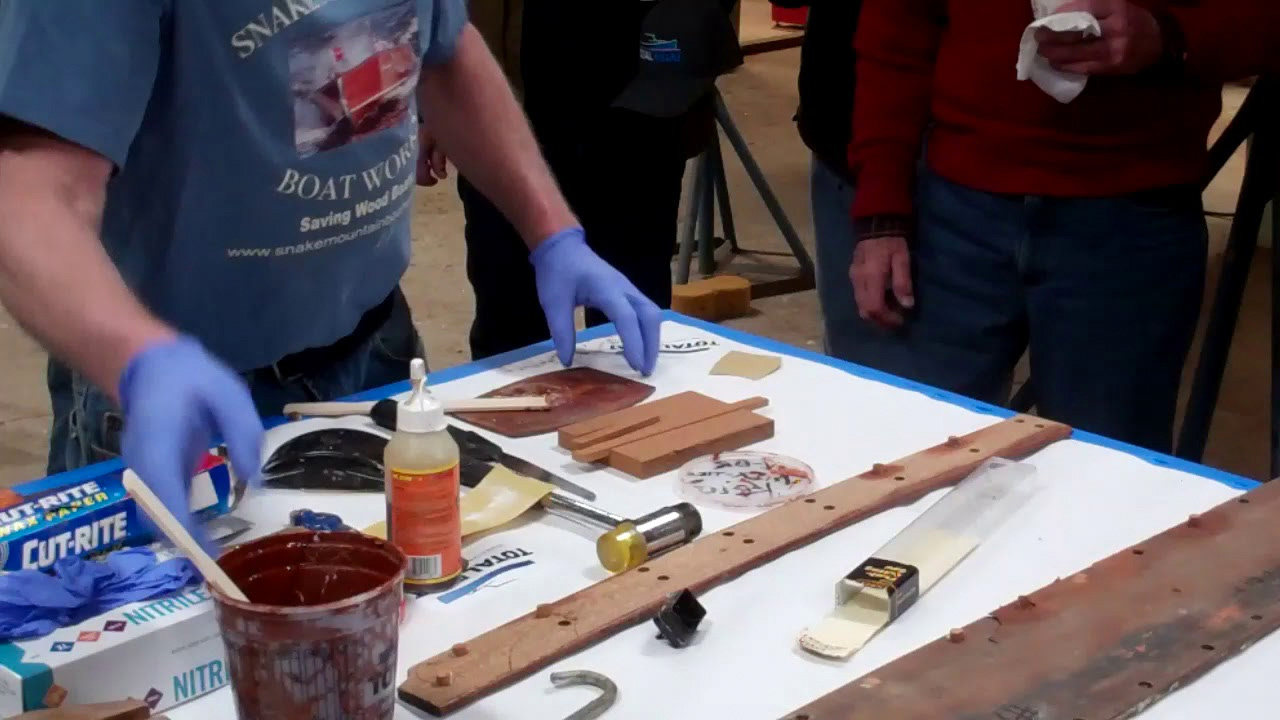
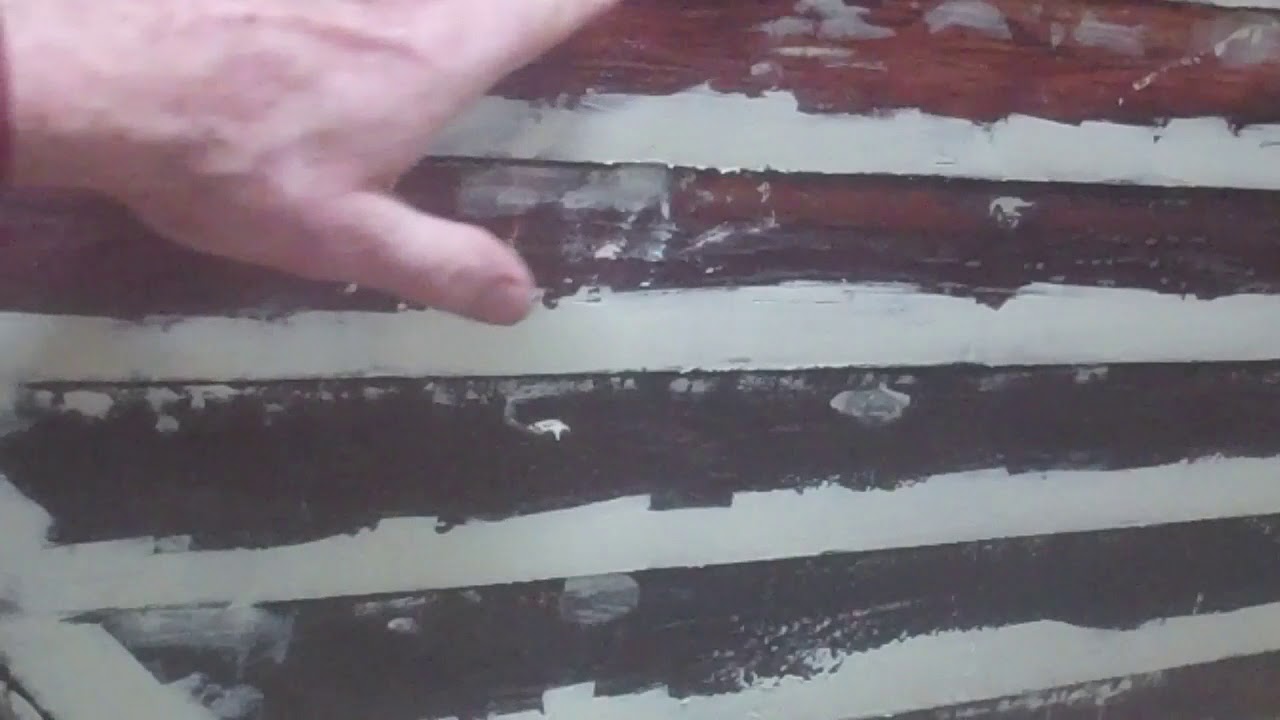
TotalBoat Thixo Wood 2.0 is the current and much, much improved generation of Jamestown Distributor’s wood-colored thickened epoxy adhesive that has a rich, dark brown finish, blends well with many different woods.

We have achieved even closer color matches in our conservation projects by mixing small amounts of the same Interlux Interstain being used in each project as we prepare each batch. For example removing countersink bungs is absolutely not an exact science. Not matter how careful we are, all too often a bit of the countersink edges comes out with the bung leaving a ragged edge behind. If Gorilla or other waterproof wood adhesive is used when inserting new bungs, those ragged edges, even if just slightly ragged, leave a light circular glue line behind. Glue simply will not take stain. (We did some testing trying to mix a bit of stain with the glue, but the results were worse than awful. Ever tried to mix oil and water? Now you know what happens when you try to get Gorilla or other wood glues to mix with stain.)

Making Dutchman patches invisible present similar challenges. Left behind all too often are the hated light glue lines.

With Thixo Wood 2.0 and a bit of stain, our bungs and Dutchman repairs are almost invisible. We’ve had similarly positive results wherever gluing wood or filling gaps is required. Uncertain and hugely difficult dispensing bedeviled the original formulation until we began sitting tubes in front of the pellet stoves that heat the shop.

Even then we could not be confident that the required 2:1 ratio would be dispensed, and only knew for sure that it was not 24 hours later when the material was still soft to the touch.

Happily Jamestown has improved the formula. Thixo 2.0 dispenses in the correct proportions reliably, and, while heating it a bit helps, it is markedly easier to dispense from a standard caulk gun—even in cooler conditions.

Yes, some reviewers have commented that it is a bit pricey, but in my world, rarely do price and cost vary together. What will it cost you to remove those bungs and Dutchmen, and the halos they sport if you attempt executing such repairs with wood glue? Viewed within this context, Thixo Wood is a bargain.

1940 16′ Lyman Yacht Tender Bottom Priming!

1940 lyman tender bottom priming

Susan, our 1940 16’, Cypress Lyman Yacht Tender’s bottom has reached a critical milestone. Reconstruction followed deconstruction that included releasing the keel, garboards and keelson was followed by fabricating and installing a new keelson.

As of this morning everything is back in place. The keelson and keel were installed bedded in 3M5200. The garboards were secured to the keelson using #6 x 1” Frearson head silicon bronze wood screws. 3M5200 was applied to the seams formed where the garboards and first strakes meet. Then RJ and I, happily with RJ running the clenching iron inside the hull, clenched the seams from transom to bow.

The bottom was faired using four applications of 3M Marine Premium Filler and sanded between coats. John hand sanded all of the strakes, garboards, keel, gripe and stem by hand until the bottom was absolutely fair.

We then applied the fourth coat of Clear Penetrating Epoxy Sealer from the waterline down. Why so much? Three coats were applied ahead of the Marine Premium Filler, but with everything sanded between coats, applying the fourth coat post-fairing buys additional insurance against water absorption and accumulation attacking paint adhesion and thereby facilitating rot.

From the Smith’s Web site: (CPES) creates a tough, flexible resin system that moves with the wood. It allows the wood to “breathe” so excess moisture does not accumulate behind it, promoting paint-failure and ultimately rot.

We then caulked all of the seams, those where two strakes meet, along the garboard-keel seam and that between the strake tails and the transom.

Milestone reached, Susan is poised for priming, and in our case the primer of choice is Interlux Interprotect 2000E Two-Part Epoxy, five coats of which will be applied over the next two days. Once we reach the target film thickness of 10 mils, Susan’s bottom will be protected against water absorption and it will be time to apply her bottom paint. (Since she will most likely be trailer or lift sailed, we may opt for Pettit Hard Racing Copper Bronze bottom paint in place of the traditional Sandusky Lyman Copper Bronze Antifouling paint, since the latter is designed for vessels that live in the water.)

1940 Lyman 16′ Yacht Tender Keelson, Keel, Gripe & Knee Update

1940 lyman yacht tender keelson keel gripe knee preservation

Our 1940 16’ Lyman Yacht Tender’s spine transplant is complete, and the patient is doing quite well. The new keelson and the keel’s underside received three applications of Clear Penetrating Epoxy Sealer (CPES). Following Danenberg, who insists that doing so delivers deeper penetration and more thorough sealing, the second coat was applied immediately following the first coat. The third coat was applied twenty-four hours later.

After fitting the keelson and keel to the boat and each other, and sinking a series of temporary position-holding screws through the keelson and into the keel, John bored the rudder and prop shaft bores. He also drilled the holes for the machine-threaded bolts that will secure the lifting ring, yes it is fixed to the keel/keelson and shaft log.

Confident that we could reassemble the pair and still have them matching, we separated them and frosted the mating surfaces with white 3M5200. (White is much less expensive than mahogany 5200 and delivers the same bonding strength. Since the bottom will be primed and painted, spending the extra that mahogany 5200 costs is just wasting money. However, be patient with the white as it takes as much as fifty percent longer to set up than the mahogany.)

After reassembling the now monolith-to-be and driving screws through the keelson into the keel, we installed it on ribs bedded with mahogany 5200. (Any squeeze out here will be visible in the bilge. Even though it will be thoroughly protected with Sandusky Paint Company Lyman sand tan bilge paint, we do not want to risk that a scuff or scrape exposes white 5200 beneath the paint.

John has also completed his knee semi-transplant, a truly complicated Dutchman, as well as fashioning Dutchman repairs to the forward end of the gripe. Once everything is sanded in and sealed with CPES, the bow will be ready for primer.

We will focus on installing both garboards, which will also be bedded in white 5200, over the next several hours, followed by securing the aft tails of the bottom strakes to the transom.

Then Michael “gets” to spend the rest of today and this weekend applying and sanding 3M Premium Marine Filler fairing compound to the countersinks. After a final application of CPES to the entire bottom, and caulking the strake-to-strake seams with 5200, Susan’s bottom will be ready for priming and painting.

Maybe next week?

1940 16′ Lyman Yacht Tender Bottom Work & Keelson Replacement

1940 lyman yacht tender bottom keelson replacement

John has fabricated and is now focused on installing the 1940 Lyman Yacht Tender’s new keelson. One hint if/when it is your turn to do so. Since the keel, and the keelson are bowed, they must be joined on the hull. While the difference in radii may appear small, there is a difference that will keep the rudder shaft, prop port and other components from lining up if the bores and fastener pilot holes are drilled and fasteners are driven in while the assembly sits on flat surfaces like work tables or saw horses.

John and I first positioned the keelson correctly along the ribs’ lower extremities and drove a half dozen or so temporary screws through the ribs and into the keelson. We then laid the keel in place, clamped everything together and drove position-holding screws through the keelson and into the keel.

Only then were we able to bore rudder shaft and other ports through the new keelson. We then removed the temporary screws passing through the ribs and into the keelson, which released the entire assembly.

It will be separated, receive a final application of CPES and then the keel and the keelson will be joined, yes, again on the hull, with a generous layer of 5200 “frosting” troweled on between the two planks.

Installing the garboards completes the replacement process, but cannot happen until all remnants of the old clench nails are removed.

We will finish fairing her below the waterline and John will complete the work needed on her stem and knee, and it will be time for Interlux PreKote primer.

Three coats of Sandusky Paint Company (SANPACO) Lyman Copper Bronze Antifouling paint

1940 Lyman Yacht Tender Gets a New Keelson

1940 lyman yacht tender new keelson

That we learn every day and with every boat we lays hands on makes wood boat conservation incredibly enriching.

Our 1940 16’ Lyman Yacht Tender, “Susan” has been our latest teacher since RJ and I began setting the below-waterline clench and rivet nails last Friday. (That RJ offered to “drive” the clenching iron while I popped each nail head with a bunch and dead blow hammer was a huge plus for me.)

We began at the waterline and worked strake-by-strake towards the keel. It was then that Mr. Murphy’s reared his ugly head. “Hey! We have a problem! I can see lots and lots of light coming through between the garboard and keel. It looks like the keelson is broken and split.”

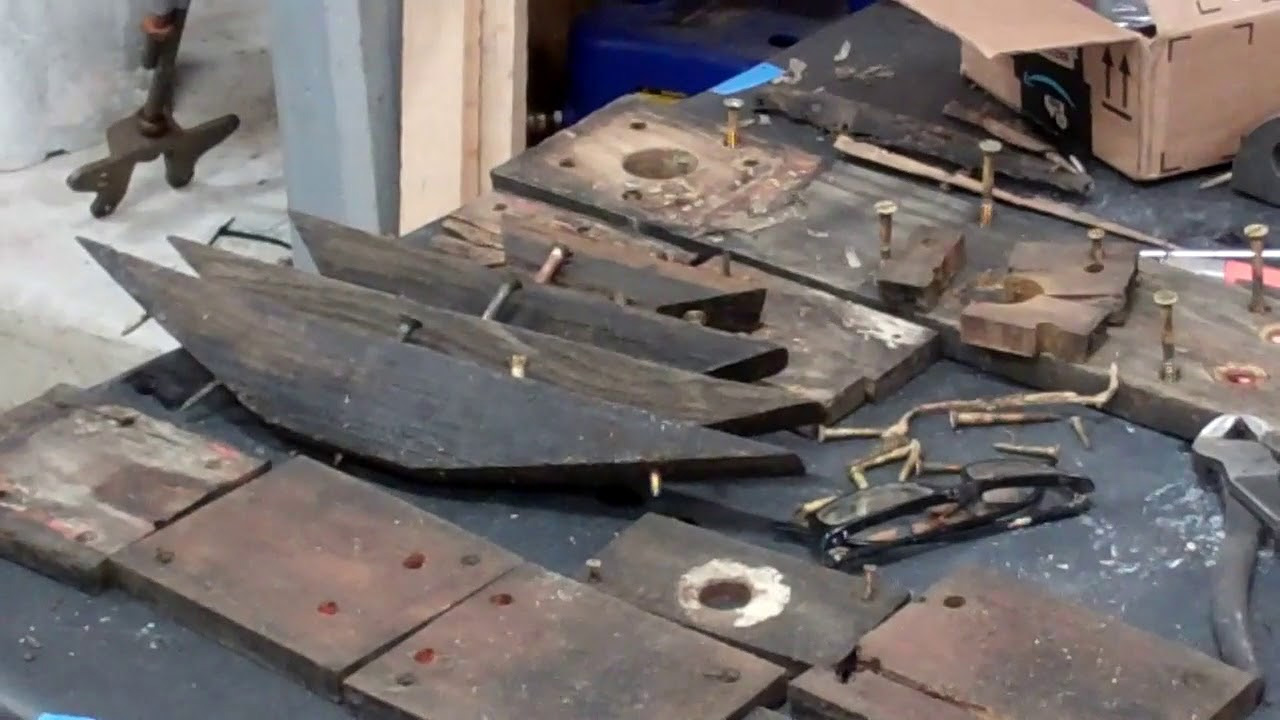
Next came backing out what must be one hundred or so screws and then cutting through all of the starboard garboard’s clench and rivet nails. Yes the very ones we had just so carefully tightened!

Out came the garboard, exposing the garboard’s, formerly chamfered starboard edge, or in about forty percent of it, what was left of same.

Sure. We could rip that chamfered edge off wherever it had failed and fit pieces in place. Then, using many tubes of 3M5200 and lots of bilge paint on the other side, we could have hidden our “repair.” It might have even held for a while, but unlikely longer than a season or two at most. Releasing and installing a newly fabricated, white oak keelson is the correct solution, and for us the only one we will put our names on.

So, with the port garboard having joined its starboard counterpart on a wall rack several hours later, it was time to release the keel and keelson.

I believe you will agree that, having viewed what we released in the clip, consigning the original, now 78 year old, keelson to the scrap pile is the best path forward.

1946 Chris Craft Brightside U22: How to Varnish 10+ Coats

1946 chris craft brightside u22 how to varnish

We have now passed the ten-coat milestone of our varnishing schedule, so it is time to sand the hull flat once again. (We roll and tip Interlux Perfection Two Part Varnish at each step using a three-inch yellow foam roller and a Wooster M5204-3 Tipping Brush.) Our goal is an absolutely flat surface that is devoid of dust and any sort of imperfection. In response to the several requests I have received, here is our varnishing schedule from the first coat through buffing.

  • Coats 1-3 then sand hull lightly with P220 followed by P400, taking particular care not to cut through the varnish to bare wood
  • Coats 4-7 then sand hull to a snow field with P220 followed by P400
  • Coats 8-10 then sand hull to a snow field with P220 followed by P400
  • Coats 11-13 then sand hull flat with P220 followed by P400 to a snow field
  • Coats 14-16 then sand hull flat with P220 followed by P400 to a snow field
  • Coats 17-20 then sand hull flat with P400 followed by P600 to a snow field

Once we have rolled and tipped the twentieth coat onto the hull, we examine surfaces for any remaining pits and sand to a snow field with P600.

  • Roll and tip coats 21 & 22, and let the varnish cure for at least two weeks, after which we wet sand with P1500, P2500 and P2500 and buff the surface absolutely flat to a glossy sheen that gives us the finish we seek.

1946 Chris Craft Brightside U22 Installing Her Splash Rails

1946 chris craft brightside u22 splash rails

Thank you for the several requests that we record how we install the splash rails on the 1946 Chris-Craft Brightside U22.

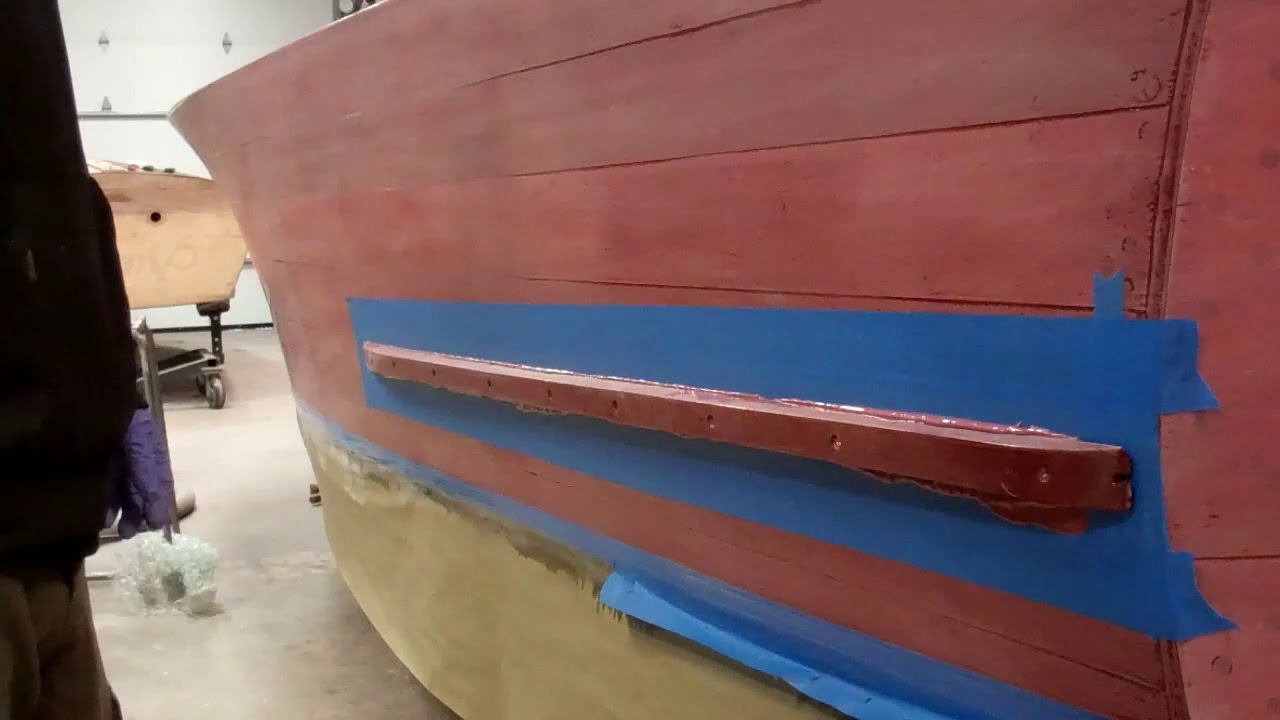
Since we must avoid screws punching through into the hull’s interior at all costs, we carefully recorded the length of each fastener as we removed them over a year ago now. That record guides RJ and John as they select and lay out the fasteners to be used in the order they will be sunk through the rails and into the hull planks, battens and frames.

Note in the clip that the rails are varnished. Indeed, we varnish all freed components as we varnish the hull. Therefore, all of them have had seven coats applied at this point. The rails will be sanded flat sometime next week before coat number eight is applied.

We bed the rails in generous beds of 3M5200. Why? Rotted splash rails, the planks behind them, and sadly, in several instances, the hull framing within have also been rotted. Sealing the rails with CPES and bedding them in 5200 guarantees that our U22 will not ever suffer this fate again. (We had to fabricate the rails anew because they had begun rotting. Happily the planks behind them were OK.)

Yes, yes. I know that those rails are all but permanently installed. However, Practical Sailor magazine has recently run tests of adhesion breaker materials that worked well freeing up joints that had been joined with 5200

1946 Chris Craft: How to Sand Varnish to Snow

1946 chris craft u22 sanding varnish

Flat = Gloss

This update on our conservation process at it applies to the 1946 Chris-Craft Brightside U22 is a close sequel to our last update. In that clip John was sanding the decks, covering boards, dash and seat frames by hand using 220 grit and a rubber sanding block.

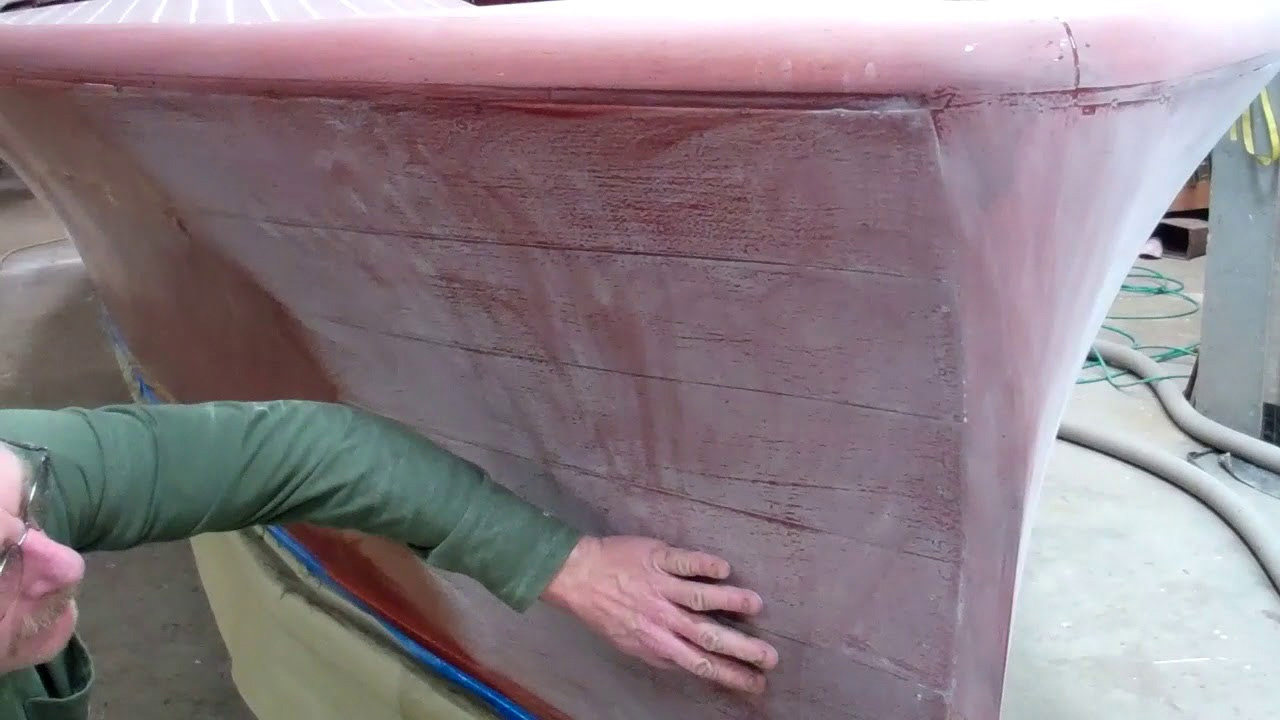
He continued and completed that stage and is now focused on the topsides and transom. He sanded the transom as he did the decks, by hand using a rubber block and 220 grit, but then followed with sanding it by hand using 400 grit on his block.

Given the compound curves on the topsides however, he is using one of our Festool random orbit sanders and a very soft sanding pad behind the first 220 grit and subsequently the 400 grit.

As you can see in the clip, the topsides started out far from flat. However, after brushing and tipping seven generous coats of Interlux Perfection Plus Two-Part Varnish onto them, John has lots of varnish to work with, so is being a bit more aggressive than was the case when he sanded – then by hand – between coats three and four.

We will wipe all surfaces down with acetone and install the splash rails ahead of applying coats eight to ten, at which time she will be sanded again.

Happy New Year!

1957 Lyman Runabout Post Stripping Update

1957 lyman runabout hull stripping

RJ and I have been challenging our shoulders, first dry-scraping all the loose bottom paint off our 1957 23’ Lyman runabout hull, and then finishing our trek down to bare wood with Jamestown Distributors’ Circa 1850 Heavy Body Paint and Varnish Remover; and yes, so much more scraping. Hours and hours, and gallons and gallons of stripper later, we have, well this video.

I swear someone applied “another couple of coats of antifoul” annually, whether the bottom needed it or not, and, after a point.

What it really needed was what we have just done. Clean it to bare wood; address any fastener, rot or other issues exposed in the process; sand it thoroughly with 80 grit; seal it with Clear Penetrating Epoxy Sealer; and fair the strake/nail edges with 3M Premium Marine Filler.

Now it is time for the Interlux 2000E Two Part Barrier Coat – five coats, followed by Sandusky Paint Company (SANPACO) Copper Bronze Antifouling Paint – at least three coats.

Happily, lying beneath all this “protection” is a hull that remains well-fastened, has zero rot, and that only needs relatively minor repairs. Most of those repairs will be focused on the stem, knee and gripe, with a scant bit of refastening of the garboards where someone once attempted to do so and failed miserably. (Refastening is just not well served by driving new, larger wood screws into old smaller holes. Plugging and then drilling new pilot holes is the only route to a screw that has bitten into and will hold a strake or garboard, or any other hull component in place.

Tomorrow, after we have refastened where necessary, we will begin applying Clear Penetrating Epoxy Sealer – three coats, which adds up to gallons on a hull of this scale. Fairing will follow.

Bottom primer and paint are not too far away!