Our 1956 Chris-Craft Capri Runabout blew past a major milestone today. Her decks and gunwales been sanded fair, Joe has replaced rotted perimeter wood along the margins of her cockpit, bleached with Daly’s A & B Wood Bleach, and stained using Lake Oswego Boat Co. J’eld stain – Post-War Chris-Craft
Next she will be sealed with multiple coats of Smith’s CPES, followed by scuff sanding using medium Scotch Brite pads, clean the entire surface with Acetone-dampened shop towels and begin applying Pettit Flagship High-Build varnish.
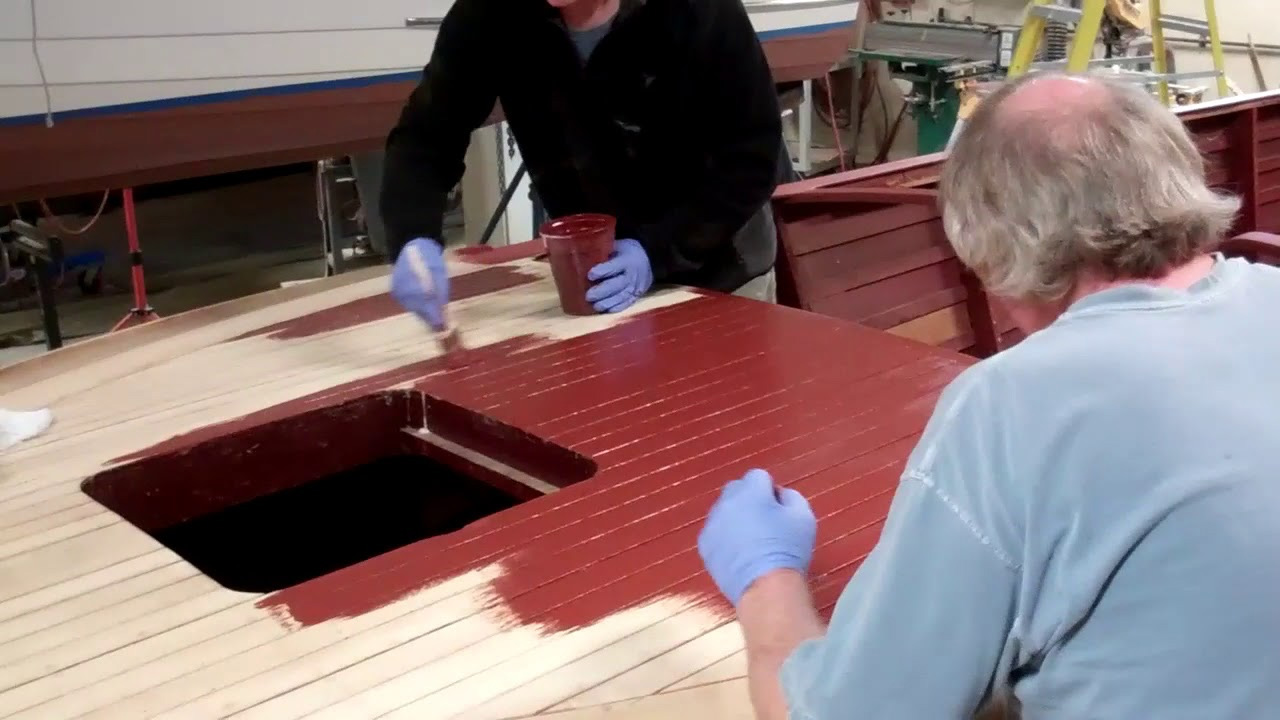
The blonde king plank will not be stained as we continue following the original Chris-Craft practice of simple varnishing it with an amber varnish, which will impart a honey-blonde hue.
After applying about 15 coats, and because they will be painted white, we will fill the deck seams using mahogany Sikaflex, paint them white using Interlux Boottop and Striping Enamel and then apply the final five or so coats using Pettit Z-Spar Captain’s Ultra Clear varnish, thereby adding UV protection to the paint.
What a great milestone to have disappearing in our wake.
Once the wood dried down to 5%-10% moisture content, which required applying Dalys A & B Wood Bleach, mixed 3B:2A, twice, the uniformity we sought was achieved.
Now that we have scuff-sanded the entire surface with medium grit Scotch Brite pads, it is time for bleaching her with Mike Mayer’s Lake Oswego Boat Co. Post-War Chris-Craft J’eld stain.
We are now standardized on J’eld stain, whether it is sourced directly from Wood Kote, or most often from Mike. The advantage of using Mike’s products is that he offers a wide array of stains formulated to match original company stains exactly.
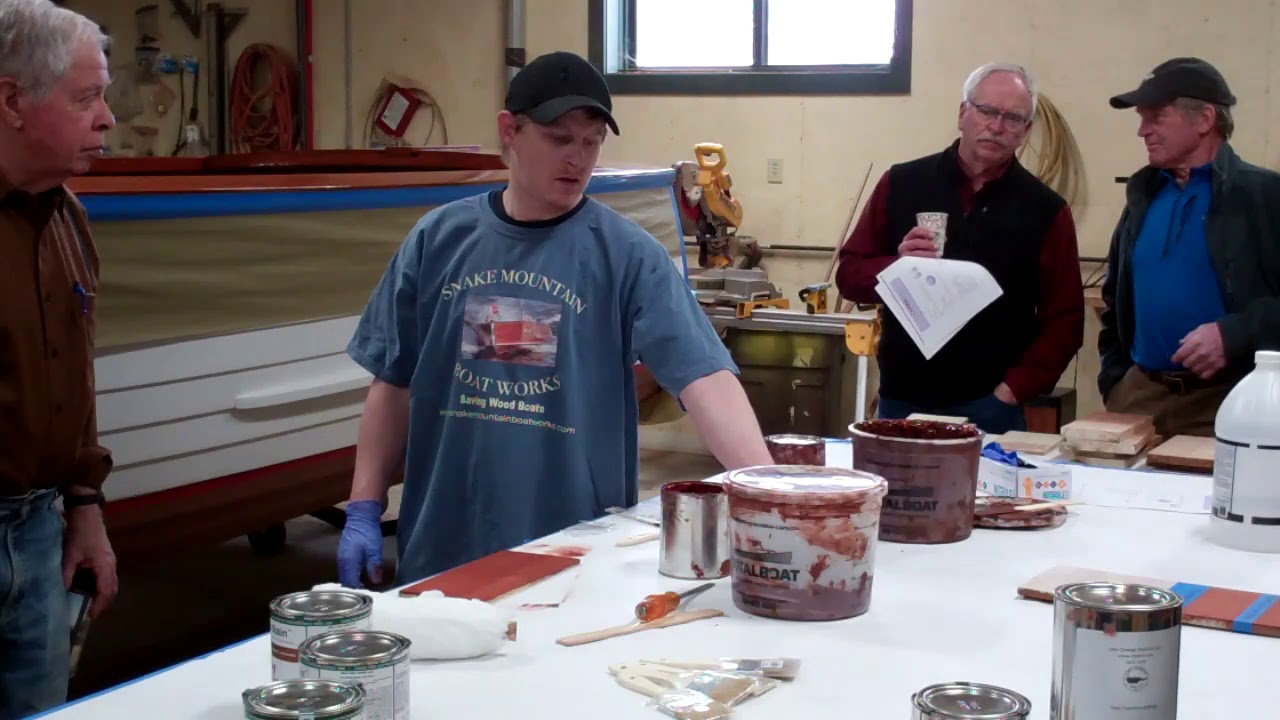
Snake Mountain Boatworks hosted its annual winter hands-on workshop for ACBS, and especially its Lake Champlain chapter on Saturday, February 2, 2019. We introduced folks to Jel’d wood stain,, or that is RJ and Joe did. The guys enticed most people to take a lap around the staining table.
SMB is now using Jel’d stain exclusively unless an owner insists on us applying Interlux Interstain Filler Stain.
Here is why and where you can purchase a stain we find to be truly exceptional.
Paste Filler Stain
Filler stains are made to color the wood and also fill the grain of open grained woods, such as Mahogany.
While they do have grain filling qualities, they do not fill the grain all the way.
Traditional varnishes “flow out” or “sink into” the grain after a few months, which requires adding varnish after the first season to sustain a perfectly glossy finish.
Once the follow-up coats of varnish are applied the boat will retain its glossy finish.
Jel’d Stain
Many colors are available
Jel’d stain is available in twenty-five colors from Wood Kot
The red, brown and dark mahogany, as well as the walnut match, or come very close to standard antique and classic wood boat colors.
Mike Mayer, who owns Lake Oswego Boat Company in West Linn, OR, is the exclusive mixologist and supplier of custom-mixed Jel’d stain that matches many wood boat makes’ OEM stain colors exactly. Mike can be reached by email, [email protected], or via his Web site: www.loboat.com.
Century
Chris-Craft Pre-War
Chris-Craft Post-War
Chris-Craft Blonde
Chris-Craft Dark
Gar Wood
Hacker-Craft
Interlux Interstain 42
Interlux Interstain 573 (CC Post-War)
Use it right out of the can
Filler stains must be mixed in a separate container after you scrape all the solids out of the can.
Evaporation causes filler stain’s final mixed consistency to change continually during the stain process.
Thinner must be added as a result. Maintaining exactly the same consistency through a project, especially in warmer weather, is difficult as a result. Maintaining consistent color is rendered quite challenging as a result.
That the stain cannot be scrubbed until it flashes adds additional complexity to the process. Not waiting long enough produces streaking. Waiting too long can force you to reach for thinner to liquify the already-applied-and-flashed stain anew.
Even when you don’t stop with filler stains. it is difficult to maintain consistency in color and avoid blotches.
Easy to apply
Jel’d stain can be applied easily with a rag or a brush.
Unlike filler stain, applying Jel’d stain can even stop in the middle and be resumed later.
Timing is critical when removing filler stain, but not for Jel’d stain. There is no waiting for Jel’d stain. Since it does not flash, a second person can follow immediately behind the one applying the stain, rubbing it into the wood in a circular motion and then wiping off the excess stain with the grain immediately.
The process produces a uniform color because no waiting for and judging of the degree of flashing is required.
Sand out scratches while Jel’d stain is being applied
o There is nothing worse than finding cross-grain scratches and sanding marks while applying stain. o Scratches or blemishes can be sanded out; new Jel’d stain can be re-applied immediately; and everything will blend. Two to Three Times More Coverage o Jel’d stain will cover 1,250 to 1,500 square feet per gallon.
Fast drying
Wood Kote specifies “at least four hours,” but Mike Mayer recommends waiting at least 24 hours before applying sealer, and even longer in colder temperatures.
Whether we are applying Interlux Interstain Filler Stain or Jel’d stain, we allow a full two to four days cure time to ensure that applying CPES does not partially reliquify and then drag the stain.
With nineteen coats of Pettit Easypoxy Hi-Build varnish applied to her topsides, transom; and engine box, seating and windshield components; it is time to turn our focus to the decks, coamings and rub rails of our 1940 16’ Lyman Custom Yacht Tender with aft-facing aft cockpit.
Lyman offered this basic hull configuration as a yacht tender like mine, but also as a runabout. Whether the aft cockpit faced forward or aft was the buyer’s choice. He or she could also order a windshield that folded down or one that was fixed. Mine is fixed.
My research also suggest that the fore and aft deck seams were sealed with a mahogany caulking material that only filled the seam channels about two-thirds, with the rest left open so she presents herself with strong lines, lines that help offset the reality that she is quite beamy for her length. (We wull use Sikaflex 291 LOT in mahogany.)
Today we are applying Sandusky Chris-Craft red mahogany filler stain? Why not the somewhat browner Lyman mahogany stain? Again what few period photos I can find and the several of these vessels built between 1938 and 1940 tended to have a somewhat red cast, which in this case will complement the blonde Cypress topsides rather nicely.
Additionally, in our experience, the red morphs toward red-brown as we apply the three coats of CPES and the Pettit Hi-Build that will follow.
CPES is next, and will be applied on Monday, the first two coats with the second following the first immediately per Danenberg, with a third coat applied Tuesday morning.
Filling the seams will be next, followed by the initial coats of varnish, a process that will continue until we reach twenty-two or so coats.
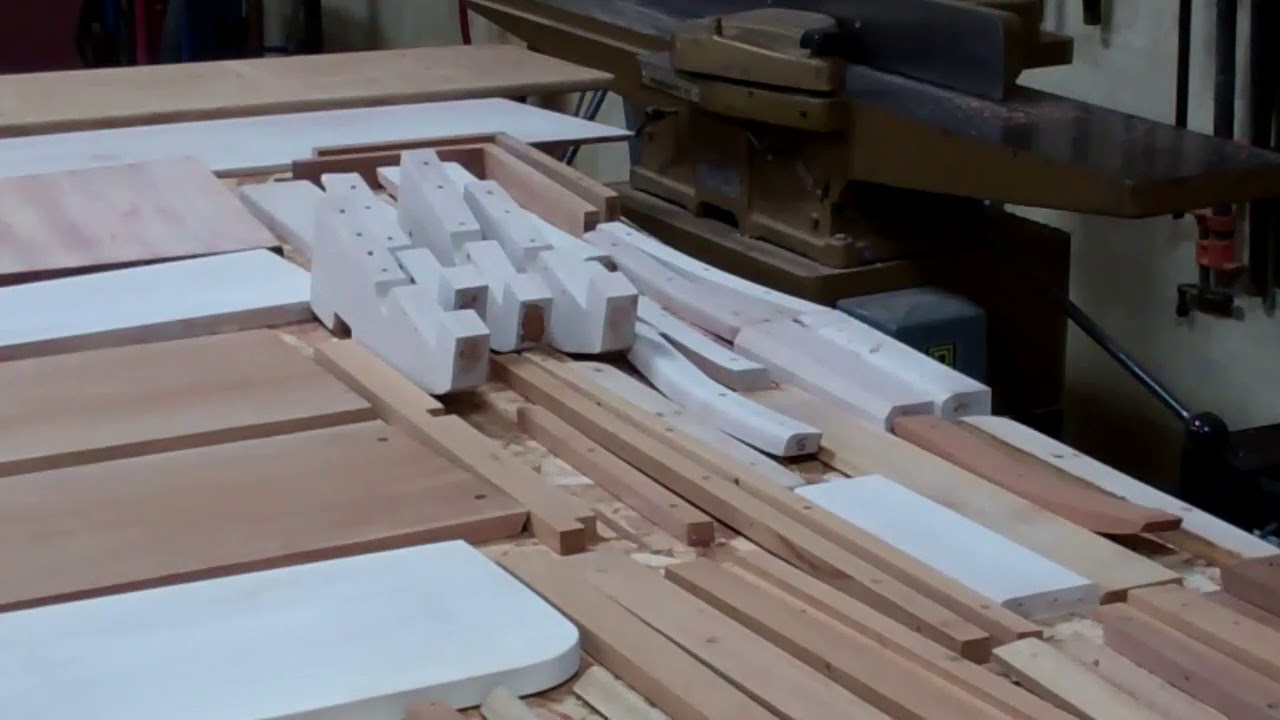
We’ve just blasted through a major milestone in our 1957 23’ Lyman Runabout preservation! ALL parts destined for her cockpit have been stripped, fabricated where needed, test-installed, sanded and bleached.
If you watch one of her recent videos again, you might conclude, as others have, that there were very few parts involved.
And I’ve received multiple emails suggesting we were just exaggerating what was involved in creating and fabricating a pair of jump seats and entirely reconceived helm station seating and lockers.
Well, all I can tell you is that RJ, Joe and I were shocked this morning after we had laid all these parts out in preparation for launching into staining them on Monday. Who would have thought!? Staining is next and, as is detailed in the clip, we will use Wood Kote Jel’d stain for this task. (Available from Super F Paint and elsewhere).
From Wood Kote:
Basic Use Jel’d Stain is formulated for interior wood surfaces such as casework, doors, trim, paneling and cabinets. It matches the corresponding colors of Jel’d Stain 550 & 250 and Liquid Stain 550 & 250. Jel’d Stain may be applied to bare or bleached wood. It is compatible with a variety of other Wood Kote products. Please refer to the Wood Kote Schedule of Product Compatibility and Recommended Dry Times. Jel’d Stain DOES NOT comply with the US Environmental Protection Agency (EPA) Volatile Organic Compound (VOC) emission requirements for Architectural and Industrial Maintenance coatings (effective 13Sep99).
Coverage One application of Jel’d Stain will cover approximately 1250-1500 sq. ft./gal (30,6-36,8 m2/L).
Composition & Properties Jel’d Stain is a fast-drying semitransparent pigment wood stain. It is intended for application without thinning. If thinning is desired, PolySolvent (mineral spirits) should be used or, if regulations require a VOC-exempt thinner, use AceThin (acetone).
Depending upon the boat you own or are preserving, contacting Mike Mayer, Lake Oswego Boat Company ([email protected]) will likely satisfy all of your staining needs. Working with Wood Kote, Mike offers roster of Jel’d stains that match original stains for Pre- and Post-WWII Chris-Crafts, Gar Wood, and many more.
If you are after superior quality and consistent stain, and preserving your vessel as correctly as is possible, Mike is your go-to source. Yes, you can mix stain colors yourself and maybe even save a dollar or ten, but you will also suffer the consequences.
Here is Part II of the crew blasting through the bleach-stain milestones as we apply Wood Kote Products Jel’d Wood Stain on our 1957 23-foot Old Style Lyman Runabout.
Part I’s narrative focused on the how, why and advantages of jel’d over filler stain in these applications. Yes, it is far easier to apply and delivers an incredibly uniform color. It, goes an incredibly long way; we used about 12 ounces to stain everything we stained today. But it is not a filler stain, which translates into a surface that retains most of its cross-sectional declivities – hills and valleys – post staining, especially compared to a filler stain, which is designed, well, to fill these selfsame valleys.
Bottom line even following three full coats of Clear Penetrating Epoxy Sealer, filling these valleys and thereby achieving the truly flat surface we thirst for requires at least 3-5 additional coats of varnish.
We are not ready to jettison our Interlux Interstain Wood Filler Stain yet, but the ease with which we achieved an absolutely uniform color across all these surfaces makes it truly difficult to hide the Wood Kote in a deep corner of a dark cabinet!
Our 1957 23-foot Lyman Runabout conservation project blasted through two milestones today. We bleached her decks covering boards, toe rails, king planks and helm station bulkhead earlier this week. Today we stained all of the same surfaces and components.
We have long standardized on Interlux Interstain Wood Filler Stain, but have recently been seeing dramatic and superior results using Wood Kote Products Inc.’s Jel’d stains – dark and red mahogany mixed in equal proportions for our Lyman products, and a bit more red relative to dark mahogany for Chris-Craft.
Jel’d stain is not a filler stain and it is not meant to be applied and let sit until it flashes. Instead, it is applied in a circular motion using a terrycloth or old T-shirt rag and then wiped – not scrubbed – off immediately with strokes that follow the grain.
The uniformity of the result is dramatic and easily attained compared to the sweat and blood required to achieve a similar result with a filler stain.
One of the advantages of jel’d over filler stain is that those nasty, light “Oops!!” events we all experience when sanding too aggressively after the first few coats of varnish are easily repaired with a rag and a bit of the jel’d stain. That offending light spot or area disappears, at least in our experience with it thus far.
Part II follows John and RJ as they stain the balance of these surfaces.
Her topsides were sanded to 80 grit, faired with 3M Marine Premium Filler, final sanded with 80 grit, and then received two coats of Interlux PreKote primer.
Her transom received two Dutchman repairs, was sanded fair using 40-, 6- and 80-grit paper, stained and sealed with three coats of CPES.
Her remaining mechanical components were released and readied for preservation.
All interior hull surfaces and all framing were cleaned, sealed with CPES and received an initial initial coat of Sandusky Lyman Sand Tan Bilge paint.
Her new foredeck and aft deck panels and her king plank were fabricated using correct ribbon-cut mahogany marine plywood.
Most of her hardware was packed and sent to chrome.
Her Iva-Lite returned fully preserved.
Once John reaches for surface putty and repairs a series of dings that the primer revealed, we will be applying Interlux Premium Yacht Enamel to her topsides.
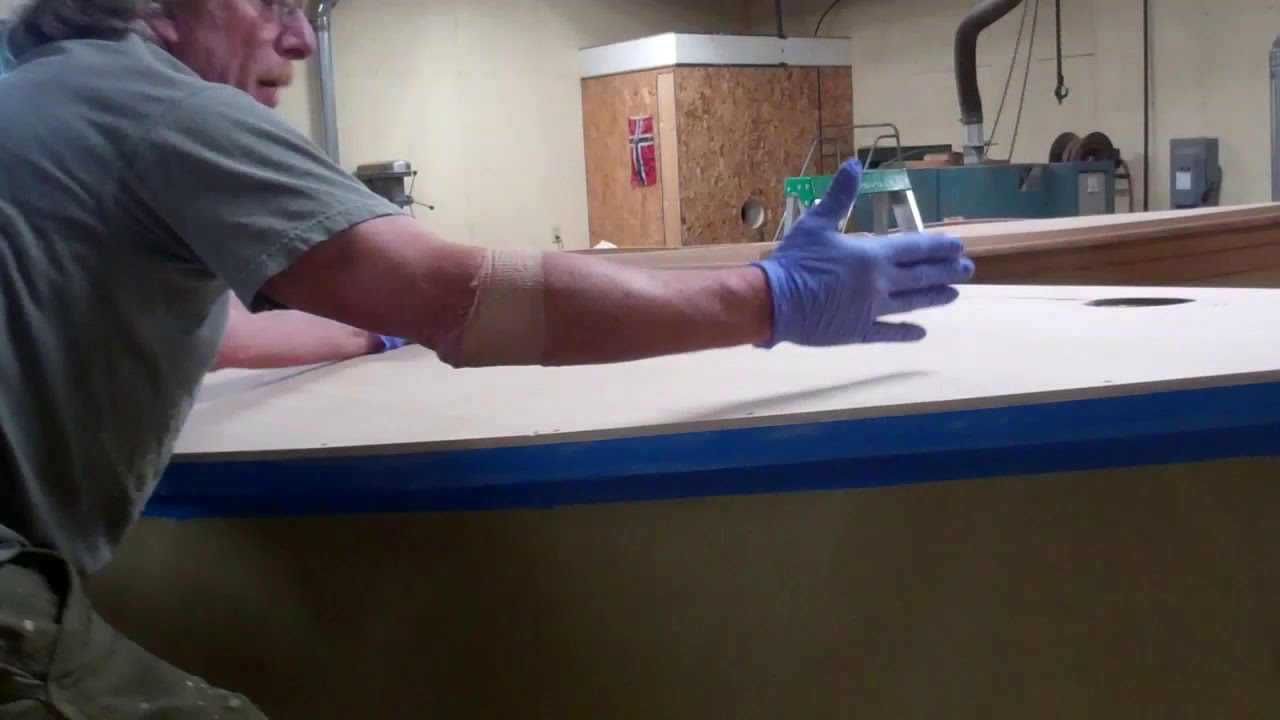
We will shortly seal her deck and gunwale framing with CPES, and then we can move to installing her decks and covering boards bedded in 3M5200.
This update affords us an opportunity to remind one and all of us to take great care when we tighten lifting ring assemblies. You fail to do so at your peril, as is clear from this clip. Someone must have trotted out a long bar to have extra leverage while securing the assembly. The result is a concavity around the deck’s center rather than Lyman’s characteristic and elegant crown.
We will address the issue using vertical bracing between the keel and the two deck frame members just forward and aft of the lifting assembly. Carefully applying upward pressure removes the hollow, but we will go slightly beyond fair so that the deck is properly convex once the panels are installed, the bracing is removed and the surface settles slightly.
From now to her post-conservation review sometime in May, she will blossom, becoming ever so much more elegant day-by-day and week-by-week. Yes!
Obliterating milestone becomes more and more gratifying once a conservation project moves past repairing and sanding, and into applying stains, sealer and finishes!
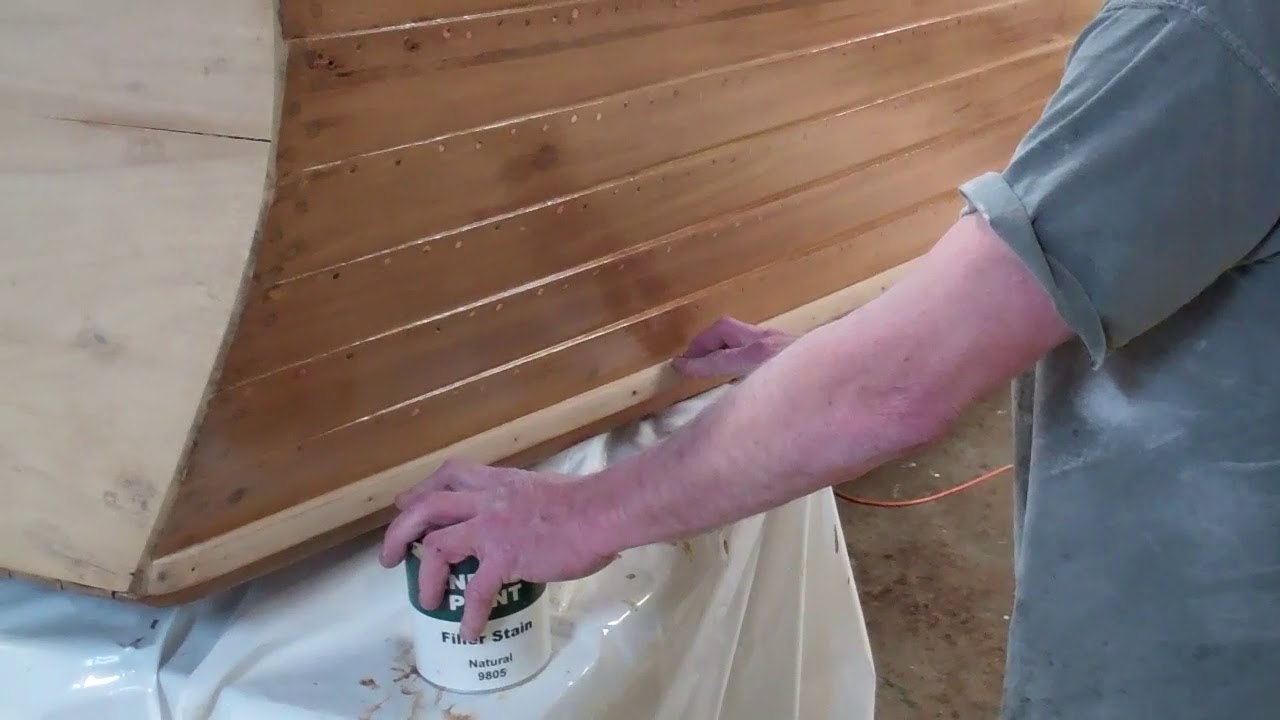
And, with her topsides stained with Sandusky Natural Filler Stain 9805, and sealed with three applications of CPES, our 1940 Lyman Custom yacht Tender just crossed that Rubicon.
Once we complete the transom’s final niggling repairs and sand it flat, we will stain it with a 2:1 mixture of Wood Kote Products Inc.’s red and brown mahogany Jel’d stain.
Yes, after being urged to do so, and following extensive testing on scrap wood, this Lyman will serve as our first time staining with other than Interlux or Sandusky filler stain. While we will sacrifice the positive effects of filler stain and thereby likely need additional coats of varnish to achieve a flat surface, our research and testing suggest strongly that we gain a much more uniform result.
Time will tell.
Once finish “bodywork” and final sanding is behind us, we will stain her transom later today. We will apply CPES on Thursday, and be ready for varnishing soonest thereafter.
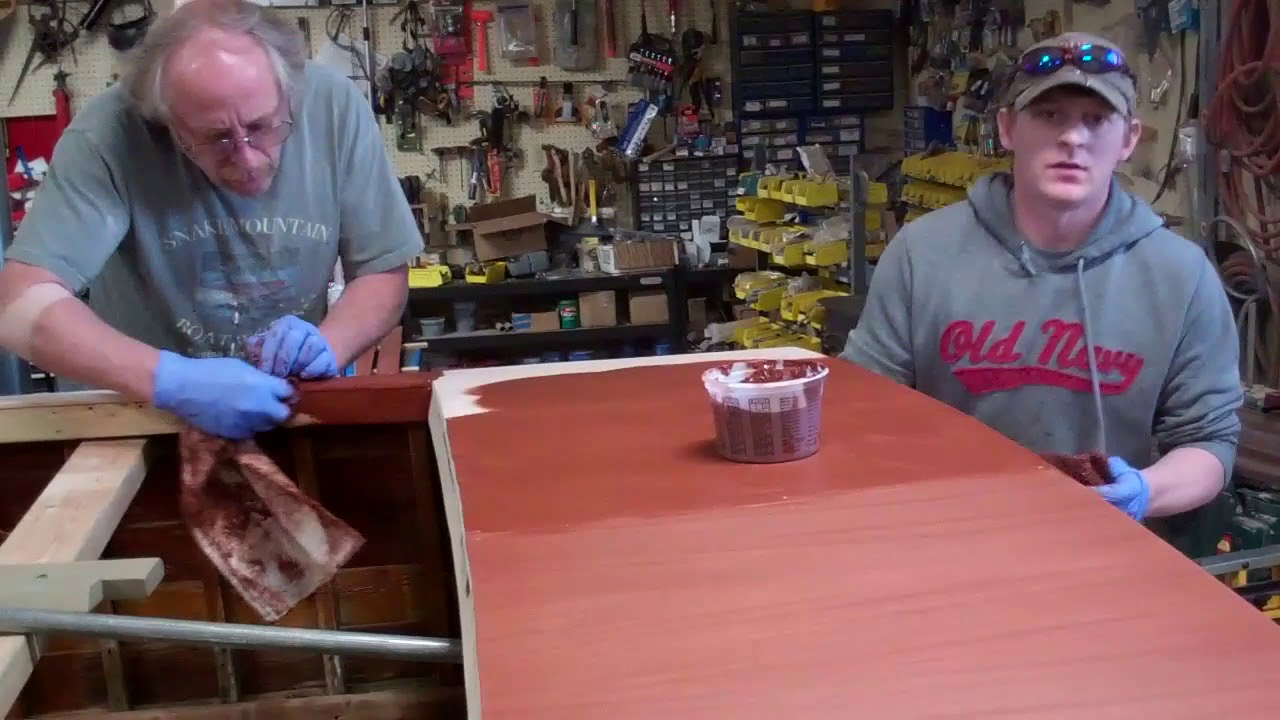
Staining the 1946 Chris-Craft Brightside U22 is a daunting task, one that we divided into two parts. The morning was devoted to staining the decks, covering boards and helm seating framing. The topsides and transom were attacked after lunch.
We used our standard Chris-Craft formula, equal parts of 0042 brown mahogany and 0573 Chris-Craft red mahogany Interlux Interstain Wood Filler Stain. The entire task consumed three pints of each stain, or six total.
RJ applied the stain, with John and I following behind. Interlux’s and the literature’s guidance notwithstanding, we no longer wait until the stain has flashed – turned a uniform dull color. In our experience, and especially with such a large surface area being stained, allowing all or most of the thinner to flash off, creates an unwinnable race against the stain becoming so dry that removing all residue and achieving a uniform color throughout the boat is nearly impossible.
Rather, RJ applies, followed almost immediately by John and me. The first scrubber works the wet stain into the wood, doing very little actual cleaning in the process. The second scrubber follows, repeatedly changing the cheesecloth pads and making a first pass at cleaning. Then the first guy follows the second with a goal of releasing all of the residue without actually scrubbing the filler stain out of the wood grain’s valleys.
We use only circular and cross-grain strokes while executing this process.
You be the judge, but we feel that we get a much more uniform final product using our method, and we need not go through the misery of scrubbing drying varnish, which can leave dark, almost burnished patches of stain in its wake.
Check out the next clip to see why the three of us were beat by day’s end.