1937 Lyman Cruisette – How-to Strip Varnish & Stain

1967 lyman cruisette how-to stain varnish

Stripping paint and varnish from antique and classic wood hulls must be the least rewarding element of their preservation. It’s all about getting it off.

That it is a cliché’ is immaterial. Preparation is 95%+ of great wood boat preservation. Cleaning the wood completely, until all traces of penetrating stain or surface coatings have vanished, is the cornerstone of thorough and complete preparation.

And, what with grain typically running in multiple directions, great care must be taken that the scrubbing involved here does not raise a forest of cross-grain scratches in the process. While we do sometimes reach for the heat gun when stripping paint, chemical stripping is our go-to method, especially when stripping bottom paint. The chemical stripper encapsulates any lead that might be released by the stripper, where there is danger in using a heat gun that exceeds 1,100 degrees Fahrenheit, the temperature at which lead vaporizes.

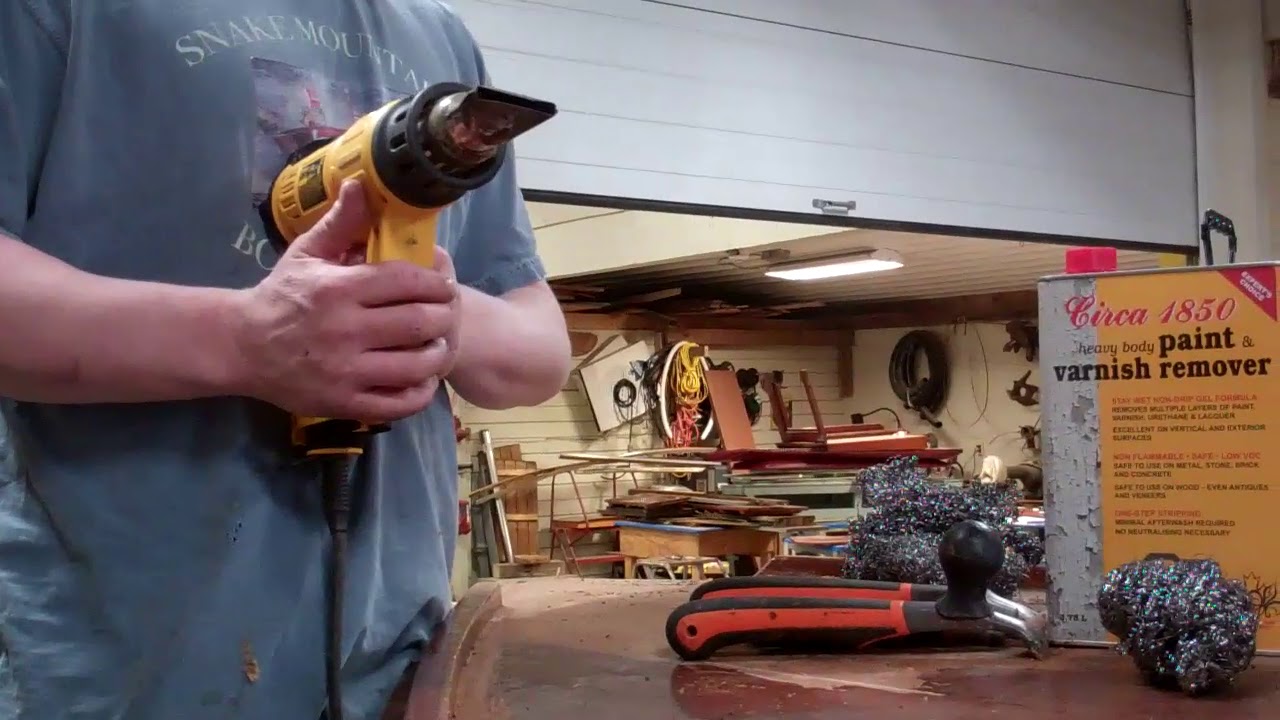
Stripping varnish with a heat gun has advantages, not the least of which is that the waste flakes off in a dry state, which obviates the need for taping areas off lest dribs and drops of chemical stripper fall on them. But, as is evident in the clop, and RJ’s implicit expressed disdain for heat, it is both slower and potentially more damaging to wood, especially those portions of the hull that will be finished bright.

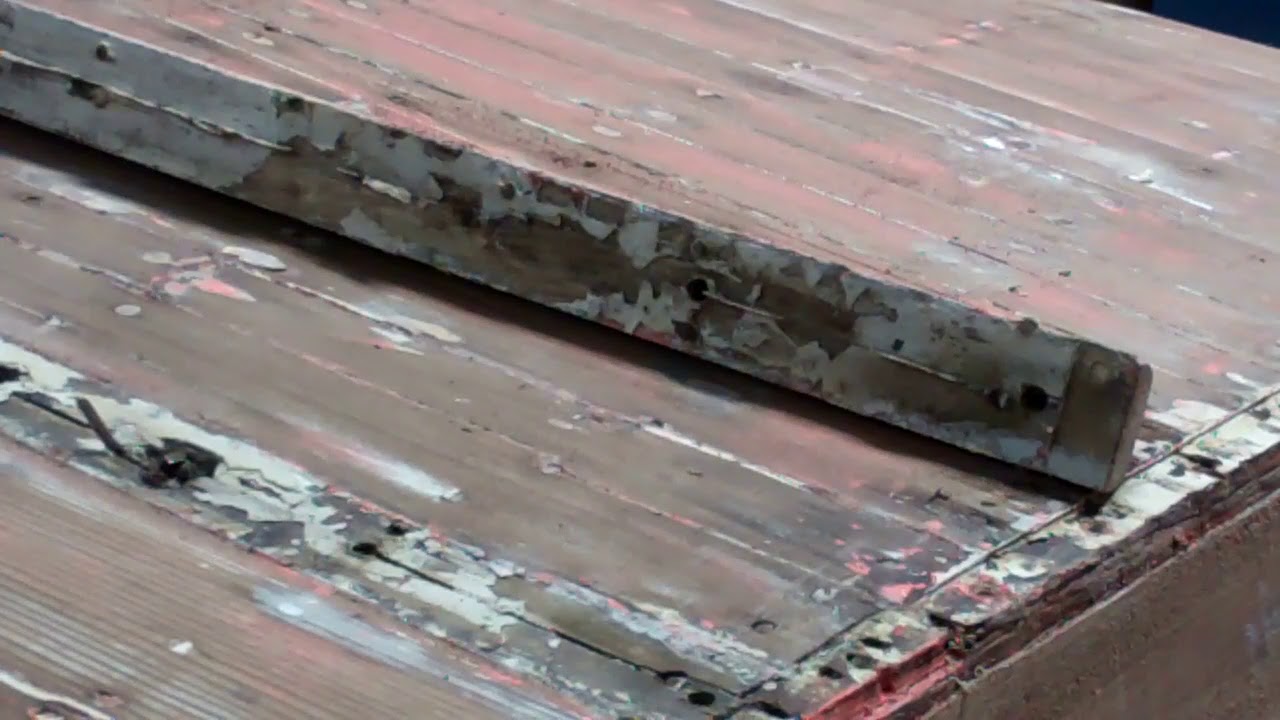
Burning the wood or dissolving the glue in plywood strakes of a lapstrake hull is the major risk when going the heat gun rout. Indeed, the blackened mahogany tells us that someone must have stripped our 1937 20’ Lyman Runabout’s hull sides with heat. What we found beneath the many, many layers of black paint and primer is a veritable sea of blackened leopard spots.

Fortunately, Eagle’s strakes will be painted. Even more fortunately, the same person did not strip the decks, covering boards, windshield and coamings, for sanding through the singed areas would require major thinning of the planks.

We are standardized on three BAHCO-Sandvik ergonomic scrapers and the wide variety of BAHCO carbide blades. Both are available from JamestownDistributors.com and Amazon.com.

  • BAHCO-Sandvik 650 Premium Ergonomic Carbide Scraper, 1”, 2” and 2.5” – a one-handed scraper
  • BAHCO-Sandvik 650 Premium Ergonomic Carbide Scraper, 1”, 2”, 2.5” – a “big dog” two-handed scraper with a knob just behind the blade.
  • BAHCO-Sandvik Premium Ergonomic Carbide Scraper, 1” – a small detail scraper
  • BAHCO Heavy Duty 2-Inch Replacement Scraper Blade #442
  • BAHCO 449 L-inch Triple-Edge Triangle Scraper Blade

While we do occasionally give competing brands a chance to outperform it, nothing we’ve tried holds a candle to Jamestown Distributors’ Circa 1850 Heavy Body Paint and Varnish Remover. Period., at least during our nine months of winter when cold temperatures, snow and ice make stripping hulls outdoors with one of the spray-on strippers at best impractical.

Finally, after trying a dozen or so brands, we have settled on New Star Foodservice 54460 Extra Large Stainless Steel Sponges Scrubbers sold by Amazon.com. (https://www.amazon.com/gp/product/B00…)

RJ takes you through the steps needed to arrive at you clean wood goal.

  • Strip the surface material – varnish or paint – using the chemical stripper of your choice.
  • The Chemical Rout
    • Apply the stripper three times, allowing about 20 minutes working time between each of the coats.
    • Scrape with the wood grain using the two-hand scraper and long strokes.
    • Apply another coat of scraper. Let it work for five minutes or so and repeat the long-stroke, two-handed scraping.
  • Apply the stripper again, wait a minute or so, reach for the stainless-steel sponge scrubber and scrub the surface briskly with the grain until the wood is dry.

Avoiding produce long, deep scratches that result if excessive down pressure is applied. While we continue using the same sponge for job after job after job, reaching for a new one, which will be less aggressive on the wood, might be a good “first-time-through” strategy.

Congratulations! You have reached the clean-wood goal and are ready to bleach!

1967 Lyman Cruisette – Rot Unveiled When Varnish Stripped

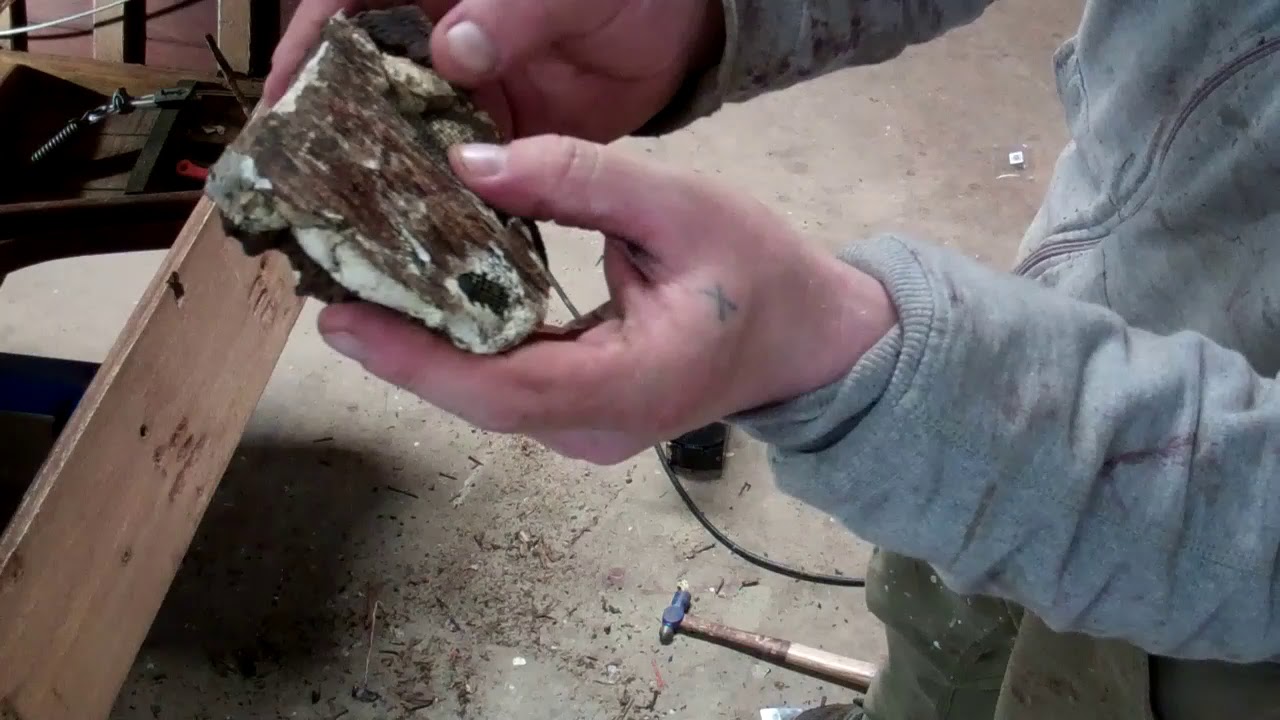
1967 lyman cruisette rot under varnish

We truly believed we’d found any and all rot existing on Eagle’s hull, but forgot a major reality. Some sort of stained paste filler and varnish, which is what was used on parts of the foredeck and elsewhere on her hull, can hide all manner of deterioration.

In the Eagle’s case it hid rotted foredeck planks on both port and starboard along the seam between the covering boards and deck planks.

We now face releasing the coamings and dashboard if we wish to address these issues, and the required plank replacement properly.

This rot strengthens our resolve that the deck, coaming, windshield and covering boards be stripped to bare wood.

Additionally, as I strip the foredeck using a DeWalt LCD heat gun (https://www.amazon.com/DEWALT-D26960-…), Sandvik Ergonomic scraper and BAHCO blade (https://www.jamestowndistributors.com…) . I have been exposing more of that paste filler under what appears to be precious few coats of varnish.

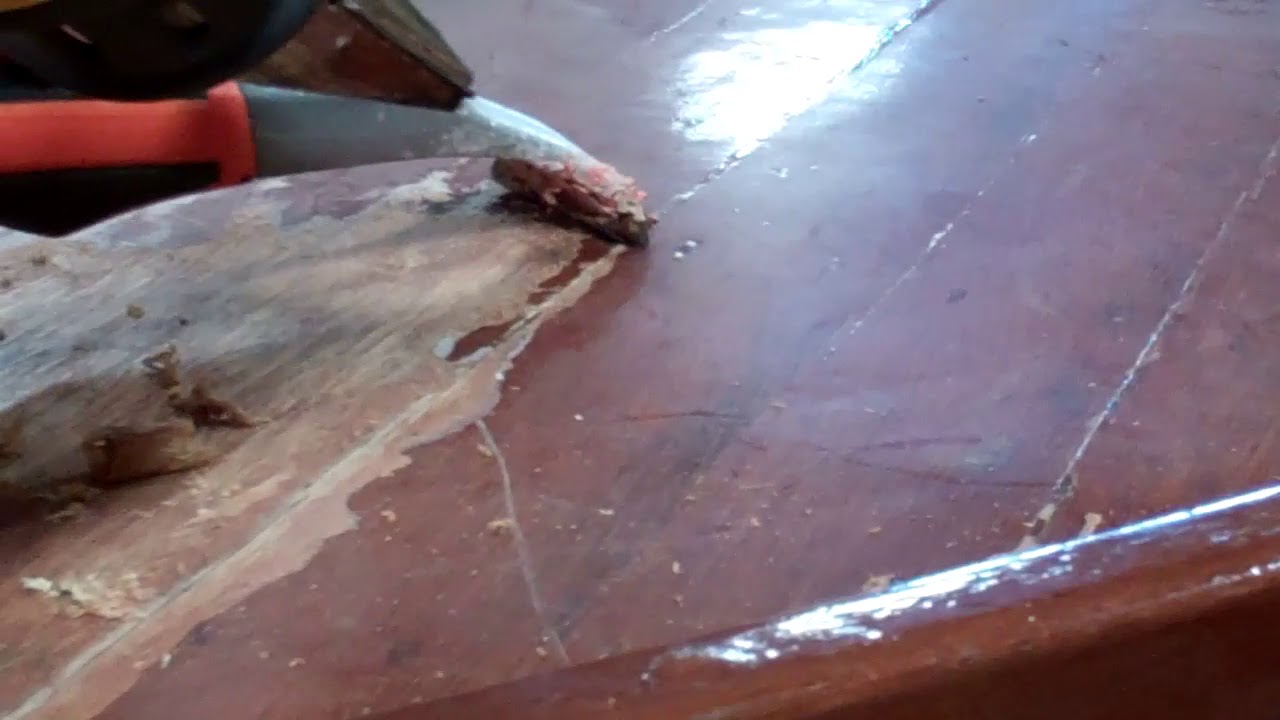
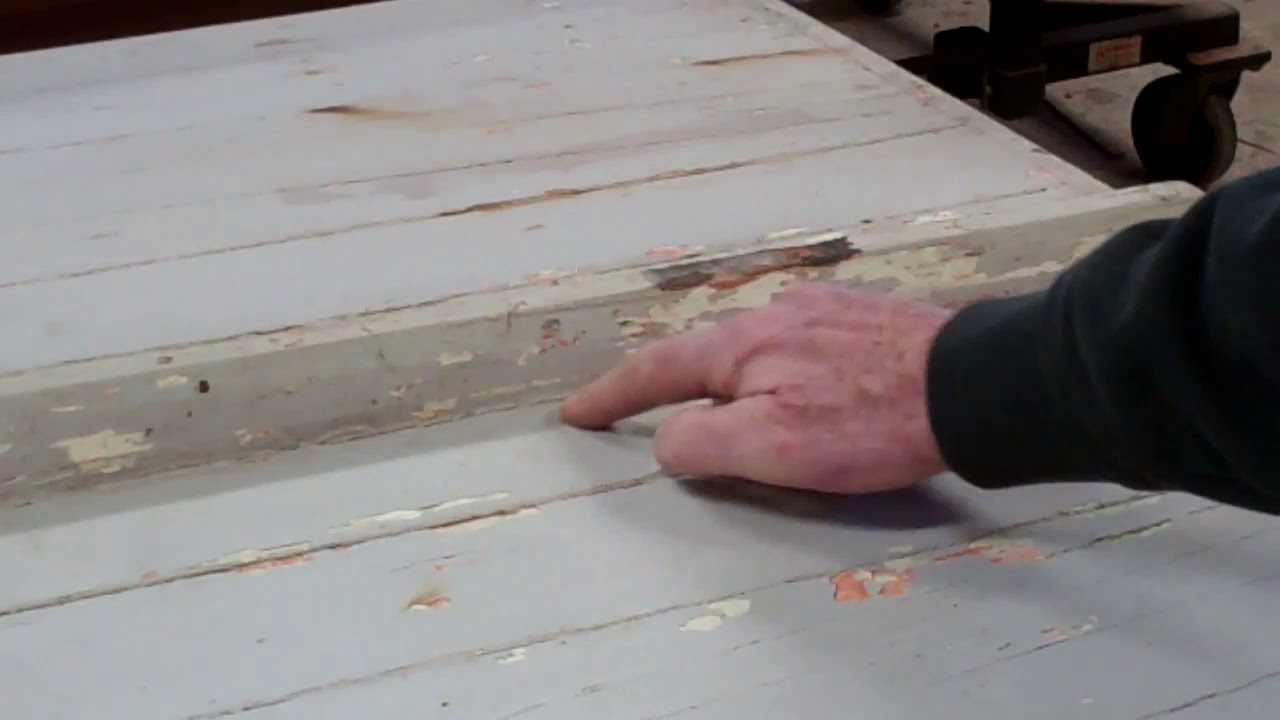
As I will amplify in our next update, just releasing varnish, whether chemically or using a heat gun, is only the first step in cleaning the wood. As is clear in the clip, scraping away the varnish leaves a residual-stain-mottled surface behind.

All of that stain must be scrubbed and bled out of the wood using Circa 1850 Heavy Bodied Paint & Varnish Remover (https://www.jamestowndistributors.com…), stainless steel pot scrubbers and lots of elbow grease. How clean is clean? You will know when you get there.

I will go into these last topics in greater depth later today.

1954 Penn Yan Captivator Aristocrat: How to replace the Transom

1954 penn yan captivator replace transom

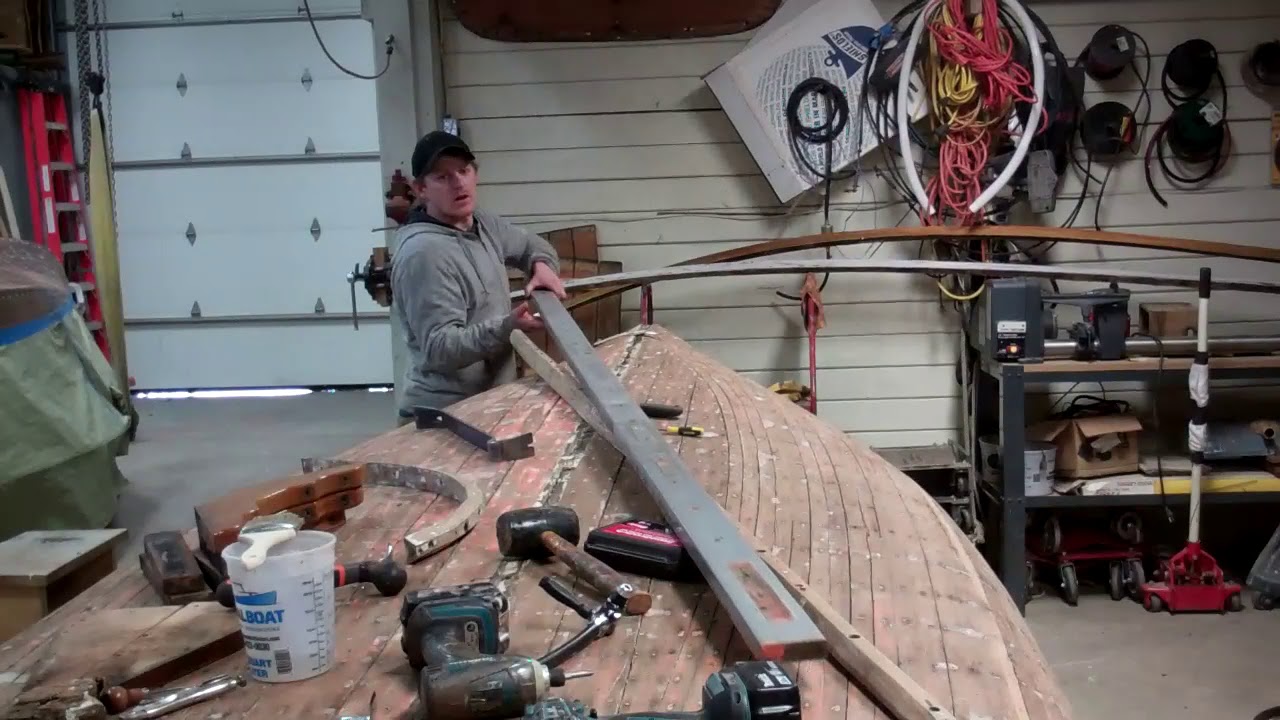
We are almost there. Beginning with two raw boards yesterday morning, Joe and RJ have fabricated all the parts to Captivator’s new transom.

We allowed the glue in the tongue-and groove joint between the two transom planks to cure for 24 hours before removing the clamps.

Today they fabricated the interior transom frame using oak for the bottom bow and two side frames and Honduran mahogany for the center frame.

The individual oak components and the transom blank were cut to shape using the old material as patterns.

What cannot be patterned simply are the bevels and continuously-changing radii of the transom blank’s ends and the oak framing that runs up the hull sides. Sanding in with a belt sander is both tedious and exacting, and requires continual test fitting.

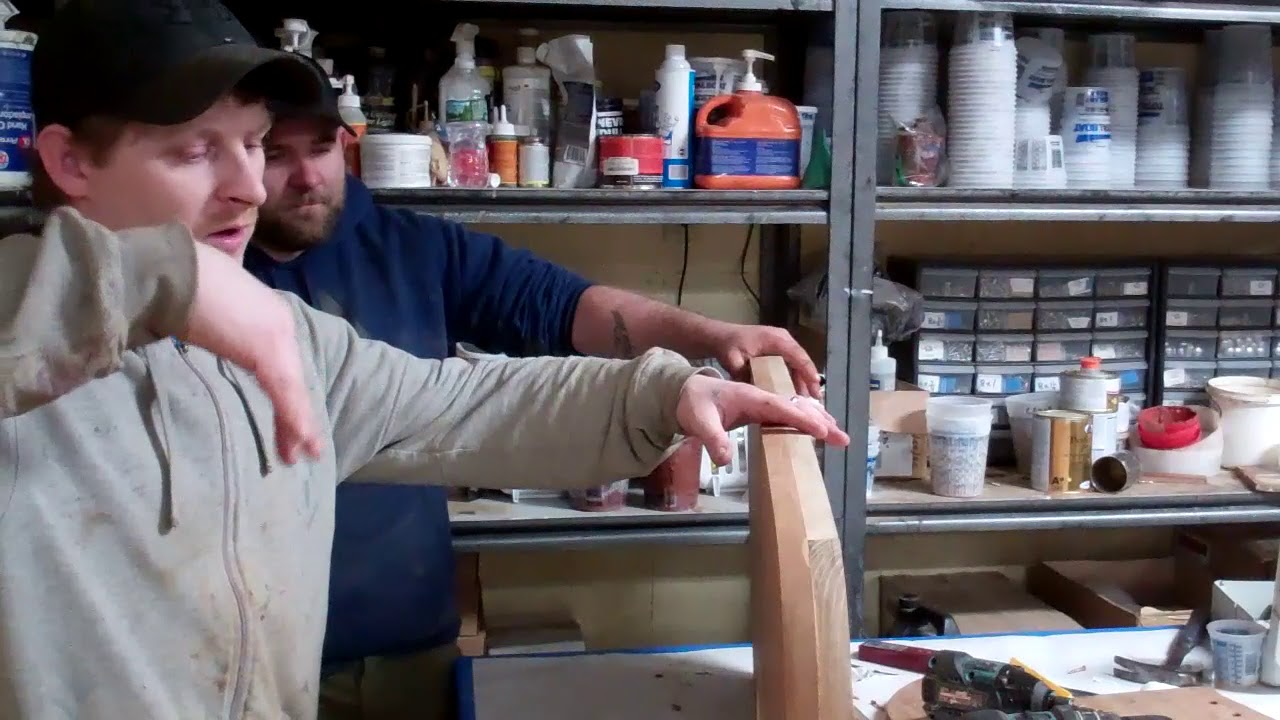
With the individual components fitting well, RJ and Joe assembled the new transom temporarily before final fitting ensues.

Once we have an excellent fit, the components will be released, final sanded, bleached, stained with Jel’d stain and sealed with three coats of CPES.

Sometime early next week Captivator’s new transom will be in place, bedded in 3M5200.

1954 Penn Yan Captivator Aristocrat: How to Fabricate a new Transom

1954 penn yan captivator fabricating transom

Happily for her and her owner, we have been saving the last Pattern Grade Honduran mahogany plank from an order I made ten years ago for just the right application. It had been held in inventory for over two decade at the many small furniture shops that fell victim to the Great Recession of 2008-2009. The planks had been sawed, stickered and begun air drying a decade or so when purchased by the shop’s owner.

While our 1954 Penn Yan Captivator Aristocrat is losing her original transom, her “new” one will be fabricated using wood that is almost as old as she is.

It took a bit less than a nanosecond for us to agree that we will use that plank for Captivator’s transom planks and center frame member.

The original transom planks were glued up employing a splined joint – grooves cut in the two mating surfaces are joined by a thin strip of mahogany, aka the spline. However, we will mate the two boards using a tongue and groove joint.

Why? Joe, who spent years managing a commercial precision woodworking – custom window and door design and fabrication, has experience with, and has tested, both mating systems. His experience argues for the tongue-and-groove rather than the splined joint as stronger and better able to survive flexing and expansion/contraction cycles.

Joe cut the tongue in one and groove in the other soon-to-be transom plank using a table saw. Two pieces of scrap from the same planks were used for setup.

Finally, once they had been run through the jointer, Joe and RJ will set up a half-dozen pipe clamps, with three spaced along each side of the plank. Wax paper will be laid beneath the joint and copious amounts of Titebond III Ultimate Wood Glue will be applied to all surfaces. (https://www.amazon.com/Franklin-Titeb…)

Even though Titebond stipulates an 8-hour dry time, we will wait a full 24 hours before breaking the clamps down.

We will focus on her bottom once we’ve installed her new transom and its associated framing.

Happily, our worst fears, that we’d discover extensive garboard rot beneath the keel, did not happen. Despite the open seam along both sides of the keel-garboard joint, there was nothing but a tiny bit of rot way forward where the keel and stem join.

That said, once we have tightened fasteners where needed, sanded the bottom fair and applied three full coats of Clear Penetrating Epoxy Sealer to both the keel and bottom planking, keel installation will be upon us.

We will treat the keel installation exactly as we do when installing external bottom planks in a True 5200 Bottom. Fifty-Two-Hundred will be troweled into the entire area beneath the keel, and to an about 1/8″ thickness. Then, as we sink the fasteners from the inside out,, we will be certain that the entirety of the mating surfaces are entombed in 5200.

We will clean the squeeze-out with Interlux Brushing Liquid 333 and then wipe the seam down with acetone, which will accelerated the curing process.

Then the real fun begins as all the seams between Striptite planks must be caulked using Interlux Seam Compound For Underwater Applications.

Why not 5200? Once cured it will not compress. Any drying and shrinking of the planks either breaks the adhesion, as we saw with this bottom initially. Any soaking-up and subsequent plank expansion threatens crushing the planks.

Snake Mountain Boatworks Jel’d Stain Workshop 2019

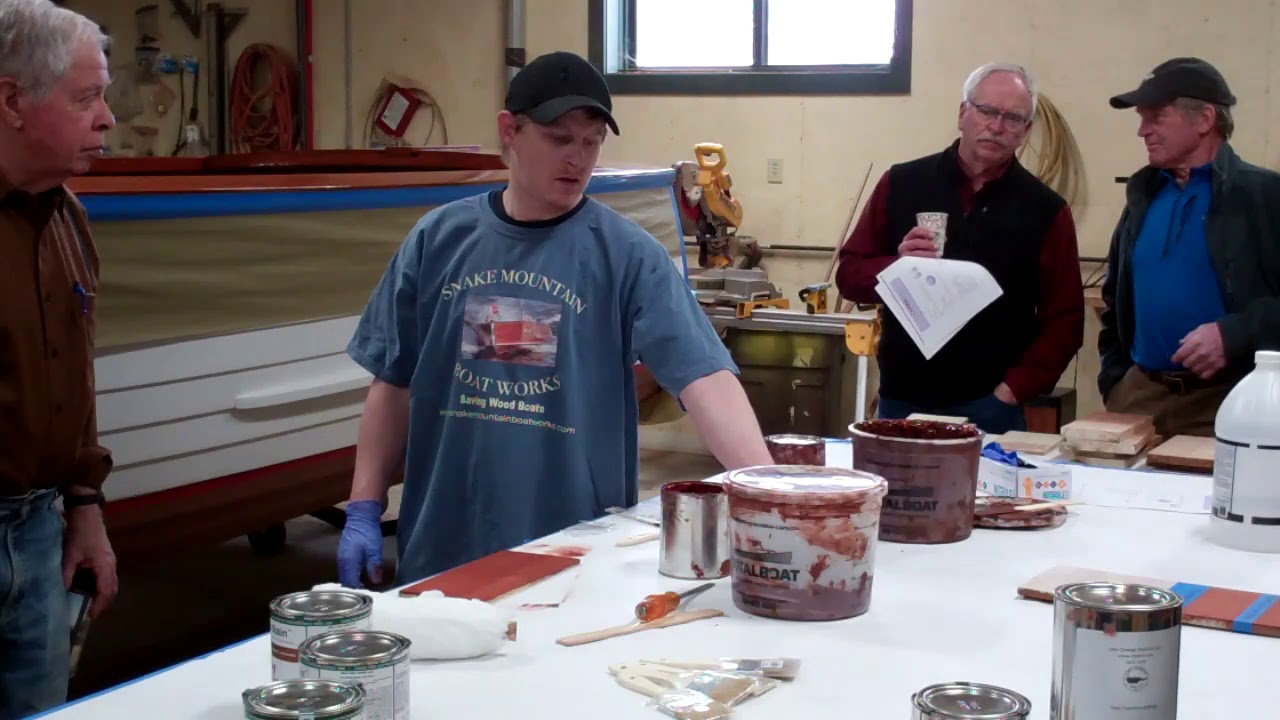
Snake Mountain Boatworks hosted its annual winter hands-on workshop for ACBS, and especially its Lake Champlain chapter on Saturday, February 2, 2019. We introduced folks to Jel’d wood stain,, or that is RJ and Joe did. The guys enticed most people to take a lap around the staining table.

SMB is now using Jel’d stain exclusively unless an owner insists on us applying Interlux Interstain Filler Stain.

Here is why and where you can purchase a stain we find to be truly exceptional.

Paste Filler Stain

  • Filler stains are made to color the wood and also fill the grain of open grained woods, such as Mahogany.

While they do have grain filling qualities, they do not fill the grain all the way.

  • Traditional varnishes “flow out” or “sink into” the grain after a few months, which requires adding varnish after the first season to sustain a perfectly glossy finish.
  • Once the follow-up coats of varnish are applied the boat will retain its glossy finish.

Jel’d Stain

Many colors are available

The red, brown and dark mahogany, as well as the walnut match, or come very close to standard antique and classic wood boat colors.

  • Mike Mayer, who owns Lake Oswego Boat Company in West Linn, OR, is the exclusive mixologist and supplier of custom-mixed Jel’d stain that matches many wood boat makes’ OEM stain colors exactly. Mike can be reached by email, [email protected], or via his Web site: www.loboat.com.
  • Century
  • Chris-Craft Pre-War
  • Chris-Craft Post-War
  • Chris-Craft Blonde
  • Chris-Craft Dark
  • Gar Wood
  • Hacker-Craft
  • Interlux Interstain 42
  • Interlux Interstain 573 (CC Post-War)

Use it right out of the can

  • Filler stains must be mixed in a separate container after you scrape all the solids out of the can.
  • Evaporation causes filler stain’s final mixed consistency to change continually during the stain process.
  • Thinner must be added as a result. Maintaining exactly the same consistency through a project, especially in warmer weather, is difficult as a result. Maintaining consistent color is rendered quite challenging as a result.
  • That the stain cannot be scrubbed until it flashes adds additional complexity to the process. Not waiting long enough produces streaking. Waiting too long can force you to reach for thinner to liquify the already-applied-and-flashed stain anew.
  • Even when you don’t stop with filler stains. it is difficult to maintain consistency in color and avoid blotches.

Easy to apply

  • Jel’d stain can be applied easily with a rag or a brush.
  • Unlike filler stain, applying Jel’d stain can even stop in the middle and be resumed later.
  • Timing is critical when removing filler stain, but not for Jel’d stain. There is no waiting for Jel’d stain. Since it does not flash, a second person can follow immediately behind the one applying the stain, rubbing it into the wood in a circular motion and then wiping off the excess stain with the grain immediately.
  • The process produces a uniform color because no waiting for and judging of the degree of flashing is required.

Sand out scratches while Jel’d stain is being applied

o There is nothing worse than finding cross-grain scratches and sanding marks while applying stain. o Scratches or blemishes can be sanded out; new Jel’d stain can be re-applied immediately; and everything will blend. Two to Three Times More Coverage o Jel’d stain will cover 1,250 to 1,500 square feet per gallon.

Fast drying

  • Wood Kote specifies “at least four hours,” but Mike Mayer recommends waiting at least 24 hours before applying sealer, and even longer in colder temperatures.

Whether we are applying Interlux Interstain Filler Stain or Jel’d stain, we allow a full two to four days cure time to ensure that applying CPES does not partially reliquify and then drag the stain.

1957 Lyman Runabout – How To Varnish

1957 lyman runabout how to varnish

So close!

One more coat of varnish tomorrow and installing our 1957 23’ Lyman Runabout’s ceilings can begin on Monday! Yahoo!

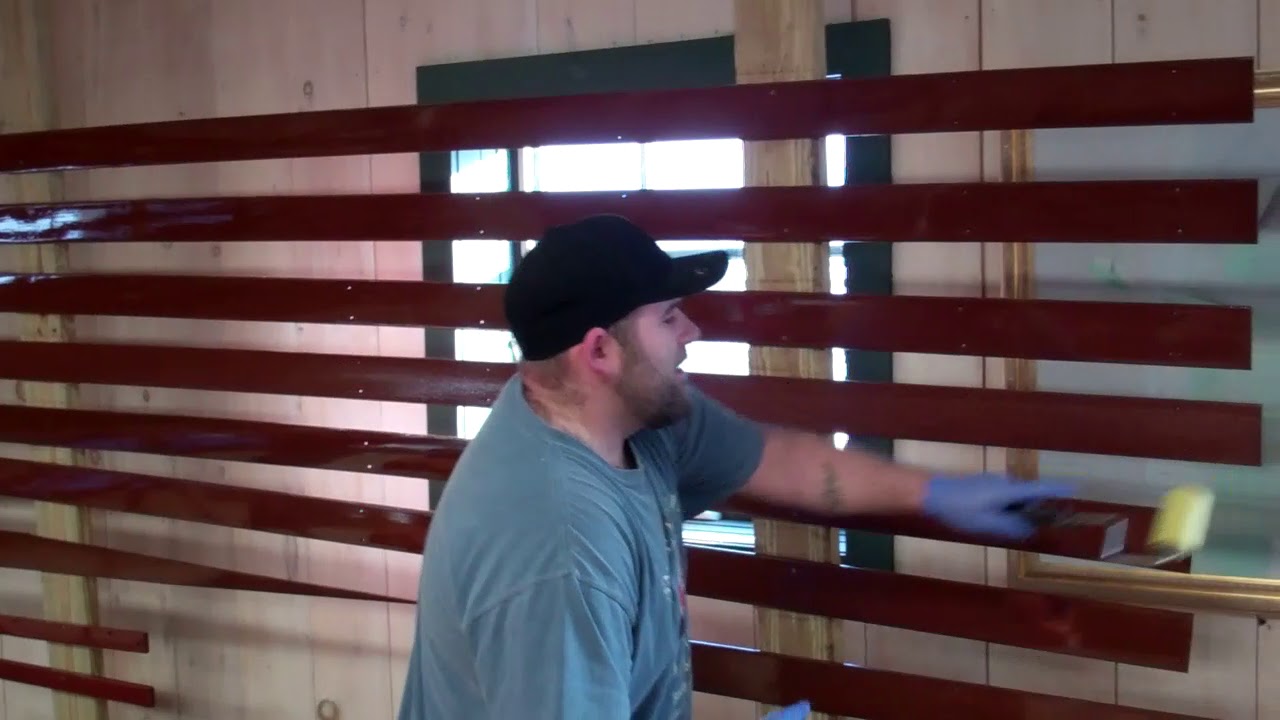
Joe and RJ have commandeered what used to be our showroom already, but yesterday they assaulted the walls as well. While they are ugly as sin, these rough racks make it possible to varnish pieces in a vertical attitude, which guarantees against any sort of dust contamination.

(They also increased the “parts-varnishing carrying capacity” by almost fifty percent!) We will hang seating, engine box and related panels on the racks for final varnishing once the ceilings are in place.

Her owners have been super patient, bit I know they are READY to begin seeing parts going into place and her “innards” coming together.

They are not alone! We are soooo ready to beginning the assembly and transformation from huge cavity to an accommodating, inviting and super functional cockpit.

1954 Penn Yan Captivator Aristocrat Releasing the Transom (pt 2)

1954 penn yan captivator releasing transom

Part II continues chronicling our woeful discoveries.

Not only were our worst fears, implicitly expressed in Part I of this pair of clips, confirmed, I was blown away by the fact that the bottom “bow,” pronounced “beau,” were not only severely rotted, they were also quite wet. Honest! She has not been in the water since last fall, has been in dry cold storage since then and, yet, the bottom bow pegged our moisture meter and more.

As soon as we release the bottom transom plank and the framing, RJ will begin fabricating a new one. Replacing the transom’s interior framing was not in our scope of work, as we hoped against hope that the dark wood we observed during our initial observations might “only” be a bit of surface rot.

Not! This situation adds complexity to our project elsewhere as well. The two transom frames running behind the topsides are secured by copper nails driven from outside through the topside planking and into these frames.

Sadly the forward of the two courses of fasteners run through topside planking that is finished bright. We will do our best, but now fear that stripping and finishing the topsides anew has been added to the SOW.

RJ will fabricate and then he and I will temporarily install the bottom plank, the one we have just released, first, which will ensure the hull retains its proper shape.

1954 Penn Yan Captivator Aristocrat: How to Release the Transom

1954 penn yan captivator release transom

With the keel, outer stem and splash rails released, and having cleaned all of the 5200-like material out of the bottom plank seams, our attention turns to the transom.

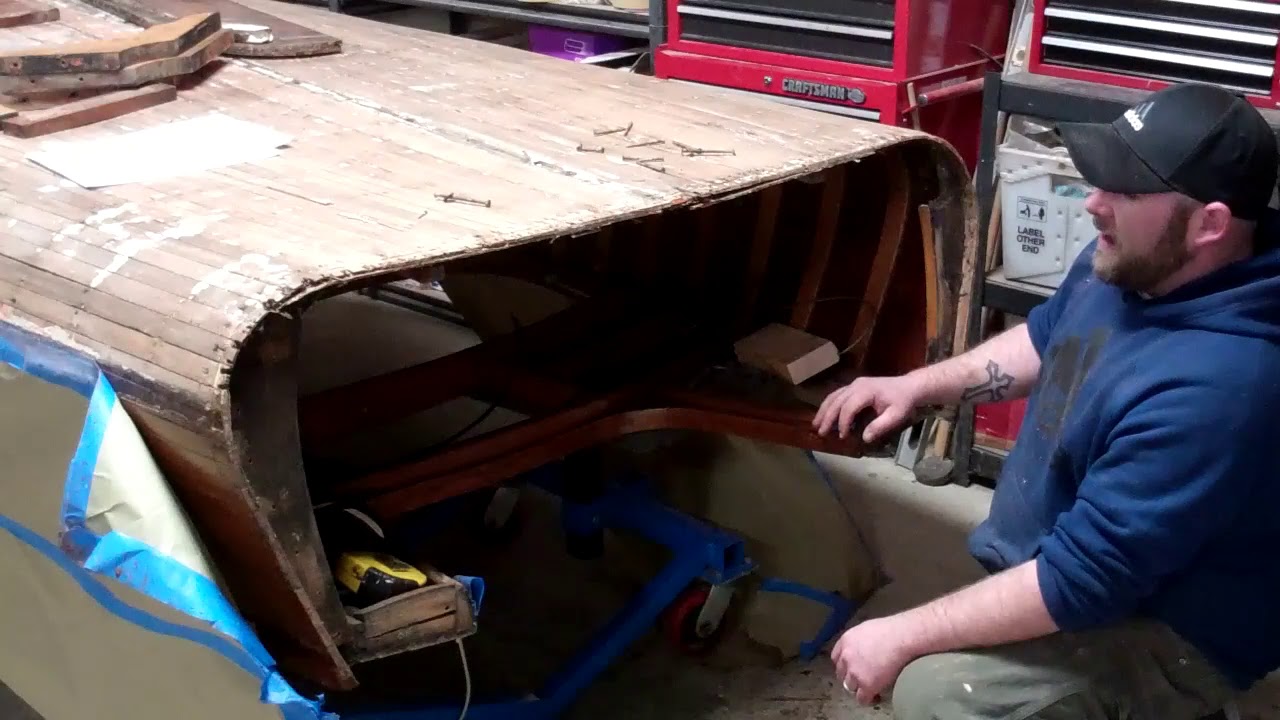
The transom is two planks that have been fixed to both the topside and bottom planking, but also to a series of frames. Individual frames run along the bottom, sitting on the bottom planks, across the top and down the sides of the transom. A pair of inverted “V” frames stiffen the transom’s center.

Upon initial inspection RJ and I were troubled by what appeared to be very poorly conceived and executed repairs to the center and port frames. The “Dutchman” attempted at the bottom of the pair of center frames not only created a powerful water trap, the rot growing there propagated and destroyed the bottom bow – “beau”.

Part II continues chronicling our woeful discoveries.

1954 Penn Yan Captivator Aristocrat Post Stripping Findings

1954 penn yan captivator stripped hull

Yesterday we stripped her transom, flipped her, released her splash rails and stripped her bottom. Happily the splash rails are in excellent condition. They only want to be stripped, have some minor “bodywork” executed and refinished.

Today we released the keel and began releasing the keelson and the transom framing.

While the keel is in excellent shape, both in terms of being straight and sound, it has been off the boat at least once and sealant was given short shrift when it was last installed. As a result there is some rot, not so much that it cannot be repaired, on the garboards where they lie beneath the keel and the keelson.

Her owner informs me that the keel was not released by the shop that worked on her in 2007-08, but the myriad of plugged mounting holes tell us that it was released sometime prior to that work being done.

The paucity of sealant means that water will find its way into the bilge.

It will also sit in the bilge. That there is not more rot is testimony to the care given her by her current owner.

The rot we did find beneath the keel is far forward, and at the joint between the keel and the lower portion of the stem. That curved section runs from its joint with the keel up to the splash rails.

Once we have the keelson and garboards out of the hull, everything, garboards, keelson and keel, will be cleaned to absolutely bare wood. Once the components have been sealed and receive three coats of Clear Penetrating Epoxy Sealer, they will be set aside.

Next comes the most fun. The failed transom, which we must replace, must be released from the hull. That it is secured with many, many copper nails, and not wood screws, makes this task particularly challenging, but doable using a FEIN MultiMaster and the thinnest, narrowest blade we have. (That they are copper, and therefore quite soft, should translate into the MultiMaster zipping right through the nails leaving a clean surface behind.

1954 Penn Yan Captivator Aristocrat Flipped

1954 penn yan captivator flipped

We’ve flipped all sorts of boats, big wide ones, long deep ones and now our 1954 Penn Yann Captivator Aristocrat.

Forget the winch. No grunting needed. Her size, narrow beam and cylinder-like cross-sectional shape made flipping her hardly different from rolling a 5-foot diameter pipe.

Now that her bottom is fully exposed, I must say that I was surprised just how little paint is on it. We will know better once we begun stripping, but my guess is a couple of coats of red lead primer followed by about as many of some sort of gray paint.

The garboard-keel seams on port and starboard, while open, appear to be less so that we thought they were while lying on our backs looking up at the hull.

Once we have released both splash rails and masked her topsides, we will reach for the Circa 1850 Heavy Body Paint and Varnish Remover and strip the bottom down to raw wood.

We will surely share what we find and how we will attack the issues we unearth then.