1959 Chris Craft Sportsman Topside Dutchman, Fairing & Bleaching

1959 Chris Craft Sportsman Topside Dutchman, Fairing & Bleaching

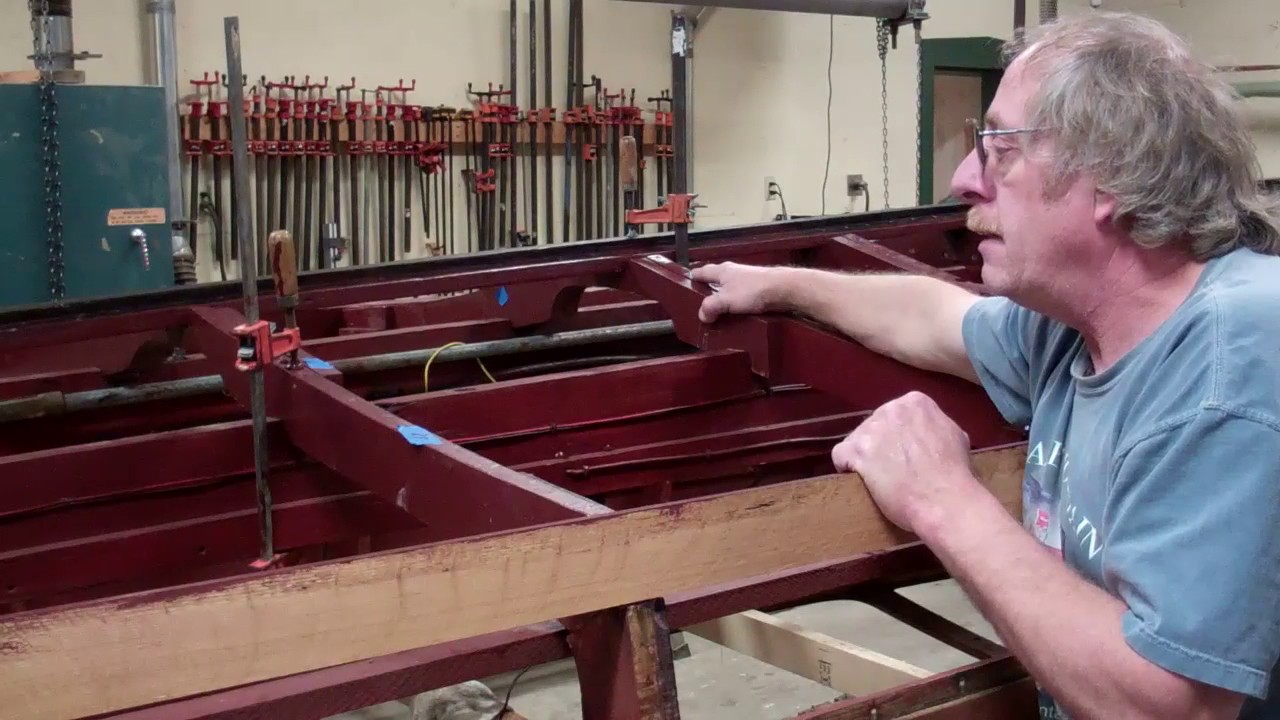
The 1959 17’ Chris-Craft Deluxe Sportsman passed several critical milestones this week. All Dutchman repairs, and there were many of them, including replacing half of the stem, have been executed.

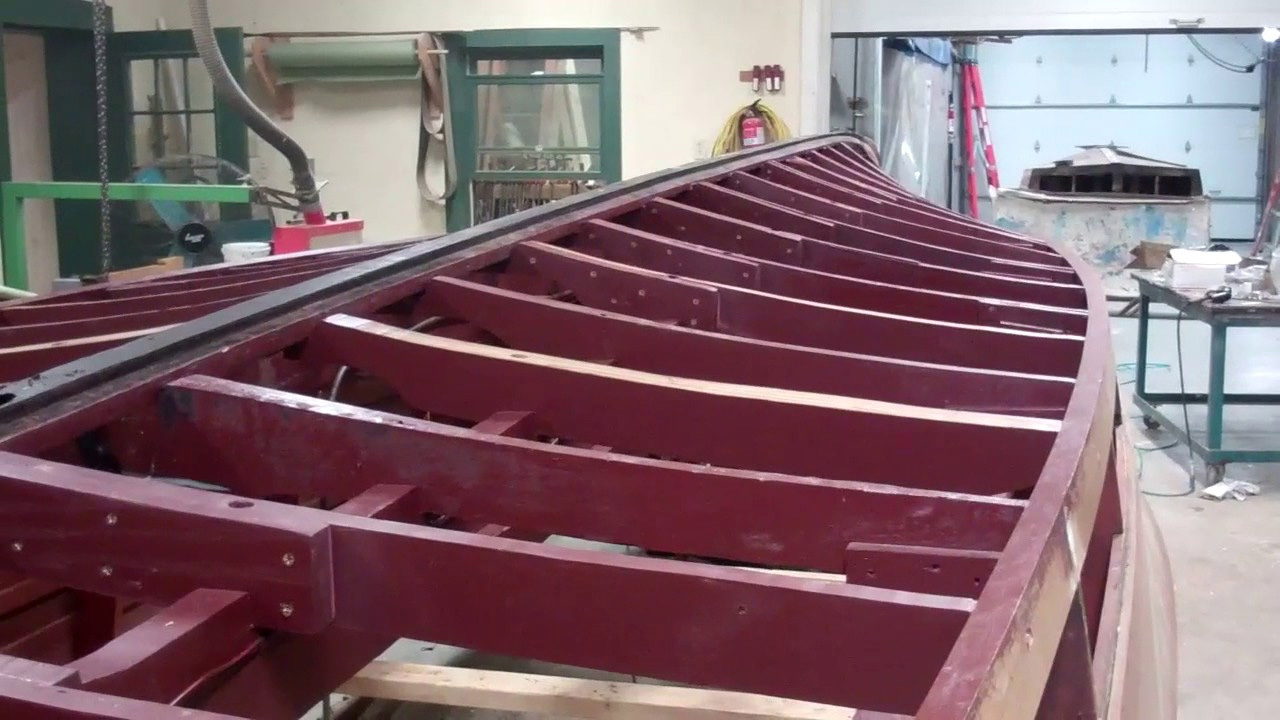
Two of the most challenging repairs involved the framing at the top of both aft corners of the hull. Extensive rotted material was released with new framing fabricated and installed. Dutchman repairs on both corners completed the task.

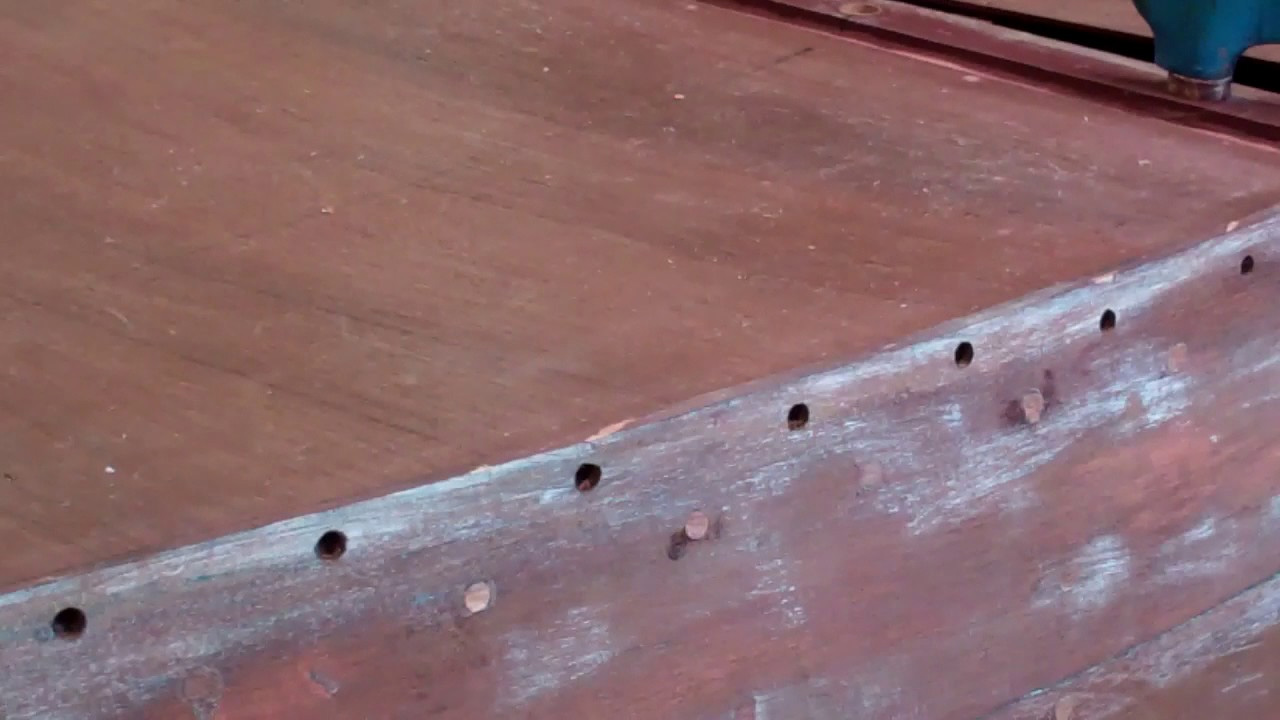
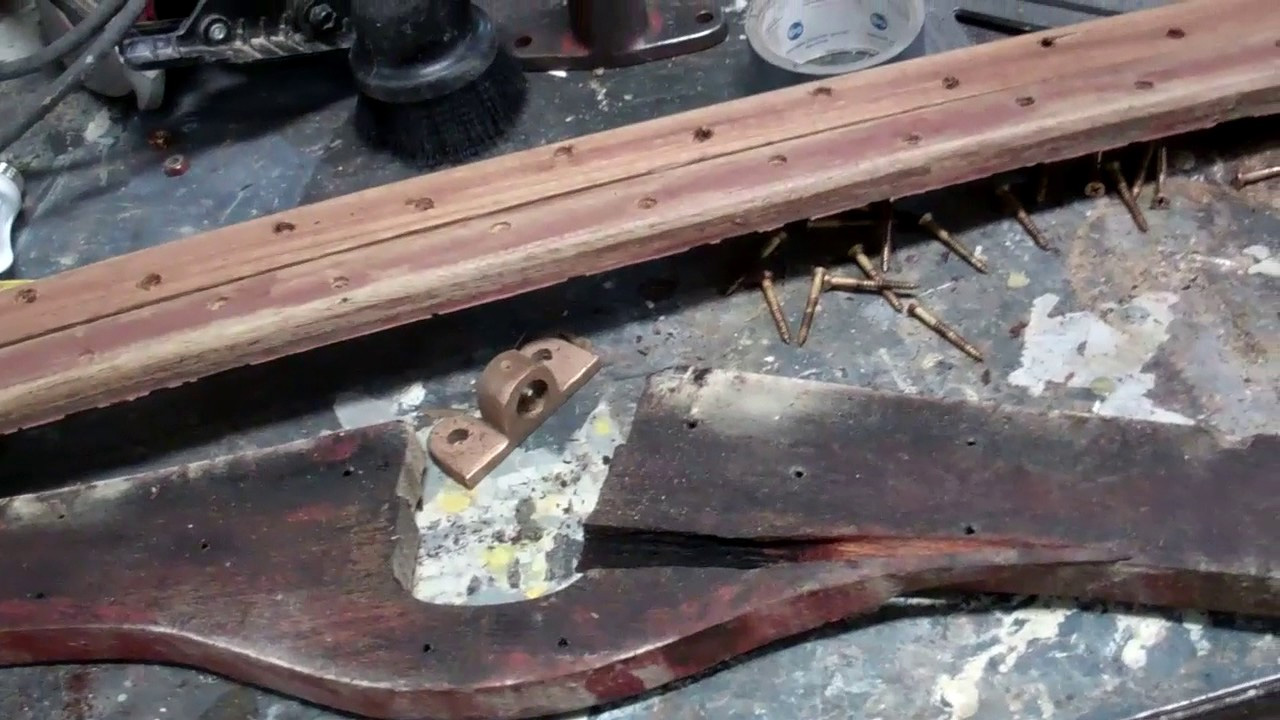
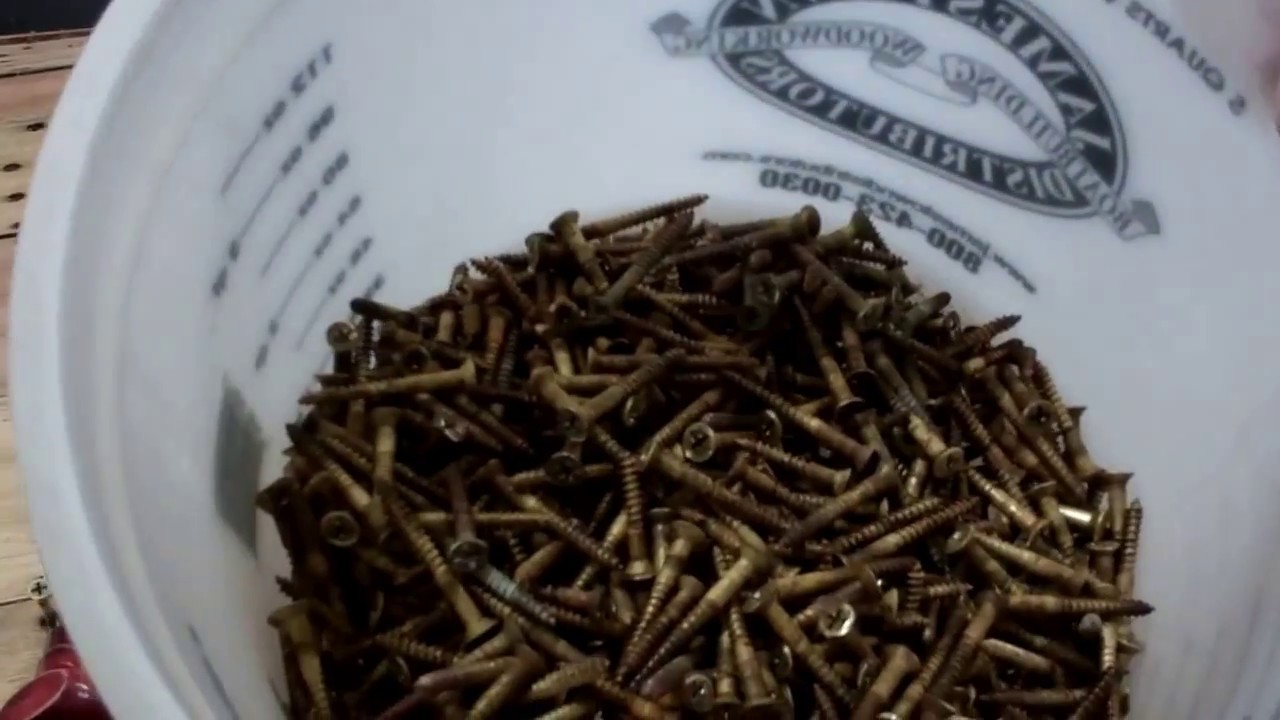
John replaced well north of two-hundred fasteners that had failed, each of which has been bunged anew.

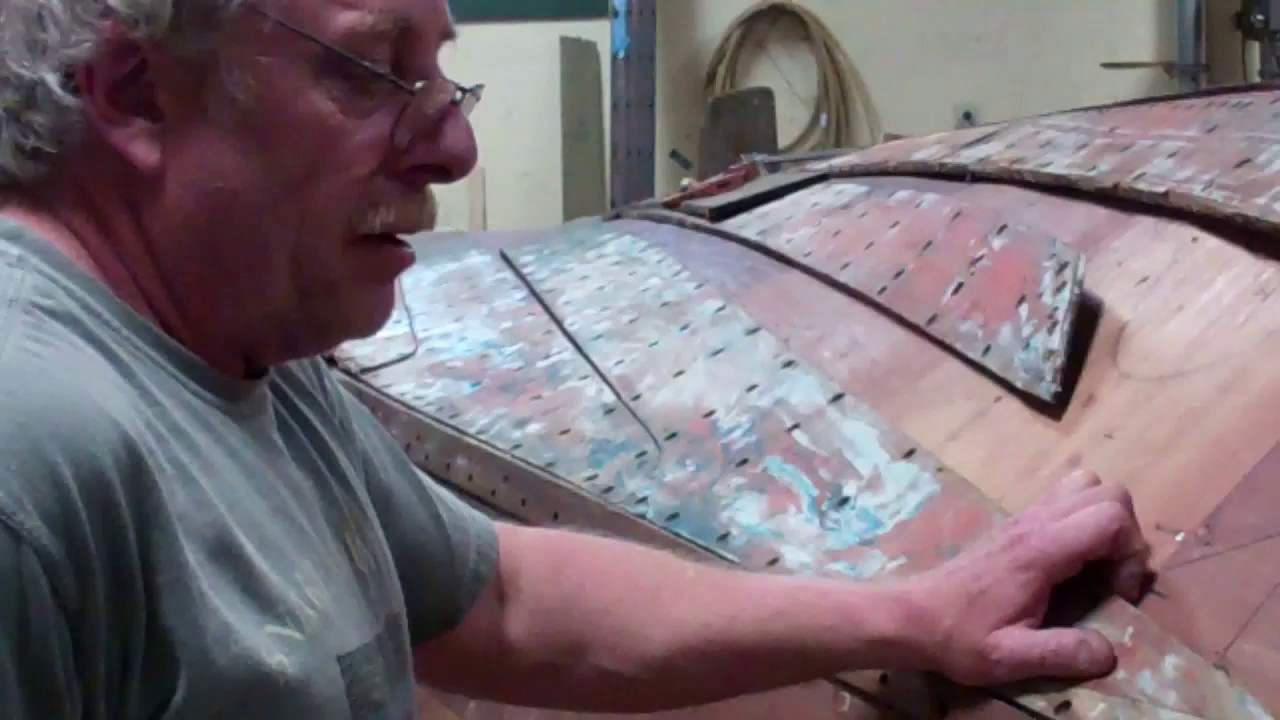
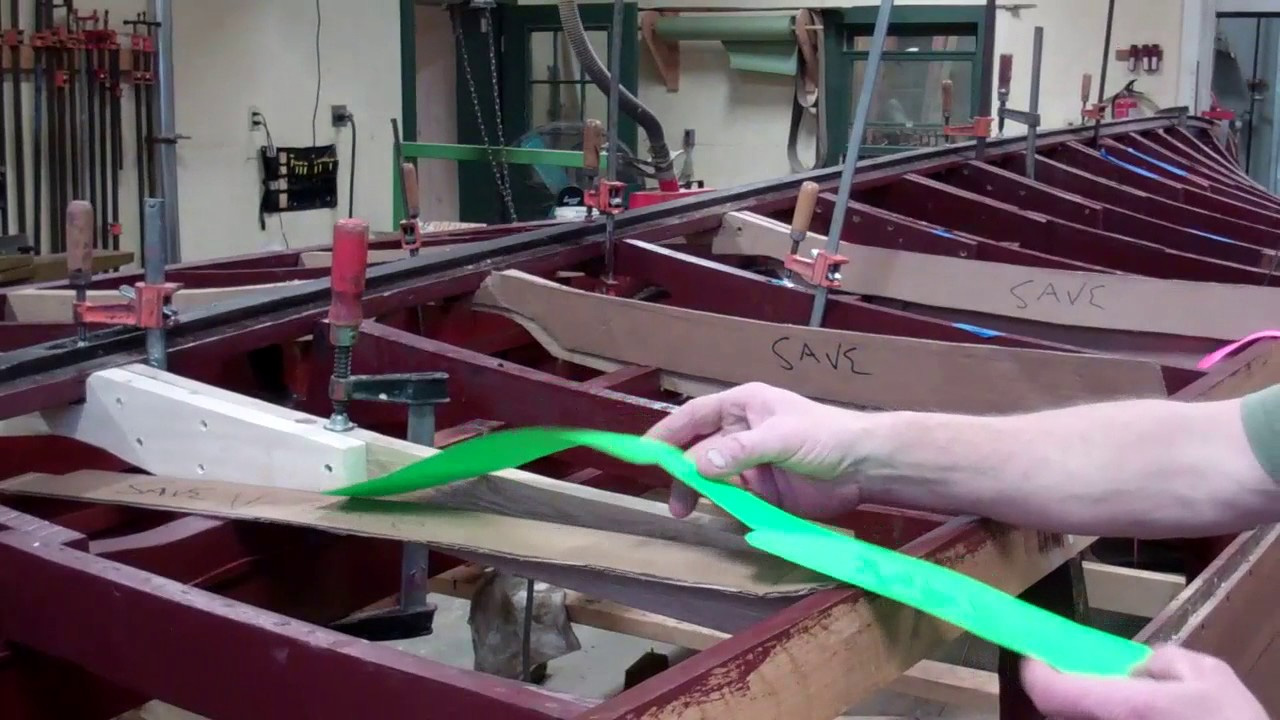
Sanding the transom and topside planking fair and flat followed, and proved to be a bear of a challenge. The boat has been sitting and exposed to the elements for some decades, during which time the topside planking expanded and contracted, and became bowed in the process. John was able to save every plank and deliver a completely flat outcome. Doing so, however, required starting with 40 grit paper and sanding cross grain with our longboard, inline sander. (Sanding with the grain would only perpetuate the rolling side planking.)

Once the high surfaces were sanded flat, John sanded with the grain, starting with 40 and progressing through 60, and finishing with 80 grit.

As shown in the addendum to the initial video, we then began bleaching these surfaces in the early afternoon on the 20th, using Daly’s Two-Part Wood Bleach, and kept the wood wet with repeated applications until about 7:00 PM that day.

The second half of this video shows you the results.

Next we will sand lightly with 320 grit, just enough to knock off any feathers raised by the bleaching process, and then stain using Interlux Interstain Wood Filler Stain, two parts brown to one part Chris-Craft red mahogany stain.

We will give the stain four days to cure before sealing these surfaces with CPES, after which we will apply one sealer coat of Pettit Easypoxy Hi-Build Varnish, and flip the hull right-side up. Such a satisfying way to end the week!

1946 Chris Craft Mahogany U22 Bottom Planking Fabrication

1946 chris craft u22 bottom planking

Our 1946 Chris-Craft Mahogany (Brightside) U22 project enters the bottom planking fabrication stage today.
We will replace all existing planking, which is mostly cedar, with newly fabricated mahogany.

Yes, we abhor being unable to save the original planking, but most of it is just too oil-soaked, split and broken. Not replacing these planks means a bottom that is not well adhered to the 3M5200, and cannot hold paint from amidships aft.

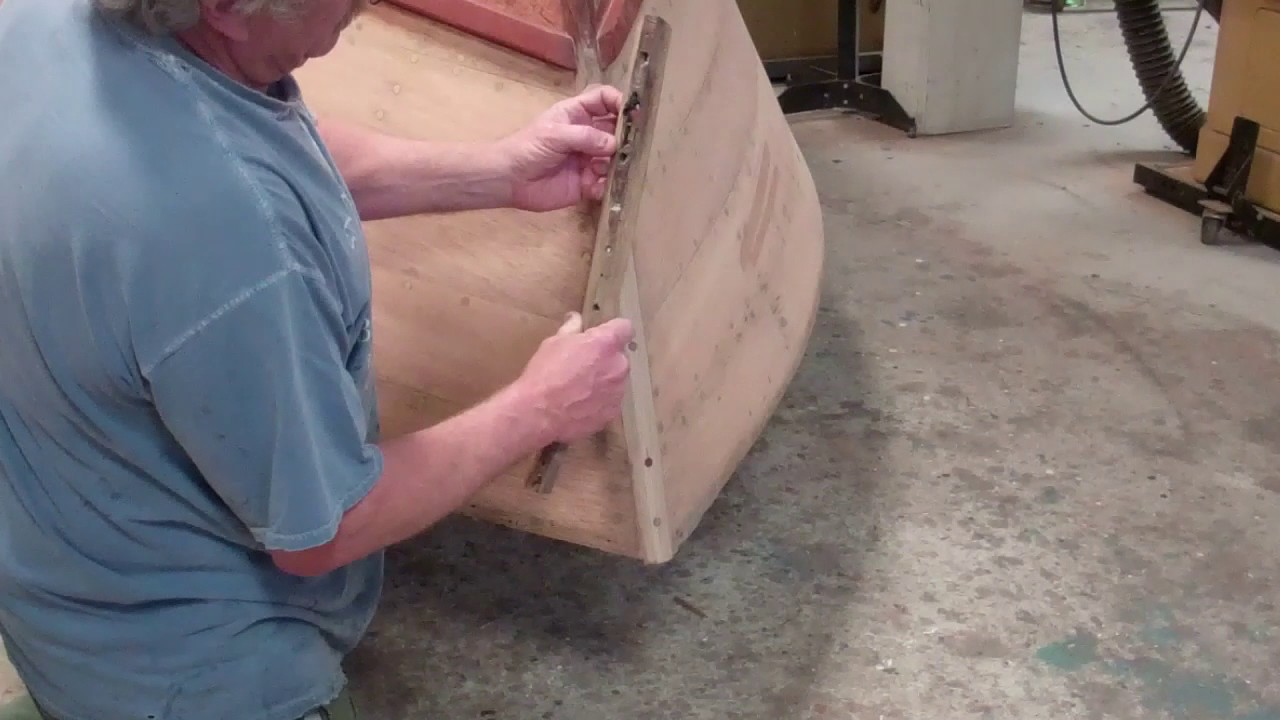
John and I are dry fitting the original planks in place, and will scribe them on the plywood skin. Given the structural work this hull has received, especially removing the twist and hog from it, means that some of these planks, and especially those running to the stem, must be sanded in to fit.

Once we are confident we have a perfect set of pattern planks, we will scribe them to new mahogany.

The new planks’ faces and edges will be thoroughly sealed with CPES before we begin laying them down.

Following a final application of CPES to all exterior surfaces, we will begin applying the first of five coats of Interlux 2000E barrier coat, followed by three coats of period-correct blue antifouling paint.

1946 Chris Craft Brightside U22 5200 Bottom & Transom Framing Update

1946 chris craft brightside-u22-5200 bottom transom framing

As promised two videos above, here are both an up-close view of the finished product following installing the first sheet of Aquatek Marine plywood, and the resulting issue with the bottom transom plank being too tall.

You cannot be too detail oriented in cleaning the excess 5200 from everywhere, and this includes sending RJ under the boat to confirm we have no ribbons of squeeze-out hanging from the frames in the bilge.

As is clear in the clip, before we removed the hog, the center of the bottom transom plank was at a good ¾” taller than it will be once we trim it flush with the plywood. The bottom planking will pass over this plank and terminate flush with the transom’s exterior surface.

The excess height shrinks to less than ¼” at the chines, which tells us that our “friend” jacked the center of the transom up, well, down once she is upright, which was the major contributing factor in the genesis of the hog.

My goodness………..

1946 Chris Craft Brightside U22 Transom Planking & Bottom Milestones

1946 chris craft brightside u22 transom planking bottom

Launching the True 5200 Bottom assembly is upon us … finally!

But first John and I must address a major issue we discovered when we began re-installing the bottom two transom planks, a discovery that also informed the “why/how” of the hog the hull was suffering when she arrived.

I will follow up with more detail once we have installed the first sheet of Aquatek Marine plywood on the bottom – two videos hence, but here is the gist of the discovery. When we tried to set it in place, post-reframing and re-shaping the transom to remove the hog, John exclaimed, “Oh my God! This plank is almost ¾” too tall in the center, and about ¼” tall at the chines!”

Yep! Old Mr. Butt Joint was here as well. Remember all the open joints we found in the transom framing before we rebuilt it? Well, Mr. Butt Joint was also Mr. Sloppy Joint, and the transom grew in height by almost ¾” in the process. (I now understand why the chine he installed was so ill-fitting. He had to goof around with it so that it fit between the bottom chine plank and the bottom planking.)

We will address the situation, and trim this plank, but not until the inner plywood bottom layer is fastened. Then we can scribe a line and trim the bottom transom plank accurately using our Fein Multimaster tool.

The happy news is that John and RJ finished fabricating, sealing and coating the components of the True 5200 Bottom’s inner plywood skin with Sandusky Chris-Craft Bilge Paint while I was tracing endless woodies in Tavares, FL.

We are ready to begin fastening the plywood. The finished True 5200 Bottom cannot be far behind!

1946 Chris Craft Brightside U22 Major Milestone!

1946 chris craft brightside u22 milestone

Finally! She, and her previous “restorers” fought us every inch of the way. Perhaps most distressing is that, rather than neglect and just use her, this 1946 Chris-Craft Brightside U22 owners consigned her to shops for periodic maintenance.

Sadly we now know that she returned worse for wear because these folks took every shortcut and made every mistake possible. Bottom line, they worked to embarrassing low standards. Rather that repair, these incompetent souls created water traps, used softwood where white oak belongs, drove in stainless fasteners below the waterline, and on and on.

Sistering bottom frames resulted from being too lazy to simply release the keel, so that broken and rotted frames could be removed and replaced in whole, not piecemeal. Undoing all of the sloppy, ill-informed and just plain destructive results has been our prime challenge as we worked to essentially rebuild the transom and bottom framing, virtually from scratch.

Example: we replaced her rotted and split gripe because of the water traps these guys created, an issue that was compounded by not taking the time to replace broken carriage bolt fasteners. However, all of that is behind us as of today. We removed the corkscrew twist in the hull, the severe hogging caused by improper frame work, replaced at least two-thirds of the frames and cross ties, junked the replacement (softwood!) steering box mount with rugged white oak, replaced the gripe and much, much more.

Every square inch of every surface below the waterline received three coats of Clear Penetrating Epoxy Sealer (CPES) and two initial coats of Sandusky Chris-Craft Mahogany Bilge Paint. With proper maintenance over time, none of these members should ever soak up water again.

Now the hull is absolutely solid and ready for her True 5200 bottom. First, we will give the many tubes – at least 30 – of 3M5200 time to cure before we begin stressing it as we will when the inner sheets of plywood and outer planking are applied.

The sense of relief in the shop was like venting a huge boil as John tightened the final hex nut on the steering box mount.

Now the fun begins as she will look more and more like the graceful woody she is as we begin the construction (rather than deconstruction and replacement) phase of saving this wonderful and venerable Chris-Craft, who will grace Ahmic Lake in Ontario, Canada once again starting next summer!

1946 Chris Craft Brightside U22 Bottom Framing Milestone in Sight!

1946 chris craft brightside u22 bottom framing

We so hoped we would have passed the bottom framing milestone by the New Year, but she just keeps fighting us.

We discovered one more broken frame/cross-tie unit – that lying directly beneath the stuffing box – during what we fully expected would be our final integrity check.

And, what we hoped would be a minor repair to the steering box mounting system morphed into a complete removal and fabricating anew when I grabbed it during the inspection, only to pull a handful of completely rotted softwood, yes, softwood, out of what appeared to be a sound block.

This block is not original, as is evident from inspecting the forward section of the starboard bilge stringer and finding empty carriage bolt holes. But now we have fabricated, sealed and bilge painted a new mounting system using FAS grade, fully 2+ inch thick white oak that is more than equal to the task at hand.

John has finished fabricating the new cross tie, and plans to finish the frame sometime this weekend. Once it is sealed, painted and in place, we can install the keel, which will be bedded in 3M5200, and that milestone will begin fading in our wake.

Next comes installing the two chine planks temporarily as guides to sending the outer edges of the new chine frames to the proper bevel, and also sanding the bottom faces of the – now seven – new frames into the proper profile.

Finally, finally, then we can begin making patterns for the 1/8 inch thick Aquatek plywood, slathering the frames with 3M5200 – at least 1/8 inch thick, and fastening it down with thousands of silicon bronze screws.

Onward….

1946 Chris Craft Brightside U22 Bottom Framing Update

1946 chris craft brightside u22 bottom framing

By this time next week we should be fabricating and installing the inner layer of 1/8” Aquatek marine plywood to the bottom.

John will first fabricate an entire set of paper pattern sheets for each of the two surfaces and transfer them to the plywood. Once each component is cut and installed to test for fit, it will be removed and all sides will be sealed with Clear Penetrating Epoxy Sealer, followed by two coats of Sandusky Chris-Craft Red Mahogany bilge paint.

Then all three of us will work together applying mahogany 3M5200 to all ribs and other landings, followed by sinking thousands of silicon bronze screws.

The fun begins once the plywood is screwed down – cleaning the squeeze out, and there should be copious amounts of squeeze out, or you have not applied sufficient 3M5200.

The mahogany planks are next, and, while we will do our best to save the original planking, it is in pretty poor shape, which will force us to fabricate new planking using the originals as patterns.

But such considerations push us way ahead of where we are now, which is all about passing the bottom framing complete milestone!

1959 Chris Craft 17′ Sportsman Transom Planking & Framing Update

1959 chris craft sportsman transom framing planking

Given the evidence that it has shrunk – a very wide seam between it and the next transom plank above, I fully expected to release the bottom transom plank.

However, the prospect of first stripping bottom paint lying on my back and then releasing all the fasteners driven through the tails of the bottom planks and into the bottom transom plank was foreboding at best.

Then, when I was having difficulty with the last few fasteners, I called in, RJ, who has what he terms his “special touch” releasing buried wood screws. As the last one backed out, RJ exclaimed, “I think your plank is free already!”
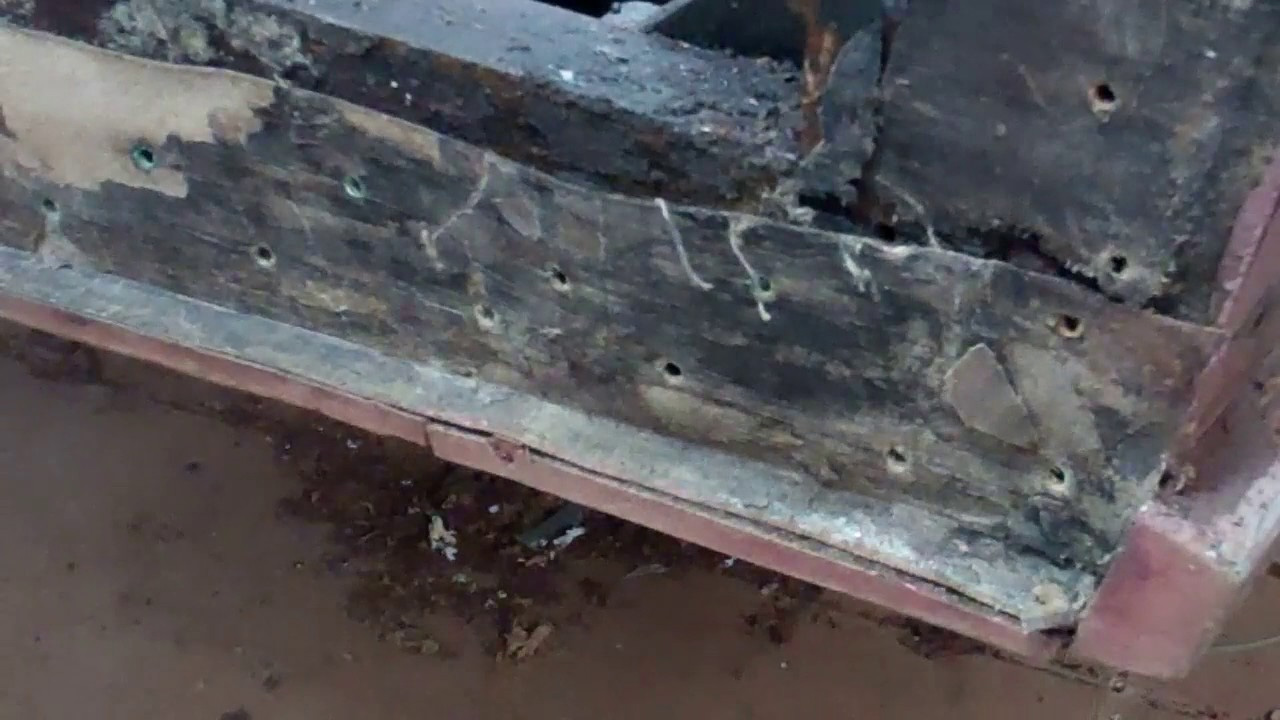
And it was and is. We now know that Chris-Craft moved the final course of fasteners forward from the tails, just enough that they are driven into the transom frame’s bottom bow.

The attempt to waterproof the seam along the bottom edge of the bottom plank was attempted using the oil-permeated canvas we have all seen when releasing bottom planking. Suffice it to say that, like the stuff under bottom planking, this course of canvas had long since lost whatever waterproofing qualities it had in 1959.

When the time comes we will install the bottom plank bedded in copious amounts of mahogany 3M5200.

A combination of finding green, and therefore moisture adulterated, fasteners behind the test bungs I popped, and a ubiquitous design issue that translates into a chronic, although slow leak, we also released the next transom plank.
The issue occurs at both ends of that plank, from its bottom edge up about 2 inches. Chris-Craft originally sealed the seam between this plank and the transom frame member it lands on using the same sealer-impregnated canvas technique.

However, each of the first 3 1954-1959 17’ Sportsman models we have preserved to date tended to seep water through that joint until we bedded them in 3M5200.

Proving that even old boat guys can learn, we routinely release this plank, remove what is left of the canvas and install it anew bedded in mahogany 3M5200.

With Christmas weekend peaking over the horizon, cleaning out the bilge and then pressure washing it will not begin until next Monday.

1959 Chris Craft Sportsman – How To Release Bottom Plank Fasteners

release bottom plank fasteners 1959 chris craft sportsman

The goal here is removing fairing-compound-filled countersinks and releasing the over 1,000 fasteners driven through the bottom planking and chines without damaging the edges of the countersink hole.

We begin with a portable drill and drill bit. (We use a pilot bit because it can withstand lateral pressure without breaking.)

Why drill all these holes? The Rotabroach cutter includes a positioning, spring-loaded pin. Yes, it can position the cutter in the countersink center, but it quickly gets loaded up with residue and fails to pop out once a countersink is opened. Then it walks across the plank until you grab a vice grip, remove the cutter and clean it.

Drilling the pilot hole gives the pin someplace to go without being pressed into the cutter head.

Next clean the hole using a scratch awl, and then the Frearson head slots using a pick, and blow the hole clean with an air chuck. (A shop vacuum will work here if the crevice tool is used, but the blast of compressed air cleans much, much more thoroughly.

Grab the impact gun to which you have fitted a #2 Frearson (Reed & Prince) driver and carefully back the screw out. (The impact gun’s trigger must be feathered so that it turns as slowly as possible for the initial rotations. A portable screw gun can be used, but it is much slower.)

The mini hook comes into play for those fasteners that simply spin in the hole. Carefully work the hook under the screw head and apply a bit of upward pressure by levering against the edge of the countersink. (Yes, “unpleasant” utterances are part of this process.)

Once you have all the fasteners – which you absolutely will not reuse – safely in the recycling bucket, and have teased all the planks off the inner planking, you are ready for the next steps. In the case of the ’59 Chris-Craft Sportsman, since the plywood inner skin presents as almost new, the next step is scraping all the canvas off, cleaning the surface and proceeding to toothpicking every fastener hole in the entire bottom.

Once you have inserted 4 to 5 toothpicks dipped in Gorilla Glue, or about 5,000 in total, into all the fastener holes, and the glue has set, reach for your Fein Multimaster and “shave” the plywood. What a mess!

Time for CPES, 3M5200 and installing bottom planking!

Tools:

  • Rotabroach Cutter Kit – available at Amazon.com
  • Portable drill and pilot bitdrill bit
  • Portable drill for 3/8” Rotabroach cutter
  • Portable impact driver with #2 Frearson (aka Reed & Prince) driver
  • Scratch awl – a Stanley brand awl is available from Amazon.com
  • A mini hook and pick set like this

1946 Chris Craft Brightside U22 Weak Bottom Frame Design Remedy

1946 chris craft brightside u22 weak bottom frame remedy

Yes, another update on the Brightside Chris-Craft U22’s bottom framing.

The bottom is framed with a combination of main and intermediate members. The main frames land on the main topside frames and are fastened with a plywood gusset in addition to the #10 x 3” wood screw through the chine frame.

These frames are spaced 28.5” on center, save for the final three, which are spaced 26.5”, 25.5” and 25” on center.

The intermediate frames a screwed to the chine frame and joined beneath the keel with a cross tie plank that is screwed through and into the face of each frame member.

John announced yesterday that all new frames were installed and positioned so that the keel just lands on every pair from bow to stern, “But we seem to have a problem. There are no intermediate frames in the three bays lying beneath and aft of the engine and transmission.”

Sure enough, as you see in the clip, these three bays, bays which must withstand the torque of the engine and slamming against the water at speed, are bereft of intermediate frames.

Inspecting the replaced chine framing indicated that Chris-Craft simply omitted these frame members from the design, a contention that was confirmed when RJ inspected the whit-side 1946 U22 we have in storage.

We contacted the owner, who agreed with our contention that fabricating and installing three pair of intermediate frames beneath and aft of the engine/transmission only makes good sense. So we will.

Doing so will significantly increase the stiffness and strength of the bottom and the hull, which should translate into more of the engine’s torque powering the prop, rather than tweaking the hull.

Yes, we will repeat this process with the white-side U22 when we get to her preservation.