1946 Chris Craft Brightside U22: How to Install New Bottom Frames

1946 chris craft brightside u22 install new bottom frame

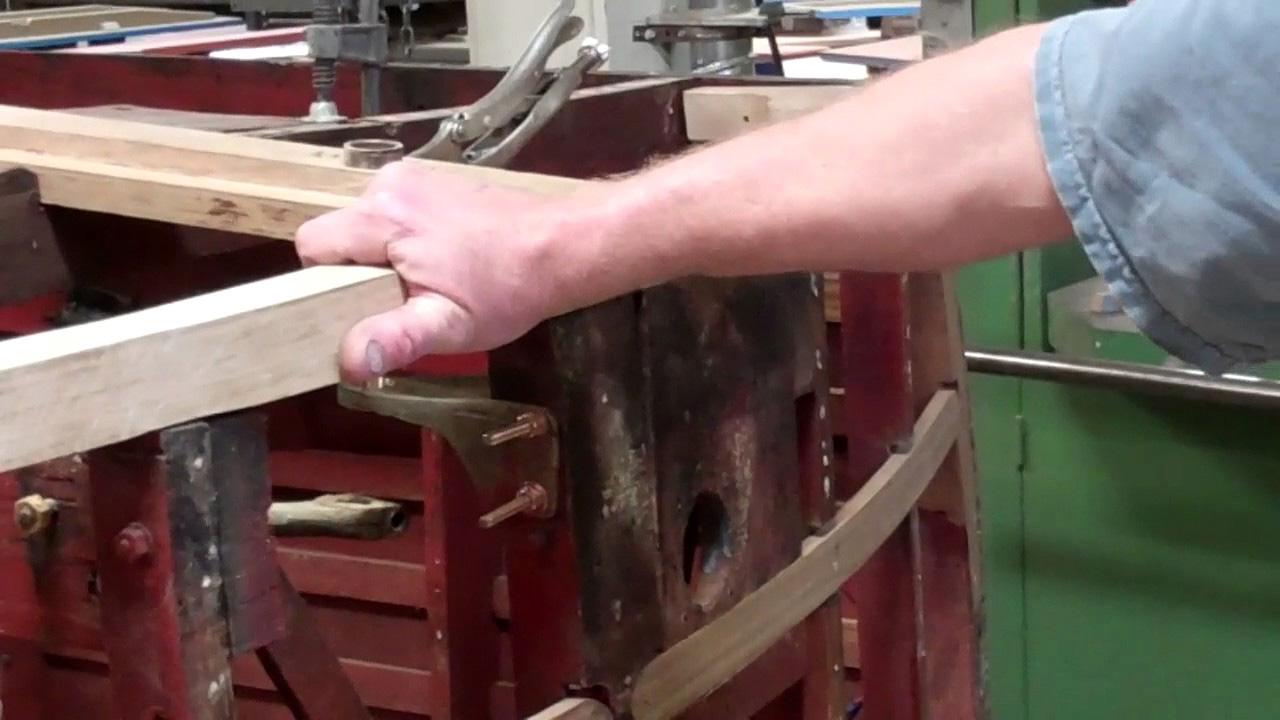
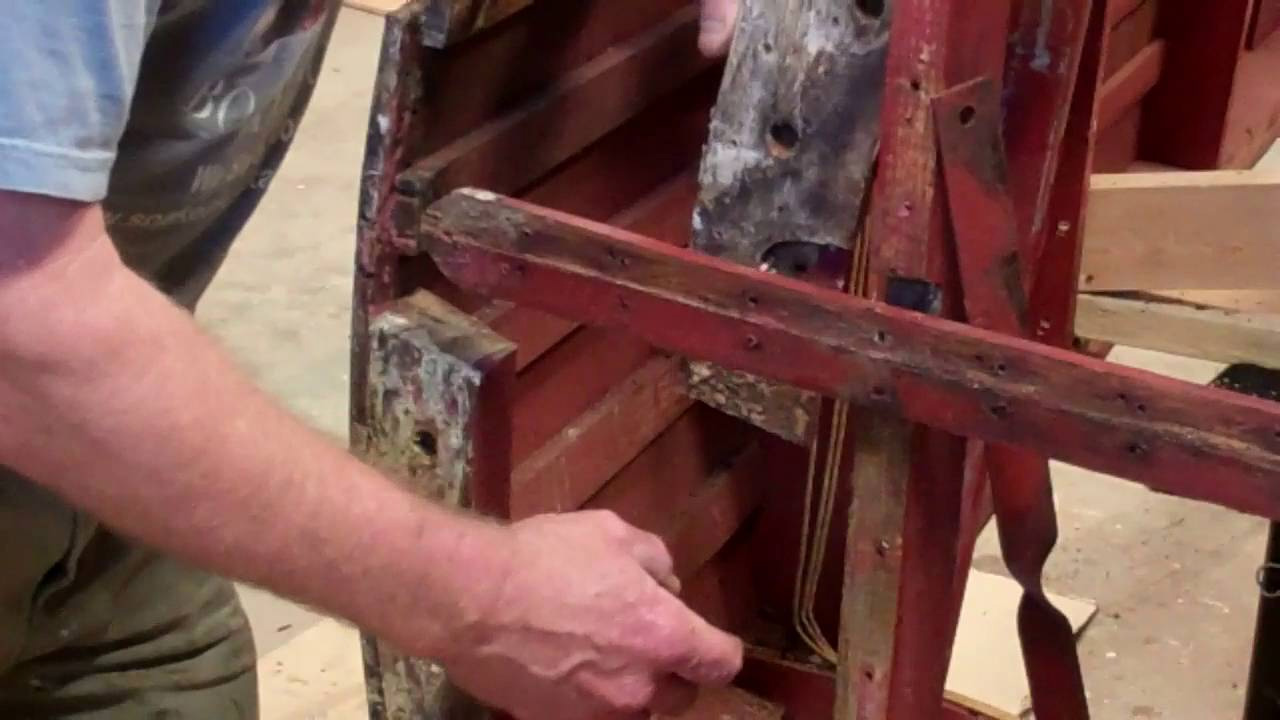
Reassembly is fully under way today. The half dozen new frames and about a dozen backing blocks are fabricated, sealed with multiple coats of CPES and painted with Sandusky Chris-Craft Mahogany Bilge Paint.

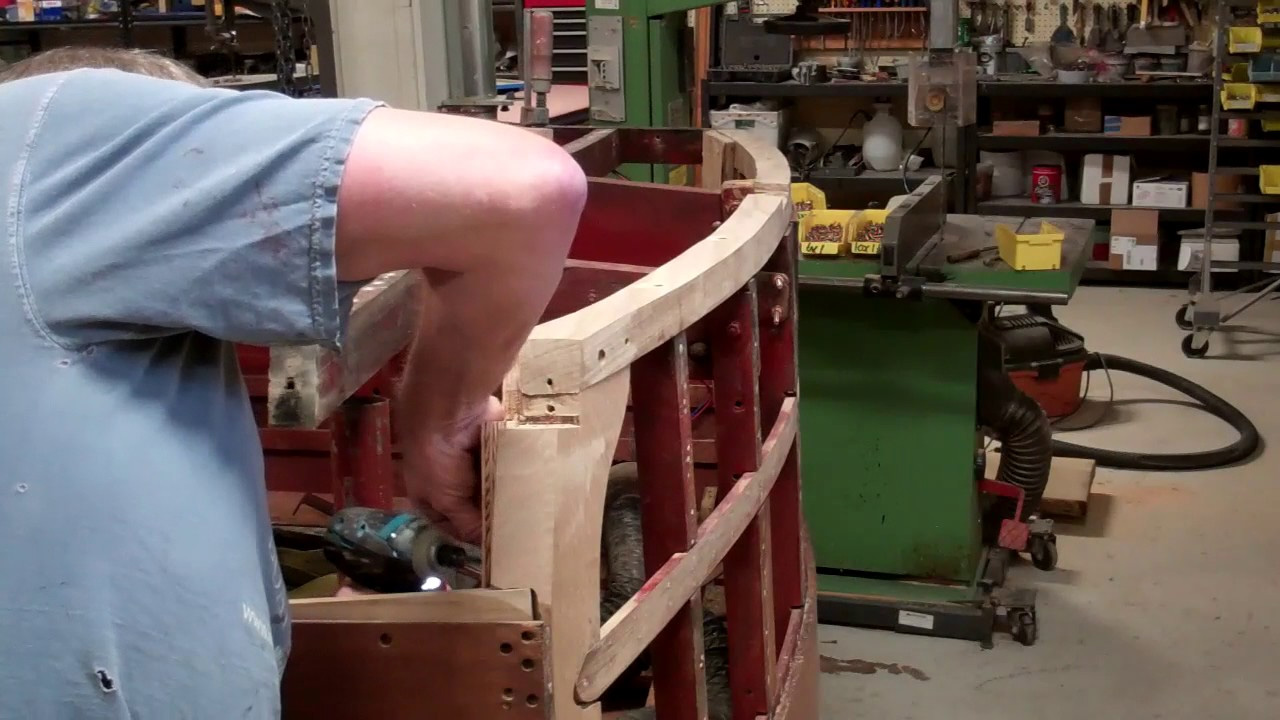
John began the final fitting and installing process this morning.

Save for the sister on the forward, starboard frame, which was affixed with Jamestown Distributors Thixo two-part epoxy, the mating surfaces of each frame are “frosted” with 3M5200 before being set in place one more time and screwed home with silicon bronze wood screws.

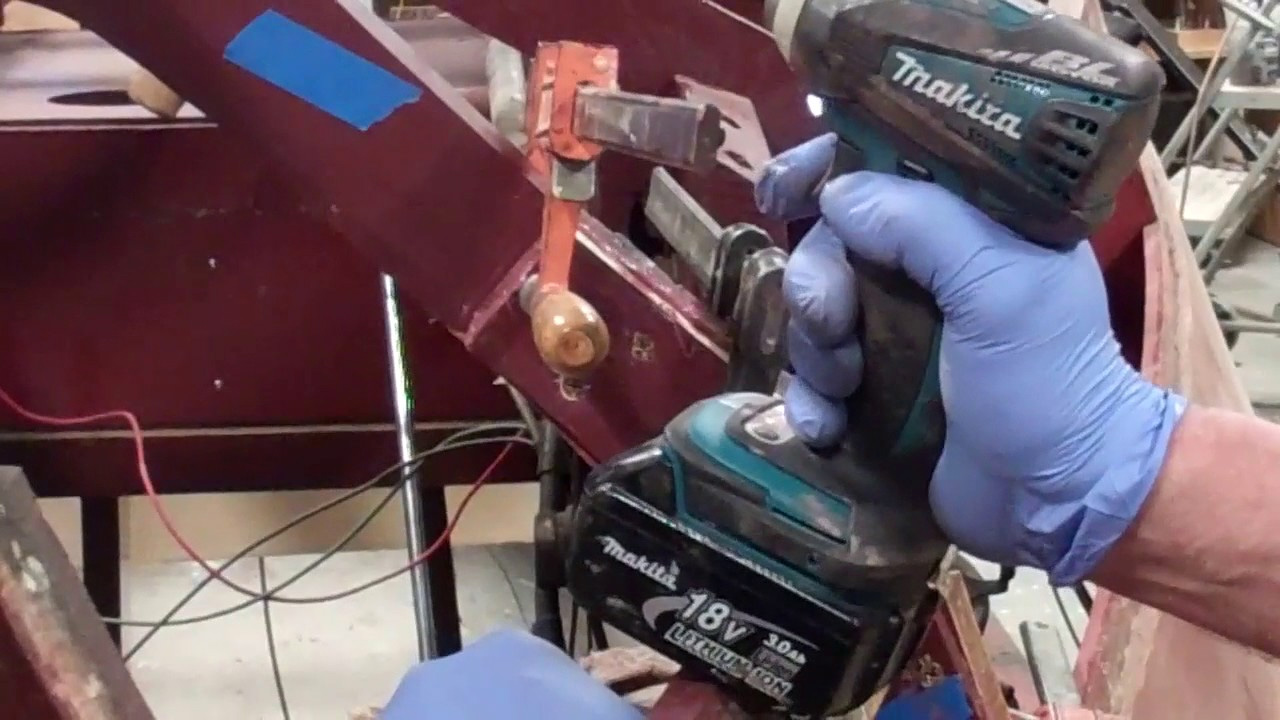
Notice in the clip how John repeatedly drives each screw in a ways and then backs it out a bit before driving it further until it is fully seated in its countersink.

Why? White oak is much tougher than silicon bronze. Driving the screw home in one pass, even with the pilot hole in place, risks twisting and breaking the screw.

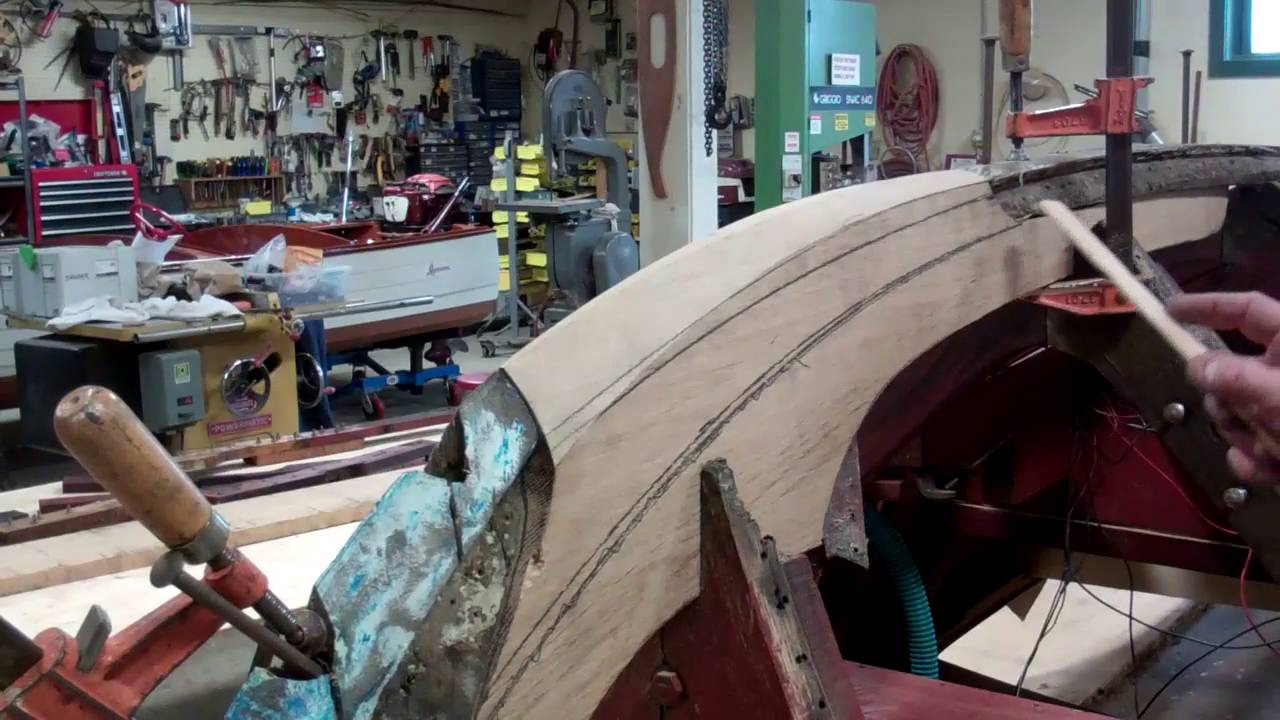
He will continue from bow to stern, and once all the frames are in place, screwed together and bolted down with silicon bronze carriage bolts, the keel will be installed.

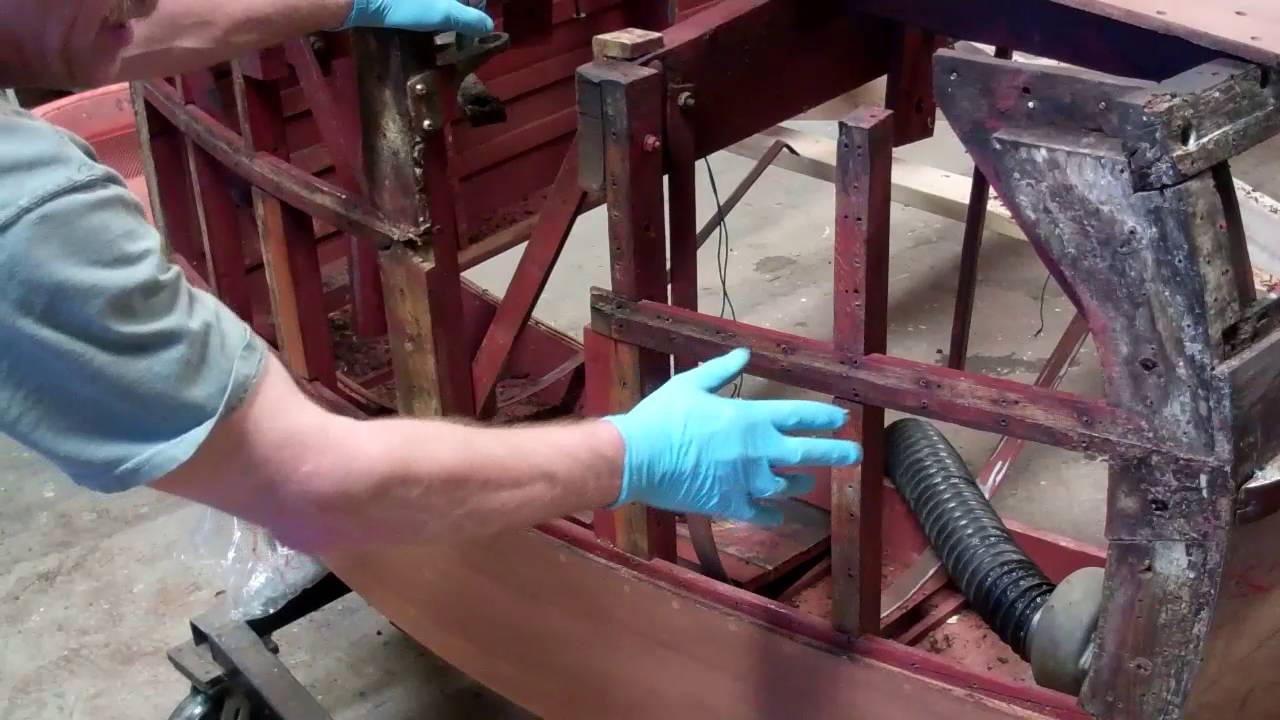
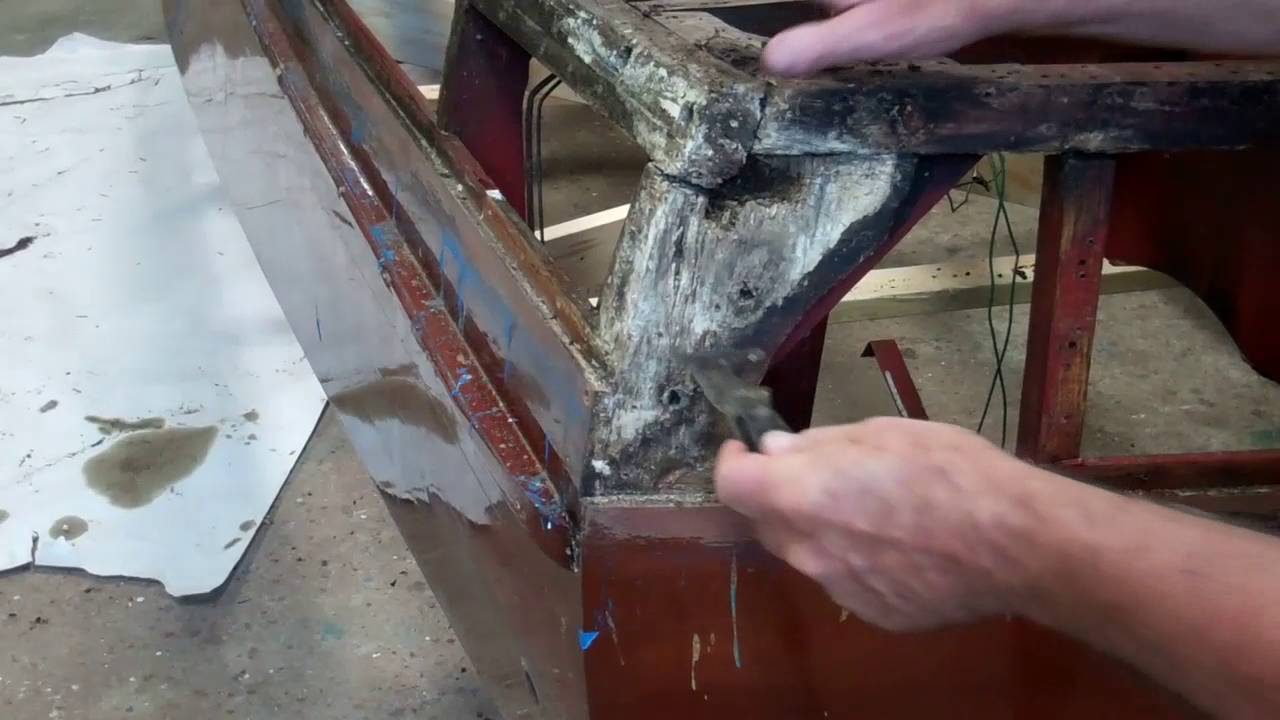
Once again, each landing between the frames and the keel will be coated with 3M5200. Why not the Thixo epoxy? Wood hulls move. Epoxy does not. Using epoxy in this application almost surely guarantees that the joint will fracture. 3M5200, by contrast, retains sufficient flexibility when cured to deal with the movement while remaining completely secure.

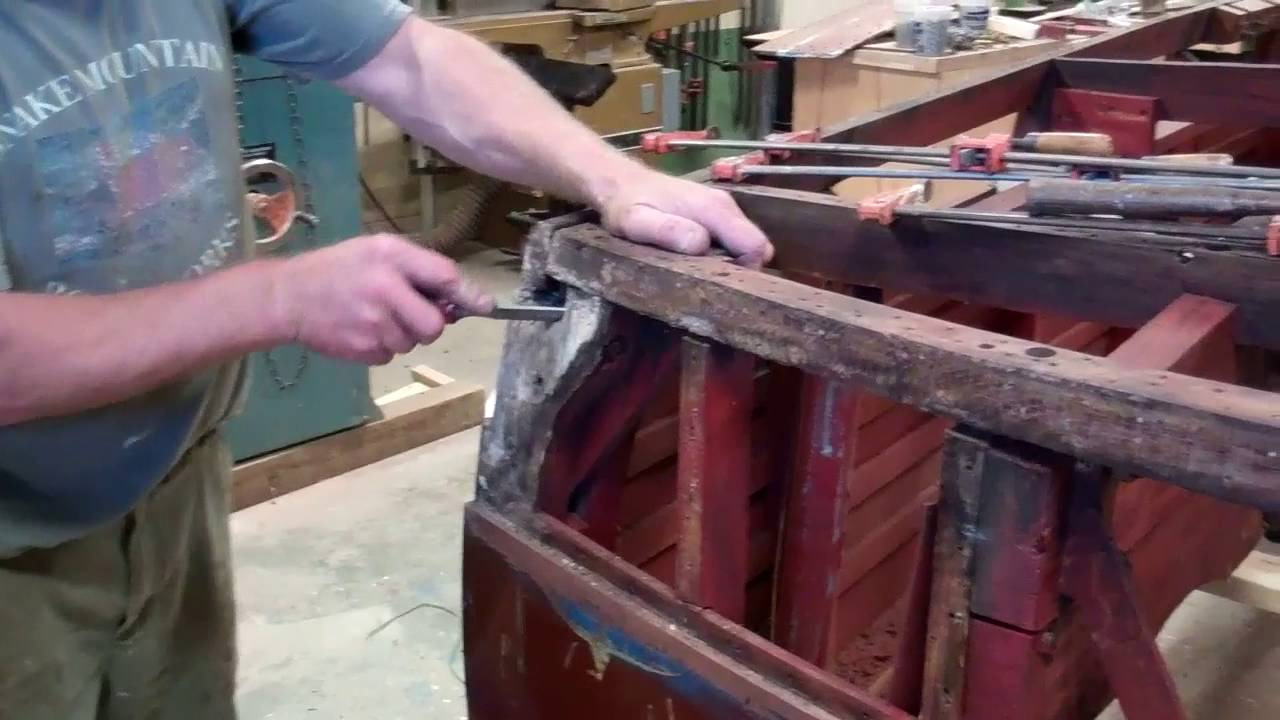
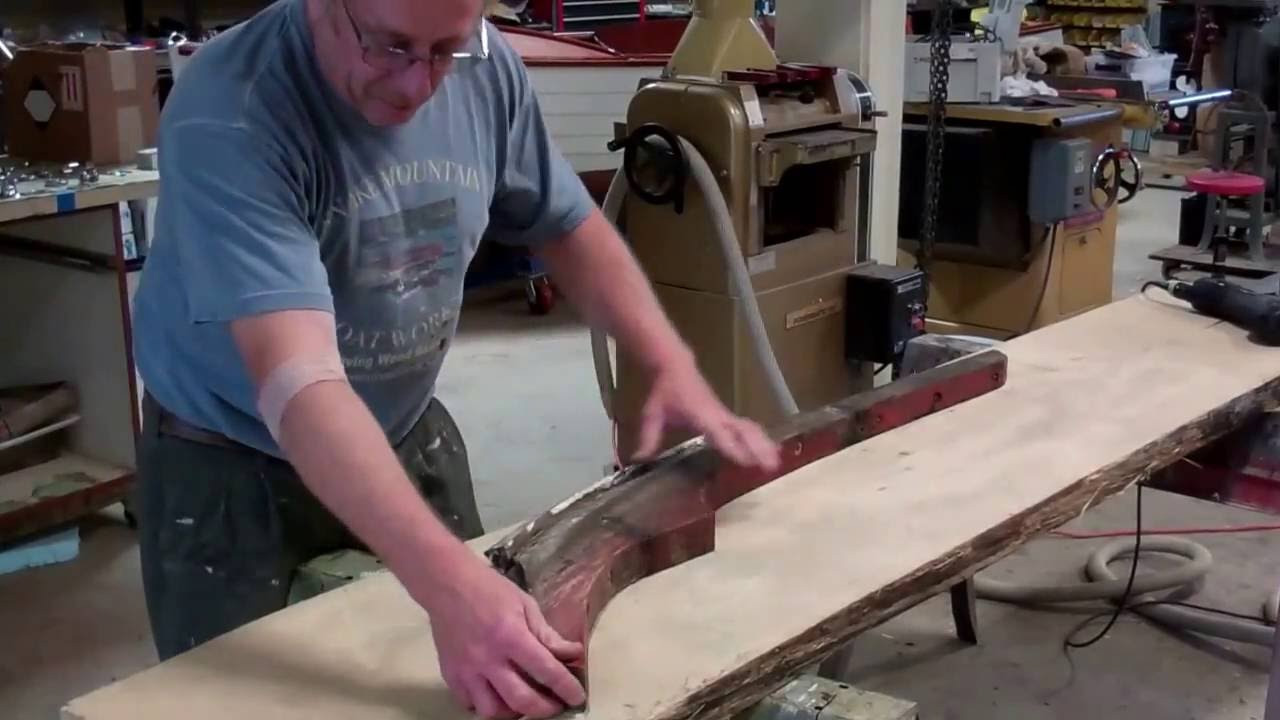
Plywood is now clearly in sight!

1946 Chris Craft Brightside U22 Framing Milestone (part II)

1946 chris craft brightside u22 framing restoration

OMG! He’s taking everything apart, just after he fitted, sanded and screwed it together!

Yes. Dry fitting is critical to achieving a result that is true and structurally strong. Each of these parts will now receive copious applications of CPES, before the final install commences.

The two scarf joints – forward in the chine frame and low on the starboard aft corner block, will be epoxied, as they are designed to become single monoliths. The balance of the elements will be fastened bedded in 3M5200.

Unlike the epoxy, the 5200 remains slightly flexible and can withstand the small amount of flexing that is omnipresent in wood hulls without breaking and thereby admitting moisture. Time for Michael to step up to the plate, chip brush at the ready, and begin CPES’ing all these parts.

1946 Chris Craft Brightside U22 Framing Milestone (part I)

1946 chris craft brightside u22 framing restoration

Our 1946 Chris-Craft bright U22 preservation project crossed a major milestone overnight when John finished fabricating and temporally installing the replacement transom and starboard chine framing, and the keel.

Anticipating this moment, I applied Sandusky Paint Company’s Chris-Craft Mahogany Bilge Paint to the existing bottom frames, and all surfaces of elements like the bilge stringers that are most easily accessed while the hull is flipped.

John also fabricated two ¾” plywood gussets for the hull’s aft corners that the previous “restorer” simply omitted. Combined with the fact that both the bevel angles and radii change continuously along the gusset’s edges and that he had no pattern to go by, John was presented with a particularly vexing set of challenges. John pivoted to his go-to solution, construction paper with which he fabricated a template.

Had the hull been true, that template should fit perfectly in both corners. It did not, as the hull was racked slightly, forcing us to gently coax it back into square.

All is fine now. Armed with the gussets, John fabricated the balance of the framing we could not save.

He also temporarily installed the keel, which allowed him to reposition the many existing – savable – bottom frames that our erstwhile predecessor installed a quarter- to three-eighths-inch low. As is visible at the close of this clip, the hogs we discovered are no more, and her keel is as true as it was the day she left Algonac.

Once we have sealed and installed these components bedded in 3M5200, and have glued the two scarf joints using epoxy, John will turn his attention to the port chine frame. Following that, and in what will involve all three of us, comes fabricating, fitting sealing and bilge painting the remaining frames.

Installing the new True 5200 bottom is peaking over the horizon! Yes!

We have received multiple requests lamenting the fact that, all too often, we offer videos of completed work. We have heard you, and Part II of this video follows John deconstructing the new frame members, piece by piece, and explaining the how and why of what he did in the process.

1946 Chris Craft Brightside U22 Varnish Stain Removal Update

1946 chris craft u22 mahogany planking stain removal

The 1046 bright U22 is finally looking, well, a bit bright. Her port topsides are now bereft of varnish and stain. I have taken a first pass at marking all of the dings and related physical graffiti with blue painter’s tape. (I erred on the clip by referencing what we are looking at as the starboard topsides.

Just when I have the sides sorted out while she is flipped, we will return her to right-side-up!)

Once John and RJ finish their inspections, it will be time for John to correct each and every ding, scratch and split, most of which he will accomplish with what I characterize as “feathery” Dutchman because they are. The smaller issues will be addressed using a mahogany-stained filler we make up with mahogany sanding dust and mahogany Sikaflex.

Serendipity visited us today. Just as I finished slathering Circa 1850 onto a section of planks, the cell rang and I was away from the work for several minutes. Upon returning to scrubbing, I noticed that allowing the stain to work, even if unintended, improved the scrubbing effect materially. If you watch the clip again, notice how much cleaner relative to the aft section the hull is amidships forward.

Lesson: Be patient. Give the stripper a few minutes to draw the stain out of the wood, and your efforts will return larger dividends in less time.

Why not wait longer? I did some informal testing as I continued. Since a very thin film of stripper is applied at this stage, I discovered that it began drying after three minutes or so, and that those dry areas resisted my efforts quite well. Two or three minutes seems to be the point at which diminishing returns to waiting set in.

We purchased several cases of 12 stainless steel sponge scrubbers from Amason.com Prime – today’s price is $13.45. Here is the link: https://www.amazon.com/gp/product/B00…

Next comes cleaning the starboard planks.

1946 Chris Craft Bright U22 Transom Travails Continue

1946 chris craft brightside u22 transom restoration

Well, what we had hoped was a “corner” problem, one occurring at both aft corners below the waterline, and a couple of new gussets grew significantly once John began removing transom plank and framing fasteners.

The middle plank was secured by, you got it, stainless steel screws, which is not too serious an issue since that plank is above the waterline.

But the moment he released that plank, John was sure someone has been in here before. Sadly, that person is the same one who assaulted the chines and bottom framing with the sistered butt joints.

He extended his campaign to include what we thought were just stiffening gussets on the two aft corners, but opening it up showed us that he took a saw to the main vertical transom frames, ripped the bottom half out and proceeded to “fix” it by sistering a new piece in place.

Bottom line, the entire transom was floating, and not in a good way.

There is only one proper way to address the transom debacle. The framing must be braced and then the top transom plank must be released; At that point we will be able to deconstruct and rebuild the transom framing, after which we will reinstall the planks, which will include replacing the bottom bow and much of the rest of the framing.

We inspected the rest of the hull for other hidden sistered butt joints, finding none, which elicited a “Phew!” from both of us.

1946 Chris Craft Brightside U22 Hog & Transom Droop Update

1946 chris craft brightside u22 hog transom droop

John and I agreed that solving the keel’s aft section hog must precede any fabrication of new frames.

Fabricating the new keel section involved one of John’s most creative Dutchman repairs yet. As you see it in the clip, he used a single piece of white oak and a router to fabricate its general shape. Rather than “making do” with a single, standard overlapping scarf joint, John’s Dutchman adds a finger that is under cut so that, when bumped into place creates an interlocking joint. However, the hog was still very much present, at which point he began digging into the transom framing.

First he dug out about 5/8” of hard caulk that had been pushed into the substantial space between the top of the bottom bow and its related frame members. Yes, that tells us that whoever was in here last also noted this void.

Rather that unearth its cause and effect a proper repair, he/she simply drove caulk into it, thereby forcing the bottom bow to drop even further. With the caulk removed, the bottom bow flops up and down. Why? All of the fasteners, even the ¼” carriage bolts that attached the bow to the bilge stringer, had failed. (Note: They had already failed when the last person was in there, but, rather than dive in and release all that must be released to get to these fasteners, he/she simply pushed caulk into the void. Once we have removed the gas tank supports, we can drive the broken bolts out and replace them with larger, we hope 5/16”, silicon bronze carriage bolts. Now is also the moment to address the rotted lower aft corner on starboard. Doing so requires releasing the middle transom plank and the fasteners passing through the topside planks and into this rotted gusset.

Then, once we have the transom fully stabilized and repaired, and the hog is gone, the moment for frame fabrication will be upon us.

1946 Chris Craft Bright U22 Deconstruction Continues

1946 chris craft brightside u22 deconstruction 2

Finally! I expressed the hope that we had unearthed all travesties committed by prior “restorer(s)” in the narrative to the last video. Wrong!

I was working on the ’49 Lyman Leader late yesterday when I heard, “#$%#@! I cannot believe it!” from where John was working on the ’46 U22.

Seems our “restorer” was as lazy as he/she was inept. One of the splash rails must have needed replacing, but why fabricate a correct, exact copy when you can dig into your pile of parts and find one taken off some other boat that was, well, almost the same?

Besides the two rails are opposite one another, and once the rub rail is installed, who will ever notice? Hmmm…

As the other original one has been all but destroyed from all the fasteners that have been run through it over the decades must be replaced, John will fabricate two new ones, a matched pair to be sure.

He has finally deconstructed the transom and transom corner framing as far as we need to go, the rationale for which he explains in the clip.

Our hope? Deconstruction is behind us, and fabrication will commence before we leave tonight. I may be unwittingly playing Pollyanna, however, as we have yet to release all of the bottom frames or the chine frames we must replace.

1946 Chris Craft Brightside U22: How to Fabricate her New Gripe (part II)

1946 chris craft brightside u22 gripe fabrication

Roughing out the new gripe is kids play relative to getting it, first to fit, and then to have the profile we seek.

By the end of the day yesterday, John had achieved an excellent fit to the stem and also to the forward end of the keel.

Together we scribed the lines that will define the landscape, and John went to work. As none of the radiuses, or pitch of the landing faces for the bottom planks is constant, shaping the gripe involves painstakingly slow work, almost sculpting the surfaces.

Once we have the gripe shaped and secure, it will be sealed with multiple coats of CPES and bolted into place, with all the landings bedded in copious amounts of 3M5200.

Repairing the aft end of the keel, which began late this afternoon will be followed by sealing and then bolting it into place, again bedded in copious amounts of 3M5200.

John is fabricating an intriguing self-locking joint that will secure the repaired keel section to its mate.

But that is a story for tomorrow.

1946 Chris Craft Brightside U22: How to fabricate a new Gripe (part 1)

1946 chris craft brightside u22 how to fabricate gripe

Finally, the moisture content of the white oak planks purchased from Newport Nautical Timbers reached 16 percent. (It has been hanging in the mid-twenties, just too wet for fabricating the U22’s new gripe. (The boat’s frame has been hovering between 14 and 16 percent.)

Starting first thing this morning, John began working on a 12/4” x 14” plank. By noon he held the roughed out gripe in his hands, as you see towards the end of the clip.

Once the final fitting is complete, he will shape the outer edge, drill the carriage bolt holes, dry fit and install everything, and then seal it completely with three coats of CPES.

When ready, we will lay 3M 5200 into the stem-to-gripe joint, insert the silicon bronze carriage bolts and crank the hex nuts home against lock and flat washers.

Next will be fabricating, sealing and installing half a dozen or so frames, and replacing the eighteen inch aft section of the keel, sealing the entire length on all sides with three coats of CPES, and bolting it in place.

Once all the frames, the gripe and the keel are solidly re-fastened, it will be time for replacing the chine frames, one side at a time.

1946 Chris Craft U22 Transom Corner Issues

1946 chris craft mahogany u22 transom corner issues

No more surprises, please! It is Monday, but discovering that, because of a water trap created by a previous “restorer,” the bottom transom corner on starboard is heavily rotted is not making my day.

Not at all.

Both gussets are rotted through and through, as are about the last 11 or 12 inches of the starboard chine frame. Replacing the gussets means releasing the number 2 starboard topside plank, a plank that runs full-length to the stem, and the super wide, middle transom plank.

Yes, the presence of failed stainless fasteners in the area confirms that someone has been in this area earlier affecting “repairs.”

Thankfully he/she did not get into the port corner. It is fine.

In much happier news, Eric, who owns an almost identical U22 that also suffered a drooping transom, shared a great strategy for addressing the issue in a manner that should be near permanent that his preservationist has innovated and employed.

The transom’s vertical weakness is, at least in part, due to bottom bow fasteners being driven into the end grain of the transom’s vertical frame members.

His solution involves fabricating two keyed gussets, with grain running at 45 degrees to vertical, which he will through-bolt after stabilizing the framing.

The latter involves removing the transom planking completely and using bar clamps to squeeze everything back in place. Then the gussets will be bolted through each bilge stringer and vertical frame member, and down through the bottom bow.

An added benefit of this excellent strategy is that the two new gussets will allow her to be hung without worry of drooping in the future.