1957 Lyman Runabout Varnish & Assembly

1957 lyman runabout varnish assembly

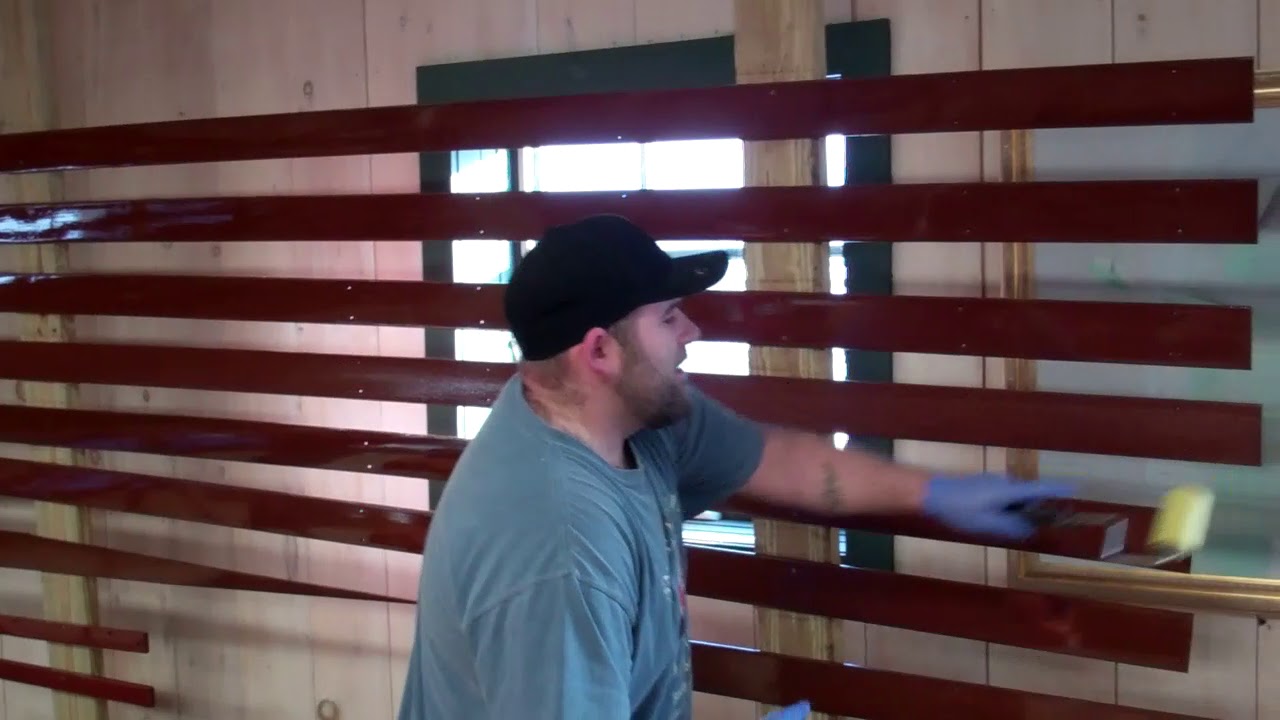
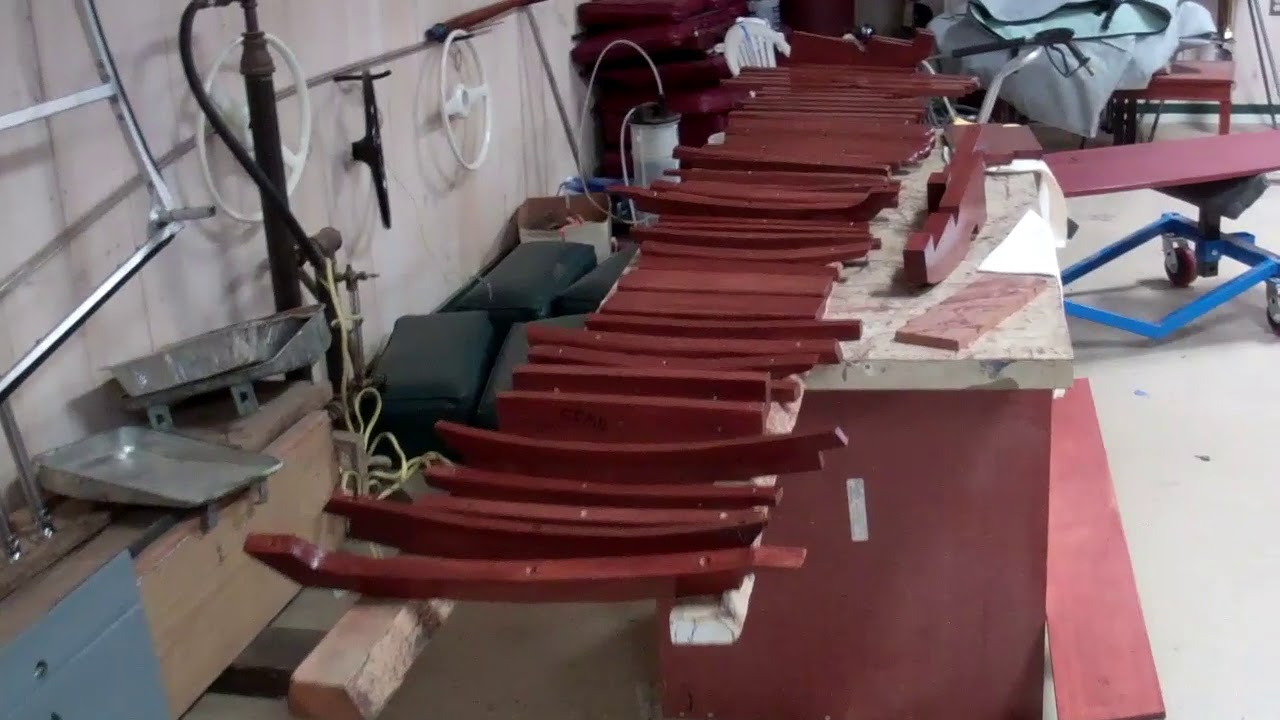
So many parts. So much staining and varnishing!

But with 90 percent of the varnishing behind us, we have focused on assembly.

A word of caution when you attack saving one of these wonderful Lymans. Consistent with Lyman practice, we installed Nautolex Marine Vinyl Flooring in Natural to all of the floor panels. The results are simply spectacular, as this rich mixture of hues compliments that the mahogany ceilings, engine box and seating in a manner that delivers coherence.

However, Nautolex sheets are almost one-sixteenth inch thick. Once you apply it to the face and wrap it around the edges, you have added almost one-eighth inch to each panel’s thickness. And, since these panels run beneath the helm seating, if John had, not accounted for that extra thickness, none of the components would have fit. John did and they do fit. Phew!

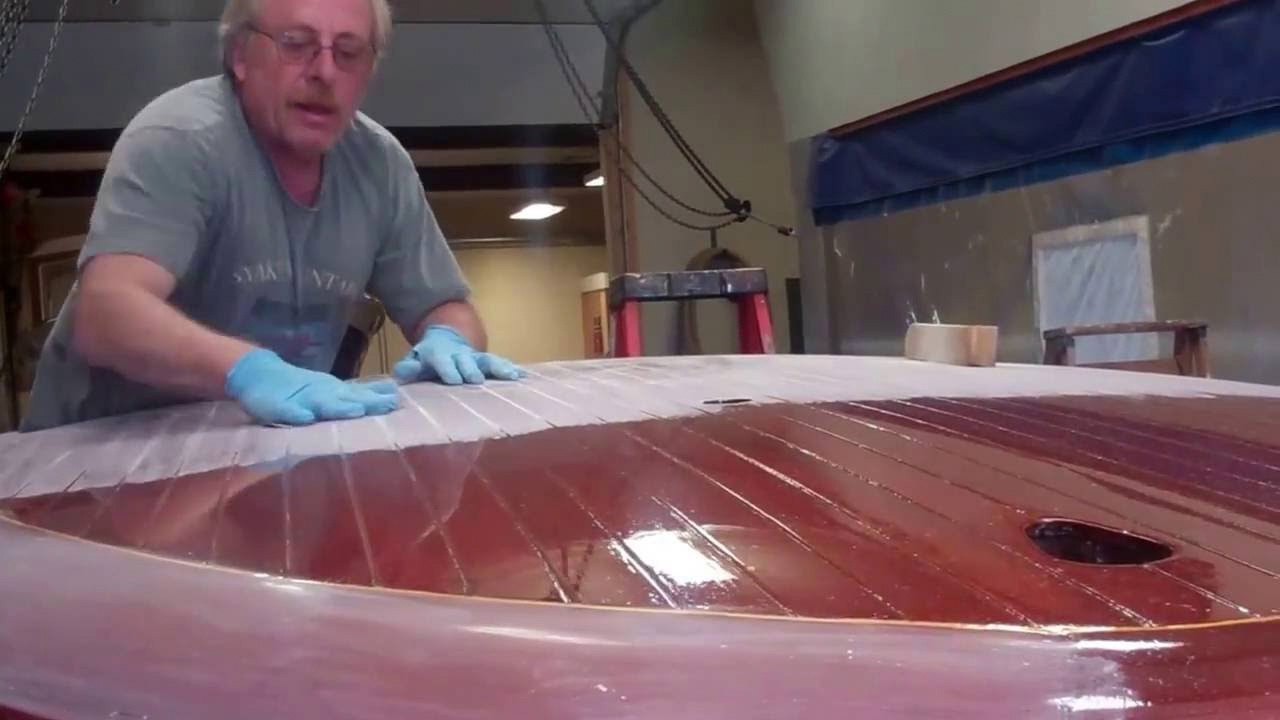
Even the varnish’s film thickness makes a difference when reassembly begins.

Bottom line, all of us must think and plan for how various coatings will alter dimensions.

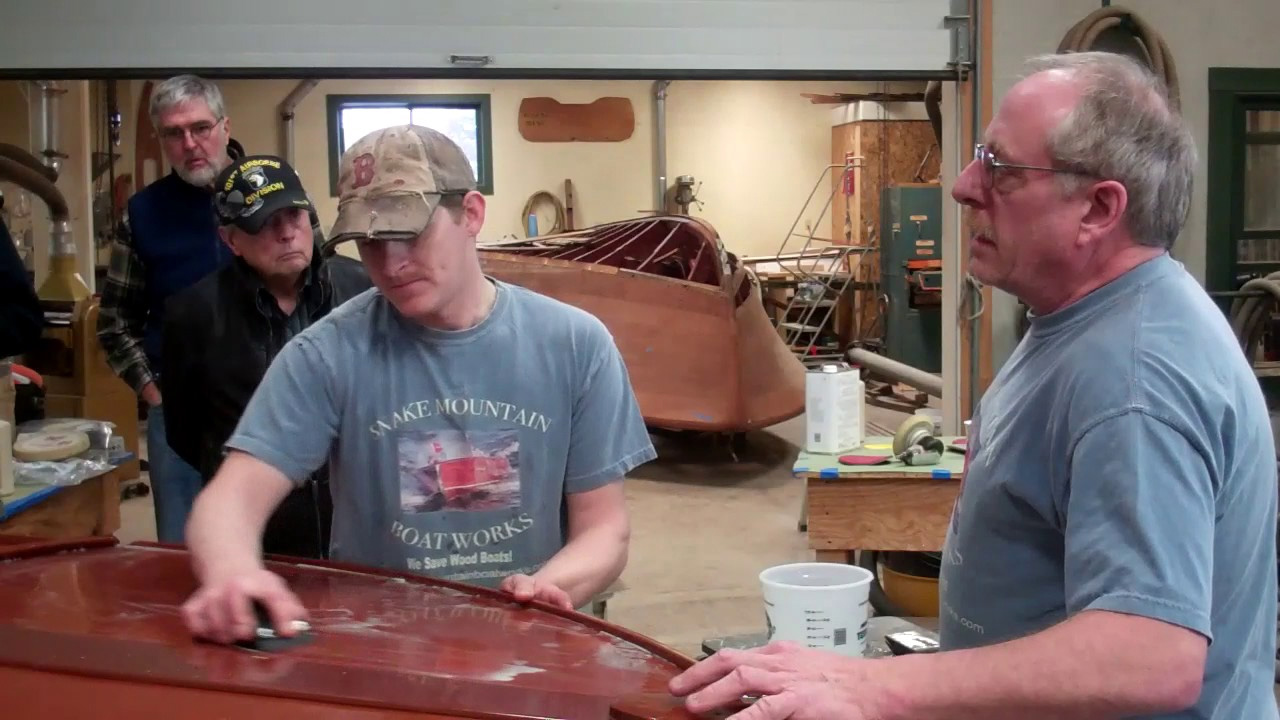
Altering the floor levels at the helm so that they are level with the rest of the floor did give us a surprise. This alteration also changed the position of the shift lever pivot relative to the floor such that the lever could not be installed on the original mounting block.

RJ and Joe once again demonstrated their resourcefulness by simply installing the floor panel beneath the mounting block after they wrapped the latter in Nautolex, which renders the block almost invisible. Here is a great example of less is more.

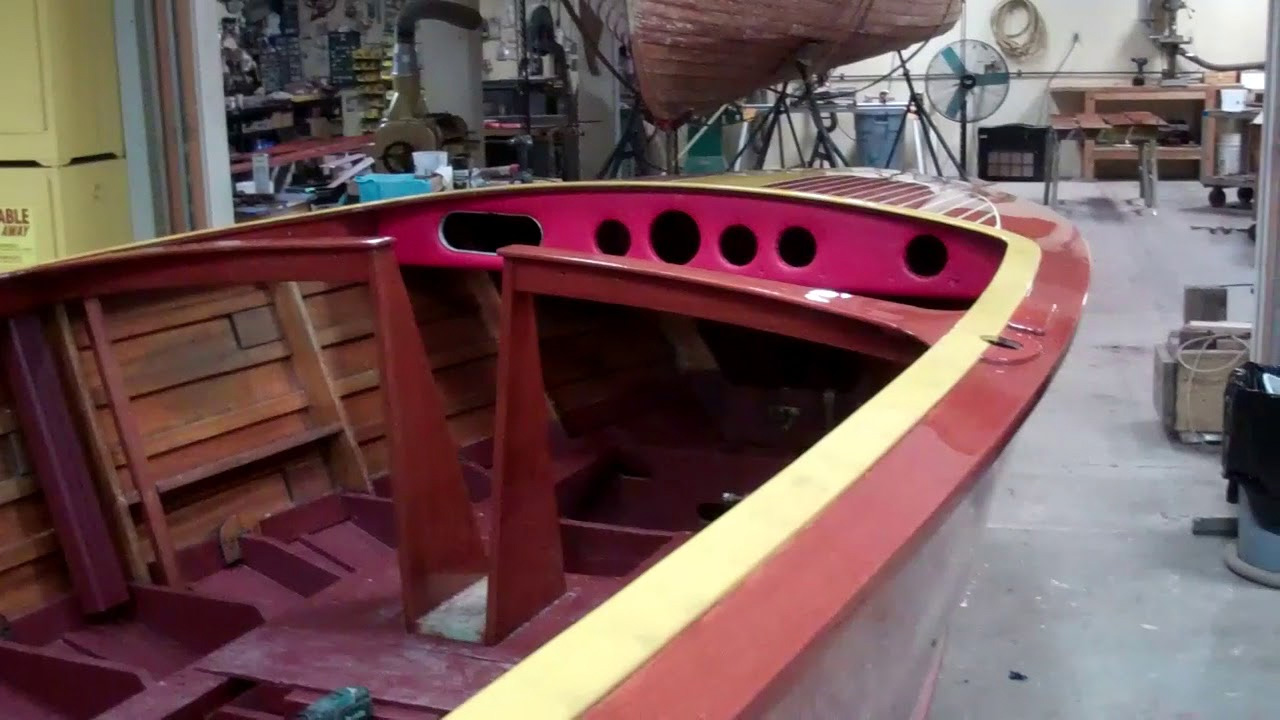
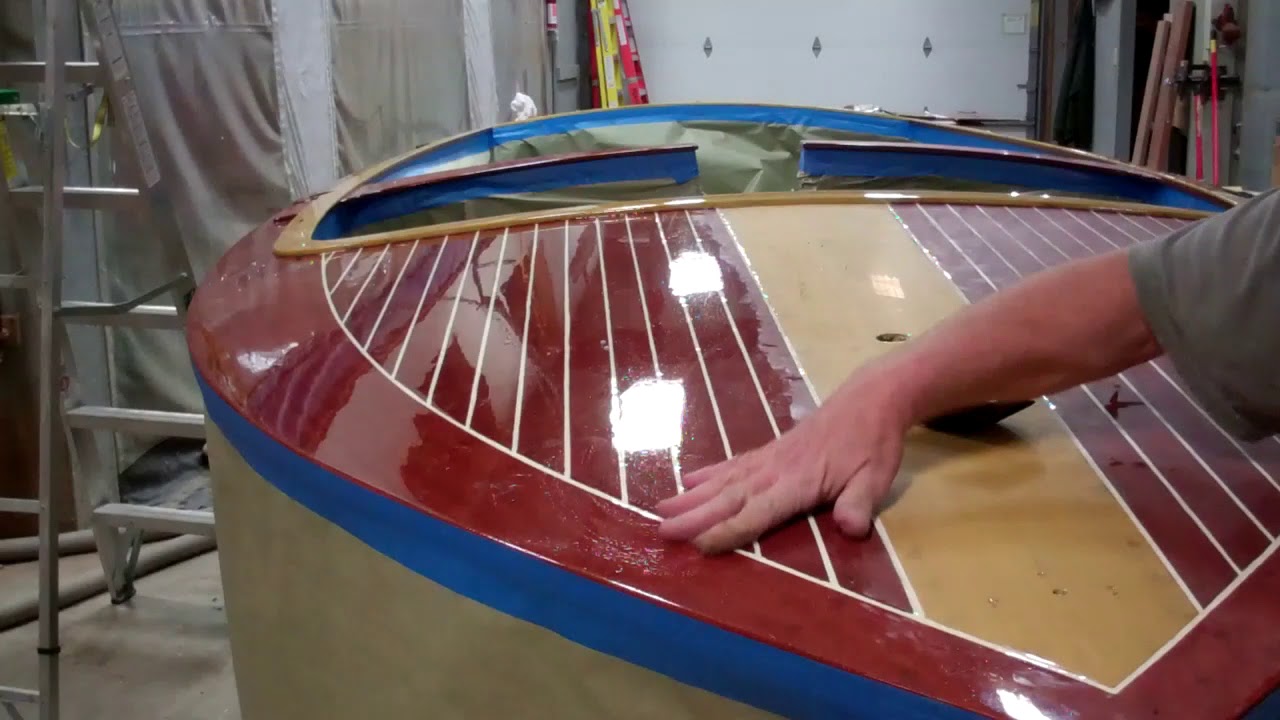
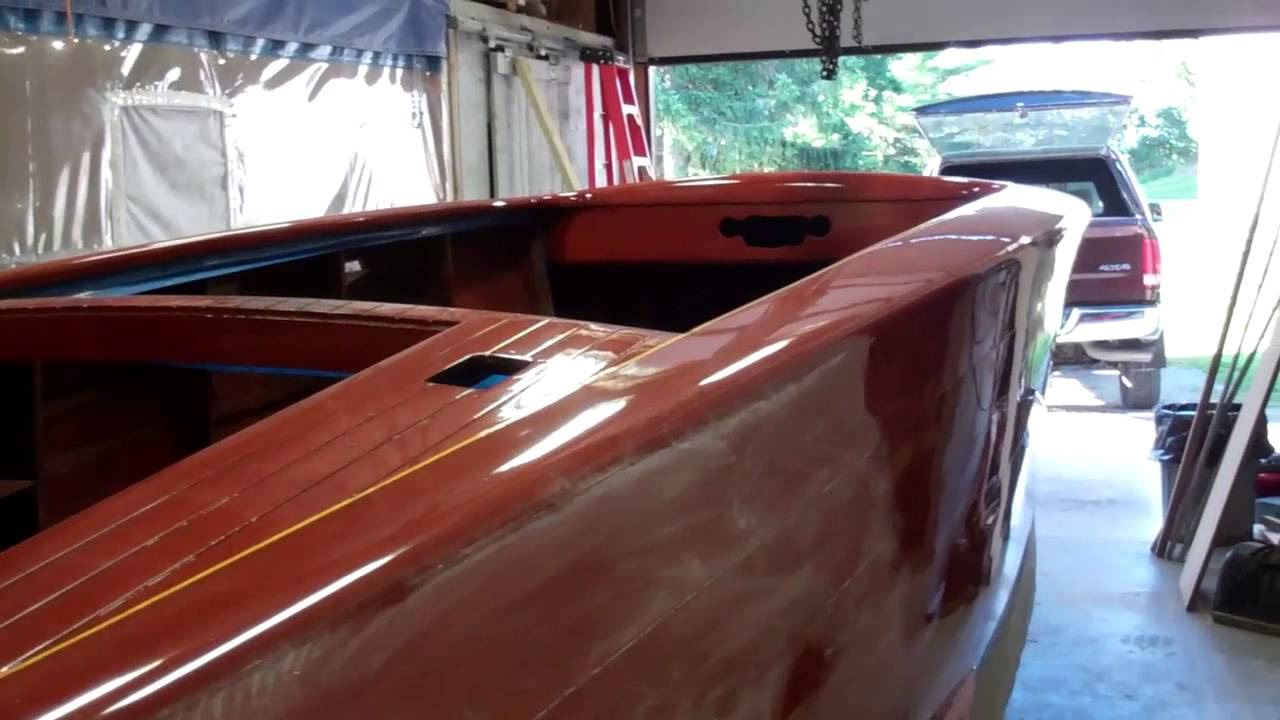
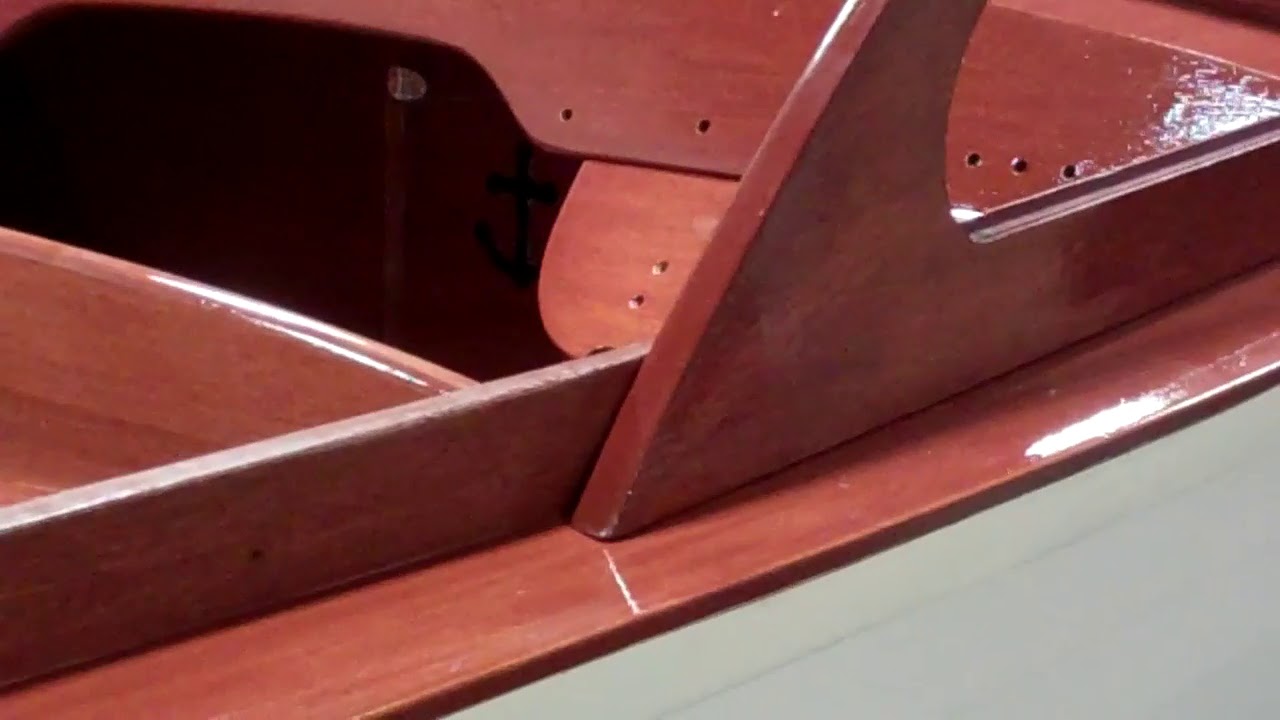
The coaming is secured with screws passing vertically and countersinks plugged with mahogany bungs. I suspect it is more personal choice than anything else, but we applied the first ten coats of varnish to the covering boards first, and now have installed, stained and sealed the coamings. (Yes, they are bedded in 5200.)

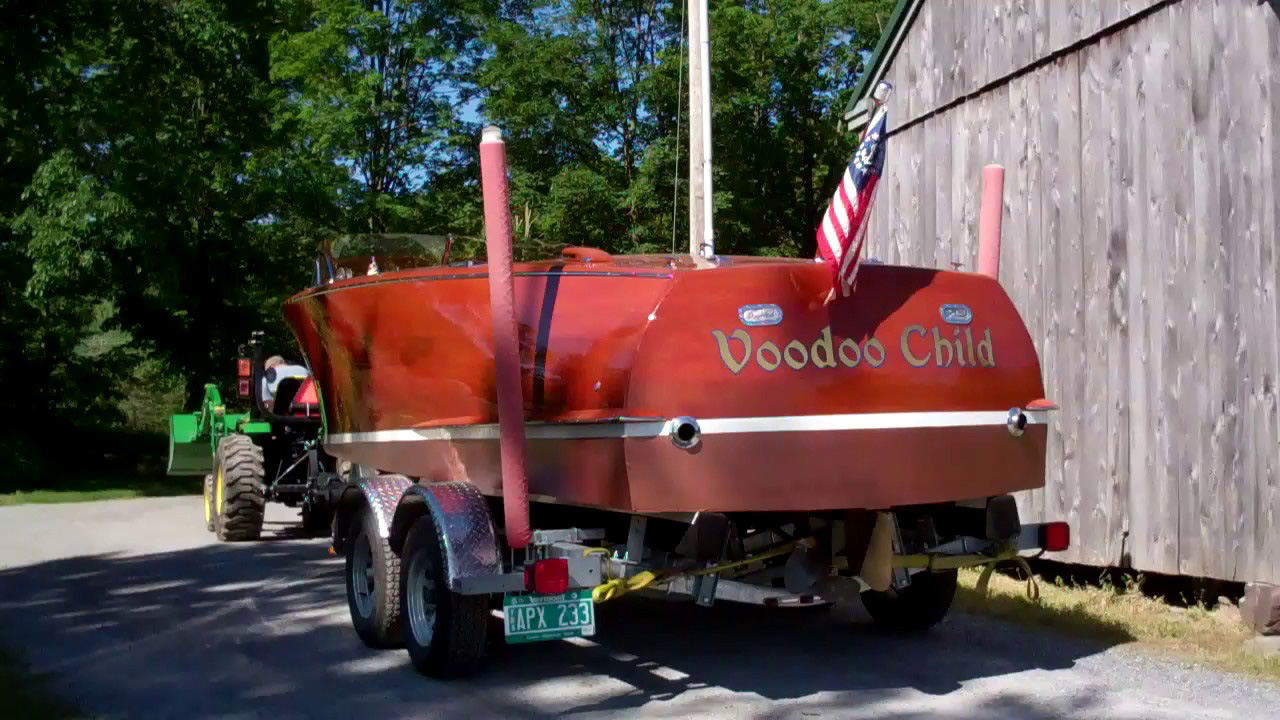
We will complete the final varnishing of the decks, covering boards, coaming, transom and firewall, and continue assembling her over the next week or so, at which time her hardware will be installed. Then she will be off to upholstery, canvas and lettering.

With 59 degrees Fahrenheit today – and back to the twenties next week, it’s sure difficult not to at least dream about seeing her floating. But with Lake Champlain frozen solid from shore to shore, I fear we’d be insulting her terribly by dragging her down there now!

1957 Lyman Runabout – How To Varnish

1957 lyman runabout how to varnish

So close!

One more coat of varnish tomorrow and installing our 1957 23’ Lyman Runabout’s ceilings can begin on Monday! Yahoo!

Joe and RJ have commandeered what used to be our showroom already, but yesterday they assaulted the walls as well. While they are ugly as sin, these rough racks make it possible to varnish pieces in a vertical attitude, which guarantees against any sort of dust contamination.

(They also increased the “parts-varnishing carrying capacity” by almost fifty percent!) We will hang seating, engine box and related panels on the racks for final varnishing once the ceilings are in place.

Her owners have been super patient, bit I know they are READY to begin seeing parts going into place and her “innards” coming together.

They are not alone! We are soooo ready to beginning the assembly and transformation from huge cavity to an accommodating, inviting and super functional cockpit.

1957 Lyman Runabout – How to Varnish update

1957 lyman runabout how to varnish

Happy New Year from RJ, Joe and Michael at Snake Mountain Boatworks LLC!

We spent the first day of 2019 the same way we spent the last day of 2018, making progress bleaching, staining and sealing the 1957 23’ Lyman’s seating components, ceilings, windshield frames, engine box and on and on.

By the end of today we put another milestone in our wake. Her decks, covering boards and dash received their first two coats, on the way to at least 15, of Pettit Hi-Build Varnish. Almost better is having applied several more coats of varnish on most of the components.

The last of the bleaching with Daly’s A & B Wood Bleach is behind us. Tomorrow these components will be scuff-sanded and stained, which will be followed by applying three coats of Smith’s CPES. In answer to several questions, except on very small pieces, we achieve much more uniform CPES layers by using a 3” yellow foam roller in place of a chip brush – which sheds hairs – or a foamy, which can come apart quickly as the foam reacts to the CPES.

For sure she will be in the water in spring 2019!

1953 Shepherd Runabout: How to Apply Final Coat of Varnish

1953 shepherd runabout final varnish

Yes, she is Voodoo Child, and if all goes well this fall and winter, you can see her in Tavares, FL, at the Sunnyland ACBS show, March 24-26, next spring.

John and RJ are making one final pass hand sanding to a snow field using 400 grit paper. The goal is an absolutely dirt-free, super flat surface, in preparation for applying the 20th and final coat of varnish.

We had her name applied following the 16th coat, to which four more coats have been applied. I am well aware that this issue is similar to asking five economists’ forecast for the economy and receiving at least seven conflicting replies. However, my goal is to provide some UV protection to the vinyl, while also delivering an identically glossy presentation across the transom.

We will allow the varnish to cure until early next week, at which time we will install the dual quad four, 331 cubic inch, V-drive Chrysler Marine Hemi and its drive line. The gauge cluster and the steering, throttle and shifting systems will be installed as well. Add a couple of fender cleats and we should be good to go.

Go where? To splash in Lake Champlain, since, before I can make a final commitment to Sunnyland, I must know she’s ready to romp.

After she triumphs over her sea trial, Voodoo Child will sit for 30 days during which time the varnish will finish curing, or at least have cured sufficiently to support the polishing process that completes her preservation.

Finally, we will put her back together and banish her to storage until March, 2017, when we will tow her south, away from a still-frozen Lake Champlain and equally frozen Vermont.

…Just cannot wait ….

1946 Chris Craft: How to Sand Varnish to Snow

1946 chris craft u22 sanding varnish

Flat = Gloss

This update on our conservation process at it applies to the 1946 Chris-Craft Brightside U22 is a close sequel to our last update. In that clip John was sanding the decks, covering boards, dash and seat frames by hand using 220 grit and a rubber sanding block.

He continued and completed that stage and is now focused on the topsides and transom. He sanded the transom as he did the decks, by hand using a rubber block and 220 grit, but then followed with sanding it by hand using 400 grit on his block.

Given the compound curves on the topsides however, he is using one of our Festool random orbit sanders and a very soft sanding pad behind the first 220 grit and subsequently the 400 grit.

As you can see in the clip, the topsides started out far from flat. However, after brushing and tipping seven generous coats of Interlux Perfection Plus Two-Part Varnish onto them, John has lots of varnish to work with, so is being a bit more aggressive than was the case when he sanded – then by hand – between coats three and four.

We will wipe all surfaces down with acetone and install the splash rails ahead of applying coats eight to ten, at which time she will be sanded again.

Happy New Year!

1959 Chris Craft Sportsman Buffed Assembly Begins

1959 chris craft buffed varnish

I just spent some minutes viewing our intake photographs of this 1959 17’ Chris-Craft Sportsman. A then vs. now comparison is at least startling.

She was so completely dried out; her deck and covering board planking was black, curled and split.

Yet, through our conservation efforts, all but two outermost, tiny, triangular foredeck planks have been saved.

It can be done. Destroying an antique or classic wood boat by simply replacing topside, transom and deck planking, is absolutely not necessary. Nor is it defensible. The perpetrators of such heresy exclaim that their “old” boat is now perfect. Really? Well, since it is now longer an old boat in any historically correct sense of the word, it had better be perfect, because it is now a new boat.

Yes, conservation can be more expensive than wholesale replacement of frames and planking, but additional out-of-pocket-cost is dwarfed by the value added by keeping her as original as possible.

The one exception, and one that the ACBS now recognizes, is installing a True 5200 bottom, since doing so contributes materially to safety.

Snake Mountain Boatworks simply will not countenance such willful destruction. Conservation, as with a fine oil painting or the vintage cars that Restoration and Performance Motorcars of Vermont is all about saving all that is original to the absolute maximum extent humanly possible. Would you proudly show a Degas painting that you had completely repainted?

Then how can you proudly display a floating artifact of history clad in completely new wood? New paint or new wood? The horrific result is identical.

Enough said. Assembly has begun as we await Robert Henkel’s completion of completely rebuilding her engine, transmission and all that hangs off of it. Although the wait is very likely to span two months or so, we will have the hull ready for the engine install, and this wonderfully original Chris-Craft will be back with her owners for the 2018 boating season.

1959 Chris Craft Sportsman: How to Buff Varnish (the SMB Way)

1959 chris craft sportsman how to varnish

Gloss is about flat, which may seem incongruous, but the flatter the surface, the more uniform will be the gloss. Think of a cheap mirror compared to a high-end one. Your reflection in the cheap mirror tends to be wavy, while it is absolutely unwavering in the high-end one.

Why? The surface is uneven in the cheap one and absolutely flat in the high-end one, hence the truer, more consistent reflection of the light hitting it.

Gloss is about flat, and Snake Mountain Boatworks strives for as flat a surface as we can create. The process begins with wet sanding by hand using a rubber sanding block and 1,000 grit wet/dry paper, followed by doing it again with 1,200 grit, and finally with 1,500 grit.

We used to sand with 2,000 grit as well, but discovered that switching to Mequiars buffing crème 101 and 205 instead both saves time and delivers a much deeper, more uniform gloss, which means it helps us get to flatter sooner.

Yes, I have heard the folklore that buffing varnish destroys, or at best dramatically lessens UV protection on the dubious claim that it resides solely in the topmost portion of the varnish film.

To have any validity such a claim would require that each additional coat of varnish somehow bleeds UV protection out of the prior, already partially cured, coats of varnish. Are we to believe that coat 10 somehow liquefies the previous 9 coats, each of which delivers the UV protection “cooked” into the varnish we are using?

Alternatively, if the buffing process employed dramatically “washed” film thickness away, yes, the final UV protection achieved by having applied 12 coats would decrease proportionally were buffing to reduce film thickness to, say, that offered by 9 coats.

Sorry, I cannot get there. UV protection builds with each additional coat increases the film thickness. When we begin with the film thickness delivered by the 20 coats we have applied and allowed to cure for at least several weeks, the buffing with 1,000 and progressively higher grits that follows polishes and flattens the surface. It does not remove significant amounts of film thickness in the process.

Snake Mountain Boatworks will continue buffing and delivering results to our owners that translate into winning most of the shows they enter SMB-preserved boats in, which is the case.

1953 Shepherd M110 S Dual Quad Four V-drive Hemi 22′ Runabout Post Preservation Debut

1953 shepherd m110s dual quad four v-drive hemi

Voodoo Child arrived here from Pointe au Beril, Ontario, CA on October 27, 2015. Now, some twenty months later, she is leaving her comprehensive preservation process in her wake.

Save for a new RAYCO tank, new bottom inner skin and updated upholstery, nothing from her Model 110-S, dual quad four, 331 cubic inch, V-drive Hemi to the smallest piece of hardware has been replaced.

Her preservation included:

  • Every piece of wood, inside and out, was stripped bare and sealed with three coats of CPES.
  • She received a True 5200 Bottom. While she now sports a new inner skin of 1/8” Aquatek marine plywood, her original bottom planking was in perfect condition and is now back in place. Five coats of Interlux 2000E Two-Part Epoxy Primer (barrier coat)
  • Robert Henkel, Peter Henkel, Inc., Marine City, MI, executed a complete mechanical and cosmetic tear-down and re-build.
  • Mickey Dupuis, Custom Metal Restoration, Holyoke, MA, transformed her hardware into jewelry, as is his only standard.
  • Shauna, Kocian Instruments, MN, restored the gauge panel and gauges to show quality without switching out any of the gauges.
  • We stripped her hull to bare wood, sanded it fair and applied a new finish, the final step of which was buffing her twenty coats of Pettit Hi-Build varnish.

Soon she will live on her new ShoreStation lift that is complete with a vertical shade panel so that she need not roast under a mooring cover.

“All” we need to do now is test her, execute some final tweaks and correct any issues that pop up during her sea trial, oh, and finish assembling the lift.

Shirley and I cannot wait!

Snake Mountain Boatworks LCACBS Varnish Buffing Workshop

how to varnish vintage boats workshop

“Always start with the least abrasive grit that will work, as you don’t want to remove any more of the finish than necessary…” (The Brass Bell, “Buffing Varnish,” p. 42. https://www.dropbox.com/s/z6hzszvd760…)

Industry Standard: 3M Finesse-it II (www.3m.com) will remove up to 1500 grit scratches, but our goal is to remove scratches down to 3000 grit. (Here is where we stopped buffing Voodoo Child, my 1953 22’ Shepherd Model 110-S.)

1. Using a 1,500 RPM pneumatic palm sander, we sand the surface using 600 grit dry paper until it looks like a field of unbroken snow.

2. Wet sand using rubber hand sanding blocks through a progression of papers – 900 1200 1500 2000 2500.

3. Wet sand using the palm sander and a continuation of ever-finer grits – 3000 5000

4. Using a variable speed electric Makita buffer and a foam waffle pad, we first buff with Mequiar’s (www.meguiars.com) Mirror Glaze, first with M105 Ultra Cut Compound, and then with Ultra Polishing Polish 205.

I will allow John and RJ to fill in the rest of the story in this flip

1953 Shepherd Model 110S Update

1953 shepherd model 110s update

Honest, the Shepherd has not been neglected. There is just so many time a video of her as the coats of Pettit Hi-Build varnish are applied.

However, with the 16th coat cured, we will sand her flat, apply three more coats, sand her again and then apply the 20th and final coat.

Finally she will have enough varnish on her that we can do a final sanding/buffing process, after which we can begin installing her components.

She WILL be in the water before snow flies! (I do not believe we had any snow until after the Holidays last year.)