1953 Penn Yan CZT Swift Arrives for Full Preservation

1953 penn yan swift czt preservation

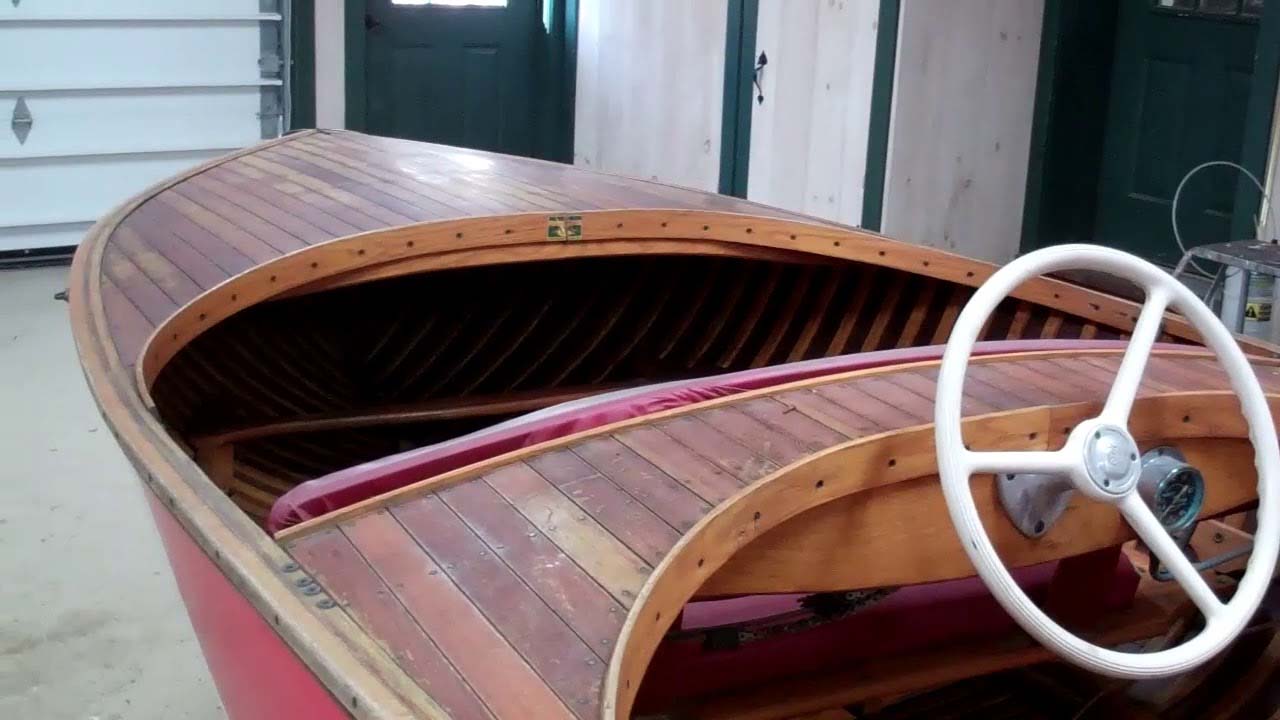
First and foremost, thank you to our Seattle-WA-based owner for entrusting his 1953, 12-foot CZT Penn Yan Swift, HIN CZT 2351, to a comprehensive preservation we at Snake Mountain Boatworks will execute.

While a final decision has yet to be made, in all probability we will also restore her Tee Nee trailer. She is powered by a period-correct mid-50s 18 HP Johnson Sea Horse that is now in the hands of Fran Secor, Otego, NY, outboard guru par excellence, who many of you may have met at his display during the Clayton, NY ACBS boat show each year.

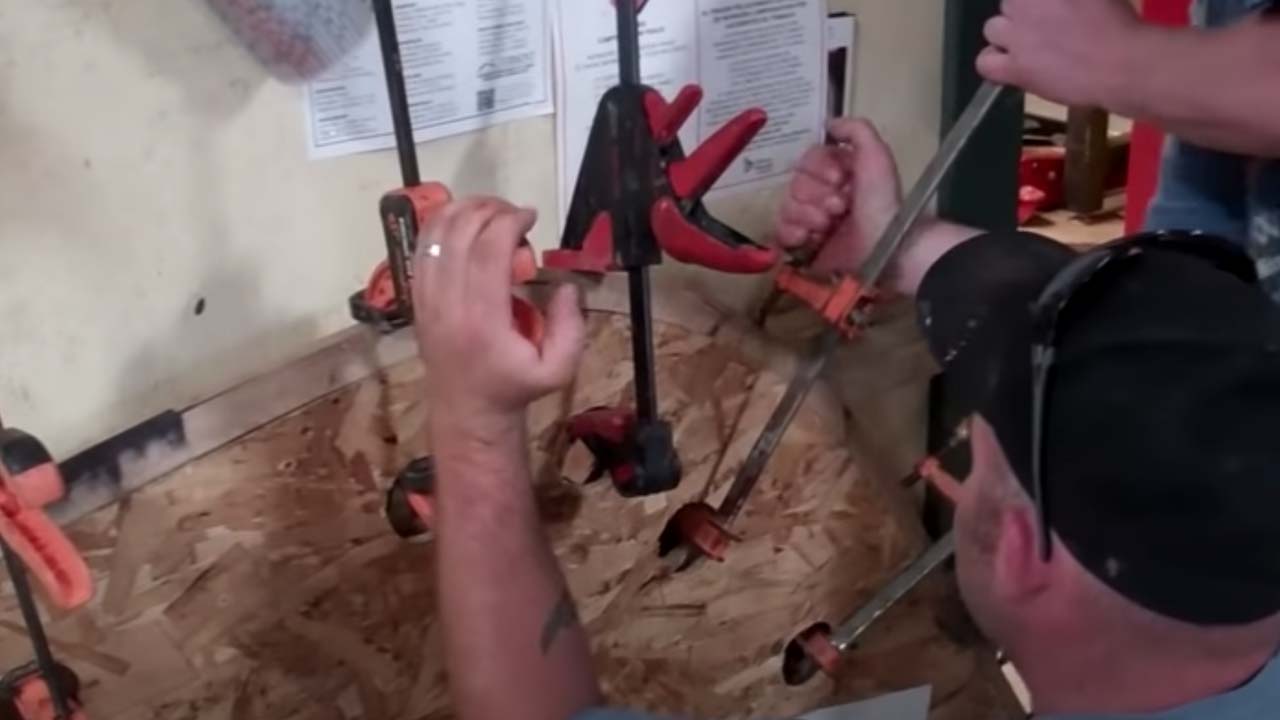
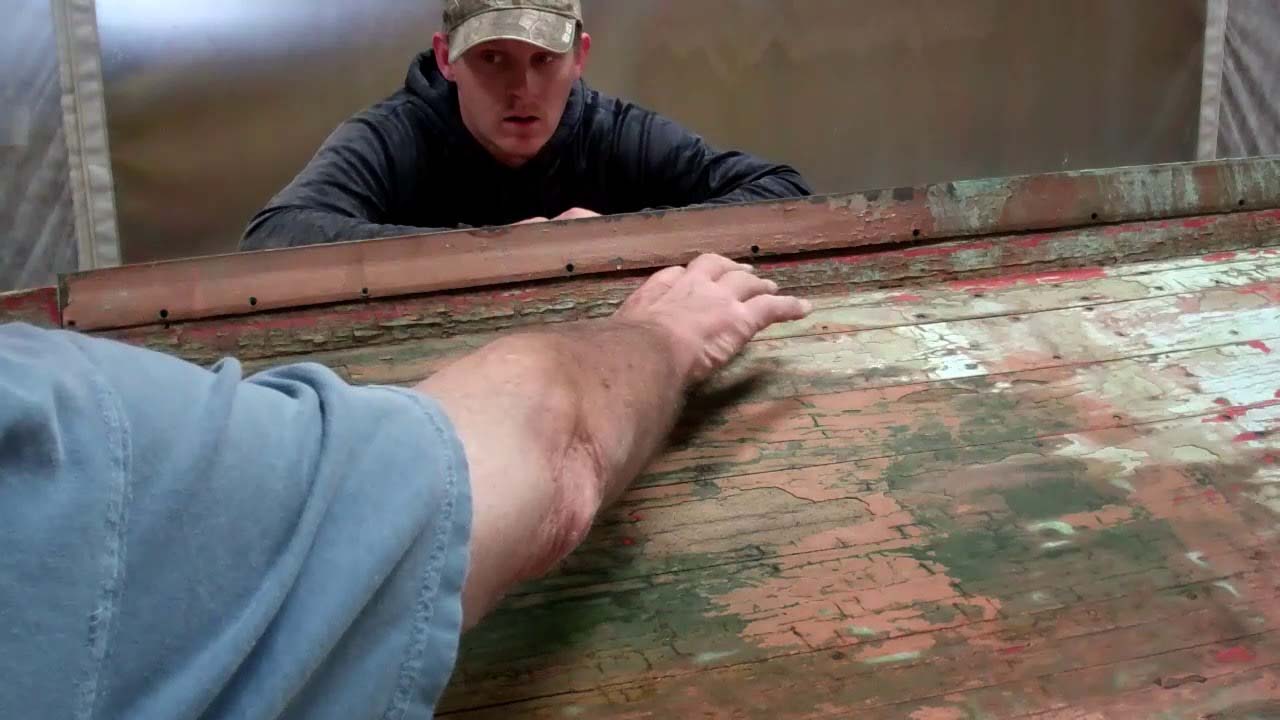
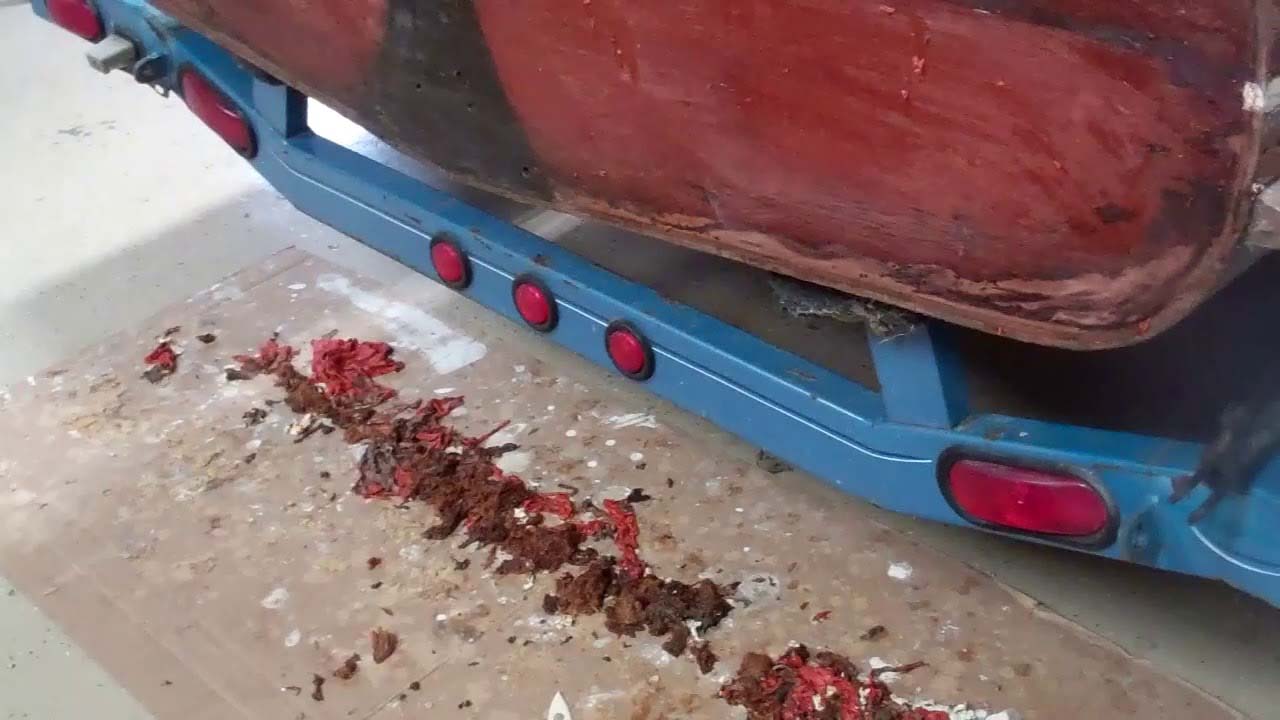
The boat was last in Alabama, and advertised as original and little used. That such is the case was confirmed yesterday while I did some initial deconstruction so I could remove the outboard and its controls.

Simply put, nary a “hurt” is to be found, even on the closest examination. I was only able to find eight non-original fasteners, and those secured the four aftermarket cover batten holders. There is not a single damaged, rotted or broken rib in the entire hull. The worst “damage” where some scuff marks beneath the helm station, probably from when someone ran her wearing the wrong footwear.

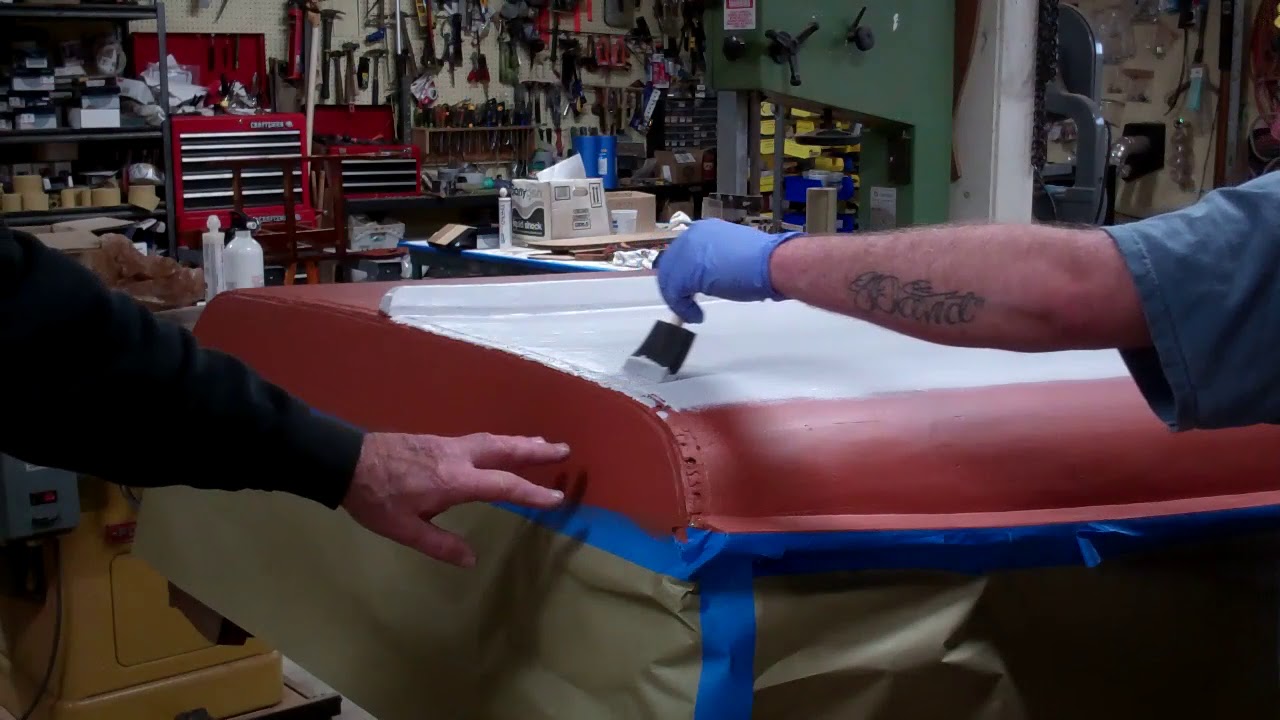
Her canvas is original, but badly painted. Stripping it with a remover risks also releasing the filler/fairing material that is applied and scrubbed into the fabric as the final step in installing the canvas.

Rather, we will hand (block) sand the canvas on her transom and hullsides, wipe it down with acetone and then prime and paint it.

The bilge, seating components, transom interior and interior hullside surfaces appear to have been last varnished ages ago, which has contributed to what can only be recognized as elegant coloration and patina. We will not strip this bilge. Rather, we will first scrub it with soapy water and Scotch Brite pads or something like 220 grit paper, and wipe everything down with Acetone. We will then apply two to three coats of Sikkens Cetol Marine (not the high gloss variety).

Her decks, gunwales, rub rails and spray rails (post being released) will be stripped to bare wood, faired the little bit that will be needed, stained, sealed with CPES and varnished with 12-15 coats of Pettit Hi-Build varnish.

For now, however, as she’s back in the queue of boats awaiting preservation, I will scatter dryer sheets throughout her interior and then move her back into storage until late winter, 2020.

1954 Penn Yan Captivator Aristocrat Preserved!

1954 penn yan captivator aristocrat preserved

Captivator is a 1954 Penn Yan Striptite Captivator Aristocrat who is fitted out with virtually every option Penn Yan offered on this model in 1954.

We faced some major issues upon her initial inspection. Her transom and transom framing were rotted beyond saving, so were replaced.

Someone had tried to caulk her inter-plank seams with a 3M5200-like material, most of which had long since lost its adhesion. Removing all this material using reefing hooks cost many hours, but in the end, her seams were clean.

After removing her keel and keelson, which provided access to area internal to the keel, and inspecting the entire hull below the waterline, the only rot discovered lurked behind her improperly-installed spray rails.

Whatever was used to “seal” the spray-rail-hullside seams had long since failed, which allowed water to work down behind the rails and stay there. Rot was evident, and Joe’s foray into Dutchman repairs followed.

Save for saving the upright braces, Joe and RJ fabricated all new transom framing and then a two-plank transom blank, all of which matched the pattern pieces exactly. Many hours of fitting and sanding later, Captivator’s new transom was in place and the original brass protective strip had been reinstalled.

Once it was properly caulked-sealed using TotalBoat Thixo Flex, we flooded her hull below the waterline with three full coats of Clear Penetrating Epoxy Sealer (CPES) and allowed it to cure for 48 hours before applying three coats of Pettit Tie Coat Primer 6627. We finished the bottom by applying four coats of JD Select Ablative Bottom Paint in shark white.

We stripped her hullsides, decks and gunwales to bare wood using our trusty Circa 1850 Heavy Bodied Paint and Varnish Remover.

All that wood was sanded fair, stained using Mike Mayer’s, Lake Oswego Boat Co, post-war CC gel stain. (Mike can be reached at [email protected], or www.loaboat.com).

Her deck seams were payed with mahogany Sikaflex 290 LOT mahogany The standard sequence followed: CPES, scuffing and then varnishing. Her decks, hullsides and transom received 18 coats of Pettit Hi-Build followed by 3 coats of Pettit Captain’s Ultra Clear 2607. Hand (block) sanding with increasingly fine grit until the final sanding was executed every 5 coats or so until she received her final coat.

Interior surfaces received 18 coats of Hi-Build.

Reassembly followed, and now she’s ready to go home.

1951 Penn Yan 18′ Stern Drive Transport – Steam Bending a New Stem

1951 penn yan stern drive transport steam bending new stem

Once again, Don Danenberg’s bible of wood boat restoration more than pays for itself.

Unlike most “trade” book, which tend to be all true, but absolutely NOT actionable, Don’s The Complete Wooden Runabout Restoration Guide, has but one mission, teaching the rest of us the art of wooden boat preservation.

Page 73, for example, presents a step-by-step how-to guide for fabricating a simple, but highly powerful steam generator. We built ours from his plans and materials roster. It has served us well for ten years. (The heating coils do burn out from time to time, especially if we get distracted and the sight tube goes dry.)

Why not just fire up the big band saw and cut the new stem out of a wide, and in this case very wide, white oak plank? Hmmm … doing so means having end grain, which will fray and split over time, along the outer face of the stem.

Well, just read Danenberg for the details.

Sadly, the video camera had a brain freeze and I lost the footage I shot covering pulling the blank out of the steam box and racing with it to the form. The trick is starting from the “short” end, the one closest to the stem’s sharpest curve. Joe clamped the end in place and then added clamps as RJ slowly bent the blank around the form.

Finally, they reached the other end, and then worked back and forth tightening the clamps.

We will leave things be for a week while the wood dries in the desired shape.

Then we will stain and seal it with multiple coats of Clear Penetrating Epoxy Sealer (CPES). Milestone!

1954 Penn Yan Captivator Aristocrat Bleaching Milestone

1954 penn yan captivator bleaching

With her bottom repaired and having received two coats of Clear Penetrating Epoxy Sealer, we sealed her below-waterline seams using TotalBoat Thixo Flex, sanded the entire surface fair and applied four additional coats of Clear Penetrating Epoxy Sealer.

Why so many coats of CPES? Once stripped bare, her bottom planking was, to invoke the cliché, dry as a cork. The CPES simply all but disappeared as it was applied, which does not contribute to adhesion.

Once the splash rails were installed imbedded in 3M 5200 and their bottom sides sealed with CPES, we applied three coats of Pettit Tie Coat Primer, followed by four more of JD Select shark white antifouling paint.

While some folks varnish splash rail undersides, we always prime and bottom paint them, thereby better-protecting wood that so often comes into the shop rotted into the rail and sometimes well into the hullside planking.

We then stripped and sanded her hullsides fair with 80 grit, and now have flipped her upright so we can focus on bleaching, staining, sealing and varnishing the hullsides, decks and gunwales.

Almost immediately we encountered a major issue. The coaming strips that encircle both cockpits had been released and then installed bedded in gobs and ribbons of 3M 5200. Since finishing the decks would be all but impossible with their grain running into the coamings. (The latter stand almost 3.8” proud of the decks.)

Not a problem. We will simply release the screws and off they will come. NOT! We had to literally slice them off using our FEIN MultiMaster, and eventually off they came. We will clean the residue 5200 using Circa 1850 Heavy Body Paint and Varnish Remover, scrapers and, yes, likely the FEIN tool.

Joe and RJ stripped the decks and most everything attached to them and then reached for reefing hooks, which are available from Jamestown Distributors.

We have half a dozen or more of them, each one of which has been ground to a different thickness, which we use to remove the “white stuff” from deck seams. (This video we shot in 2016 shows RJ cleaning seams with a reefing hook). Be sure to read the write-up that accompanies the clip for more guidance and information.

Bleaching begins now, and we should be leaving this milestone on our wake by tomorrow morning. Then her elegance begins reemerging once we’ve scuffed the bleached surfaces to remove the hairs that the bleach stands up, and stain her.

Yes, we will keep on keeping you in the loop!

1951 Penn Yan 18′ Traveler Inboard Stern Drive Flipped

1951 penn yan traveler inboard stern drive flipped

Given how light it is, and is somewhat wide beam compared to the hull’s depth, tipping the 1951 18’ Penn Yan Traveler borders on being trivial. But over she is.

The very heavy copper or bronze keel that runs most of her length is unique in our experience, especially among Penn Yan boats we have preserved.

Happily, save for a 10-inch section at its aft end, the wooden keel lying beneath is in nearly as new condition.

We will remove the entire wood keel and keelson, and the stem as well. All components are solid and rot-free, but the fasteners have loosened and, since they are original, have most likely lost much of their tensile strength by now.

It is now a day later and we have released the stainless splash rail trim and the splash rails themselves. For the first time in our experience, nary the tiniest bit of rot is evident on the rails’ hull-mating-face or the hull planking beneath.

Stripping – always fun – with Jamestown Distributors’ Circa Heavy Body Paint and Varnish Remover ( ) has now commenced. Once again we’ve uncovered zero rot, damage or failed fasteners … but time will tell here.

1954 Penn Yan Captivator Aristocrat Bottom Paint Preservation

1954 penn yan captivator bottom sealing

Captivator’s bottom challenged us in so many ways. Save for fewer than a dozen, the bottom fasteners were both sound and tight. We found only one plank with a very small bit of rot on it. There was a small rotted area along her spine, right where the keel transitions into the stem, that appeared once we released her keel and keelson.

We caulked/sealed the Striptite below the waterline with Jamestown Distributors’ TotalBoat ThixoFlex, a product that was new to us, but came highly recommended by other shops that had extensive experience with it.

Bottom line. ThixoFlex is now our go-to product for any application that requires aggressive adhesion combined with maximum elasticity. I recommend it in place of Interlux Seam Compound, which, even when heated, is a vexing, frustrating, difficult-to-pay material.

Once sealed with the ThixoFlex – first three passes, Joe sanded the entire bottom fair using 60 grit followed by 80 grit paper on a Festool inline sander.

We then sanded the new transom fair and stained it with Wood-Kote Brown Mahogany Jel’d Stain. Why would we stain the transom before we seal the bottom? A small section of the transom lies below the waterline, so it must be sealed with CPES ahead of priming and painting. We know from experience that, CPES migrates where it wants to go, even when masked using Frog Tape heated with a heat gun set at a low temperature.

Once it passes under the tape, it continues drizzling down the bare transom leaving a series of stalactites where the CPES has soaked into the mahogany. Now you have hell to pay and worse. Bleaching the transom will not pull the CPES out of the grain. Stripper does a little, but the lines will still be quite evident after staining.

Staining the transom first allowed us to seal the entire area all at once. No masking needed, and no risks of generating stalactites confront us.

Three full coats of Clear Penetrating Epoxy Sealer (CPES) followed.

We primed with two coats of Pettit Tie Coat Primer 6627.

Joe began blowing through the bottom painting milestone this morning when he applied the first coat of TotalBoat Shark White JD Select Ablative Bottom Paint.

From Jamestown Distributors:
TotalBoat JD Select is a single-season, water-based ablative antifouling bottom paint that provides incredible results for a very low cost. It is low in VOCs, very easy to apply, and cleans up with just soap and water.

JD Select can be brushed, rolled, or sprayed then burnished for a smooth, fuel-efficient finish. With the exception of VC17, JD Select can be applied over aged antifouling coats without fear of lifting. Available in Black, Blue, Green, Red, Shark White & Teal. We will apply three coats now, and recommend that Captivator’s owner apply one coats per season in the future.

Flipping her aright cannot happen soon enough!

1951 Penn Yan 18′ Traveler Transport Steam Bath Time

1951 penn yan traveler steam bath

Finally, we have my 1951 18’ Penn Yan Traveler Transporter fully deconstructed. Pressure washing with highly heated water and Marine Spray Nine, a heavy-duty marine cleaner-degreaser is next.

The diesel-fired North Star Industrial Hot Box heats the water to 120 degrees Fahrenheit, and it is that heated water applied to the Spray-Nine-Soaked under high pressure that liquifies and sucks all oil, grease and other residue of the surface and out of the wood.

A word of caution. Notice that Joe and RJ are using a 25 degree fan nozzle. Anything narrower risks abrading wood and even cutting furrows into the soft inner planking.

Once we have her sparkling clean, and have given her at least a week inside to dry out. During that time we will address the two dropped corners where the aft deck meats the covering boards. We must raise the forward ends of the deck and then replace what appear to be missing blocking, but how we will achieve that goal remains to be seen …. Until RJ, lying on his back, can get up in there! With repairs behind us, we will next sand and then apply multiple coats of Sikkens Cetol Marine to the entire interior.

For now I am having way, way too much fun, first disassembling the seating components and engine box and then stripping what is surely a mountain of parts before I “get” to focus on stripping the ceilings.

Oh…. then comes the hull. (At least precious few coats of varnish have been applied to her over the years!

1951 Penn Yan 18′ Traveler Transport Deconstruction Update

1951 penn yan traveler transport deconstruction

According to Bob Speltz, The Real Runabouts, Vol. 6, pages 213, 214, “Four eighteen-foot models were offered in 1951, Traveler-Transport ($2,511), Traveler-Challenger ($2,578) Traveler-President ($2,892) and Traveler-Aristocraft ($2,927). All are stern-engined inboards.

“Penn Yan inboards with the front seat loaded to capacity and the stern seat empty, and ignition switched off at full speed to drag the propeller, will instantly lift its nose and settle into the water like a duck. A Penn Yan takes a wide-open throttle from a standing start. It lifts its nose instantly and “gets up and out of the wet” in a hurry. Penn Yans were also easy to steer; with the engine and rudder mounted so far aft, the constant fight of the rudder just disappeared.

“…The stern engine arrangement used by Penn Yan was used ever since 1932… Each Penn Yan inboard came equipped with a safety strut which was one-piece bronze casting attached to the transom carrying both the prop shaft and rudder stock … (The stern engine arrangement) has the effect of (adding) boat length behind the motor without hull buoyancy in that position, and that produced running characteristics that were hard to believe.

“… 1951 model Penn Yan inboard … (bottoms) were painted Chinese red to waterline… and upholstered in Chinese red Russaloid…Transports had cushions on driver’s seat only, with other cushions and backs offered as optional equipment.”

George Kirby Jr. Paint Co. Inc.’s Web site offers custom mixed “Penn Yan Chinese Red”, which I ordered. What!!!! Imagine my shock when it arrived. The paint was quite orange.

George was perplexed, “It must be I mixed the wrong color, or the card I received from some owner is wrong. Send me a piece of your color card and we will make it right.”

The surely dead-on Chinese Red paint arrived yesterday. Today I stripped the transom, hoping her owners simply applied new bottom paint over old, including the original coating. They did.

I reached for the Circa 1850 Heavy Body Paint and Varnish Remover and went to work. Yep the original bottom paint way down against the wood remained and rolled off.

ORANGE!!!!!!!!!!!!!!!!!!!!! What I found matches George’s “Penn Yan Chinese Red” exactly.

George graciously enjoyed a light moment. I will keep the PANTONE Chinese Red, such a beautiful color it is, and George’s Penn Yan Chinese Red will be applied to the bottom.

My challenge now is finding a source of Penn Yan Chinese Red Russialoid upholstery fabrics for the cushions and seat backs!

1954 Penn Yan Captivator Aristocrat Transom Bottom Preservation

1954 penn yan captivator transom bottom preservation

Penn Yan Striptite hulls’ below-waterline plank seams are notoriously difficult to render watertight. We have used Interlux Seam Compound For Underwater Applications in the past. No longer. Once in place, the Seam Compound is pretty good at 3M 5200 is not. In fact, because it becomes increasingly hard and inelastic post-curing, 5200 tends to tear the wood fibers along the seams, or at least lose adhesion. This earlier video on the Captivator Aristocrat illustrates why 5200 is NOT the answer. Henceforth we will reach for TotalBoat Thixo Flex, which pays easily, adheres tenaciously and remains flexible when cured.

Here is the video I shot while paying the Thixo Flex.

We use a piston-driven pneumatic caulking gun for this purpose, and not one that is air-driven.

Why? The Thixo Flex is packaged in two compartments in its tube to which a mixing tip supplied with the product has been attached. Since one component is much more viscous than the other, an air-driven gun tends to dispense the lighter component first, and therefore in proportions that keep it from curing.

A piston-driven gun, much like an hand-activated gun, dispenses the two components in precisely the correct proportions, such that the payed material is semi-cured in 24 hours or less, depending upon the ambient temperature.

Bottom line. If you will use a pneumatic caulking gun for dispensing Thixo Flex, be sure it is piston-driven.

One additional caution. Because it remains flexible post-curing, Thixo Flex is hellish difficult to sand and tends to load sandpaper quite quickly. RJ and Joe spent the afternoon sanding the bottom with six-inch random-orbit sanders and 80 grit paper, and went through one-and-a-half boxes to reach a clean, fair surface.

Not surprisingly, we discovered multiple holidays – air bubbles, mostly – that we will fill in a final pass across the bottom.

Transplanting a new transom into the hull has also passed a major milestone. The new transom and its interior framing have been fabricated. Its interior surfaces have been sealed, stained and varnished, and it is ready for mounting on the hull.

First, however, we had to deal with the thin strip of mahogany that is attached to and runs along the interior surface of the planking tails. Much of it was rotted and came out with the failed transom. We had to excise the rest of it using a MultiMaster, followed by fabricating, steam bending and inserting a new strip in place.

Once the 3M 5200 has cured, probably several days from now, we will release the forest of clamps and mount the new transom.

With her topsides already stripped and ready for sanding, staining, sealing with Clear Penetrating Epoxy Sealer and varnishing, the pace should pick up over the coming weeks.SHOW LESS

1954 Penn Yan Captivator: How to Seal Bottom Seams using Thixo Flex

1954 penn yan captivator seal seams

Sorry about the behemoth compressor firing up in the “background.” With five preservation projects fully engaged right now, I cannot simply shut the shop down when I shoot a video.

Finally, I am confident we have solved a chronic wood boat preservation conundrum, “My boat has an original bottom with open seams. I do not wish to, or in the case of a Striptite hull cannot, install a True 5200 Bottom. Nor do I typically drop her in the water where she lives all season. What are my options short of waiting for her to swell each time we launch and hope to use her?”

Hmmm …. Our stock answer has been, “Use Interlux Seam Compound for below water applications. It will remain elastic, compressible and able to withstand the swell-shrink cycle, even if the movement is miniscule, without overly compressing the wood on each side of the seam.” Save for two cases where a boat came back for new bottom paint and we found that some of the Seam Compound had become hard and brittle, I am still comfortable with it as a product that solves the problem. However….

OMG! Even when heated, it pays very, very poorly, and will fight you every inch of the way. What’s worse than all the time involved, Interlux recommends three applications.

There must be something better, especially in terms of ease and time cost of application.

I recently answered a query about the best material to use when sealing lapstrake topside strake seams with a small fillet. Our practice to date has been 3M5200, as long as the fillet is tiny, tiny in cross section, and any feathers beyond it are removed. One of you answered simply, “Use West G-Flex and you will be good.”

Hours and hours of subsequent research tells me that this person is correct. However, while two-part G-Flex is supplied in squeeze bottles and quart cans, Jamestown Distributors offers Thixo Flex, a TotalBoat brand version that is also two-part, satisfies G-Flex’s criteria for adhesion and lasting elasticity and is packaged in 10 oz. caulking tubes along with a mixing tip that delivers material in a fine stream that comes out having been mixed precisely.

Our tests, albeit only over several weeks rather than several years, and painfully small sampled, delivered a bond that is flexible and simply cannot be torn apart unless the wood fibers fail. After paying a seam’s worth, I use a super flexible putty knife to drive the material into the seam. (A plastic spreader may work as well, but I prefer the putty knife.)

The waste is scooped and spread into the next seam.

I should be able to finish the Captivator’s bottom spending about 2+ hours per side. Paying Seam Compound would take time measured in days, by contrast.

Once the Thixo Flex has cured, and after we’ve checked for any pin holes or holidays, we will sand the cured residue off the planks and seal the entire bottom with three full coats of Smith’s Clear Penetrating Epoxy Sealer.

Priming it with three coats of Pettit Tie Coat Primer 6627 will follow.

We must install the new transom bracing and transom before we can finish paying TotalBoat Thixo Flex into the bottom seams, however.

Step-by-step…