Paint! I could claim that it seems like only yesterday when we launched the preservation of the mahogany (Brightside) 1946 Chris-Craft U22, but I can’t. In truth it’s been a long, long, and sometimes frustrating slog.
As we replaced most of the bottom and transom framing, both chine frames, and most of both chines; and worked to remove the corkscrew and hog from the hull, days, weeks and months flew by. Were we making progress? Yes, but it was so difficult to see and feel any.
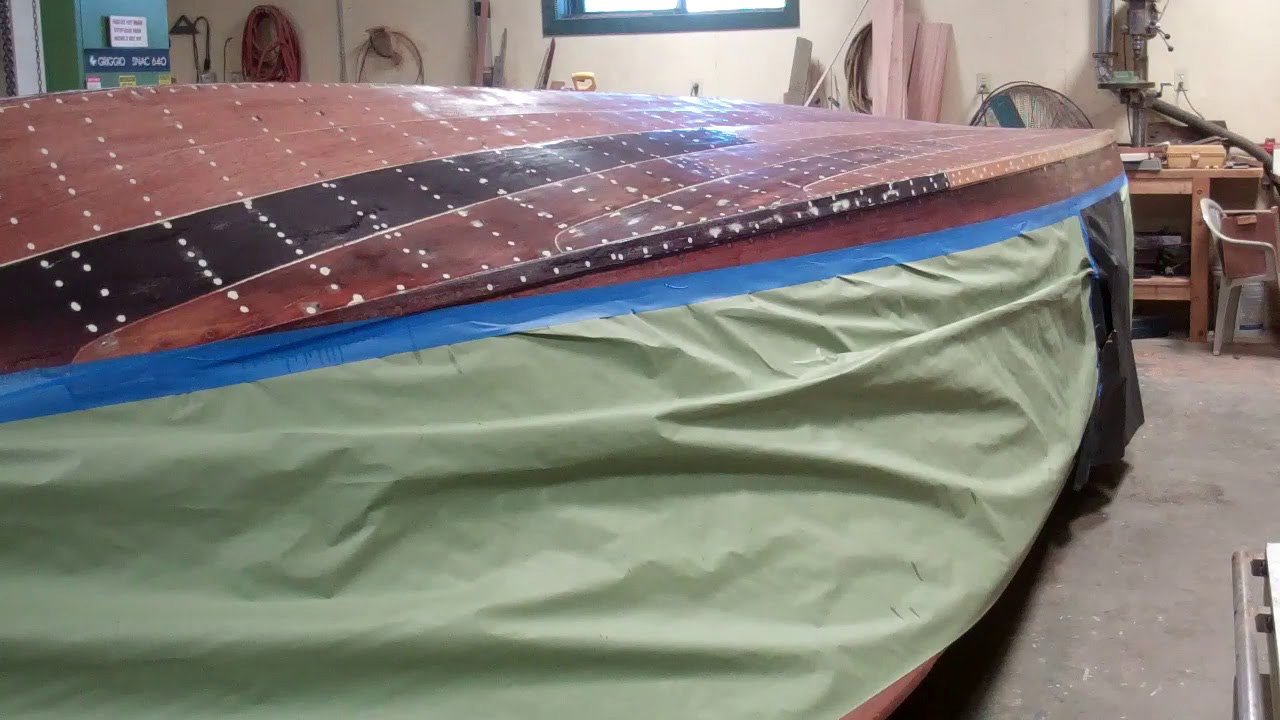
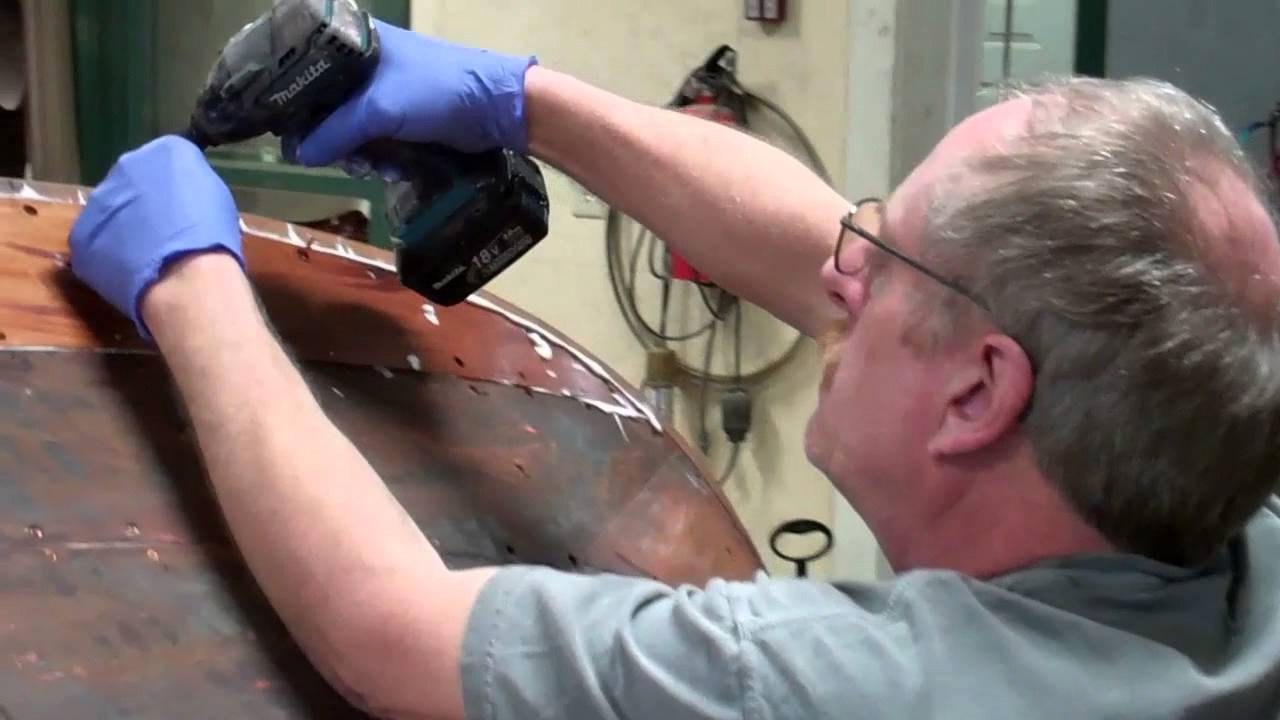
Not now! Her True 5200 bottom is complete to the point of applying her Interlux 2000E InterProtect Primer and her Econominder, copper-free, Chris-Craft blue antifouling paint.
The last of four coats of Clear Penetrating Epoxy Sealer has been applied. Tomorrow, after it has cured, we will hand sand the bottom lightly, thereby preparing a smooth and uniform surface for the first coat of 2000E, which I will apply later today.
We apply the first coat from the keel to the top of the boot stripe, let it cure 24 hours and then mask the boot stripe so we do not build layers beneath the Interlux Brightside Enamel we will use for the boot stripe. Brightside adheres better to Interlux PreKote than it does to 2000E in our experience. PreKote in turn adheres tenaciously to the 2000E.
Four additional thin coats of 2000E will be applied, followed by four coats of Econominder antifouling paint.
Then comes a truly BIG day. We will flip her upright and begin stripping varnish off and bleeding old stain out of the decks and covering boards.
Next comes sanding fair, bleaching, staining and, yes, varnish! Now that will be the day to smile.
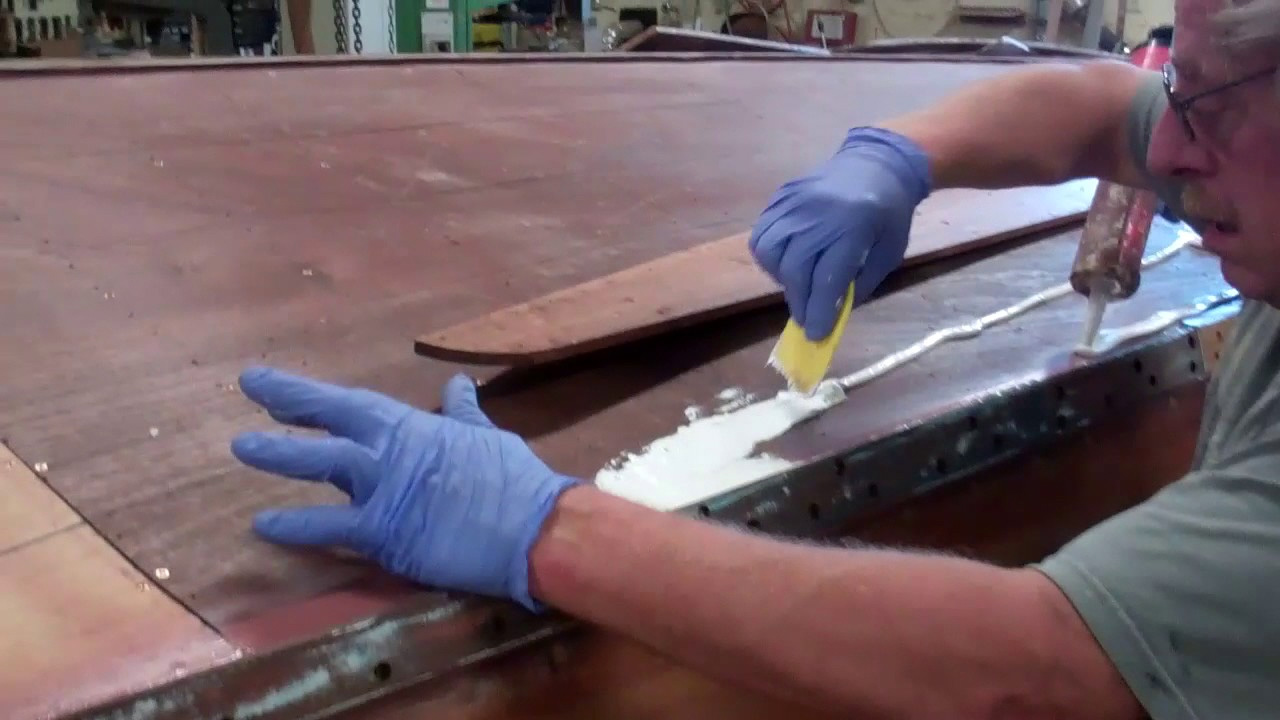
Bedding the bottom planking in a 1/8” thick layer of 3M5200 without making a huge mess and without creating even more work cleaning it up, is perhaps the most critical component of the last “woodworking” step in fabricating a True 5200 Bottom.
Yes, I know we have covered this topic earlier, but it bears repeating. “Frosting” the plywood inner layer with a full 1/8” thick layer of 5200 is critical, as doing so ensures that there are no voids, and that, when fastened down, the squeeze out will fill the seams between the planks.
Fill the seams, yes, but do so without also filling the fastener countersink, as fairing the surface once the 5200 has cured requires that the countersinks be filled with 3M Premium Marine Filler.
Every, and I mean every spec of 5200 must be removed from the countersinks once the fasteners have been driven home.
Our method results in minimal infiltration of 5200 into those countersinks. You will need multiple cases of 5200 on hand. Use mahogany 5200 for forward planks that run upward through the waterline. White, which is much less expensive, if fine elsewhere. My rule of thumb for estimating cases needed is 40 – 60 percent of Length Overall (LOA). Since beam, and therefore the width between chines grows with LOA, I plan on closer to 60 percent for a 22-foot boat like this U22. (I am planning to use 12 cases for her.) In response to the many questions the community has sent my way, here is the “chronology” followed at Snake Mountain Boatworks: • Dry fit and fasten all of the planks with a dozen or so fasteners each; • Drill every pilot hole/countersink now; • Remove the planks one at a time, starting at the keel; • Using a permanent marker, draw an outline of each plank – one side and the butt – before it is removed; • Use these outlines to guide frosting one plank area at a time with a 1/8” thick layer of 5200; • Have at least four boxes of latex or, better, nitrile exam gloves and have a large garbage can nearby; • Apply the 5200 using a pneumatic caulking gun in a closely spaced squiggle pattern; • Spread the squiggles into a uniform layer using plastic spreaders; • Lay that one plank in place and begin inserting silicon bronze wood screws by hand, sinking just enough of them as you go to hold the plank in place; • Begin at the forward end of the planks terminating at the stem, using the length of that plank as the lever to slowly bend it into the correct shape; • Once there is a screw in every pilot hole, each of which has been screwed about 90 percent of the way home, drive all of the screws home; and, finally • Make a first pass using plastic scrapers along the plank’s open edge, and along its seam with the previously-installed plank, scooping all the squeeze out from the surface; • Using Interlux 333 Special Liquid – sometimes called special thinner, and lots of rags, clean and clean and clean until all squeeze out is gone. Time to install the next plank ….
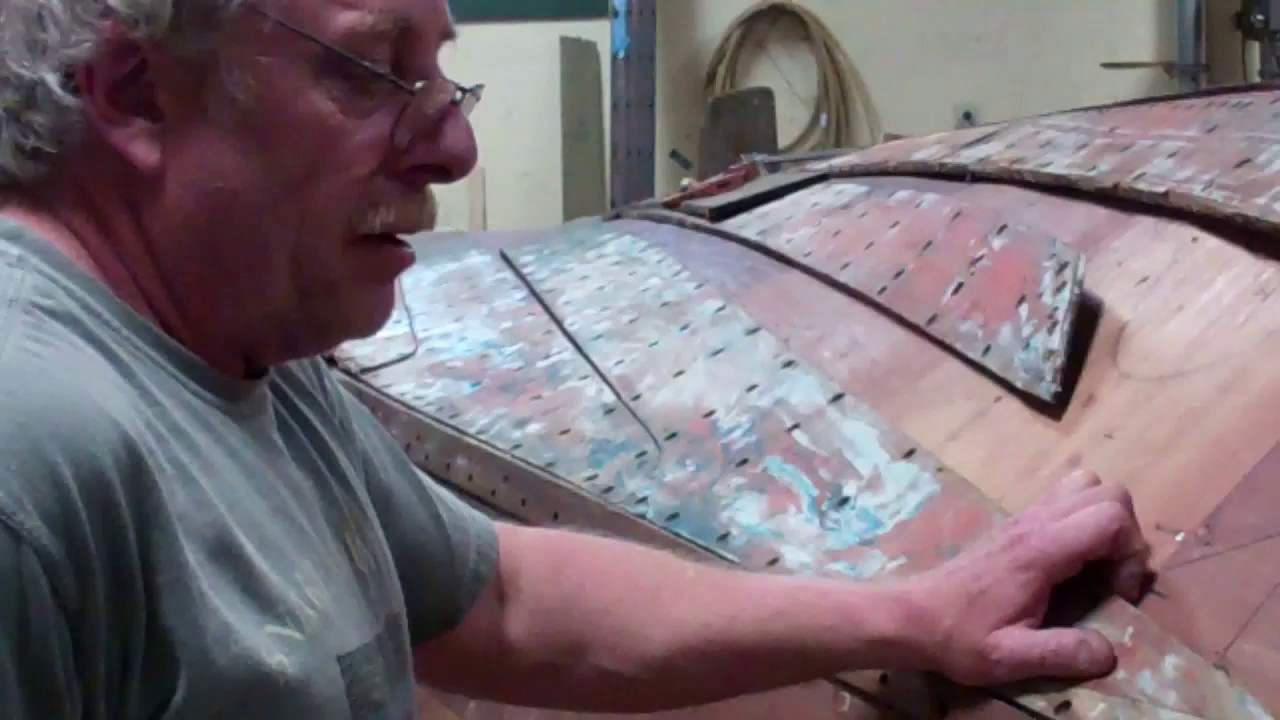
Our 1946 Chris-Craft Mahogany (Brightside) U22 project enters the bottom planking fabrication stage today. We will replace all existing planking, which is mostly cedar, with newly fabricated mahogany.
Yes, we abhor being unable to save the original planking, but most of it is just too oil-soaked, split and broken. Not replacing these planks means a bottom that is not well adhered to the 3M5200, and cannot hold paint from amidships aft.
John and I are dry fitting the original planks in place, and will scribe them on the plywood skin. Given the structural work this hull has received, especially removing the twist and hog from it, means that some of these planks, and especially those running to the stem, must be sanded in to fit.
Once we are confident we have a perfect set of pattern planks, we will scribe them to new mahogany.
The new planks’ faces and edges will be thoroughly sealed with CPES before we begin laying them down.
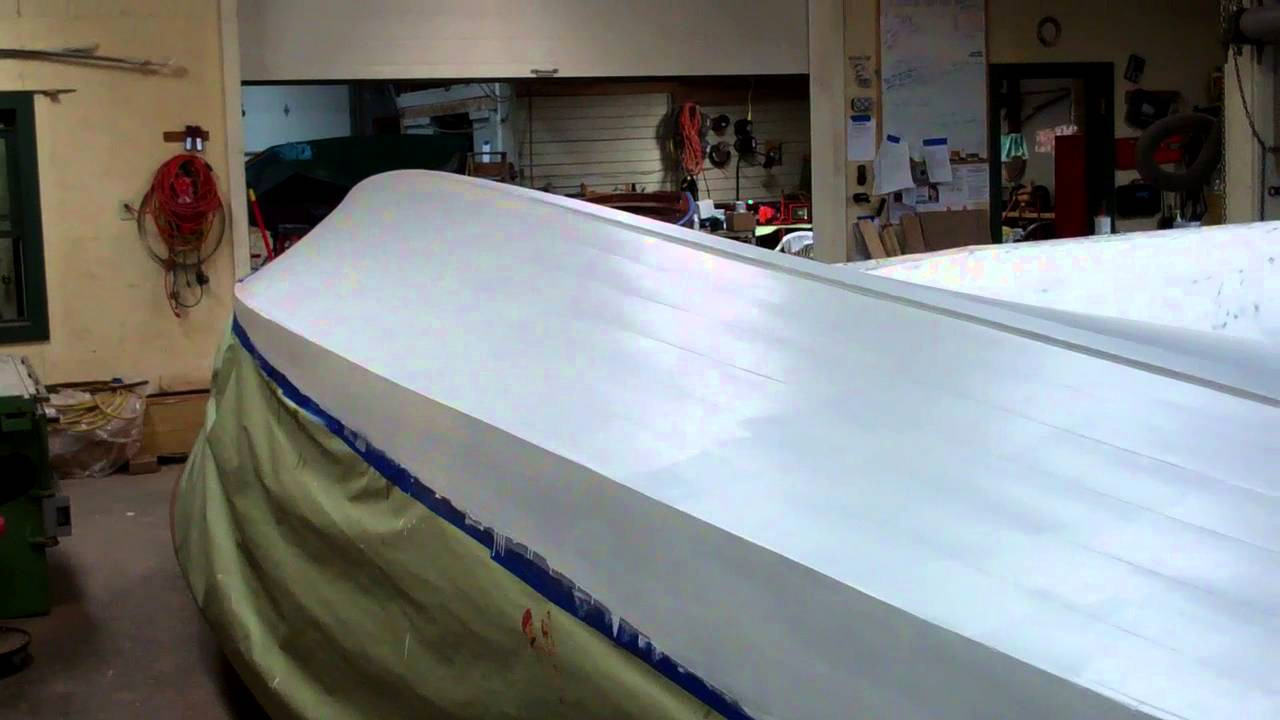
Following a final application of CPES to all exterior surfaces, we will begin applying the first of five coats of Interlux 2000E barrier coat, followed by three coats of period-correct blue antifouling paint.
I have had several requests for a video showing our crew installing the bottom planks into a bed of 3M5200.
Here it is. Using the 1959 17’ Chris-Craft Sportsman as our “lab rat,” John and RJ share some of the tricks we have learned that help us ensure a complete seal between the planking and the plywood outer skin, and, what in some ways is critical, that the 3M5200 ends up where we want it without suffering hours of misery cleaning the 5200 off places it does not belong – in countersinks, oozing between the planks, and – horror of horrors, dripping down the topsides.
First and foremost, as Danenberg urges to all who will listen, scrimping on the 5200 translates into a shortcut 5200 bottom that will not last. Lay it on … thickly. We lay down at least 1/8” to 3/16” of the goo. Yes, that translates into a huge number of very expensive tubes of 5200, probably at least 60 for the layer between the inner plywood skin and the bottom planks in this case of this 17’ hull. And, yes, you will end up removing lots and lots of the stuff where it squeezes out through the seams. But, as is so trite, but also so true, price and cost diverge quickly here. A proper 5200 bottom means investing in mountains of 5200. Do it right, however, and you have a bottom that will last many decades. Take the shortcut route and, well, you might well experience the pain and suffering of removing a failed cheap alternative.
And, not Life Caulk, which is fantastic when used for its intended applications, cannot be substituted to save money. It’s cheaper now for sure, but oh so much more expensive in the long run.
We use blue painter’s tape to keep the 5200 away from adjoining planks and also the surface of the plank being installed. You will see how in the clip.
We learned the hard way what a disaster we and you will have on your hands if the 5200 pushes up through empty pre-drilled fastener holes. The silicon bronze fasteners, the drill bit, the disposable gloves, and the plank’s surface end up hopelessly befouled by 5200. Yes, it can be cleaned using Interlux Brushing Liquid 333, but why put this horror show on you when a technique John and RJ developed absolutely ensures no fountains of 5200 rising through fastener holes?
As with so many super creative and completely intuitive solutions, this one is trivially simple. Sink a fastener in each hole, but stop just short of driving it home. The fastener head will have seated in its countersink just enough to act as a seal. No 5200 can squeeze by.
Once all of the fasteners have been sunk in this manner, a crew member begins at each end of the plank, driving them home. As is illustrated in the video, yes, there is squeeze out, and lots of it, but the escaping 5200 lands on the blue tape, not the wood, or the screws or the gloves, well, not so much on the gloves.
Once every screw has been driven home, the squeeze-out is scooped off the tape using a combination of a plastic scraper and a simple wood paint stirring stick. Having removed all of it, we simply pull the tape, leaving an almost clean surface.
Using Interlux Brushing Liquid 333, we then scrub everything absolutely clean. However, the 333 actually retards 5200 curing, so the final step involves wiping everything down with Acetone.
The July 9 ACBS show in Gravenhurst, Ontario is racing at us. We are committed to bring Orca, my 1953 22’ Shepherd Model 110-S Sportsman. As this video portends, many a late night are in our future!
But her 331 cubic inch, dual-quad-four, V-drive Hemi is on track. Robert Henkel, Robert Henkel Inc. (chris-craft-parts.com) has engaged a comprehensive tear-down and re-build that will include porting, polishing and balancing among a long list of particulars. The purple monster is on schedule and will be back and install-ready by the first week of May.
And the hull? Well Mickey Dupuis, Custom Restoration, Holyoke, MA, has finished working his magic on the hardware.
Shauna, Kocian Instruments, Forest Lake, MN (kocianinstruments.com), reports that the instrument cluster’s preservation will also be back by early May.
Her original wheel needed a complete preservation. Once again the pros at PearlCraft, Rowville, Victoria, AU (pearlcraft.au) transformed a totally shabby wheel into jewelry.
The Marmoleum is in hand, and the upholstery is in process.
ALL that is left is finishing the hull… all..
By the end of the week we will have applied all five coats of Interlux Interprotect 2000E two-part epoxy barrier coat will have been applied. Installing the True 5200 bottom will be complete. Three coats of hard racing bronze bottom paint will follow.
Then off comes the paper and out come the longboard sanders for the final topside and transom planking, followed by staining and sealing.
After flipping her over, I “get” to strip the decks and covering boards…
Seems so straightforward… guess we will just let her romp on Lake Champlain in June… yes?
One more milestone is disappearing in the rear view mirror. My ’53 22’ Shepherd’s port-side bottom is fully planked. Beginning this afternoon, I will be filling its countersinks with 3M Premium Marine filler.
Removing the hog in the keel, combined with natural shrinking of the planks translated into the original keel planks being slightly – about 5/8” – too narrow on both port and starboard, so the original planks could not be saved. Two new planks were fabricated for the port side once the first five courses had been installed. (The starboard side will require new keel planks as well.)
Here you watch RJ apply two full tubes of 3M 5200 on 40% of the final plank. He ended up using five, with another one used to seal the seam between these two planks and the keel. The beads will be spread into what looks all the world like frosting using a putty knife.
Notice just how much 5200 squeezes out along the edges and through the pre-drilled screw holes.
Not seeing ample squeeze out tells you that yours is a shortcut, not a true 5200 bottom. By my count we exhausted 48 tubes, with the 49th tube ending up about half empty.
Cleaning, especially the countersink holes, is the critical final step here. Remove enough 5200 from the seams so that the surface is concave and not proud of the planks. Otherwise you will play hell trying to sand the bottom prior to applying five coats of Interlux InterProtect 2000E Epoxy Primer. The starboard planks are next… Please stand by.
There is no glory in removing fasteners from the bottom of my 1953 Shepherd Sportsman. It is all about being finished.
This clip responds to your several requests for a walk-through on how I am removing them, one by one by one.
The tools:
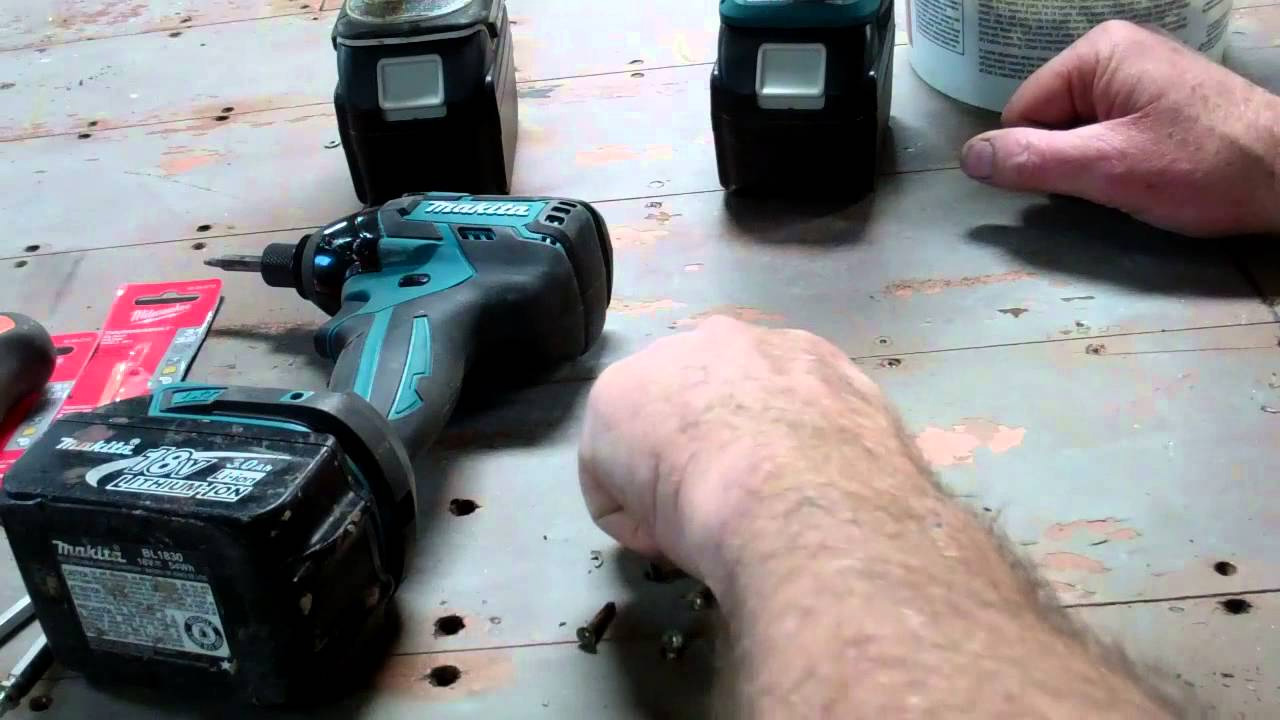
– The shop is well-stocked with cordless drill and impact guns. Today I will use four of them, with a different driver in each gun. Doing so saves me from endlessly removing and inserting drivers, which makes the drudgery pass by more quickly.
– The two impact guns hold the square drivers – a #2 and a #1 – I use to remove the #8 x 1-1/2” screws driven into the ribs and the #6 x ¾” screws driven into internal battens running between the ribs.
– One screw gun holds a 3/32” twist drill, and the other one holds #2 Pro Grabit screw extractor.
As stated in the narrative, I first stripped all of the paint down to bare wood on the starboard side, but doing so softened the putty used to fill the fastener countersinks. When I drilled through the putty and into the center of each fastener, I was left with a clean hole when I was hoping that the drill would also shatter the surrounding material.RJ suggested experimenting with removing the fasteners ahead of applying the Circa 1850
Heavy Bodied stripper to the planks. What a great suggestion. I had about 60 percent of the fasteners removed in the scant two hours I had been working when I shot this clip. Reaching the same point on the starboard side took me a bit over three and a half hours.
The process is pretty straightforward. Drill through the center of the filler and into the square drive hole.
Clear the debris with an air chuck set to run at 120 PSI. Then “simply” insert the requisite square driver and out comes the fastener.
Theory is truly remarkable!
In my experience, about 80 percent of the fasteners did simply back out, but the other 20 percent offered all sorts of impediments. Some of them broke, so only part of them released. Others simply spun in place and thus released with the plank when it was pried off the hull. But about 10 percent of them required reaching for the Pro Grabit.
But as I draft this description on December 1, the entire port side is free of fasteners, and the circa 1850 is now working on the forward third of the port side planks.
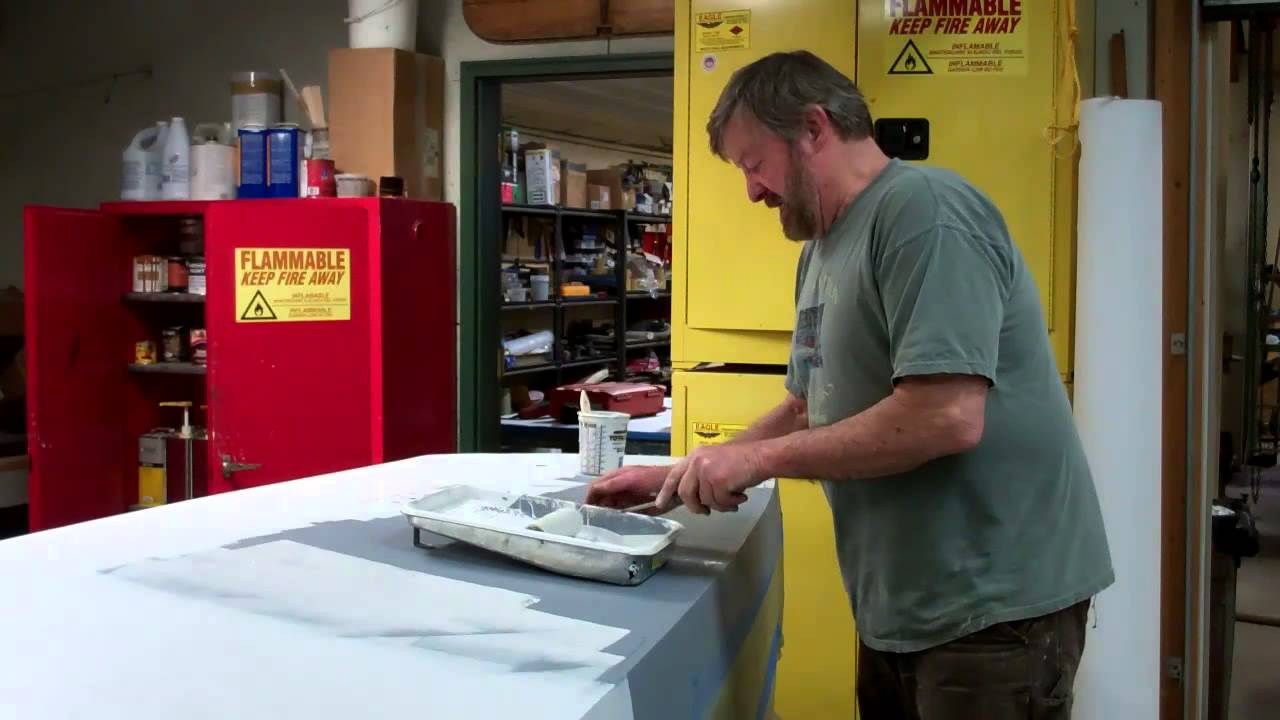
Our “True 5200 Bottom” project on the 1930 Dodge Runabout, the Minnow, has reached the barrier coat stage. In this clip we illustrate the foam-roller application of the second of will be five coats of Interlux 2000E Barrier Coat Primer. Five coats? Really? Yes.
In Danenberg’s words, “One of the biggest problems I’ve seen with shortcut 5200 bottoms is either a total lack of, or inadequate amounts of, Interlux 2000E Barrier Coat Primer. This two-part (thus epoxy) paint is a water barrier coat meant to keep the water from soaking into the bottom planks. It does this with minute platelets in its makeup that vastly slow the movement of water. Unlike hard epoxy laminating glues, it is flexible enough to move with the bottom.
“It is a very important part of the true 5200 bottom. It helps stabilize the bottom construction, keeping adequate moisture in the wood during extremely dry winter storage, and keeping excess moisture out of the wood during summer use. Its use is meant to stop excessive expansion/contraction that cracks open paint coatings, elongates screw holes, and buckles or cracks planks and frames.
“This product’s instructions call for a 10-mill thickness, usually 4-6 rolled-on coats (no sanding between coats), or two gallons for the average 20-footer. If your restorer tells you that 2 coats are enough, he is wrong.” (Classic Boating, September-October 2014, p. 25.)
Yes, Interlux 2000E is pricey, $92/gallon plus hazmat and shipping from Jamestown Distributors, but price and cost so often inversely correlated, and this is an example of that principal. Spend an extra $200 or so in paint now to save thousands repairing failed fasteners and planking way too soon in the future.