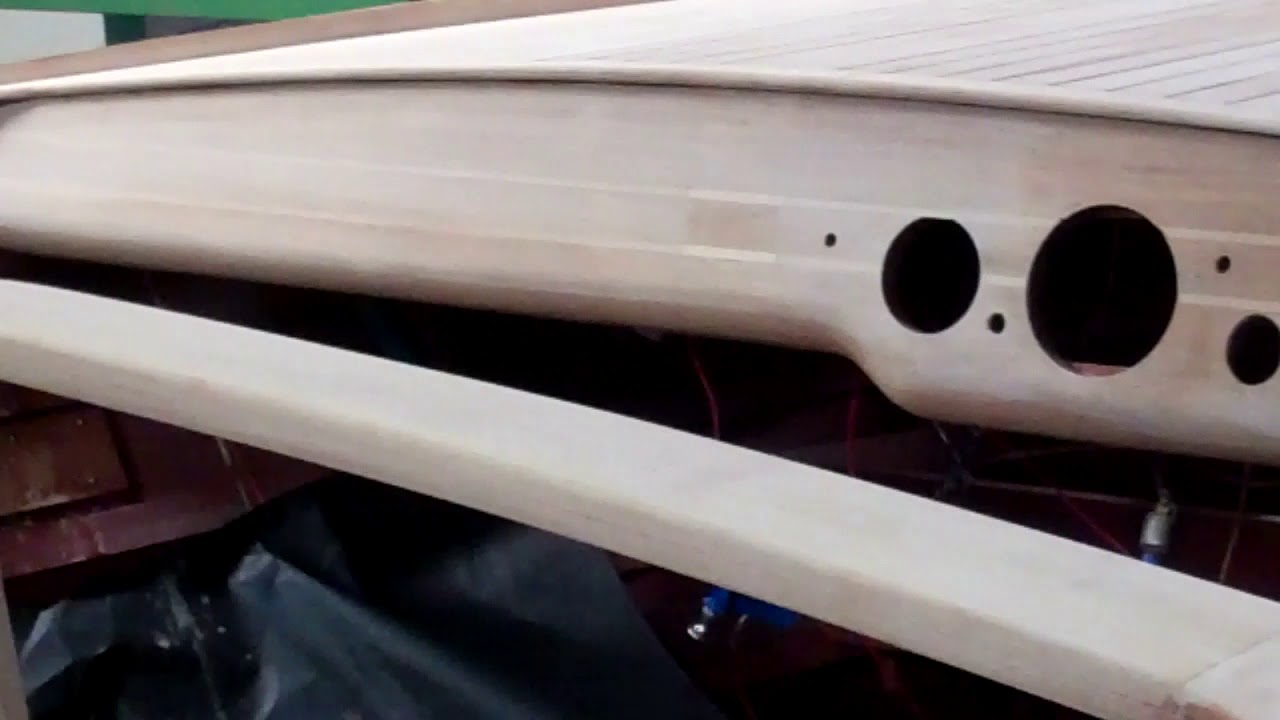
1946 Chris Craft Brightside U22 Varnishing Update

1946 chris craft brightside u22 varnish update

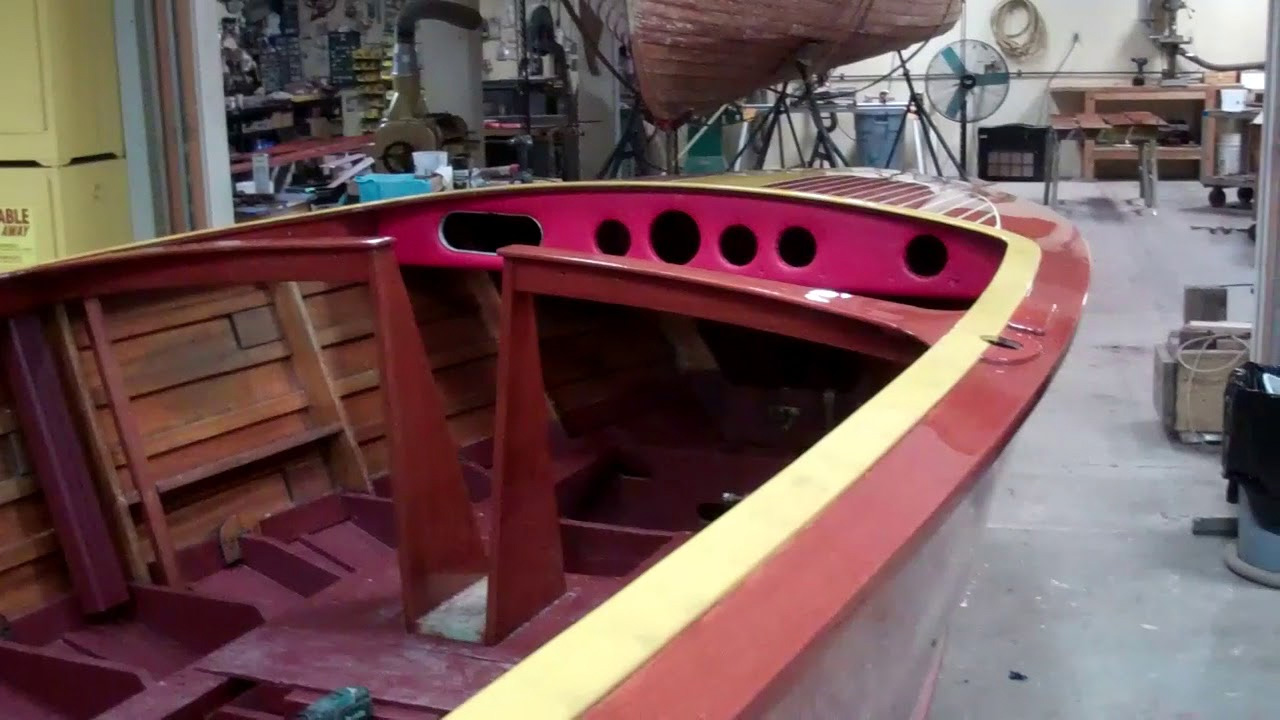
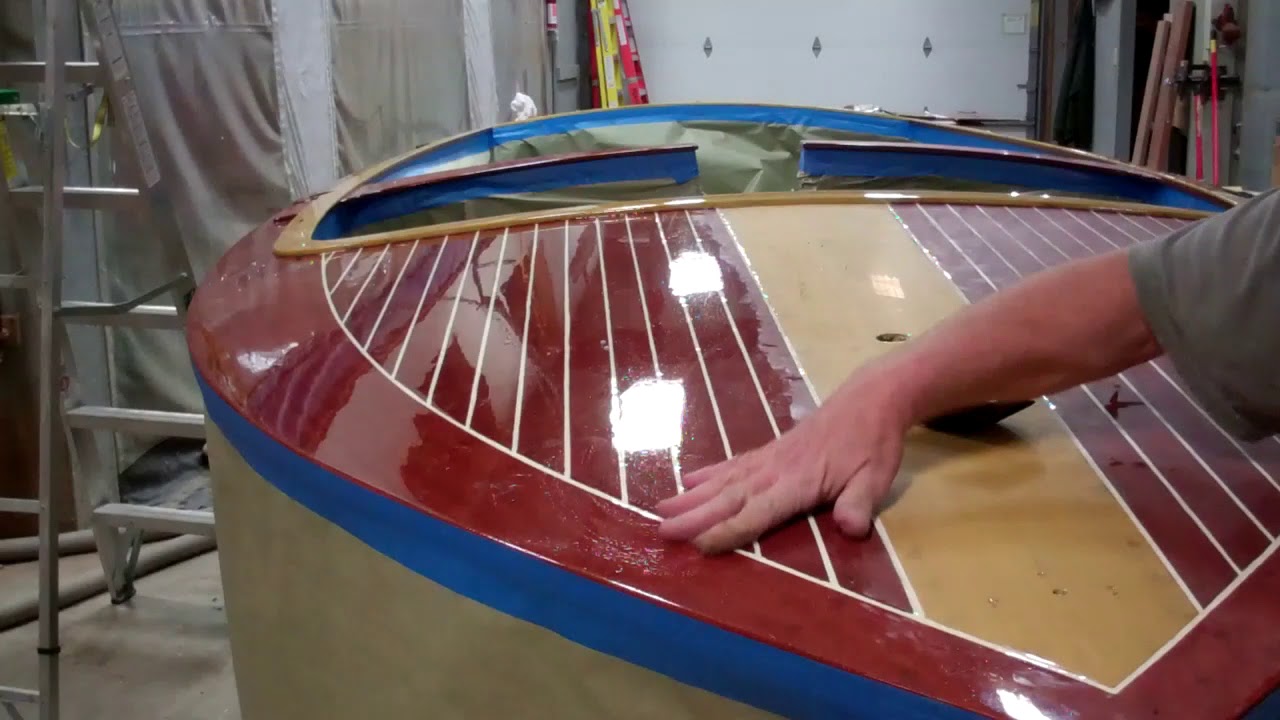
Varnish! With seven coats of Interlux Perfection Plus Two-Part Varnish having been applied, combined with hand block sanding after four coats, our 1946 Chris-Craft Brightside U22 is finally showing her elegance.

A glossy result is all about flat. Cheap mirrors reflect a wavy image. Expensive mirrors return an exact copy of what is before them. Why? Cheap mirrors are silvered to “good enough.” Expensive mirrors are silvered to absolute flat, which delivers an absolutely accurate reflection.

Flat and declivities, pits if you will, are antonyms, one cannot exist is the presence of the other. Varnishing involves building film thickness, but also requires exceedingly controlled hand sanding periodically as it builds. Why?

As Danenberg recommends, the sanding you did ahead of staining your hull stopped with 120 grit. (We stop at 80 grit.) The surface feels so silky smooth, but it is not. Reach for a strong magnifying glass and be prepared for a shock. Viewed in cross-section, the surface is literally a sea of hills and valleys.

Yes, you used filler stain and absolutely scrubbed it only across the grain, which does fill some of the valleys.

Even then, if viewing the surface at high magnification were possible, your “silky smooth” would conjure images of a moonscape.

When applied, varnish begins filling those valleys – pits in boat talk, but it also adds a film of equal thickness to the peaks. No matter how many coats you apply, unless and until you sand off the mountain tops, you will never achieve other than a cheap mirror reflection.

Be careful what you wish for, however. That sanding must be controlled so that it attacks the peaks without invading the valleys. Otherwise you never build film thickness uniformly across the surface. So sand, yes, but not so much that you are at risk of denuding peaks of all their varnish.

We use 220 grit paper mounting on a hard rubber sanding block after the third and seventh coats. John has begun sanding the entire hull, to which we have now applied seven coats, using 220 grit. He and RJ will then apply three more coats, at which time we will sand again, but now using 320 grit.

We will sand with 500 grit once the following three coats are applied, and then 600 grit after coat sixteen and 900 grit between coats nineteen and twenty.

The relative amounts of shinny declivities and absolutely flat surface area shrinks exponentially as we continue sanding periodically with ever-finer grits. Once coat twenty is applied, we will allow the varnish to cure for up to a month – two weeks with Perfection, before we begin buffing the surface, which morphs it into a gloss that appears miles deep and distortion free. Just like an expensive mirror’s silvered surface, it will finally be super flat and therefore super glossy.

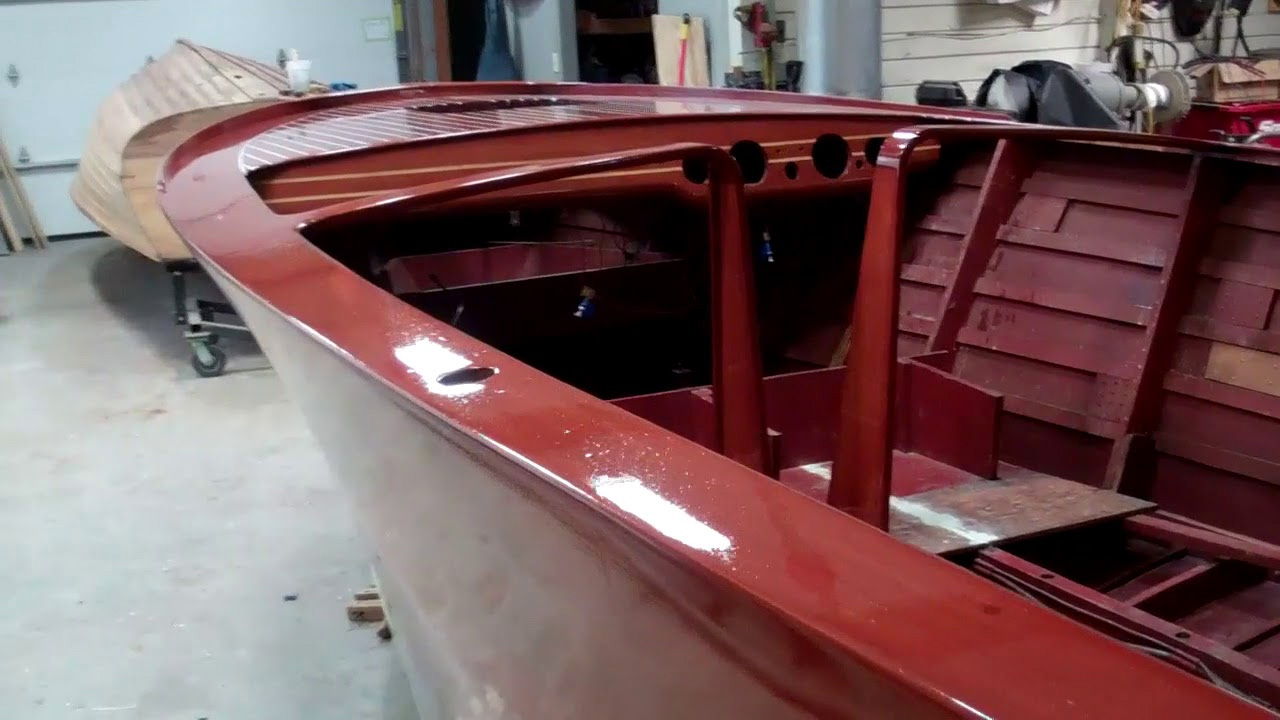
1940 Lyman Yacht Tender: How to Dry Scrape Bottom Paint

1940 lyman yacht tender dry scraping bottom paint

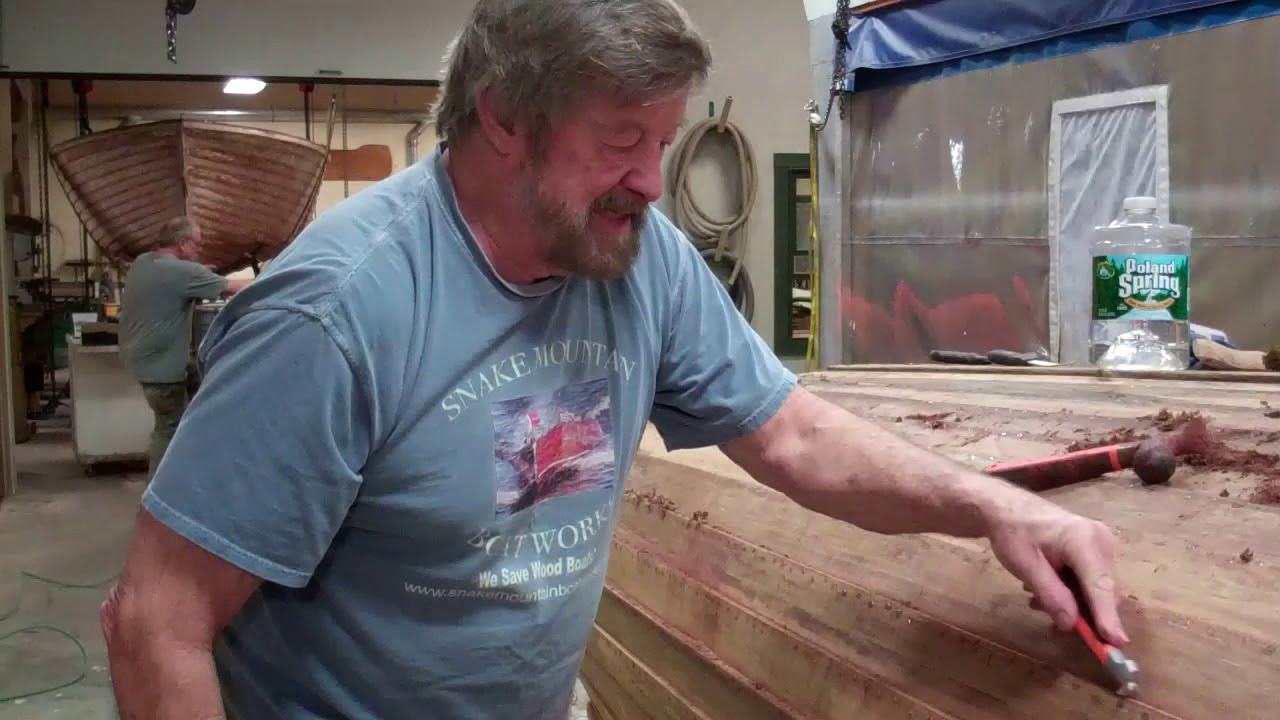
After being urged to give it a try by a local friend and fellow woody conservator, I am using two Bahco/Sandvik scrapers, a two-handed “ergo” model with a 2.5” scraping blade and a Triangle Scraper 625 with a triangle blade.

The two-handed scraper is excellent for cleaning strake surfaces, mostly down to bare wood, and also for making the initial passes along strake edges and the seams between strakes.

I use the triangle scraper for detail work on the strake faces, but especially for cleaning strake edges.

This boat is cypress throughout, and the wood seemed to really soak up the Circa 1850 wood stripper as I removed paint and mostly varnish from the topside strakes and the transom. It also appeared to discolor the wood, which forced me to make a second series of passes using a stainless steel scrubber “sponge” and my Sandvik scrapers.

I tested using chemical stripping on a small area below the waterline, only to have running streams of liquefied copper bronze and red antifouling paint threatening to stain the above-waterline strakes, which will be finished bright.

Reaching for the scrapers is clearly the answer here. The paint being removed remains dray, becomes powdery as it releases and is easily vacuumed.

I am sold on this method for removing bottom paint, at least until it disappoints on some future project.

1959 Chris Craft Sportsman Buffed Assembly Begins

1959 chris craft buffed varnish

I just spent some minutes viewing our intake photographs of this 1959 17’ Chris-Craft Sportsman. A then vs. now comparison is at least startling.

She was so completely dried out; her deck and covering board planking was black, curled and split.

Yet, through our conservation efforts, all but two outermost, tiny, triangular foredeck planks have been saved.

It can be done. Destroying an antique or classic wood boat by simply replacing topside, transom and deck planking, is absolutely not necessary. Nor is it defensible. The perpetrators of such heresy exclaim that their “old” boat is now perfect. Really? Well, since it is now longer an old boat in any historically correct sense of the word, it had better be perfect, because it is now a new boat.

Yes, conservation can be more expensive than wholesale replacement of frames and planking, but additional out-of-pocket-cost is dwarfed by the value added by keeping her as original as possible.

The one exception, and one that the ACBS now recognizes, is installing a True 5200 bottom, since doing so contributes materially to safety.

Snake Mountain Boatworks simply will not countenance such willful destruction. Conservation, as with a fine oil painting or the vintage cars that Restoration and Performance Motorcars of Vermont is all about saving all that is original to the absolute maximum extent humanly possible. Would you proudly show a Degas painting that you had completely repainted?

Then how can you proudly display a floating artifact of history clad in completely new wood? New paint or new wood? The horrific result is identical.

Enough said. Assembly has begun as we await Robert Henkel’s completion of completely rebuilding her engine, transmission and all that hangs off of it. Although the wait is very likely to span two months or so, we will have the hull ready for the engine install, and this wonderfully original Chris-Craft will be back with her owners for the 2018 boating season.

1959 Chris Craft Sportsman: How to Buff Varnish (the SMB Way)

1959 chris craft sportsman how to varnish

Gloss is about flat, which may seem incongruous, but the flatter the surface, the more uniform will be the gloss. Think of a cheap mirror compared to a high-end one. Your reflection in the cheap mirror tends to be wavy, while it is absolutely unwavering in the high-end one.

Why? The surface is uneven in the cheap one and absolutely flat in the high-end one, hence the truer, more consistent reflection of the light hitting it.

Gloss is about flat, and Snake Mountain Boatworks strives for as flat a surface as we can create. The process begins with wet sanding by hand using a rubber sanding block and 1,000 grit wet/dry paper, followed by doing it again with 1,200 grit, and finally with 1,500 grit.

We used to sand with 2,000 grit as well, but discovered that switching to Mequiars buffing crème 101 and 205 instead both saves time and delivers a much deeper, more uniform gloss, which means it helps us get to flatter sooner.

Yes, I have heard the folklore that buffing varnish destroys, or at best dramatically lessens UV protection on the dubious claim that it resides solely in the topmost portion of the varnish film.

To have any validity such a claim would require that each additional coat of varnish somehow bleeds UV protection out of the prior, already partially cured, coats of varnish. Are we to believe that coat 10 somehow liquefies the previous 9 coats, each of which delivers the UV protection “cooked” into the varnish we are using?

Alternatively, if the buffing process employed dramatically “washed” film thickness away, yes, the final UV protection achieved by having applied 12 coats would decrease proportionally were buffing to reduce film thickness to, say, that offered by 9 coats.

Sorry, I cannot get there. UV protection builds with each additional coat increases the film thickness. When we begin with the film thickness delivered by the 20 coats we have applied and allowed to cure for at least several weeks, the buffing with 1,000 and progressively higher grits that follows polishes and flattens the surface. It does not remove significant amounts of film thickness in the process.

Snake Mountain Boatworks will continue buffing and delivering results to our owners that translate into winning most of the shows they enter SMB-preserved boats in, which is the case.

1940 Lyman 16′ Yacht Tender Flipped!

how-to flip a 1940 lyman yacht tender

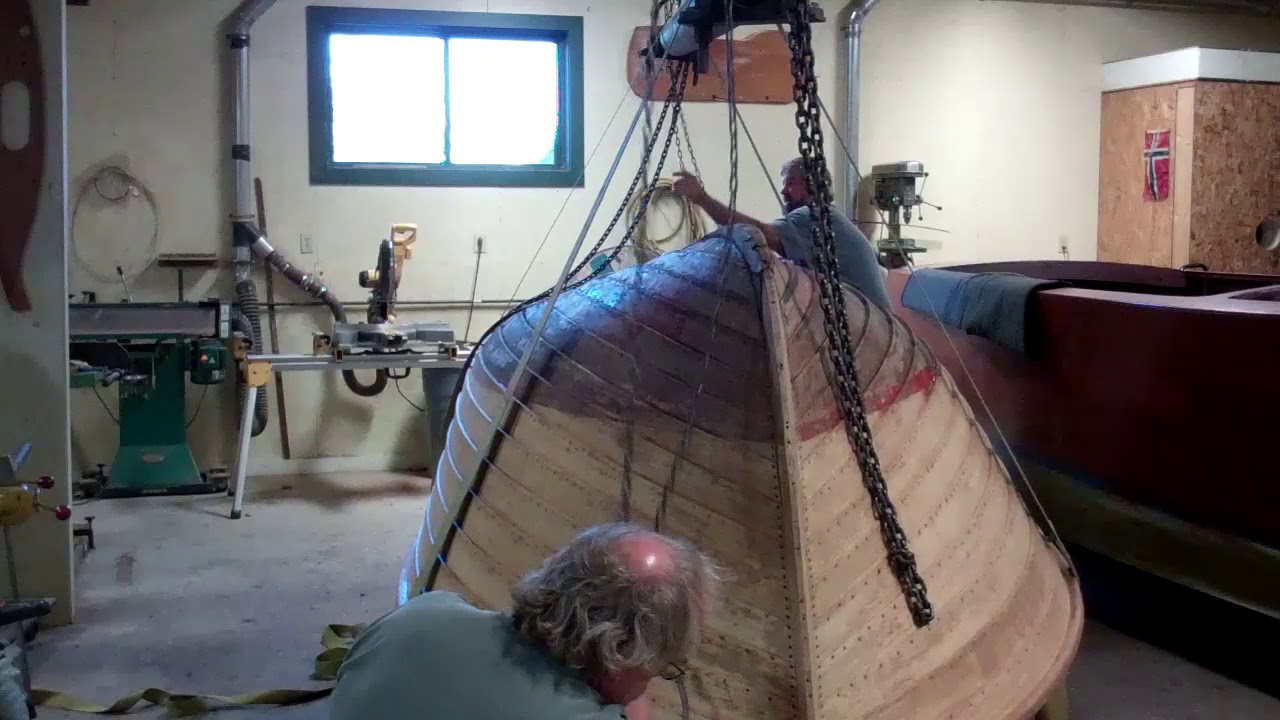
I should not have said, “She’s small. This flip should be easy. Let’s try it without the rolling strap.” Wrong! Physics rules, and the fact that she is beamy, especially as compared to the depth of her hull at the helm bulkhead, translated into no go with hands alone.

John reached for the “rolling” strap and attached it to the starboard – not the port, as I incorrectly say in the clip – bilge stringer. From there we wrap the strap over the starboard gunwale, past the keel, over the port gunwale and across the boat back to the starboard gunwale. Now we had physics on our side.

John pulled the strap and over she went, just as nicely as could be.

We will now focus on stripping Susan’s hull below the waterline using our go-to Circa 1850 Heavy Body Paint and Varnish Remover.

One more milestone fades into our wake!

1957 Lyman Runabout Bilge Steam Cleaning

1957 lyman runabout bilge steam cleaning

Thank you, RJ!

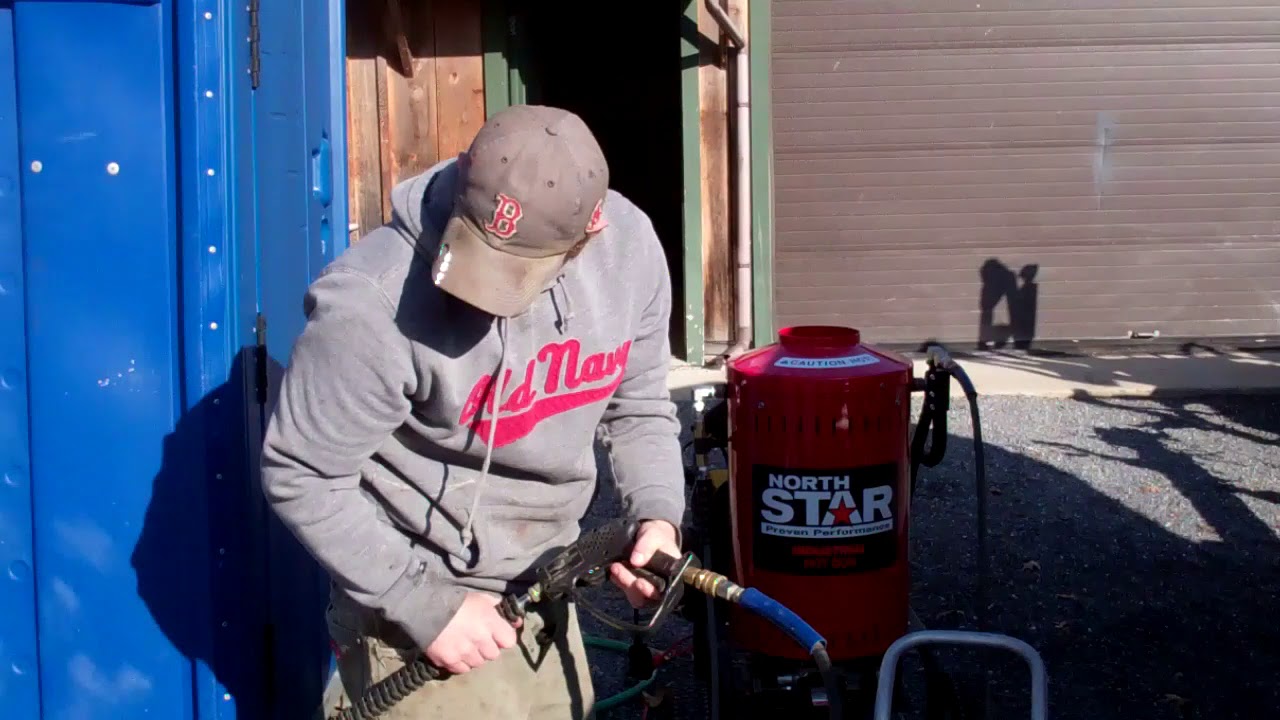
Yes, the sky is blue and the sun is out, but it is November 15, so the sun is not very high in the sky and the “heat wave” 42 degrees Fahrenheit does not help much once he gets wet, which is inevitable.

At the suggestion of her owner, I purchased a North Star industrial water heater, which is designed to “plug” into the outlet valve on the pressure washer and the spray hose. It heats water to 200 degrees Fahrenheit, which materially increases the pressure washer’s effectiveness. “We” begin by applying hot Simple Green Industrial Degreaser, diluted with water to the entire surface and let it steep for 5 – 10 minutes.

Then RJ installs the 25 degree nozzle and goes at it, bathing himself and the bilge with steam in the process.

The entire process took 4 hours, compared to the 10 – 15 it would take us were we using our old school hand scrubbing method.

She’s back in the shop, where we will brace her hull and flip her so we can focus on stripping bottom paint, addressing issues, sealing all surfaces with CPES and painting her anew.

Guess what? The 1940 Lyman yacht tender is waiting for steam cleaning, which RJ will engage shortly.

1946 Chris Craft U22: How to Fill Seams with Sikaflex

1946 chris craft brightside u22 sikaflex

Getting the seams filled with Sikaflex 295 UV is materially transforming the 1946 Chris-Craft Brightside U22 in almost magical ways. That seemingly unending field of mahogany, especially on the foredeck, now is beginning to jump out and proclaim, “Look at me!”

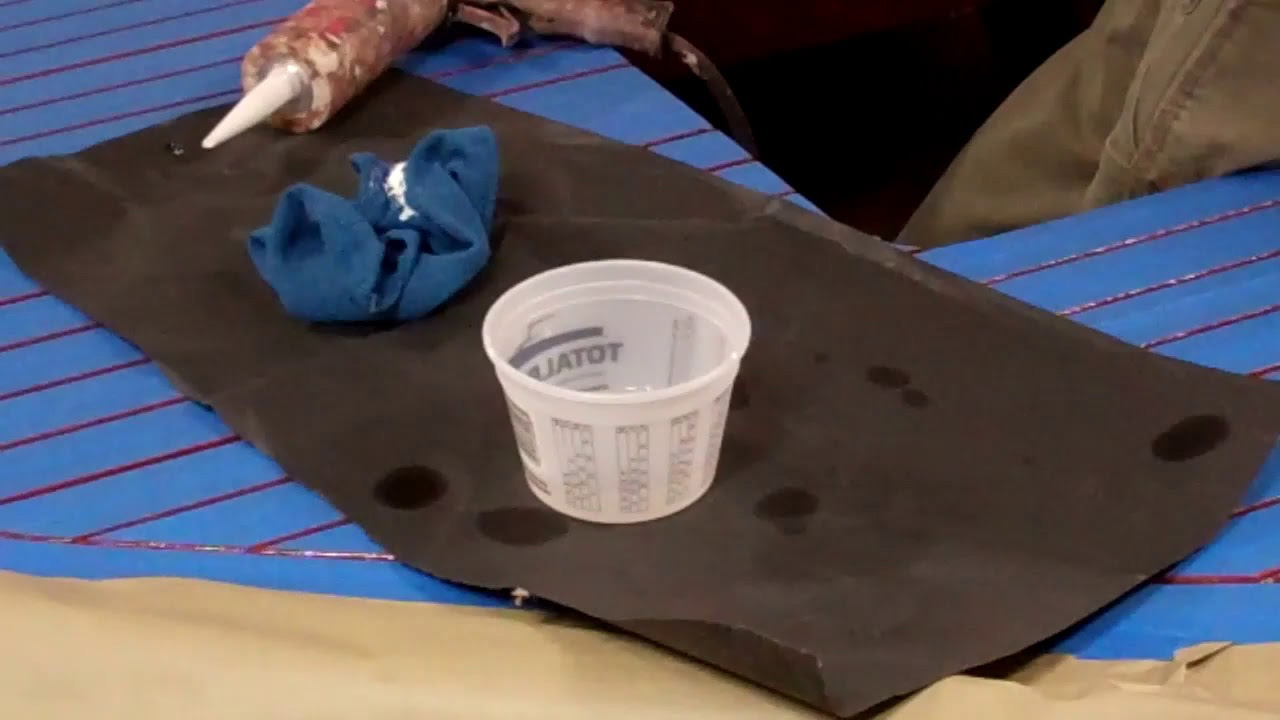
But doing it correctly is incredibly tedious and time consuming for John. Masking the planks between the seams gobbles attention resources. The tape’s edges must run precisely along each seam’s edges if we are to achieve razor-edged results.

John uses 1-inch painter’s tape for this purpose. It is much more forgiving and much easier to manipulate than wider tape would be. Doing so, however, requires that additional tape be applied so that all but each seam is masked.

We also use masking paper to protect the toe rails from any splatter, either of the Sikaflex or the Interlux Brushing Liquid 333 that John uses to lubricate his spatula so that it glides along the Sikaflex surface rather than pulling it out of the seam.

We strive for a concave profile, which reduces the chances of going through when we sand between the 20 – 24 coats of Interlux Perfection Plus Two-Part Varnish.

We use Perfection on decks, covering boards and interior helm seat frames for two reasons. When cured it is hard as nails, which means it withstands abrasion and scratches quite well. And Perfection is crystal clear, which allows us to apply it over the seams without discoloring the Sikaflex, as it adds UV protection to the Sikaflex itself.

We will be varnishing next week for sure!

1946 Chris Craft Brightside: How to Stain

1946 chris craft brightside u22 how to stain

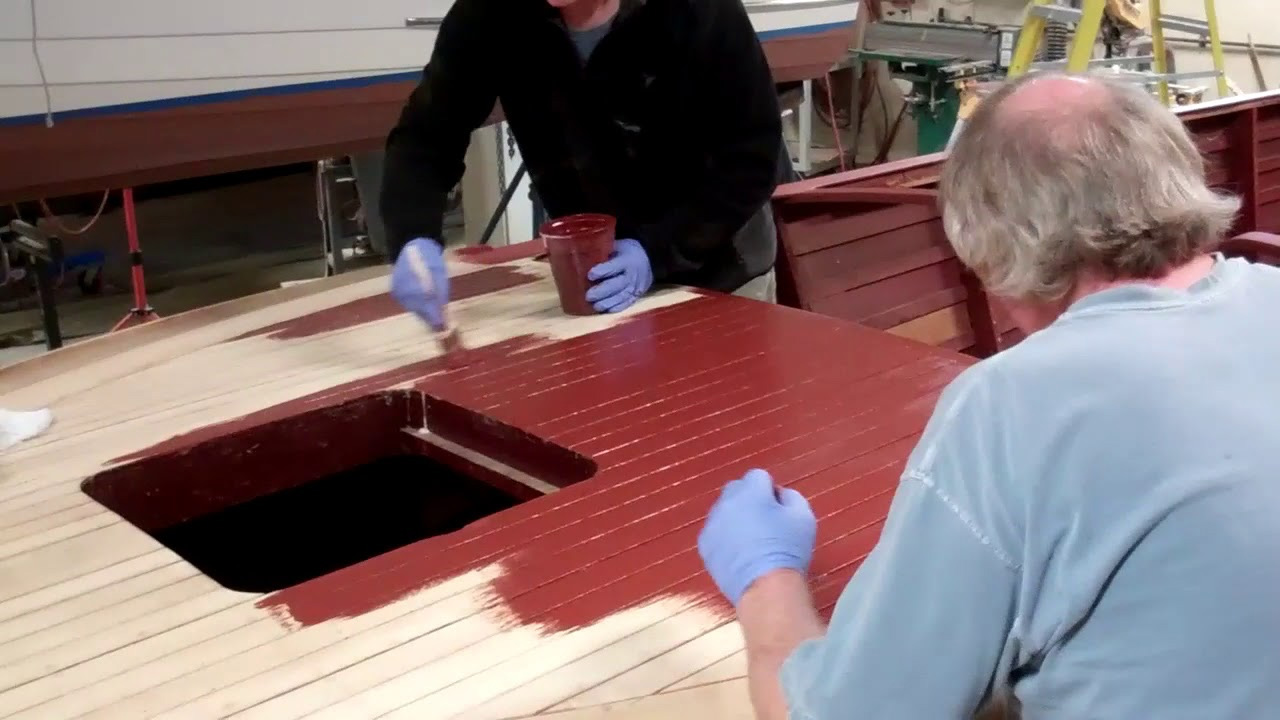
Staining the 1946 Chris-Craft Brightside U22 is a daunting task, one that we divided into two parts. The morning was devoted to staining the decks, covering boards and helm seating framing. The topsides and transom were attacked after lunch.

We used our standard Chris-Craft formula, equal parts of 0042 brown mahogany and 0573 Chris-Craft red mahogany Interlux Interstain Wood Filler Stain. The entire task consumed three pints of each stain, or six total.

RJ applied the stain, with John and I following behind. Interlux’s and the literature’s guidance notwithstanding, we no longer wait until the stain has flashed – turned a uniform dull color. In our experience, and especially with such a large surface area being stained, allowing all or most of the thinner to flash off, creates an unwinnable race against the stain becoming so dry that removing all residue and achieving a uniform color throughout the boat is nearly impossible.

Rather, RJ applies, followed almost immediately by John and me. The first scrubber works the wet stain into the wood, doing very little actual cleaning in the process. The second scrubber follows, repeatedly changing the cheesecloth pads and making a first pass at cleaning. Then the first guy follows the second with a goal of releasing all of the residue without actually scrubbing the filler stain out of the wood grain’s valleys.

We use only circular and cross-grain strokes while executing this process.

You be the judge, but we feel that we get a much more uniform final product using our method, and we need not go through the misery of scrubbing drying varnish, which can leave dark, almost burnished patches of stain in its wake.

Check out the next clip to see why the three of us were beat by day’s end.

1946 Chris Craft Brightside U22 Stained!

1946 chris craft brightside u22 stained

Finally! The 1946 Chris-Craft Brightside U22 is all but completely stained.

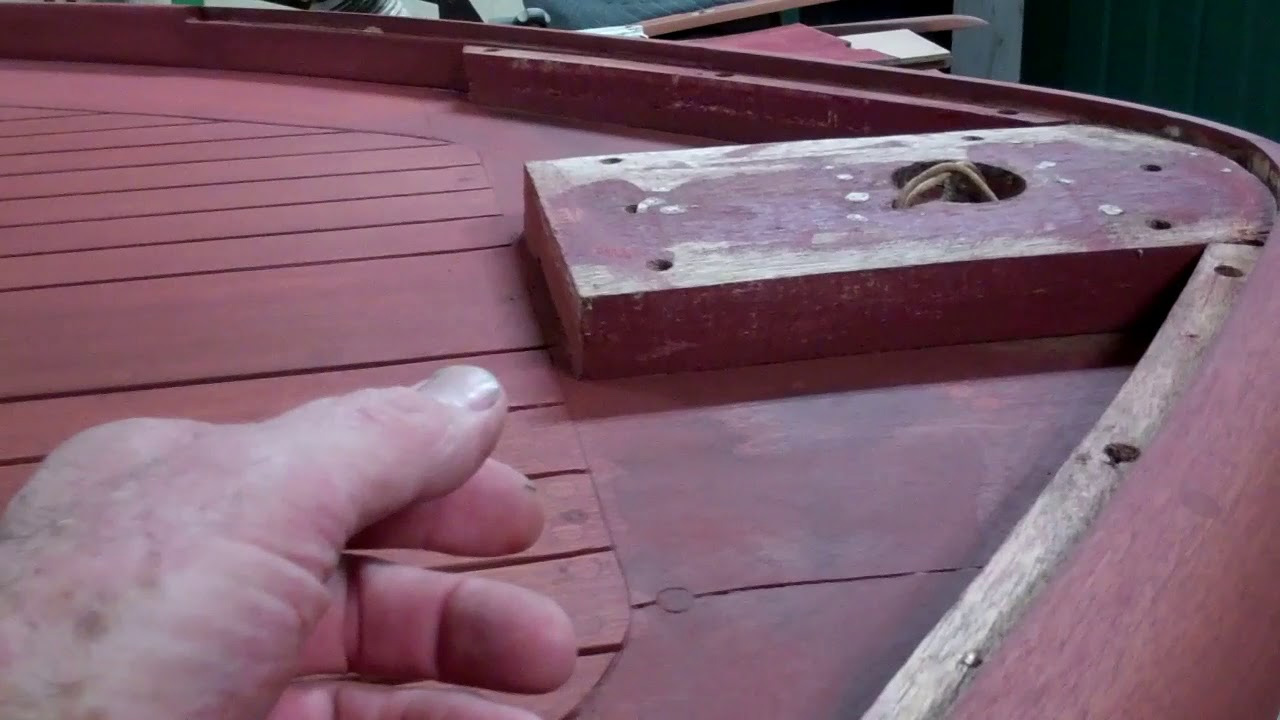
Our SMB staining methodology has delivered an absolutely uniform result. What a sight for sore eyes, and especially sore shoulders! Several staining details remain. The dash was modified at some point. The original horizontal chrome strips that were inset into it at Algonac were replaced by marquetry-like blonde wood stripes. These must remain blonde, so John masked them off and stained them with Sandusky Paint Company’s Chris-Craft Corina Blonde stain, let it dry in, and then taped it off along with the rest of the dash. (Since would not be staining the mahogany portion of the dash today, protecting against flying flicks of stain was a must.

Additionally the U22’s bow terminates in a very pleasing pair of triangular planks and a vertical support plank into which the hull number was stamped at the factory. These will be stained and installed after we have applied CPES to and Sikaflexed the foredeck’s (and aft deck’s) seams. For now she will sit for several days, while her newly applied stain is curing. Then we will seal the entire hull with multiple applications of CPES.

The varnish has been ordered.

Yes!

1946 Chris Craft U22 – Bleached “Albino”

1946 chris craft u22 bleached albino

John and RJ trekked between home and the shop periodically into the evening last night, keeping the U22 wet with the two-part Daly’s Wood Bleach we are using, particularly in areas that resisted the bleach.

The result this morning is an albino mahogany U22.

The bleach raises the grain, which is a singular plus for applying the Interlux Interstain in a couple of days.

Once the hull has reached 12-15 percent as measured by our moisture meter, we will lightly hand sand the feathers raised by the bleach, clean the surface with tack clothes and stain using the Danenberg two brown to one red mahogany stain.

CPES will follow. Sikaflex will fill the deck seams, and then, finally, we can begin varnishing the hull.

Category

Film & Animation