Fifteen bilge frames with one ¼” x 6” brass carriage bolt securing the keel to each frame, plus four buried ¼” x4” brass carriage bolts securing the overlap joint between the gripe to the stem!
Every one we removed is original. Nary a stainless bolt was to be found.
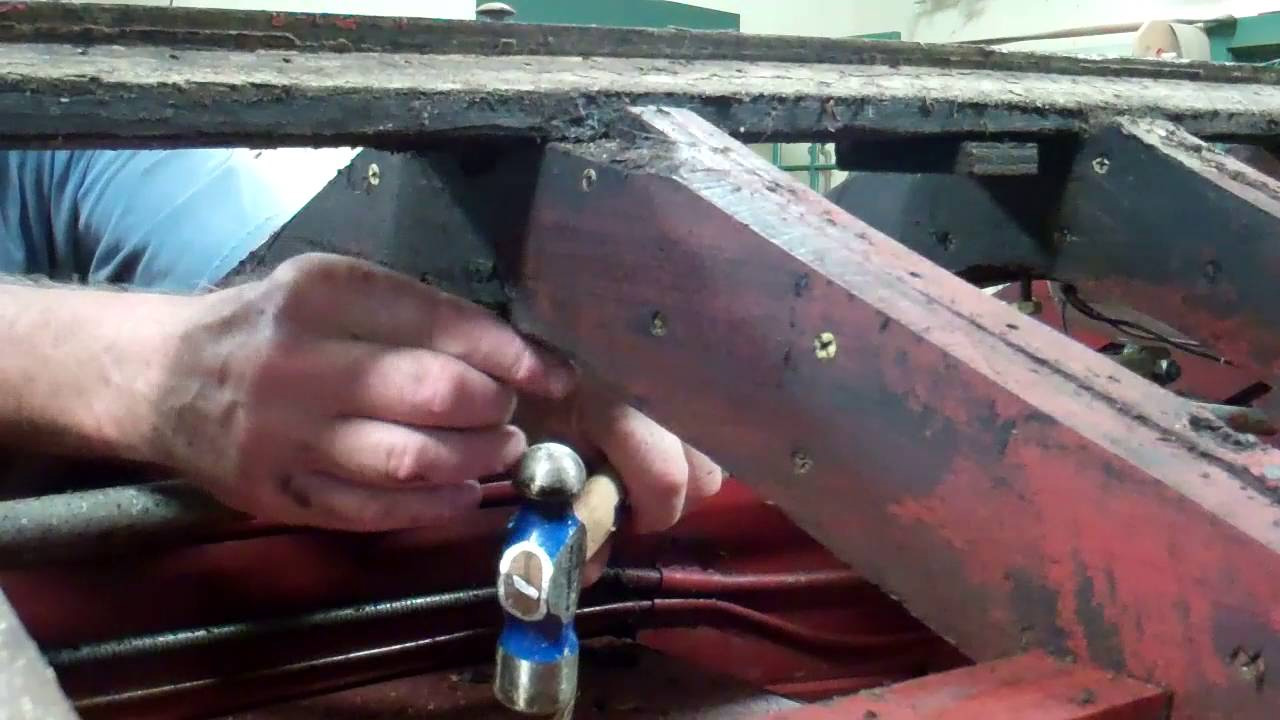
And you know just how easily those bolts “jumped” out of those ancient holes! Well, somehow the two I selected for this video did jump right out. There is nothing like a heavy ballpeen hammer and a drift to persuade the others to leave positions they have held since 1946.
Unlike the degraded stainless fasteners, which are from the early 1980s, all of the brass bolts appeared perfect. However, when placed in a vise and tapped slightly, they simply flopped over like wet noodles. Into the recycling bins they go.
But we have the keel out where we can clean it properly and begin working replacing the hogged final 12 inches or so.
However, in the process of separating the gripe from the keel, which forced us to take a hard look at the gripe, we concluded that it cannot be saved, as is waiting for you in the clip that follows this one.
And now to the gripe. As we released the keel from the gripe, we could not help notice that the gripe appeared to be severely fractured on its starboard side. Additionally, evidence of dry rot jumped out at us, in addition to its severely rotted outer radius.
Here I just let the camera run so it could record the process involved, and what we discovered once the gripe was free.
(Yes, early in the clip I slipped again, by saying “knee” when I meant “gripe.” There is no knee in this model.
By Friday we have deconstructed the 1946 U22’s bottom, chines and chine planks, and are ready to begin fabricating new framing components, including most of the chine frames.
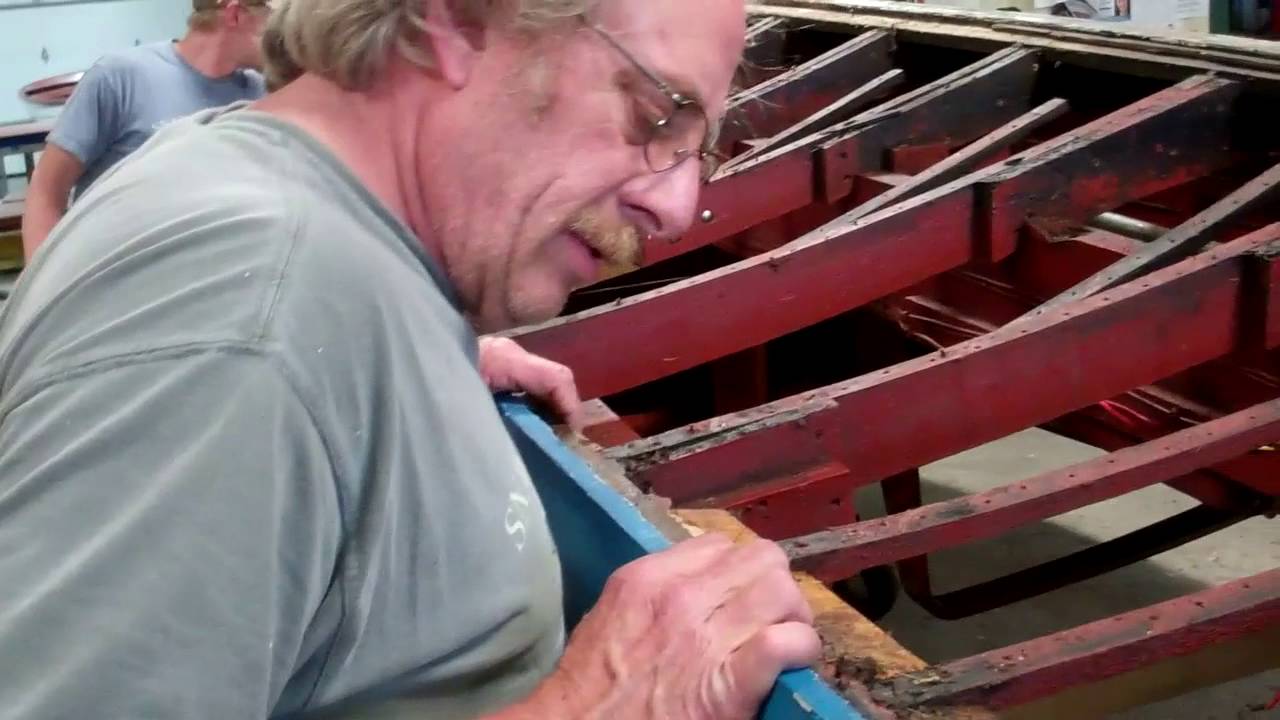
But as John was removing the bottom transom plank on Friday, and I was “happily” scraping grease from frame elements forward, he exclaimed, “That’s why she’s hogged!”
He could not have been more correct. The bottom bow, while it is in excellent condition, has broken away from the transom framing completely. My prime suspect is the lifting rings and the possibility that the boat spent long periods of time hanging from them. The aft ring‘s mounting bracket wraps beneath and around the bilge stringers. But, while it thereby supports the weight of the engine, the sheer strength of the fasteners elsewhere are all that is keeping the aft end of the hull from drooping.
Since most of those fasteners are (failed) stainless steel bolts and screws here, it is not surprise that their failure contributed to the bottom bow, and with it, the transom and aft parts of the topsides, dropping away from the stringers and nearby transom framing.
Our challenge now is to reverse this situation, which is likely years, if not decades in the making, either by stripping the transom planking completely, or, if we are lucky, clamping all these components back into place and then fastening them anew.
Ideas and suggestions from the community will be welcome indeed!
Bot chine framing butt joints on starboard are short, with almost 1/8” voids evident between the end of the original and replacement sections. And, what was buried beneath filler on port, there was none on starboard, which exposes a myriad of stainless steel carriage bolts holding – sort of – the two sistered joints together. That I can move the aft end of the aft sistered joint on starboard, plus the presence of the stainless carriage bolts means that “making do” with what is there now is to go on a fool’s errand.
We will release and replace the patched piece of chine frame on one side at a time. (Even though we have heavily X-braced the hull, releasing both patches simultaneously risks the hull deforming in ways that will be difficult to recover.)
Once both new chine frames are fabricated and installed, we will begin addressing all of the bilge frame issues.
Well, with all of the bottom planking released, now we can get to work.
The good news is that the stem, knee and gripe are absolutely sound.
Our suspicion that several sistered frames and the chine framing must be replaced is confirmed.
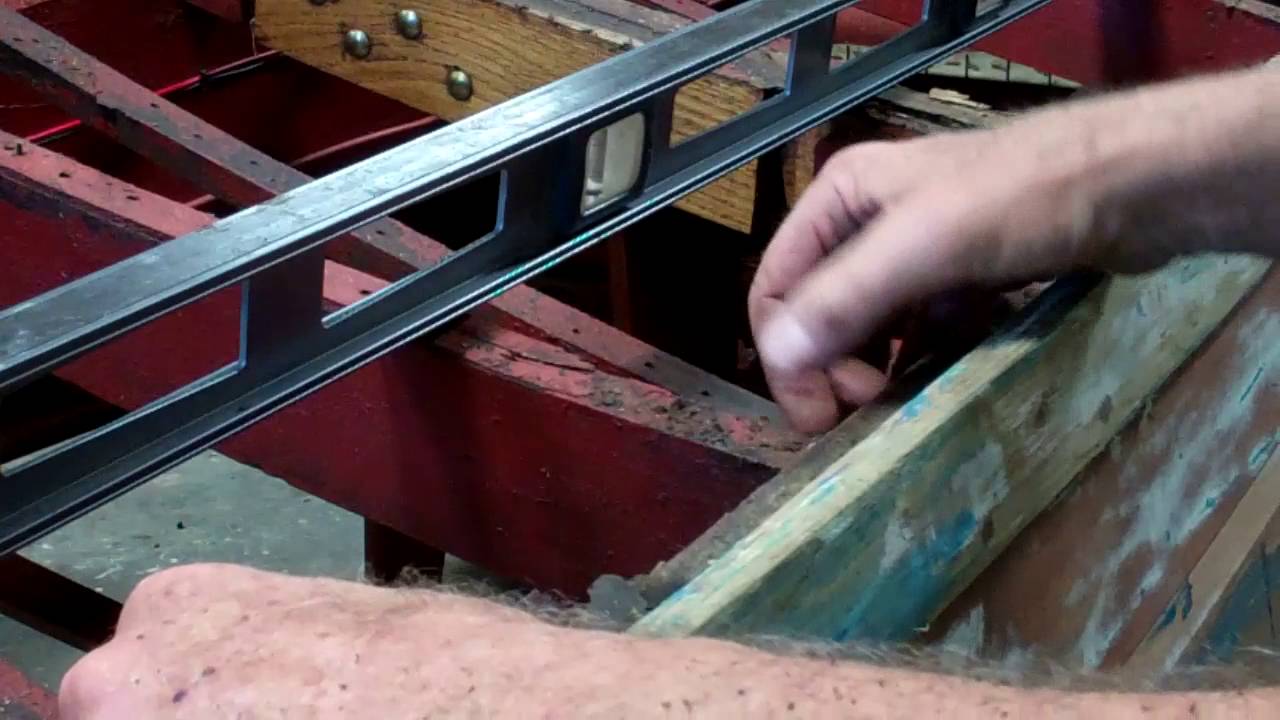
What we learned so far now that we can set a straightedge on both faces of the bottom framing is that the sistered ribs, or frames, are off-plane along the bottom. Several others are completely loose. (I only test the port frames here, but did so on starboard as well. About half of the stainless fasteners driven through the chine framing into the ribs have failed and those ribs are floating.
One conclusion is obvious, which I confirmed with her owner. This boat must have leaked like a sieve. What likely escaped the owner’s, however, is that the bottom framework is literally coming apart.
The hog at the stern is much longer and deeper than we initially surmised, and the aft framing is off-plane as well. I have seen this condition in hulls that have been hung from their lifting rings for extended periods of time. It is one thing to suspend your boat from the rings for brief periods, but your hull is not built to be hung for months and months on end.
Next comes releasing all those battens, marking each one so they can be re-installed in the correct order later.
Maybe half a milestone? As of today’s close, the U22’s starboard bottom planking, both inner and outer, is completely released. Eighty percent of the port side bottom fasteners are out and filling paint cups.
What did we learn? Beyond copious amounts of old grease and oil throughout the bilge, and aside from the insults suffered by her chine framing and multiple major ribs, the hull’s framing is quite sound. Her stem is solid with no rot or splits evident anywhere.
Save for those that were butchered in a failed effort to repair three of them, the ribs forward of the engine appear sound upon an initial inspection. We will learn much more post-degreasing.
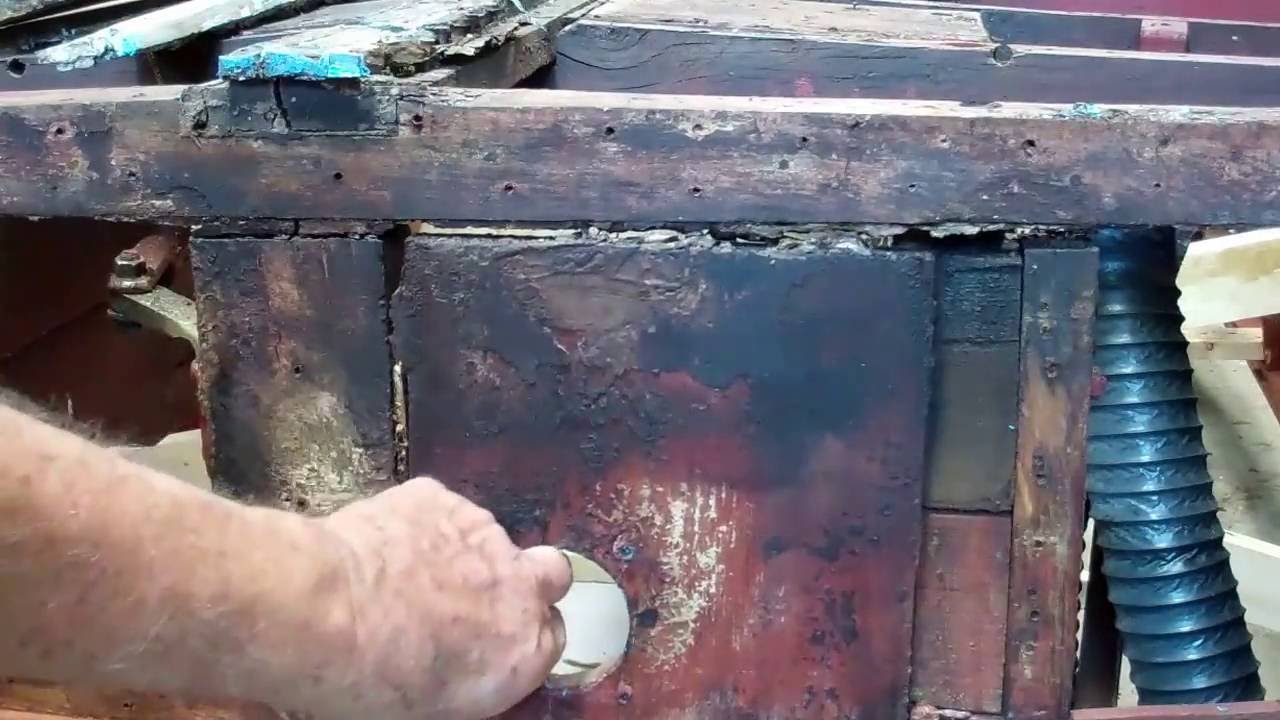
The major frames beneath the engine bay have soaked up so much oil they must be compromised.
We could spend hours releasing and trying to pull all that grease out of the wood, but time is just better spent, and the hull will be much stronger if we simply use what exists now for patterning and then fabricating new white oak frames. My initial guess is that we must replace all of them from the front end of the engine bay to and including the one standing just forward of the transom.
Notice the steam bent battens that shape and stiffen the bottom between each pair of major ribs. I compared batten to batten starting at the transom and proceeding forward to the stem. While they are the same shape, have the same radius, within each bay, that radius shrinks, and the battens exhibit increasing curvature when moving from the transom forward.
At least on starboard all of these battens are holding paint, even though they are externally greasy. We will carefully record the order and degrease each batten, followed by filling every fastener hole with toothpicks and Gorilla Glue.
The chines are the most worrisome, as we suspected would be the case when we examined the bilge once the hull had been emptied. The “repair” of the chine framing weakens the hull amidships, precisely at the point where the engine is delivering the most torque. That this person’s now famous sistered butt joints are secured with stainless fasteners makes his/her work all the more problematical.
Remember, when inserted into wood at or below the waterline, and therefore into an anaerobic environment, stainless degrades to mild steel, which is prone to rust and rapidly declining integrity. We have no choice. Due to even more sistered butt joints that were “secured” with Robertson stainless square drive fasteners, the chines must already be replaced. (That the “new” chines are white oak and of entirely different dimensions than are the original mahogany chines, makes replacing them all the more important.)
The real challenge is that the chine framing must be exposed, which means the bottom topside plank, which I term the chine plank, must be released on both sides of the boat. Then, since the chine framing must be replaced – at least at the butt joint and proceeding aft, all of the major ribs must be released as well.
We will update our view of the situation and the issues late tomorrow, after we have released all of the port side bottom planking.
Such an interesting discovery, but completely consistent with the realities of sourcing materials, especially mahogany, in 1946, the year following the end of WWII. At least when building this boat, the 68th U22 of 1946, Chris-Craft chose Spanish cedar for planking the bottom, save for one plank on each side. That plank’s forward end would terminate above the waterline and be finished bright along with the topsides, so it is mahogany.
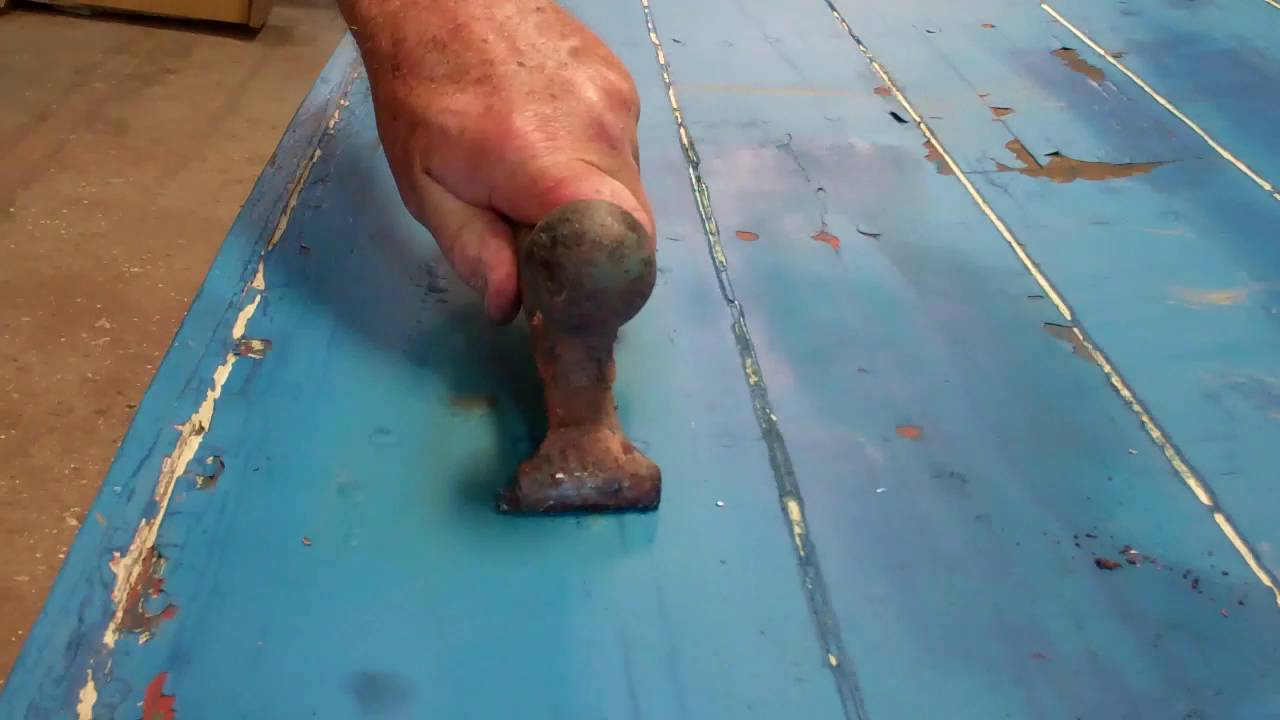
I know we have done so in the past, but I wanted to share with you once again John’s solution for removing the putty-like materials used to fill and seal countersinks and then fasteners below the waterline.
The Rotoabroach kit includes cutters of several diameters, one of which is 3/8”, which matches that of these countersinks. As you can see in the clip, he is able to clean countersinks down to the fastener head in rapid success.
An awl is used for cleaning the head, followed by removing the screws with a either a Phillips or a square drive bit in a screw gun.
We have employed the same procedure removing bungs from topside and deck planking, but here we drill a small pilot hole in the center of the bung, which guides the Rotabroach cutter.
The port side countersinks have been cleaned, and, as you see in the clip, the “only” step left is extracting a sea of both Reed and Prince brass, and Robertson – square drive – stainless fasteners, all of which will be banished to the recycling barrel.
We will save and re-install the two mahogany planks, but all of the cedar planks will be tossed once they have been used as patterns for fabricating new mahogany planks.
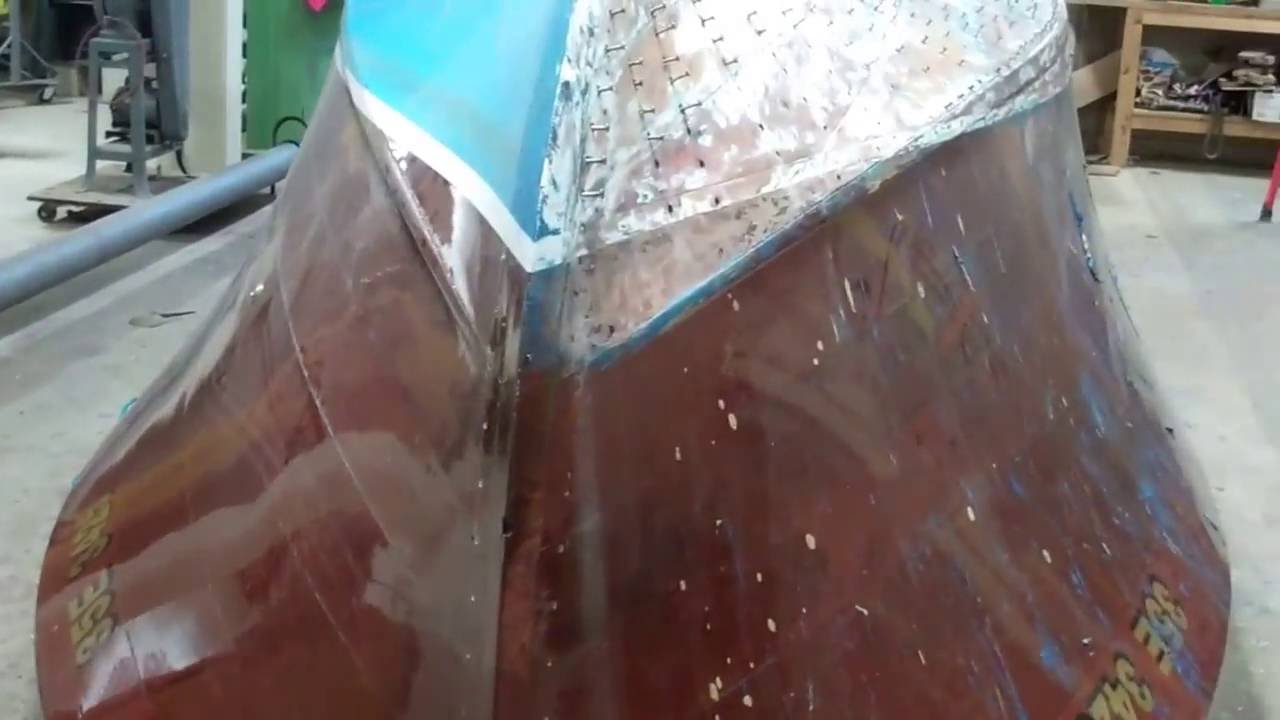
Now that the 1946 Chris-Craft mahogany U22 is flipped, we are launching into the True 5200 Bottom fabrication process.
Actually, deconstruction of the outer and inner bottom planking begins the process. Given all the evidence found in the bilge that she has endured major oil leaks from the engine and transmission, step one involves breaking out the Silent Remover infrared stripping tool.
We use it sparingly, largely because its bulk makes using on a vertical surface exhausting, but primarily because it delivers even more than the hype you will find on the Web site. Aggressive hardly describes is capability to virtually pull paint or varnish from the wood. That aggressiveness, combined with gauging when it is time to lift and scrape, also makes it a dangerous stripping methodology for plywood strakes and surfaces that will be finished bright. Leave it on a few seconds too long and that smoke you see is wood burning, which leaves a charcoal-like surface behind it.
In this application, however, and especially when testing bottom planking for its paint adhesion retention, the Silent Remover’s aggressiveness is your friend. As you see in the clip, it literally sucks the oil out of the wood, leaving bubbling pools. The paint, and there were at least four layers here, just rolls off the surface, glistening with oil.
The other lesson of this clip is, “Take shortcuts at your peril.” Sure, fill the space left at a bottom planking butt joint with a thin sliver of mahogany rip. Why not? No one will see it behind all the paint. Hmmm…. except if and when the bottom is stripped the next time. Agreed. FAS grade, quarter-sawn mahogany is expensive, but that plank he/she cut too short could find a home elsewhere on the bottom. Why comprise the bottom’s integrity by taking shortcuts, especially almost directly beneath the engine.
We are preservationists who try to save every bit of old wood we can, but the integrity of oil-sodden wood is compromised, and it will not hold paint. We will be replacing virtually all of the planks, including the garboards from a bit ahead of the engine to the transom.
She was shipped from Algonac, MI to Ahmic Lake in Magnetawan, Ontario, which is about 60 miles north of Port Carling, Ontario, in 1946. That owner, having failed to insert the drain plug, allowed her to sink the very first night she was on the water.
Taking it as a bad omen, he offered it to the grandfather of her current generation of owners for a pittance on one condition, “Get it afloat and away from here by week’s end.”
Grandfather did, and she has served this family loyally ever since.
Our work to date involved releasing everything fastened to the hull, save for the steering wheel, which we will release prior to flipping her next week.
Her engine delivers 150 psi in all cylinders, but her oil is milky, indicating the presence of water entering the lubrication system somewhere in the engine. She does produce good oil pressure, but something is lurking somewhere down deep inside her. We will drop her oil pan, which is full of sludge, and begin a diagnostic examination therefrom.
Once we have the hull flipped, we will launch into replacing her oil-soaked bottom with a True 5200 bottom. However, the evidence presented in this clip portends discovering major issues with at least four frames, the garboards and possibly the keel itself.
Her chines have been replaced, at least from the stem to just behind the engine, where the new chines are butt-jointed to the original ones. How do we know for sure they have been changed?
Every “repair” some well-meaning, but marginally competent person executed shows as brilliant blonde against the Chris-Craft red bilge paint. That is correct. This “craftsperson” did not care enough about his work to finish it by applying several protective coats of bilge paint. (Makes one wonder what other shortcuts were taken that we will find as we dismantle her bottom.)
On the plus side, and despite my rant, everything else about her evidence that her owners maintain her with painstaking attention to detail.
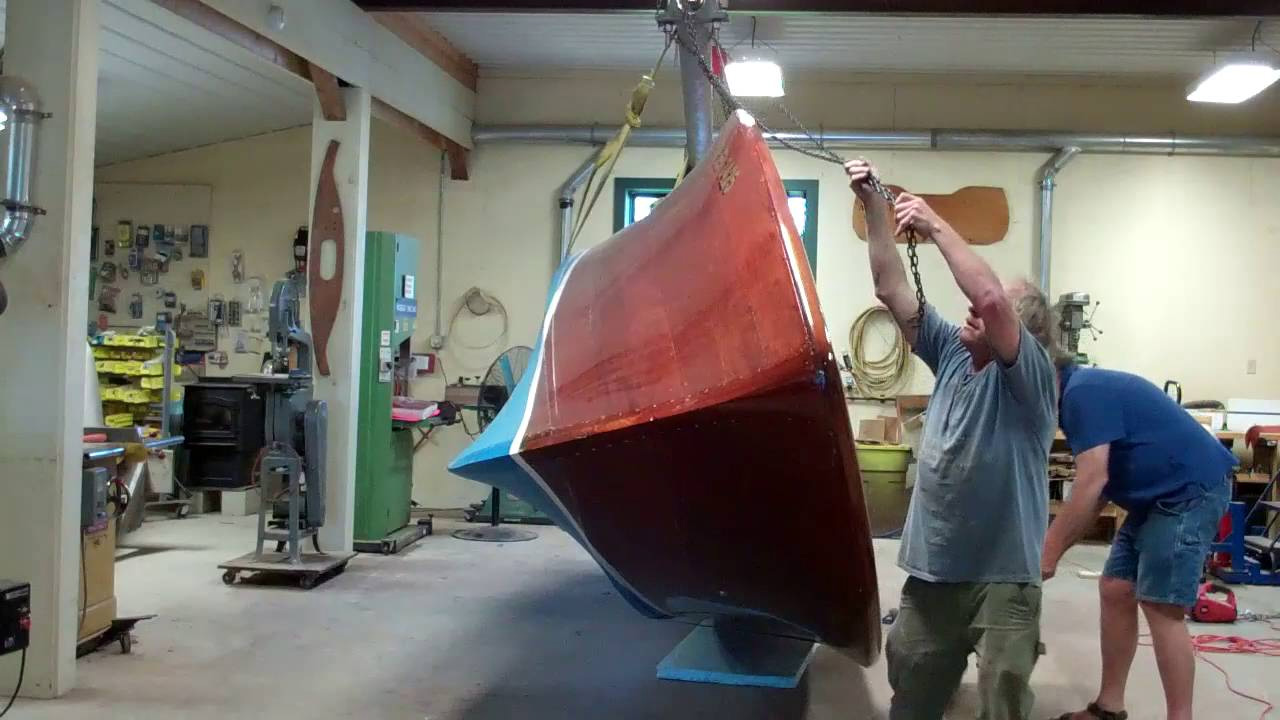
If you remember the challenges we faced flipping my 22’ Shepherd runabout, you will understand why a bit of tension was in the air as we approached flipping the 1946 Chris-Craft mahogany U22.
But this time we used our good friend Phil Jones’ “line and winch approach. The line is secured to one of the bilge stringers – port in this case, from which point it is passed over the port gunwale, wrapped around the hull, across the cockpit and past the port gunwale.
The bitter end is then attached to a small hand-held winch, which we secured to the base of our 27” drum sander.
Rolling her 90 degrees is accomplished by hand with relatively little effort. It is getting the starboard gunwale beyond 12 O’clock that is the challenge. The winch and line take over at this point and slowly roll the hull past vertical, while maintaining total control.
As you can watch in the clip, she slowly, almost deliberately rolls clockwise and settles 180 degrees from upright. Roll the dollies beneath her, lower onto them,, release the straps and she is ready for what comes next.
You will notice that we inadvertently placed the aft strap, well, a bit too far aft, so that it jumps off the roller just as we complete the flip. Note to self: position the straps at least a foot in from the ends in the future!
We use tall dollies when flipping large boats, which decreases the distance we must recover in lowering them. (The boat has a tendency to roll when strapped to the roller.)
However, working on the bottom with the keel 7 feet off the floor is very difficult. Tomorrow morning we will use four chain falls and the two straps to raise her slightly and then settle her on super short dollies.
Next …. Michael “gets” to strip all that blue paint off the bottom planks prior to releasing and attempting to save them.
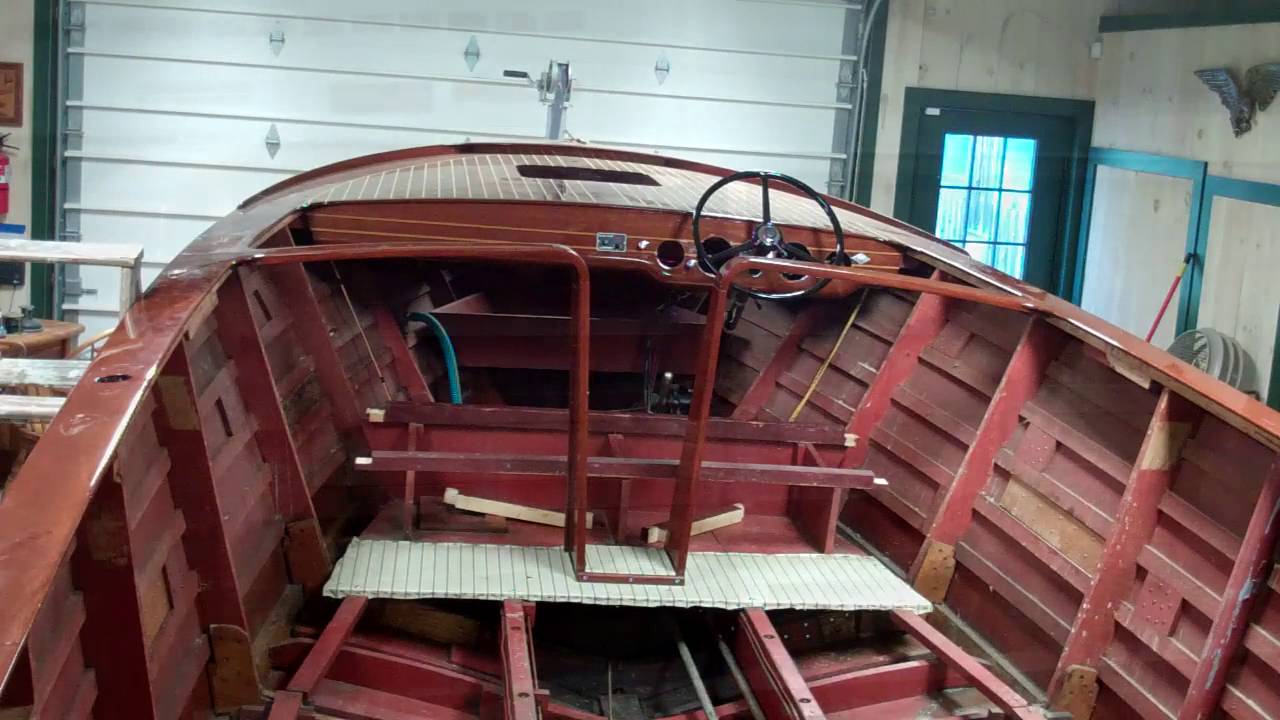
A totally original, very early 1946, Chris-Craft mahogany U22, Hull # U-22-068, arrived today from Canada’s Muskoka region, specifically, Ahmic Harbour in Magnatawan, Ontario, for a comprehensive preservation. She is one of very few mahogany-planked, varnished U22 produced in Algonac, MI. She was bought new and has been in the same family, in the same boat house for three generations.
A boathouse queen she has never been, as from grandparents to the current generation, and the one coming up behind used and use her daily during the boating season.
My conversations with the family to date tell a story of a boat that has always been carefully maintained, so carefully, in fact, that she retains 100% of her original planking, ceilings, and upholstery. Save for the button cleats, her hardware, gauges, steering, etc. are also 100% original.
But she is showing her age in several ways, and Snake Mountain Boatworks has been honored to execute this special project. We are under the gun, as the family will gather for its annual escape from urban life in August, and hope, well expect that she will be waiting for them.