1957 Penn Yan Captivator Project Launch

Snake Mountain Boatworks has been entrusted with preserving what will one day again be a truly sexy little runabout, a 1957 Penn Yan Captivator.

We are indebted to her owners, who found her in New Hampshire, for their commitment to this project and for trusting SMB to execute it in an historically-correct manner. By spring she will ride her newly-preserved, chrome yellow Tee Nee trailer, herself having been returned to her original glory, to this couple’s home on the shores of one of the Adirondacks thousands of lakes.

She has been treated terribly by at least one well-meaning but woefully uninformed woodworker. Her original upholstered, almost bucket seating was torn out and replaced by what probably was quite expensive slat-centric seating.

Fortunately for this boat, a friend who owns an original Captivator, and whose Vermont home is nearby, offered his boat to serve as our pattern when we begin fabricating the interior “furniture” anew.

Not satisfied with having destroyed her cockpits, this person then turned his/her attention to her decks, topsides and transom. Staining the beautiful, original mahogany planking black walnut seemed to be perfect. Not!
We began by completely stripping the cockpits down to the ribs, discovering that a half-dozen or so of them are broken, which presents unique challenges in the case of Striptite construction.

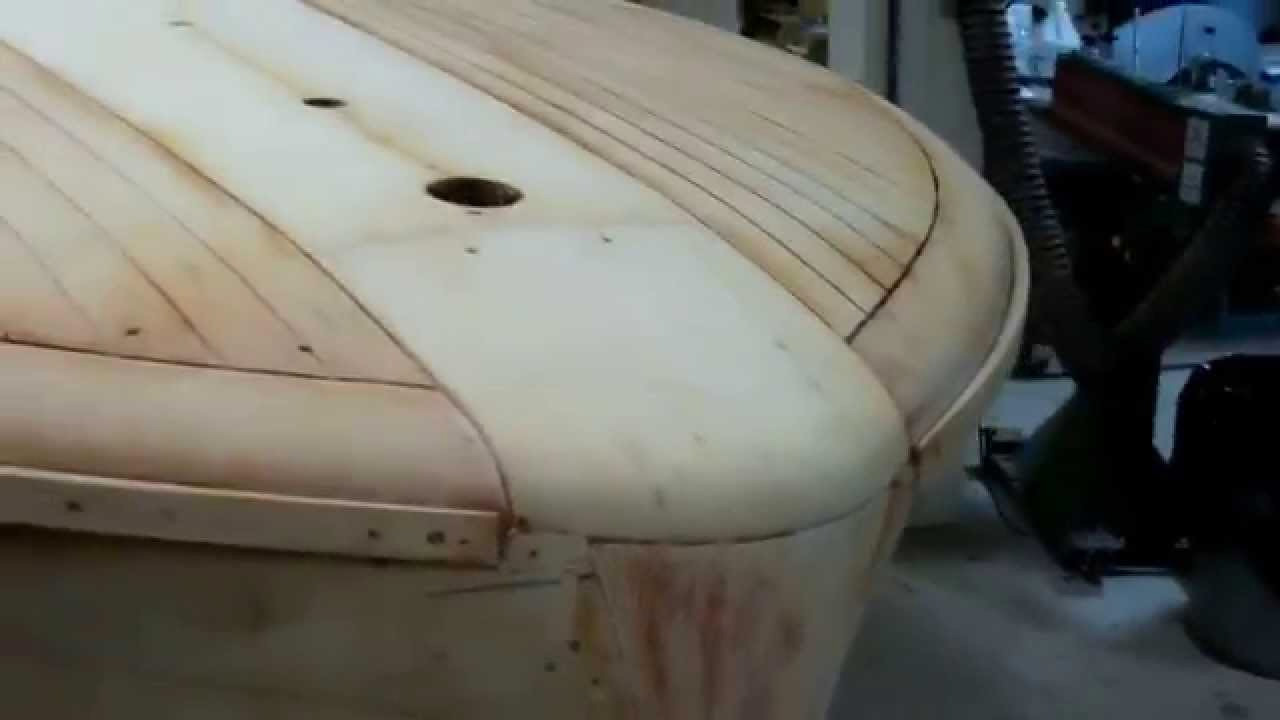
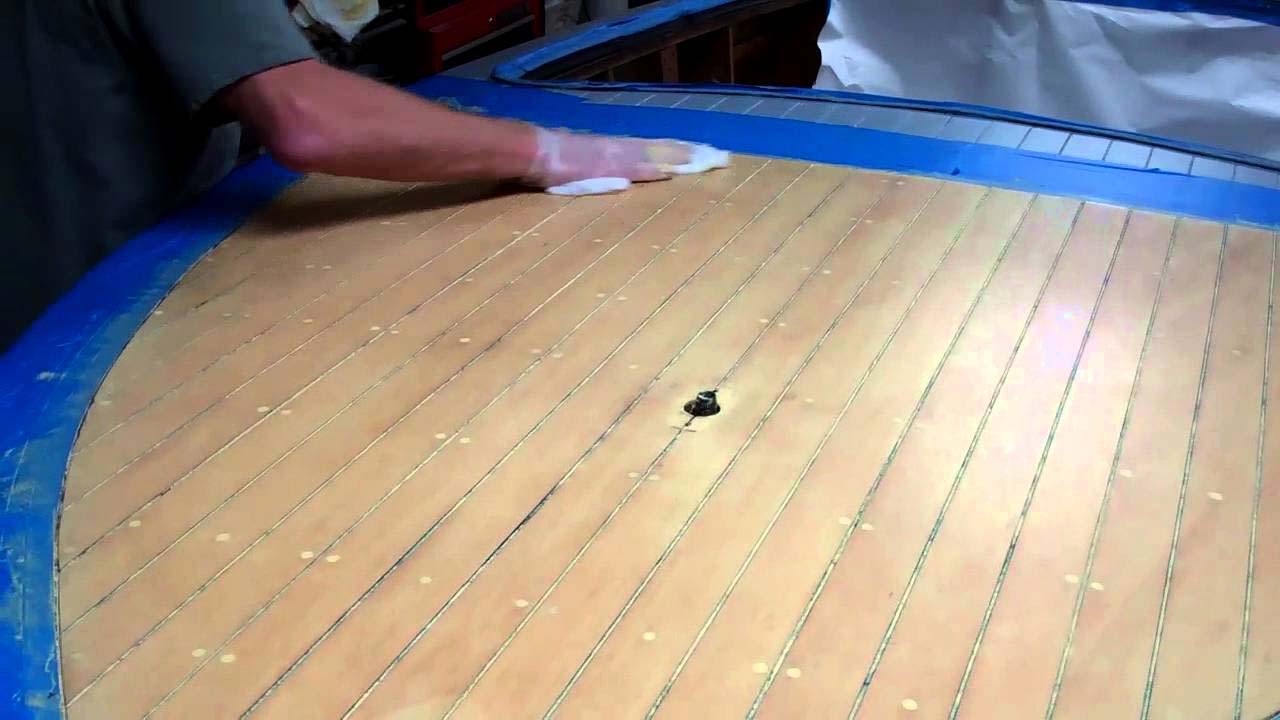
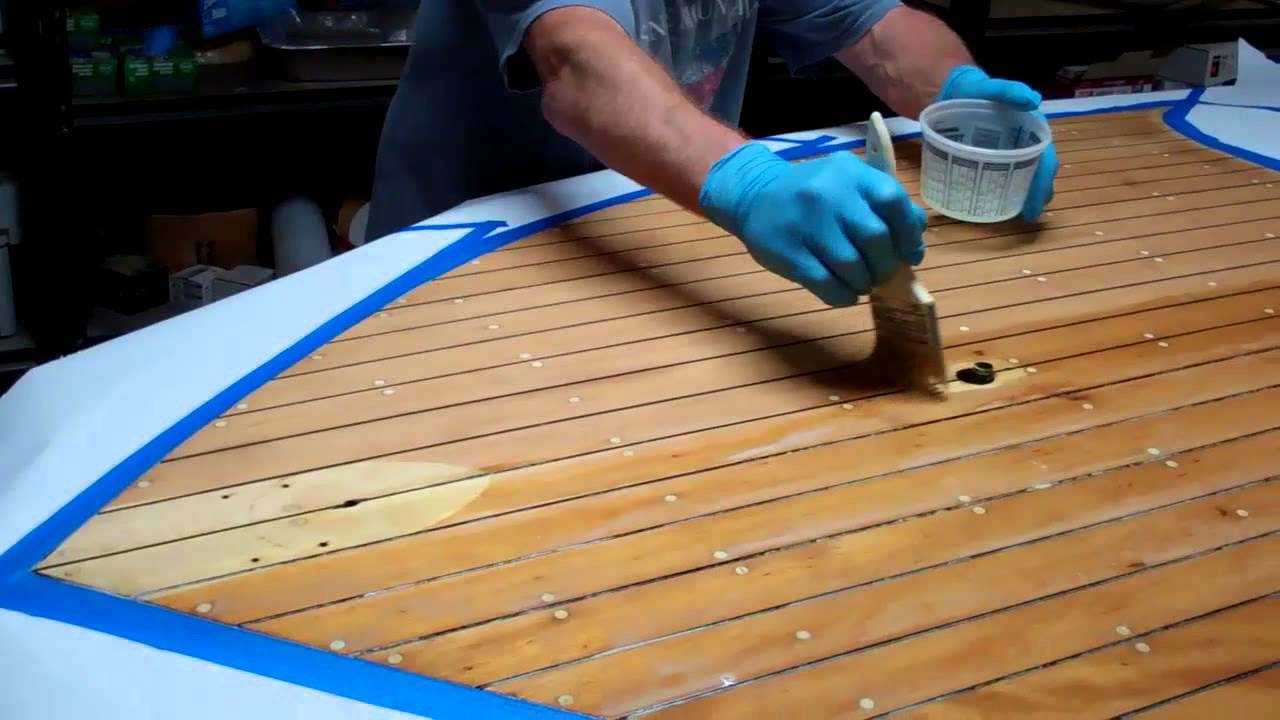
Today I am focusing on striping varnish and pulling stain out of the wood. The latter task is made every so much more doable by the Circa 1850 Heavy Body Paint and Varnish Remover I am using. As you can see when I turn my attention to the aft deck, this product allows me to bleed all of the old stain out of the wood, leaving only beautiful mahogany behind.

We will keep you updated as this project moves forward.

52 Chris Craft Riviera Runabout 18 Staining Deck Corina Blonde

1952 chris craft riviera staining deck corina blonde

We tested early this morning and the hull’s moisture content has dropped to a pretty uniform 15%, so staining can commence.
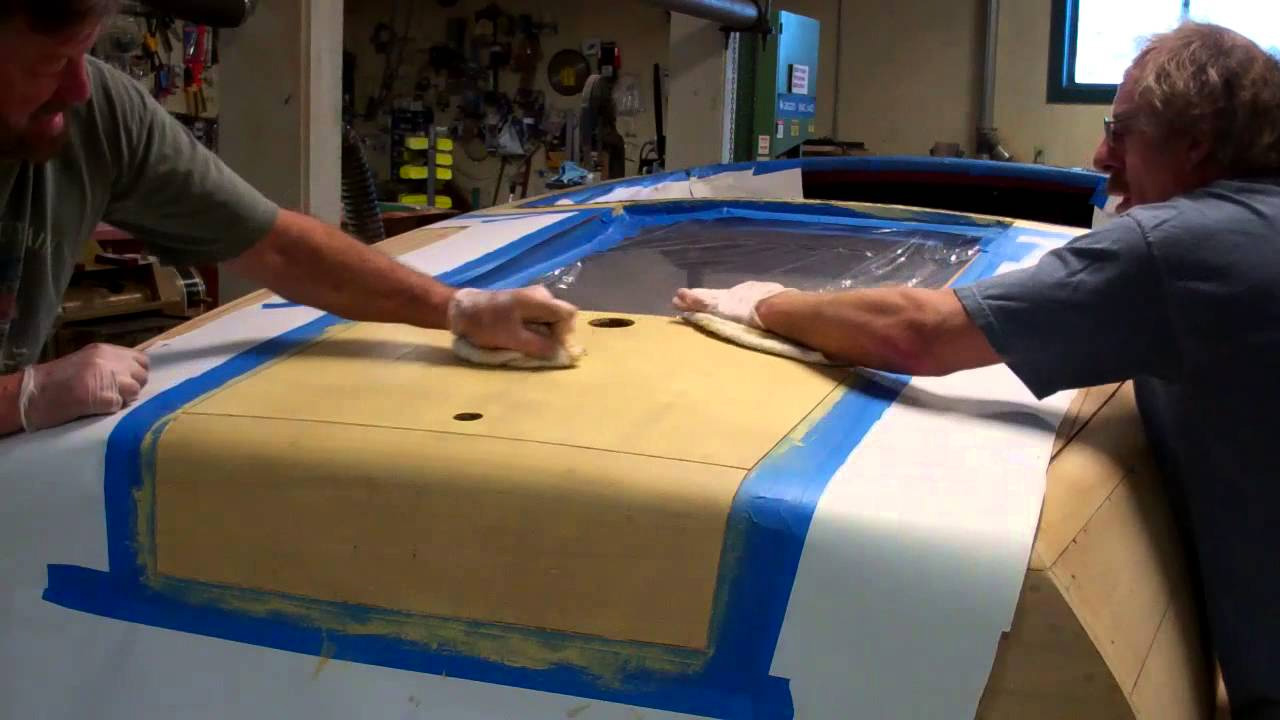
With the blonde aft deck, king plank and covering boards fully masked off against spatter, we apply Sandusky Paint Co. Chris-Craft Corina Blonde Filler Stain diluted about 10% with mineral spirits, which produces a consistency of house paint.
It took about 15 minutes for the stain to begin flashing, at which time we begin sharing the fun of working exclusively cross-grain, scrubbing excess stain off and filling the valleys in the process.
We will now allow the stain to cure for 24 hours before sealing it with three coats of CPES, after which we will apply a first coat of Pettit Hi-Build gloss varnish as insurance against adulteration of the blonde wood with the Danenberg Interlux Interstain mixture that will be applied to the balance of the hull.

1952 Chris Craft Riviera Runabout Bleaching Day

1952 chris craft riviera bleaching 2

It has been 18 hours since the last application of Kleen Strip wood bleach (50:50 mixture of parts A and B) to the hull of our 1952 Chris-Craft Riviera Runabout 18’.

The lowest reading I just read with the moisture meter is 25 percent. It pegs the meter well above 30 percent on most of the hull. We now turn all the humidifiers off in that section of the shop as we have an 18’ hull pumping humidity into the atmosphere as it dries.

Once the hull returns readings in the 12-15 percent moisture range, we will hand sand it lightly with 120 grit paper, just enough to remove the fuzz that bleaching produces. We must be super vigilant, however, as sanding to aggressively risks going through the approximately 1/16 – 1/8 inch layer that the bleach penetrates.

Sanding will be followed by staining the blonde deck panels with Sandusky Paint Chris Craft Corina Blonde Filler Satin 9802 and then sealing it with three coats of Smith’s Clear Penetrating Epoxy Sealer.

The balance of the hull will be stained using Don Danenberg’s personal favorite: 2 parts #573 to 1 part #42, Interlux Interstain Wood Filler Stain. We agree with Danenberg that “it creates a deep, rich, warm color that is neither too dark nor too red. (The Complete Wooden Boat Restoration Guide, p. 217).

We will continue updating the project as each stage of the finishing process unfolds.

1952 Chris Craft Riviera How & Why of Bleaching at SMB

1952 chris craft riviera bleaching

Ok, I am calendar challenged, still. Yes, the 25th, today, is Tuesday, not Wednesday. Sharing my apology trumps re-shooting the entire clip.
Since uploading the video on bleaching Avodire deck panels on our 1956 Century “Cowhide” Palomino, viewers have requested more details around exactly how and why we bleach every boat ahead of staining and varnishing her.
The why is easy. Bleaching erases unwanted color variation in the wood, whether it be residual stain, bungs that conflict with planking and Dutchman patches that present differing colors.
The how is probably quite similar to answers crafts people offer to any such question. Ask 10 of them and you will get 13 often-conflicting responses. Well, here is our answer to the how of bleaching.
Wood moisture content. Our shop is in northern Vermont, where a combination of pellet stoves and radiant heating can transform a healthy environment into a veritable desert. We maintain 70% humidity with a fleet of humidifiers and my dedication to wetting down concrete floors every night when we leave the shop.
We have learned that, even at 70%, wood planking and decking still tends to dry out. Therefore, every boat that has been stripped is maintained at 15% moisture measured twice daily with a moisture meter, by literally being wetted down once or twice daily.
The planking and decking in this 1952 Chris-Craft Riviera 18’ runabout in this clip was at 15% – 18% moisture content this morning before we began bleaching her. Not only will maintaining this moisture content allow the bleach to work, rather than being sucked into the wood’s surface, maintaining 15% moisture content keeps the seams between topside and deck planking closed.
We are standardized on Klean Strip Wood Bleach. No, that is not a typo. It is available in two-gallon kits from Amazon. In addition to working consistently and extremely well, we appreciate the virtually complete absence of any discernible VOCs. Latex gloves are a must, however.
Keep it wet for at least four hours. Through trial and error, and way too many errors, we have discarded the usual and customary, apply-once-and-let-dry approach that is followed by follow-on doses of either the 50:50 solution or one of the two parts.
Keeping the wood wet, the longer the better, works for us. Yes, there are diminishing returns, and wasted bleach solution results as doses go beyond what we are now standardized on.
Initially, we begin by applying liberal quantities of bleach solution one plank at a time, starting at the bottom-most plank. Why? We have learned that the alternative, applying bleach to a block and then moving to the next block tends to produce overlap areas, which can produce uneven results.
And, starting at the topmost plank produces runs and drips down vertical surfaces that can leave streaks.
The initial application is really sort of a mini-marathon, often lasting an hour or more, depending on the boat’s size. We make an initial lap around the boat, flooding vertical and horizontal surfaces from bottom up and from gunwales to deck centers. Then one of us “gets” to shepherd a process of continually working around the boat, keeping all surfaces wet. I made at least 8 laps around the Riviera, for example.
Then we wait 30-45 minutes , which allows the bleach to begin working, before we come back and make 1 or 2 more laps around the boat, flooding all surfaces with more bleach.
The Riviera will be left until tomorrow morning, when her wood should be dry enough – about 12-15% moisture content – for one light hand sanding with 120 grit before we begin staining the hull.
Yes, I will shoot a short video in the morning, when it truly is Wednesday!

1956 Century Cowhide Palomino Hull Preserved!

1956 century black cowhide palomino hull preservation

She arrived from Long Island, NY last fall, incredibly original throughout, even if a bit tattered cosmetically. As I began deconstructing her, and found the cockpit and bilge fasteners virtually impossible to back out, it quickly became apparent that the seats, ceilings, gauges and floor panels were being removed for the first time since she left Century Boat Company’s factory in Manistee, MI in 1956.

We have saved her original cowhide upholstery, save for the seat cushions and ceilings, and the latter were fabricated using a bolt of NOS cowhide fabric sourced through A&A Marine. Her original 1956 30 HP Johnson Sea Horse was really stuck hard, but we freed it up and have learned from the fellow restoring it that the power head is in great shape. We will end up with a completely restored, numbers-matching engine.

Here Avodire decks, aft hatch and transom were stripped to bare wood, even though doing so was a difficult decision. This boat came to us still in her original varnish, but even applying every finish restoration technique I learned in my decades restoring antique American clocks could not overcome the fact that the finish was just too tired to save.

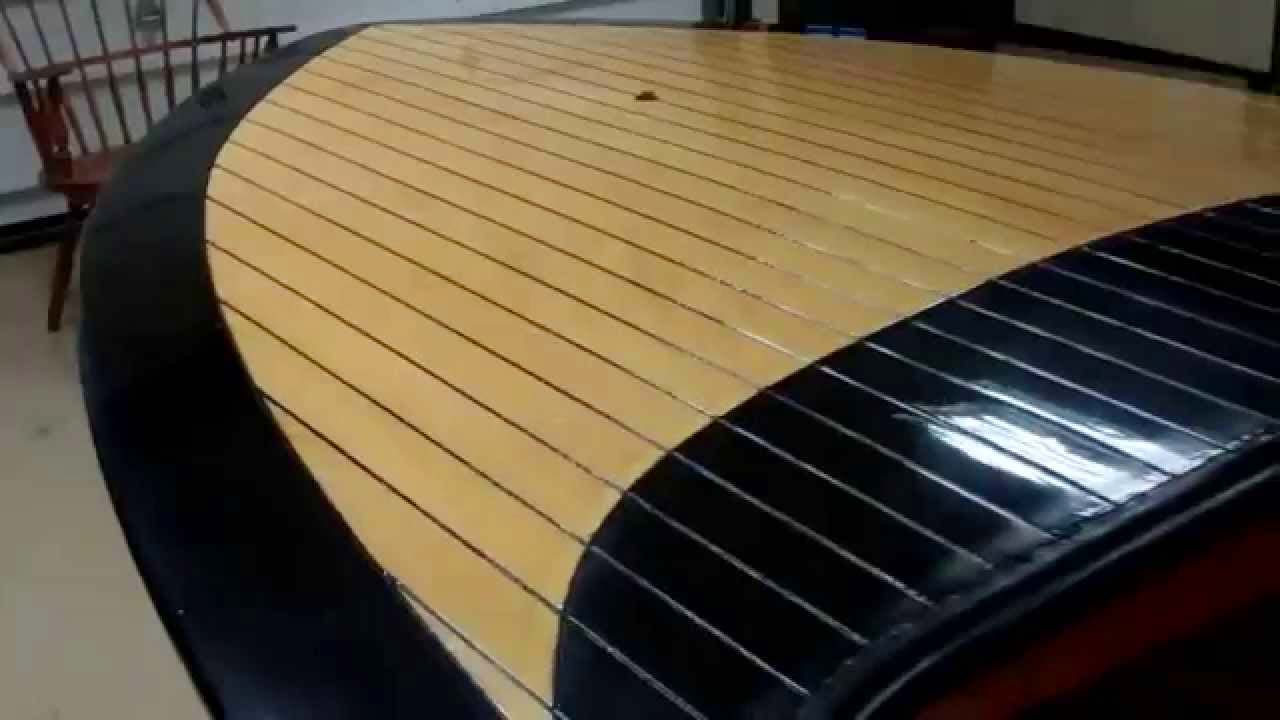
We sanded the topsides and covering boards flat, primed them with four coats of Jamestown Distributors’ new TotalBoat topside primer. Sanding between coats gave us a perfect foundation for the 9 coats of black TotalBoat Wet Edge Topside paint we rolled and tipped onto the hull. Jamestown has hit the ball out of the park with this new line of paints!

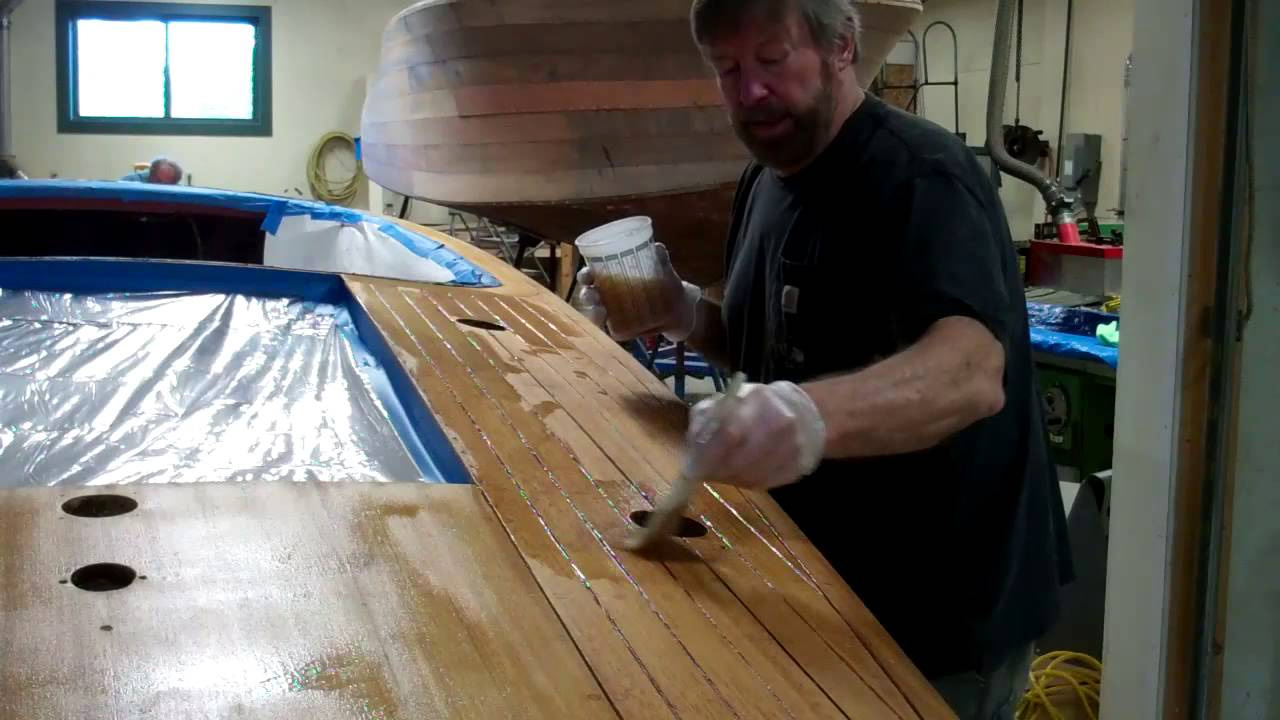
The Avodire decks and mahogany transom were bleached three times, stained and sealed with three coats of CPES before we began rolling and tipping 12 coats of Pettit Hi-Build varnish. Here she is, with hull # P5652 still punched into her glistening transom, and her deck seams painted with our topside paint, as Century had done some 58 years ago.

ll the hardware is back from New England Chrome Plating and American Metal Polishing.

We are chafing at the bit to begin putting her back together. Be sure that we will update you when we do.

1956 Century Cowhide Palomino – Staining Avodire Decks

1956 century palomino staining avodire decks

We were not pleased with the bleaching results, so we sanded this 1956 Century “Cowhide” Palomino’s Avodire decks and hatch cover with fantastic results. The tiger figuring leapt out at us, and the 80 grit we used delivered the teeth we need for successful staining.

And stain we did, using Sandusky Chris-Craft Corina Blonde Filler Stain.

Patience is the key. The temptation to brush it on and wipe it off is powerful, but giving into to it is completely wrong. It is a “filler” stain because, used properly, it will fill the valleys and scratches left by sanding. As such, staining properly is truly an early step towards your goal, a varnished surface that looks all the world like it is ten feet deep.

Letting the stain flash and turn from reflecting light to a dull, flat surface is critical. Then, even though doing so requires three or four X the work, it’s all about scrubbing the wood clean using cheese cloth and going across the grain. When are you finished? When the surface begins reflecting light again, which informs you that the stain has filled the valleys, and it is time for a final burnishing with clean cheese cloth and a gentle touch.

Once the stain has cured for 24 hours, the first of three coats of CPES can be applied. Now it is time for applying the varnish of your choice.

1956 Century Cowhide Palomino – Bleaching Avodire Decks

1956 century cowhide palomino bleaching avodire decks

It is time for an update on our preservation of the 1956 Century “Cowhide” Palomino, hull #P 5652. We completely stripped her bottom planking up to her waterline. Remember, Century Palomino’s are single planked with battens running through the bilge along every plank seam. Installing a true 5200 bottom therefore has little meaning.

Rather we applied three coats of Smith’s Clear Penetrating Epoxy Sealer (CPES) to all surfaces including the inevitable spaces between the bottom planks. We then filled those voids with Sikaflex 289, which is designed as a seam compound that cures, but remains highly pliable.

Why don’t we use 3M 5200 for this purpose? Unlike the Sikaflex product, 5200 becomes extremely hard once it is fully cured, so hard, in fact, that it will not compress in the face of even the slightest swelling of the planking risks crushing the wood.

Then, as is reinforced in his Classic Boating article, “What is a True 5200 Bottom?” (September/October 2014), we applied two coats of barrier coat beneath four coats of Hard Racing Bronze bottom paint.)

We cleaned out every countersink in the topsides, replaced most of the fasteners and tightened the few that were not replaced, faired the surface, applied three coats of Jamestown Total Boat topside primer beneath the first two of what will eventually be five coats of Total Boat black topside paint. We had hoped to save the original bright finish on the Avodire decks and aft hatch cover, but the splits we discovered in several planks forced us to strip these surfaces completely, carefully release, glue and refasten the offending planking.

Now it is time to bleach the Avodire – which is also known as African White Mahogany. After experimenting with many products, our go-to wood bleach is Kleen Strip (available from Amazon.com). In spite of the accepted “wisdom” that dictates applying a single coat, allowing the wood to dry, and then applying a second one, we get fantastic results by continually reapplying and keeping the wood wet for at least two hours.

Once the wood dries thoroughly, which takes 36 +/- hours, we will apply stain the surface and then apply three coats of CPES before engaging the final step, varnishing with Pettit Hi-Build. Our goal is to have her back together by the end of next week, which may be optimistic given the cure time implications of build a dozen coats of varnish and at least four more coats of Total Boat black on the covering boards and topsides.

Thanks for watching! Please weigh in with your comments.

1955 20′ Old Style Lyman Runabout on the Water

1955 lyman runabout on the water

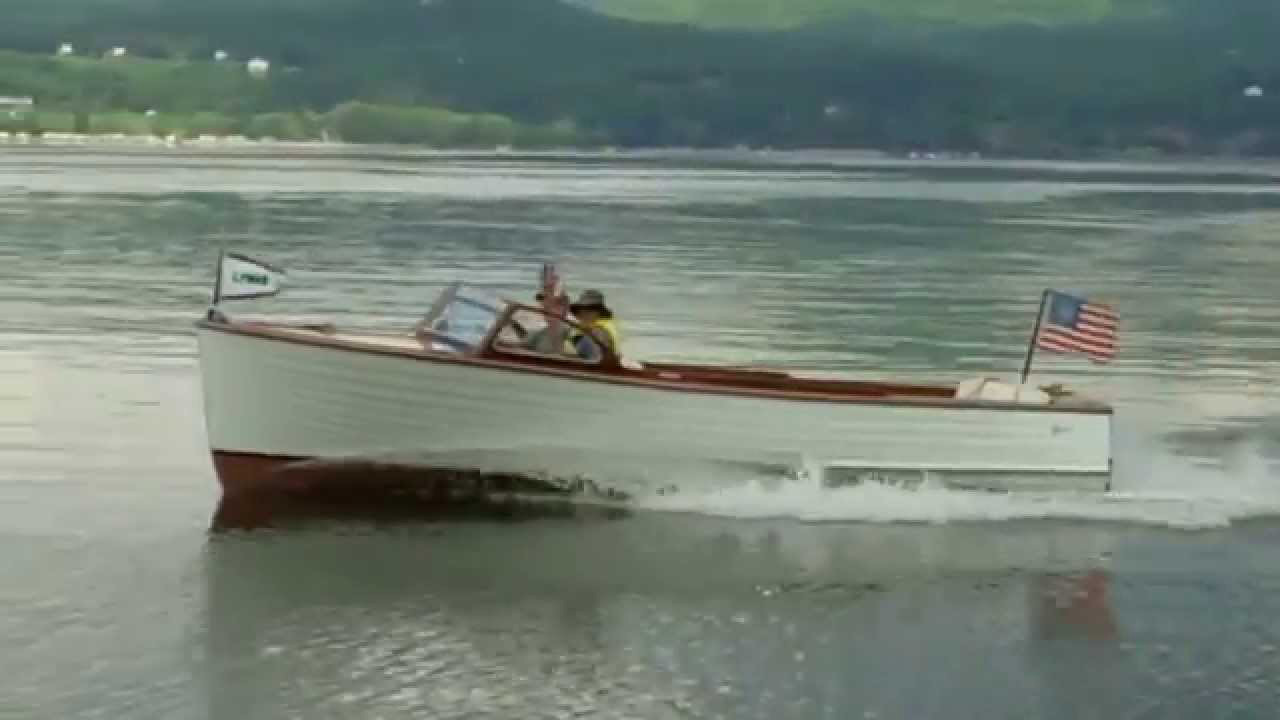
So many of you have requested a video of our 1955 Lyman 20’ Runabout on the water, but shot from a dock or other boat. Thanks to Vermont’s new state launch access beneath the Champlain Bridge that connects VT and NY, we are happy to deliver.

You will see a bank of very unfriendly clouds to the northwest as she romps across the water. Well the threat became a reality just as we were loading her on her trailer. A few drops of rain quickly became a deluge of thunder, lightning, rain and hail!

The bilge pump worked overtime as we headed for the shop.

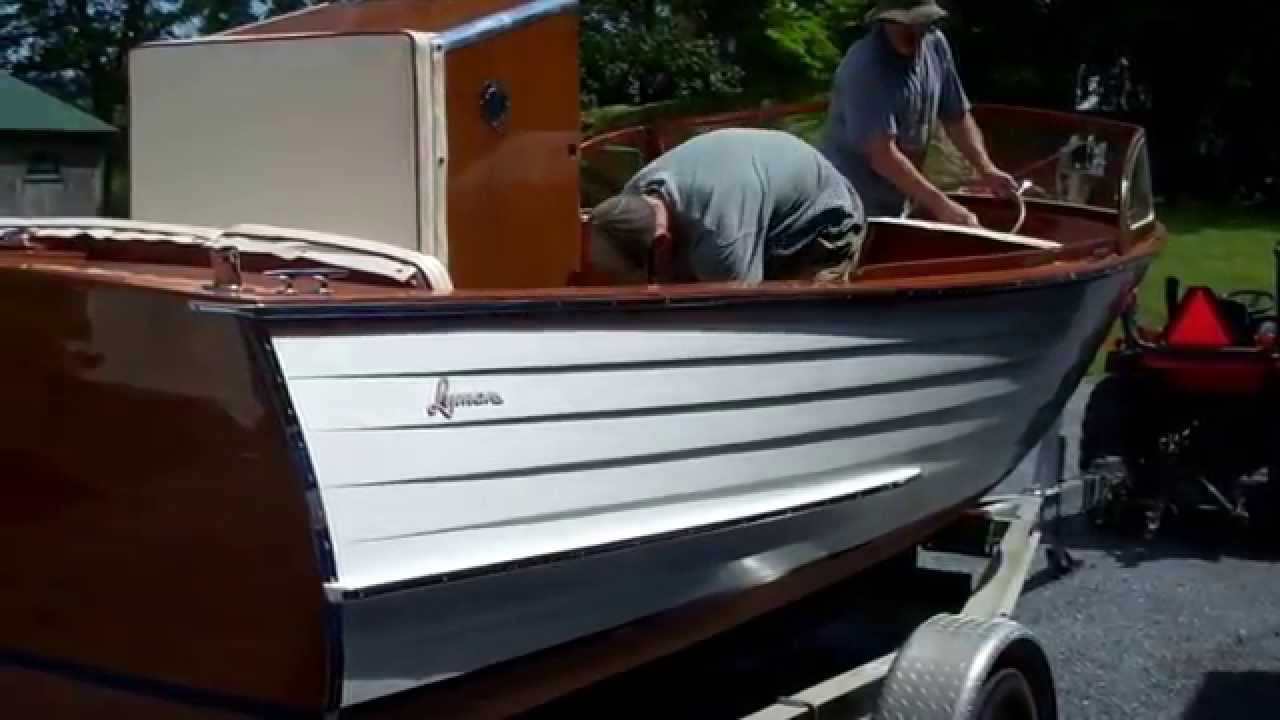
We’ve drained the bilge of all the rain water, and have a pile of wet terrycloth towels on the floor from wiping her down inside and out, stem to stern.

Mid-50s, old-style runabouts are mighty rare, but this one could be yours. Just email or give us a call and we will explore with you how we can make that happen.

1955 20′ Lyman Runabout Water Test

1955 lyman runabout water test

Yes! The 1955 20′ Lyman Runabout’s water test could not have gone better today.

We did find a minor leak in the area of the strut mount and one along the keel forward of the helm station, both of which we will repair once the hull dries.

Beyond that, she performed beautifully as she romped across the morning’s mirror-like Lake Champlain surface. RPMs rose and fell nicely in response to the throttle. She held 60 pounds of oil pressure at speed, and 40 pounds when idling.

And once again I marveled at the silky smooth ride Lyman’s deliver. She was no different as she carved turns, rode flat and made all three of us smile.

Now she is ready to meet her new owner. Contact me should you have interest in a completely preserved, largely original 1955 20′ Lyman runabout.

1955 20′ Lyman Runabout Chrysler Crown M 47 Roars!

1955 lyman runabout chrysler crown m47

Finally, the light at the end of the tunnel is burning brightly! Today she emerged from the shop with only two hurdles in front of her before she reaches the preservation-complete finish line.

Today we tested her engine, gauges, oil pressure, charging circuit, as well as her new water pump and thermostat. This clip opens with John turning the key. She turns over briefly before her 1955 Chrysler Crown M-47 flathead six roars to life.

As with the bench test we taped some weeks ago, she idles and then responds to the throttle without so much as a hiccup. The Pertronix ifnition makes an impressive difference in how smoothly these old tractor engines run.
Having ;leapt this hurdle with ease, she faces her final test tomorrow (if the weather holds), when we launch her into Lake Champlain and challenge her under load.

Yes, the tape will be running ….