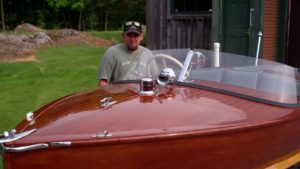
We’ve enjoyed preserving Penn Yan Captivators, and especially the Aristocrats, over the years. The Striptite can be challenging.
Penn Yan was unusual in so many ways, not the last of which is the myriad of canoe and outboard and inboard power boats, the latter mostly Striptite, it offered.
Equally intriguing is that a Penn Yan’s “hull number” is actually a model code combined with her hull number. Aristocrat, for example is stamped TFK54389. The code TFK identifies her as a Captivator Aristocrat built in 1954. Her hull number is 54389. Here is a fantastic resource for identifying almost any Penn Yan canoe or boat built in 1926 or later by its letter code and hull number.
From the introduction:
Serial Number Format – Two or three letters followed by 3 or 5 digits is typical, there are variations. In some cases the first two letters indicate the model, in other cases the first letter indicates model and the second indicates length. The third letter, if present, indicates trim (S=Spruce, M=Mahogany). See the Penn Yan identification table below for letter codes.
Dating – Sometimes (apparently only in the second half of any given decade) the first two digits of the serial number are the year built, and the remainder the presumed order of construction. In the case of Owasco, Rainbow Guide and Kingfisher model canoes, three letters in the serial number indicates 1947 or earlier, 2 letters is 1948-1960. An exception is that some pre-1933 16′ Rainbows and 16′ Owascos may be marked RC and OC, respectively.
Screws – Presence of Reed & Prince screws are usually indicative of Penn Yan canoes.
In Captivator’s case, searching the “Captivator Series” section informs us as follows:
Our preservation project will focus on rendering the hull sound and we conducted as detailed an examination as is possible until at least some disassembly is behind us. Here is what we found and recommend (I fear the formatting below may be lost when pasted into the YouTube “Description” box and apologize therefore.)
- Below the waterline
- There is a myriad of what appear to be through-and-through longitudinal splits in the bottom planks throughout the hull.
- While the keel is straight as an arrow, we sighted many areas where the seam between it and the garboards has broken open, which has allowed water to infiltrate. While our external inspection did not reveal more than one suspect area, I will not be surprised if we discover rot behind the keel, and between the keel and the keelson, which runs above the keel and bow to stern in the bilge.
- Recommendations
- Release the keel and the keelson to expose the garboards, strip both to bare wood and deal with any and all rot discovered
- Strip the entire hull to bare wood from the waterline down and then make a decision with you as to how many, if any, bottom planks must be released and either repaired or replaced. (We sighted way too much evidence of split planks to feel comfortable with not raising this concern that some, if not many, must be replaced.)
- Seal with three coats of Clear Penetrating Epoxy Sealer (CPES).
- Caulk the seams.
- Apply five coats of Interlux 2000E barrier coat primer.
- Apply three coats of an agreed upon brand and color of antifouling paint.
- Splash Rails –The joint between the inner face of the splash rail and its landing on the hull is notoriously a breeding ground for rot. As long as we will be stripping the hullsides from the gunwales to the keel, including the splash rails, now is the time to
- Recommendations
- Release, clean, deal with any rot discovered.
- Once stripped and clean, bleach, stain, seal with CPES and reinstall bedded in 3M5200.
- Varnish along with the transom.
- Transom
- You and I sighted the open seam between the two top and second plank down on the transom. That joint, which is not a shiplap joint, but is simply a face-to-face, originally glued-up joint, has failed completely. The seam is so open that we were able to insert a thin putty knife from inside the transom until it emerged through to and so that it protruded from the exterior transom face.
- The next plank down is split almost completely from port to about three-quarters across to starboard. Given that the two planks on either side of the failed seam above no longer meet fairly, and that the lower plank is actually deflected out, tells us that the engine’s torque is the probable cause of this split
- Black rot is spreading beyond the epoxy patch in the port transom brace.
- Recommendations
- Release the entire transom, disassemble it and then determine the best path forward.
- At the very least, the port transom brace must be replaced, sealed, stained and varnished to match the interior.
Yes, we will keep you in the loop!
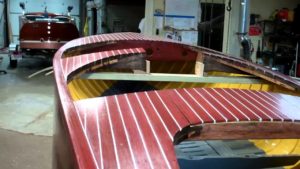
1954 Penn Yan Captivator Preservation Update
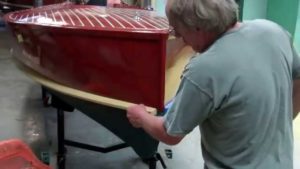
1954 Penn Yan Captivator Preservation: Spray Rails On!
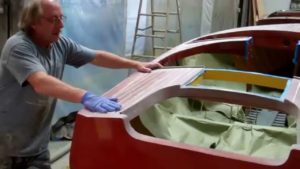
1954 Penn Yan Captivator Varnishing Update
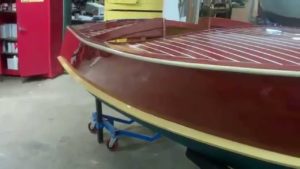
1954 Penn Yan Captivator Preservation Nears the Finish Line
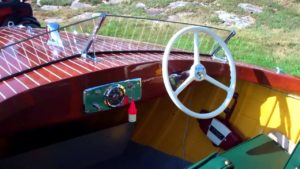
1954 Penn Yan Captivator Aristocrat Preserved!
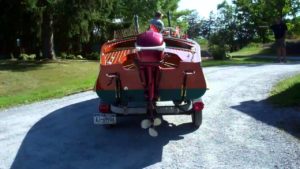
1954 Penn Yan Captivator Aristocrat On Parade
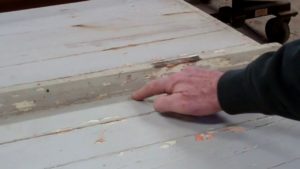
1954 Penn Yan Captivator Aristocrat Flipped
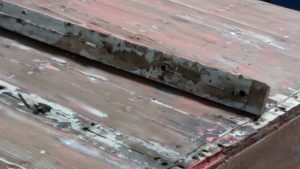
1954 Penn Yan Captivator Aristocrat Post Stripping Findings
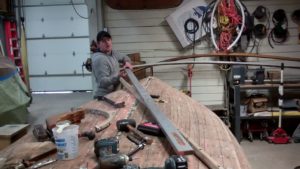
1954 Penn Yan Captivator Aristocrat: How to Release the Transom
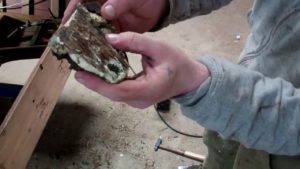
1954 Penn Yan Captivator Aristocrat Releasing the Transom (pt 2)
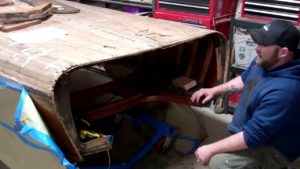
1954 Penn Yan Captivator Aristocrat: How to Fabricate a new Transom
1954 Penn Yan Captivator Aristocrat: How to replace the Transom
1954 Penn Yan Captivator: How to Seal Bottom Seams using Thixo Flex
1954 Penn Yan Captivator Aristocrat Transom Bottom Preservation
1954 Penn Yan Captivator Aristocrat Bottom Paint Preservation
1954 Penn Yan Captivator Aristocrat Bleaching Milestone
